> ## Documentation Index
> Fetch the complete documentation index at: https://docs.sevalla.com/llms.txt
> Use this file to discover all available pages before exploring further.
> ## Agent Instructions
> These are the docs for Sevalla, a platform for deploying applications, databases, static sites, object storage and load balancers. The dashboard is at https://app.sevalla.com.
> Bold text in steps is an exact dashboard label.
> To act on a Sevalla account, prefer the Sevalla MCP server (https://mcp.sevalla.com/mcp, see https://docs.sevalla.com/ai-agents/overview.md), then the Sevalla CLI (https://docs.sevalla.com/developer-tools/cli.md), then the REST API (https://api-docs.sevalla.com, OpenAPI spec at https://api.sevalla.com/v3/openapi.json).
> Every page index is at https://docs.sevalla.com/llms.txt.
# Google Workspace
> Set up SAML single sign-on between Google Workspace and Sevalla: add a custom SAML app in the Google Admin console, map the attributes and turn the app on for your users.
Google Workspace is an identity provider (IdP) you can connect to Sevalla with SAML single sign-on (SSO). You add a custom SAML app in the Google Admin console with the values Sevalla shows, then paste Google's values into Sevalla. For how SSO works in Sevalla, see [Single sign-on](/company/single-sign-on/overview).
## Before you begin
* You're a company owner or admin in Sevalla.
* You can add apps in the Google Admin console (`admin.google.com`).
* Your Sevalla account uses an email address on your company's domain, and you have a Google Workspace user with the same address. The setup test signs you in with it.
## Values to copy
From Sevalla's **Create SAML app** step into Google:
| Google field | Sevalla value |
| - | - |
| **App name** | `Sevalla` (**App name**) |
| **App icon** | The Sevalla logo (**App icon** > **Download**) |
| **ACS URL** | `https://my.kinsta.com/saml/receive` (**SSO/ACS URL**) |
| **Entity ID** | `https://my.kinsta.com/saml` (**Entity ID**) |
| **Start URL** | `https://my.kinsta.com/login/saml` (**Start URL**) |
| **Signed response** | Selected |
| **Name ID format** | **EMAIL** |
| **Name ID** | **Basic Information** > **Primary email** |
From Google's **Google Identity Provider details** into Sevalla's **Sevalla setup** step:
| Sevalla field | Google value |
| - | - |
| **SSO URL** | **SSO URL** |
| **Entity ID** | **Entity ID** |
| **Public certificate** | **Certificate**: the contents of the downloaded file |
## Start the setup in Sevalla
In the sidebar, under **Company**, click **Single sign-on**. On the **Single sign-on** card, click **Enable** (or **Continue setup**).
Click **Continue** to reach **Create SAML app**. Keep this tab open: you'll copy its values into Google.
## Create the SAML app in Google Workspace
In the Google Admin console, go to **Apps** > **Web and mobile apps**. Click **Add app** > **Add custom SAML app**.
In **App name**, enter `Sevalla`. Optionally, add the description and upload the Sevalla logo in **App icon**. Click **Continue**.
Google now shows **Google Identity Provider details**. Copy the **SSO URL** and the **Entity ID**, and download the **Certificate**. You paste them into Sevalla in [Add the Google details to Sevalla](#add-the-google-details-to-sevalla). Click **Continue**.
Fill in **ACS URL** (`https://my.kinsta.com/saml/receive`), **Entity ID** (`https://my.kinsta.com/saml`) and **Start URL** (`https://my.kinsta.com/login/saml`). Select **Signed response**. Set **Name ID format** to **EMAIL** and **Name ID** to **Basic Information** > **Primary email**. Click **Continue**.
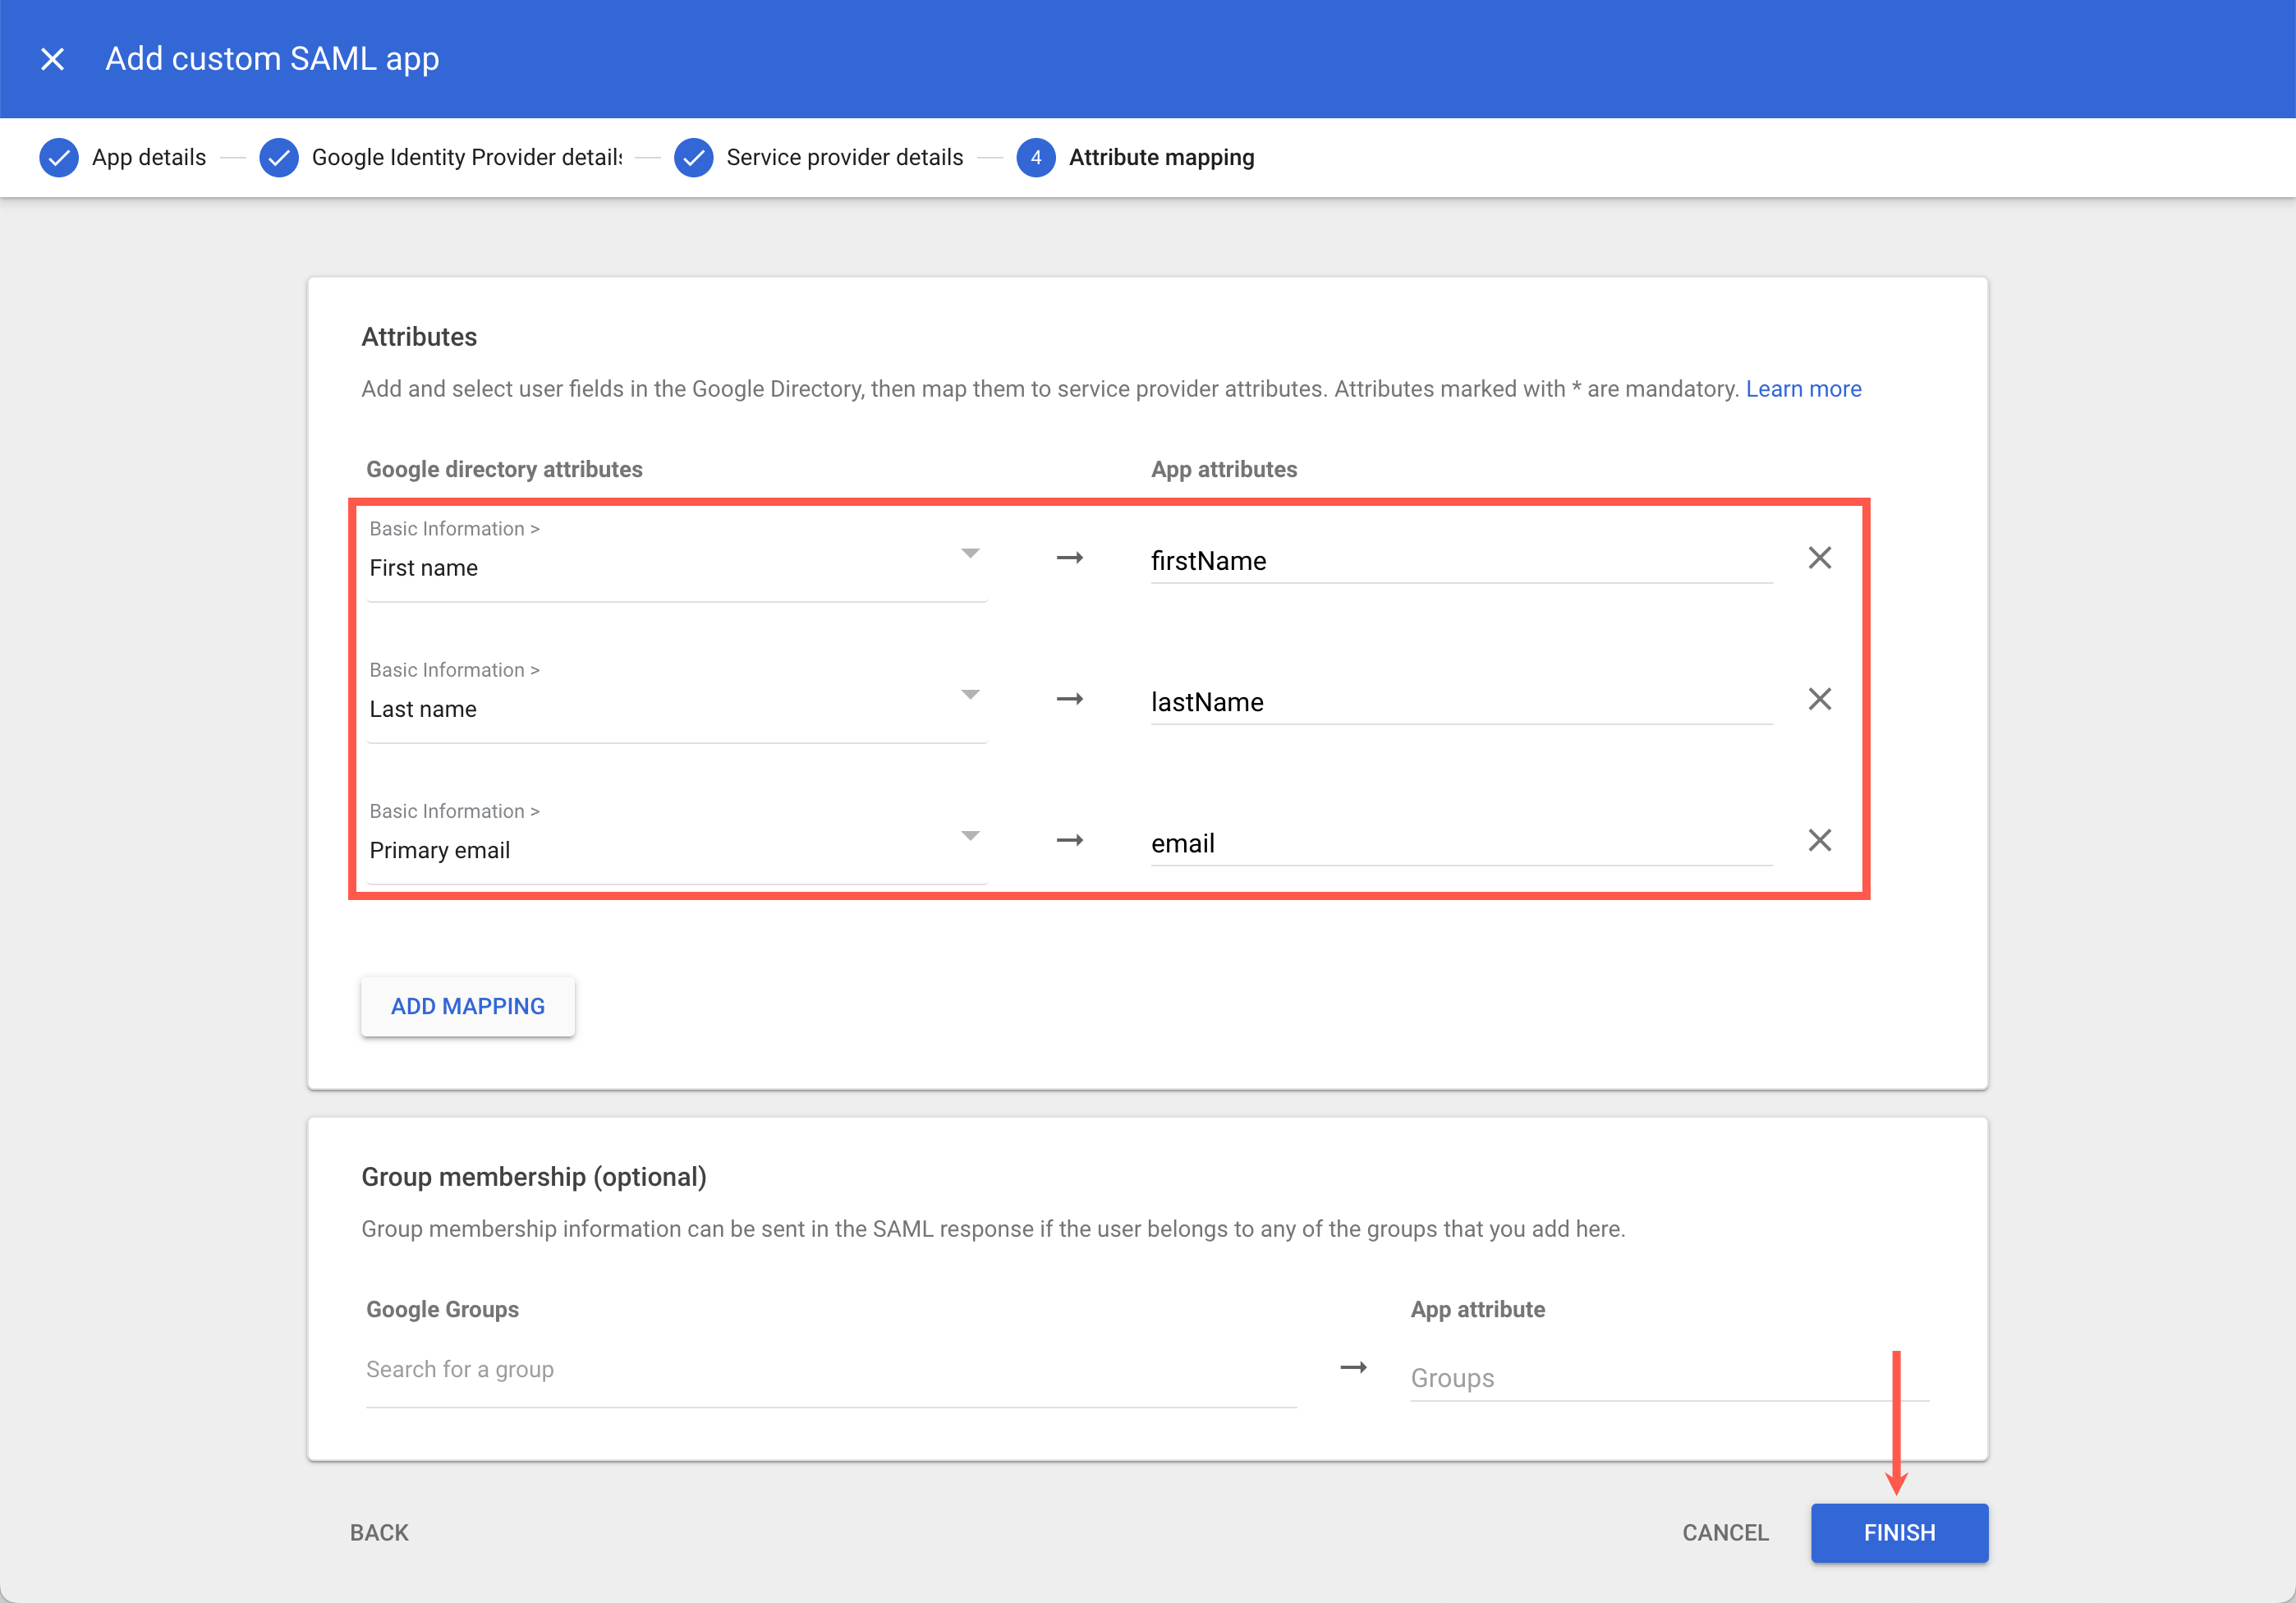
Click **Add mapping** for each row, then click **Finish**:
| Google directory attributes | App attributes |
| - | - |
| **First name** | `firstName` |
| **Last name** | `lastName` |
| **Primary email** | `email` |
 ## Give people access to the app
Only people with access to the app can sign in to Sevalla with Google Workspace. A new custom SAML app is off for everyone until you turn it on.
In **Apps** > **Web and mobile apps**, click the Sevalla app, then click **User access**.
Select **ON for everyone**, or pick the groups or organizational units that should have access and turn the app on for them. Click **Save**. Include yourself, so you can run the test.
## Add the Google details to Sevalla
In the Sevalla tab, click **Continue** to reach **Sevalla setup**. Under **Email domain**, add and verify your domain. See [Verify your email domain](/company/single-sign-on/overview#verify-your-email-domain).
Under **Set up Sevalla SAML**, paste:
* **SSO URL**: Google's **SSO URL**
* **Entity ID**: Google's **Entity ID**
* **Public certificate**: the whole contents of the certificate file, including the `BEGIN CERTIFICATE` and `END CERTIFICATE` lines
Click **Continue**.
## Test and set SSO live
On **Test and finish**, click **Test authentication** and sign in to Google. When Sevalla shows `Authentication test was successful.`, click **Save and set SSO live**. If the test fails, see [Troubleshoot SSO sign-in](/company/single-sign-on/overview#troubleshoot-sso-sign-in).
Next, you can [make SSO mandatory](/company/single-sign-on/overview#make-sso-mandatory) and [turn on just-in-time provisioning](/company/single-sign-on/overview#turn-on-just-in-time-provisioning).
## Change the session length
Google Workspace's session settings decide how long an SSO session lasts. If Google doesn't send a session end time, Sevalla's SSO session lasts 24 hours. To change it, see the [Google Workspace Admin Help article on session length](https://support.google.com/a/answer/7576830).
This documentation is built and hosted on [Mintlify](https://mintlify.com), a developer documentation platform.
## Give people access to the app
Only people with access to the app can sign in to Sevalla with Google Workspace. A new custom SAML app is off for everyone until you turn it on.
In **Apps** > **Web and mobile apps**, click the Sevalla app, then click **User access**.
Select **ON for everyone**, or pick the groups or organizational units that should have access and turn the app on for them. Click **Save**. Include yourself, so you can run the test.
## Add the Google details to Sevalla
In the Sevalla tab, click **Continue** to reach **Sevalla setup**. Under **Email domain**, add and verify your domain. See [Verify your email domain](/company/single-sign-on/overview#verify-your-email-domain).
Under **Set up Sevalla SAML**, paste:
* **SSO URL**: Google's **SSO URL**
* **Entity ID**: Google's **Entity ID**
* **Public certificate**: the whole contents of the certificate file, including the `BEGIN CERTIFICATE` and `END CERTIFICATE` lines
Click **Continue**.
## Test and set SSO live
On **Test and finish**, click **Test authentication** and sign in to Google. When Sevalla shows `Authentication test was successful.`, click **Save and set SSO live**. If the test fails, see [Troubleshoot SSO sign-in](/company/single-sign-on/overview#troubleshoot-sso-sign-in).
Next, you can [make SSO mandatory](/company/single-sign-on/overview#make-sso-mandatory) and [turn on just-in-time provisioning](/company/single-sign-on/overview#turn-on-just-in-time-provisioning).
## Change the session length
Google Workspace's session settings decide how long an SSO session lasts. If Google doesn't send a session end time, Sevalla's SSO session lasts 24 hours. To change it, see the [Google Workspace Admin Help article on session length](https://support.google.com/a/answer/7576830).
This documentation is built and hosted on [Mintlify](https://mintlify.com), a developer documentation platform.