> ## Documentation Index
> Fetch the complete documentation index at: https://docs.sevalla.com/llms.txt
> Use this file to discover all available pages before exploring further.
> ## Agent Instructions
> These are the docs for Sevalla, a platform for deploying applications, databases, static sites, object storage and load balancers. The dashboard is at https://app.sevalla.com.
> Bold text in steps is an exact dashboard label.
> To act on a Sevalla account, prefer the Sevalla MCP server (https://mcp.sevalla.com/mcp, see https://docs.sevalla.com/ai-agents/overview.md), then the Sevalla CLI (https://docs.sevalla.com/developer-tools/cli.md), then the REST API (https://api-docs.sevalla.com, OpenAPI spec at https://api.sevalla.com/v3/openapi.json).
> Every page index is at https://docs.sevalla.com/llms.txt.
# Users and roles
> Invite people to your company, a project or single services, see what every role can do, and update access, remove users or transfer ownership.
A user is a person with access to your company. Each user has a role at one of three levels (company, project or service), and the role decides what they can see and change. You manage users on the **User management** page, under **Company** in the sidebar.
## Roles
| Role | Level | ID | What it's for |
| - | - | - | - |
| **Company owner** | Company | `company-owner` | Full access, plus deleting the company and transferring ownership. One per company. |
| **Company admin** (**Company administrator** in the invite form) | Company | `company-admin` | Access to everything, manage users, see billing. |
| **Company developer** | Company | `company-developer` | Access to all services and projects, can't see billing. |
| **Company billing** | Company | `company-billing` | Billing only: payment methods, billing details and invoices. |
| **Project admin** | Project | `project-admin` | Everything in the projects they're given, including who has access to them. |
| **Project developer** | Project | `project-developer` | Works on the services in the projects they're given. |
| **App administrator**, **Database administrator**, **Static site administrator**, **Object storage administrator**, **Load balancer administrator** | Service | `app-admin`, `database-admin`, `static-site-admin`, `object-storage-admin`, `load-balancer-admin` | View and update the single services they're given. |
A user has one company role, or roles in one or more projects, or access to one or more services. The company owner and company admins have the same full access, except that only the owner can delete the company or transfer ownership, and nobody can change or remove the owner's access.
## What each role can do
| Action | Owner | Admin | Developer | Billing | Project admin | Project developer | Service administrator |
| - | - | - | - | - | - | - | - |
| View and update applications, databases, static sites, object storage and load balancers | All | All | All | No | In their projects | In their projects | Their services |
| Create and delete those services | Yes | Yes | Yes | No | In their projects | In their projects | No |
| Create, rename and delete projects, and add existing services to a project | Yes | Yes | Yes | No | No | No | No |
| See usage | Yes | Yes | Yes | No | Their projects | Their projects | No |
| Manage billing: payment methods, billing details, invoices | Yes | Yes | No | Yes | No | No | No |
| Set up usage alerts | Yes | Yes | No | No | No | No | No |
| Manage API keys, global variables and registry credentials | Yes | Yes | Yes | No | No | No | No |
| Manage [webhooks](/developer-tools/webhooks) | Yes | Yes | No | No | No | No | No |
| See **User management** | Yes | Yes | Yes | No | No | No | No |
| Invite, update and remove company-level users | Yes | Yes | No | No | No | No | No |
| Invite, update and remove project- and service-level users | Yes | Yes | Yes | No | In their projects | No | No |
| Set up [single sign-on](/company/single-sign-on/overview) and [AI support](/support/ai-support) | Yes | Yes | No | No | No | No | No |
| Rename the company | Yes | Yes | No | No | No | No | No |
| Transfer ownership and delete the company | Yes | No | No | No | No | No | No |
Project roles are managed on each project's **Access management** tab. See [Project access](/projects/access-management).
## The User management page
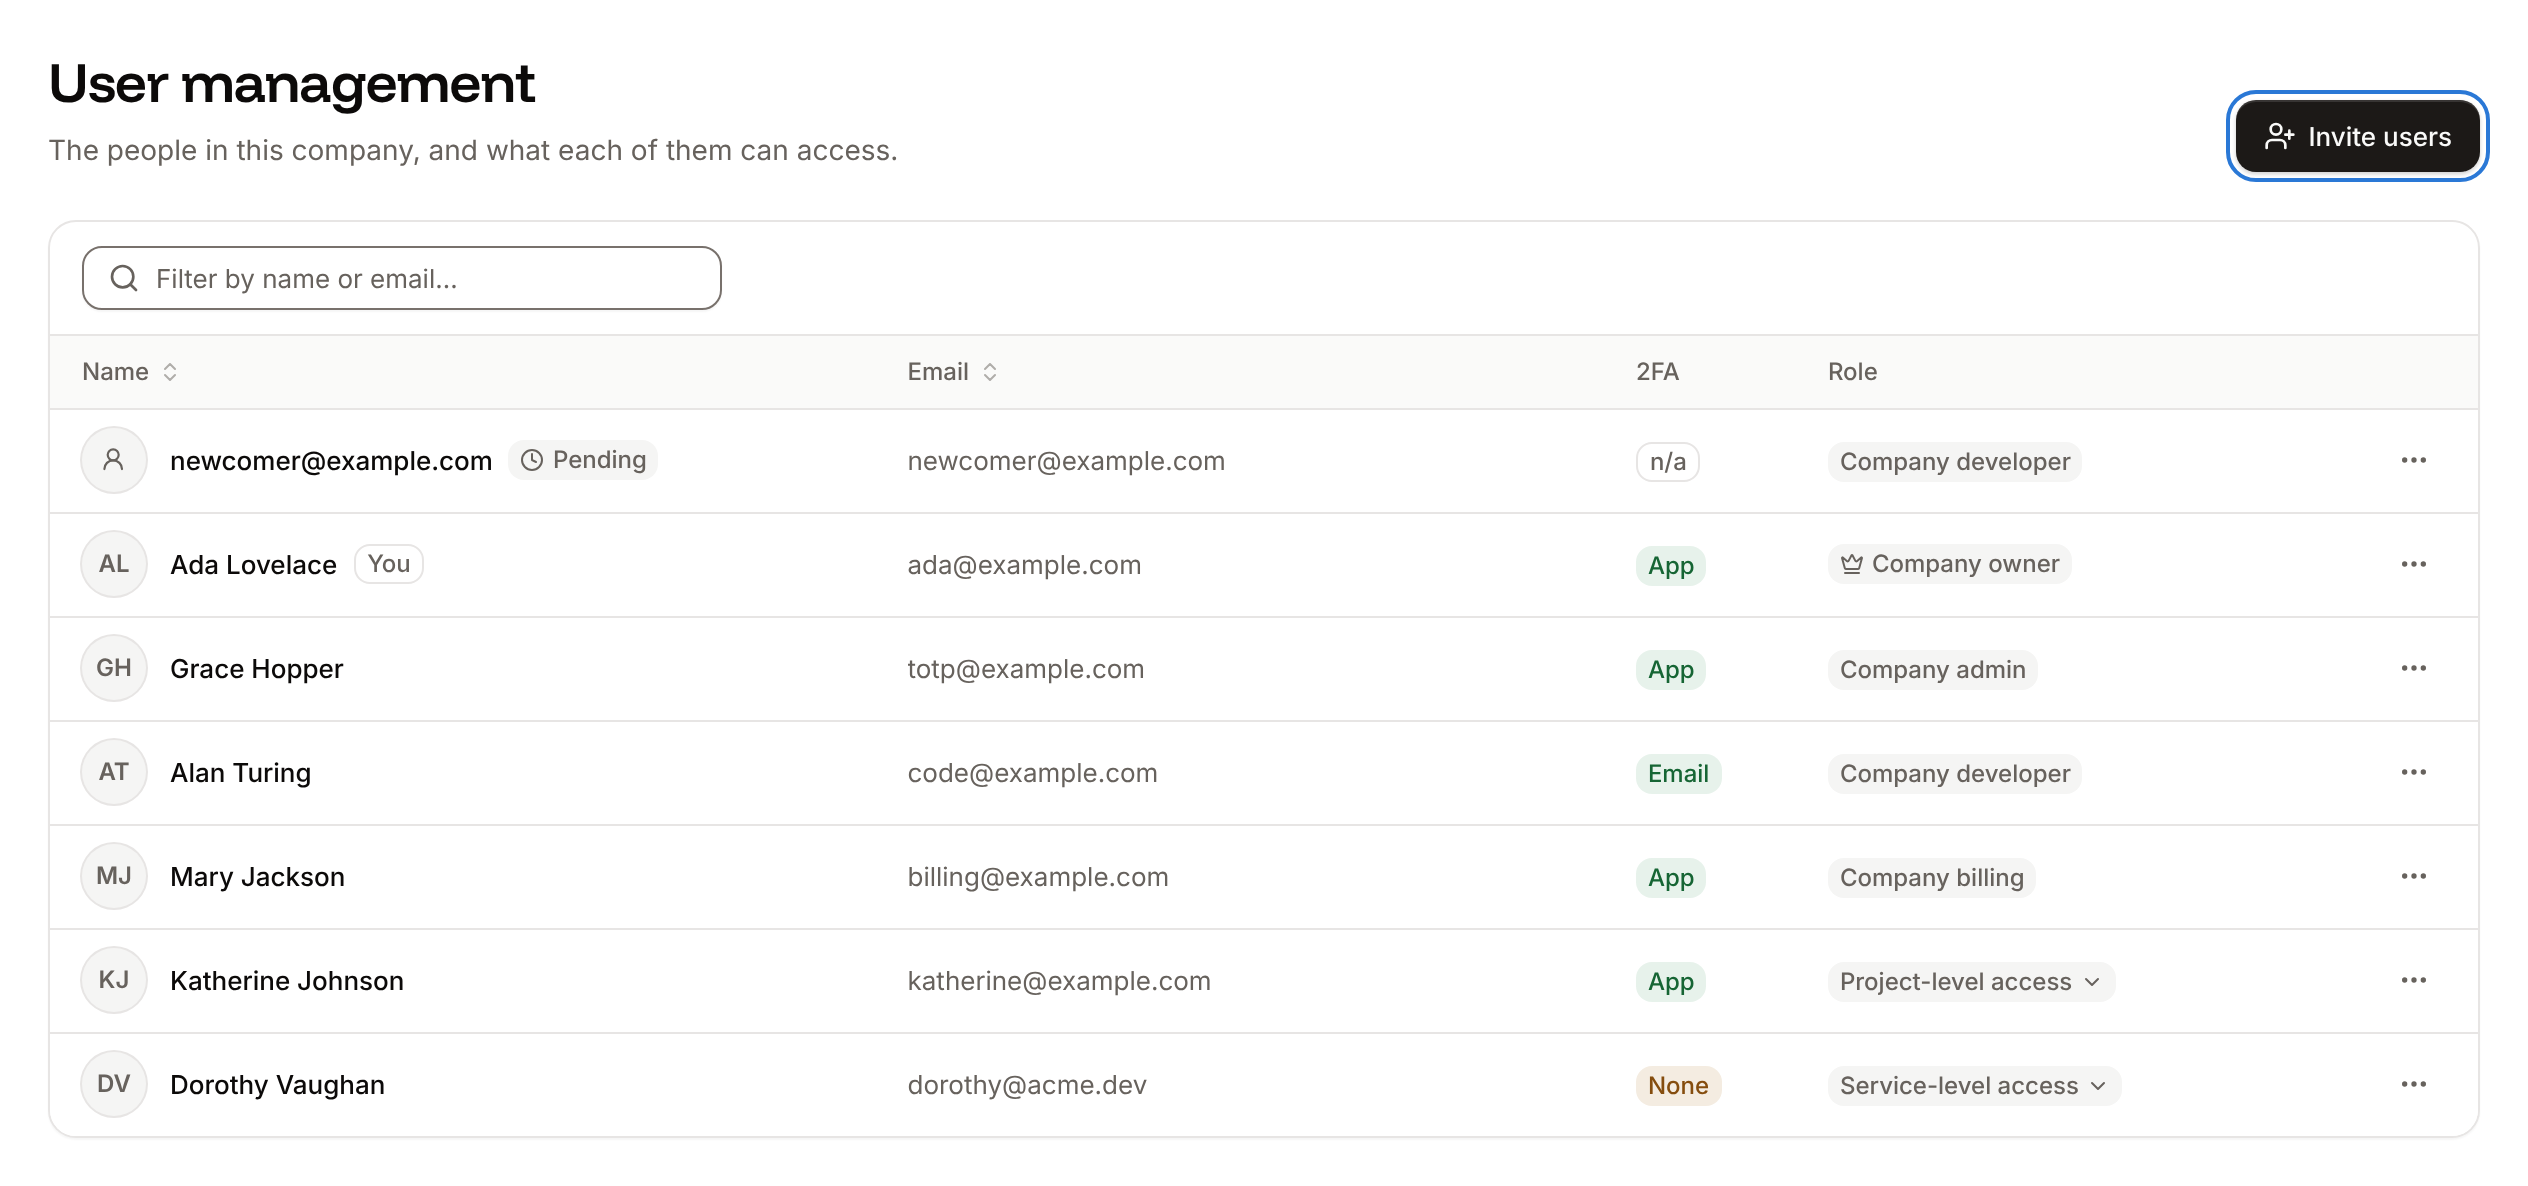
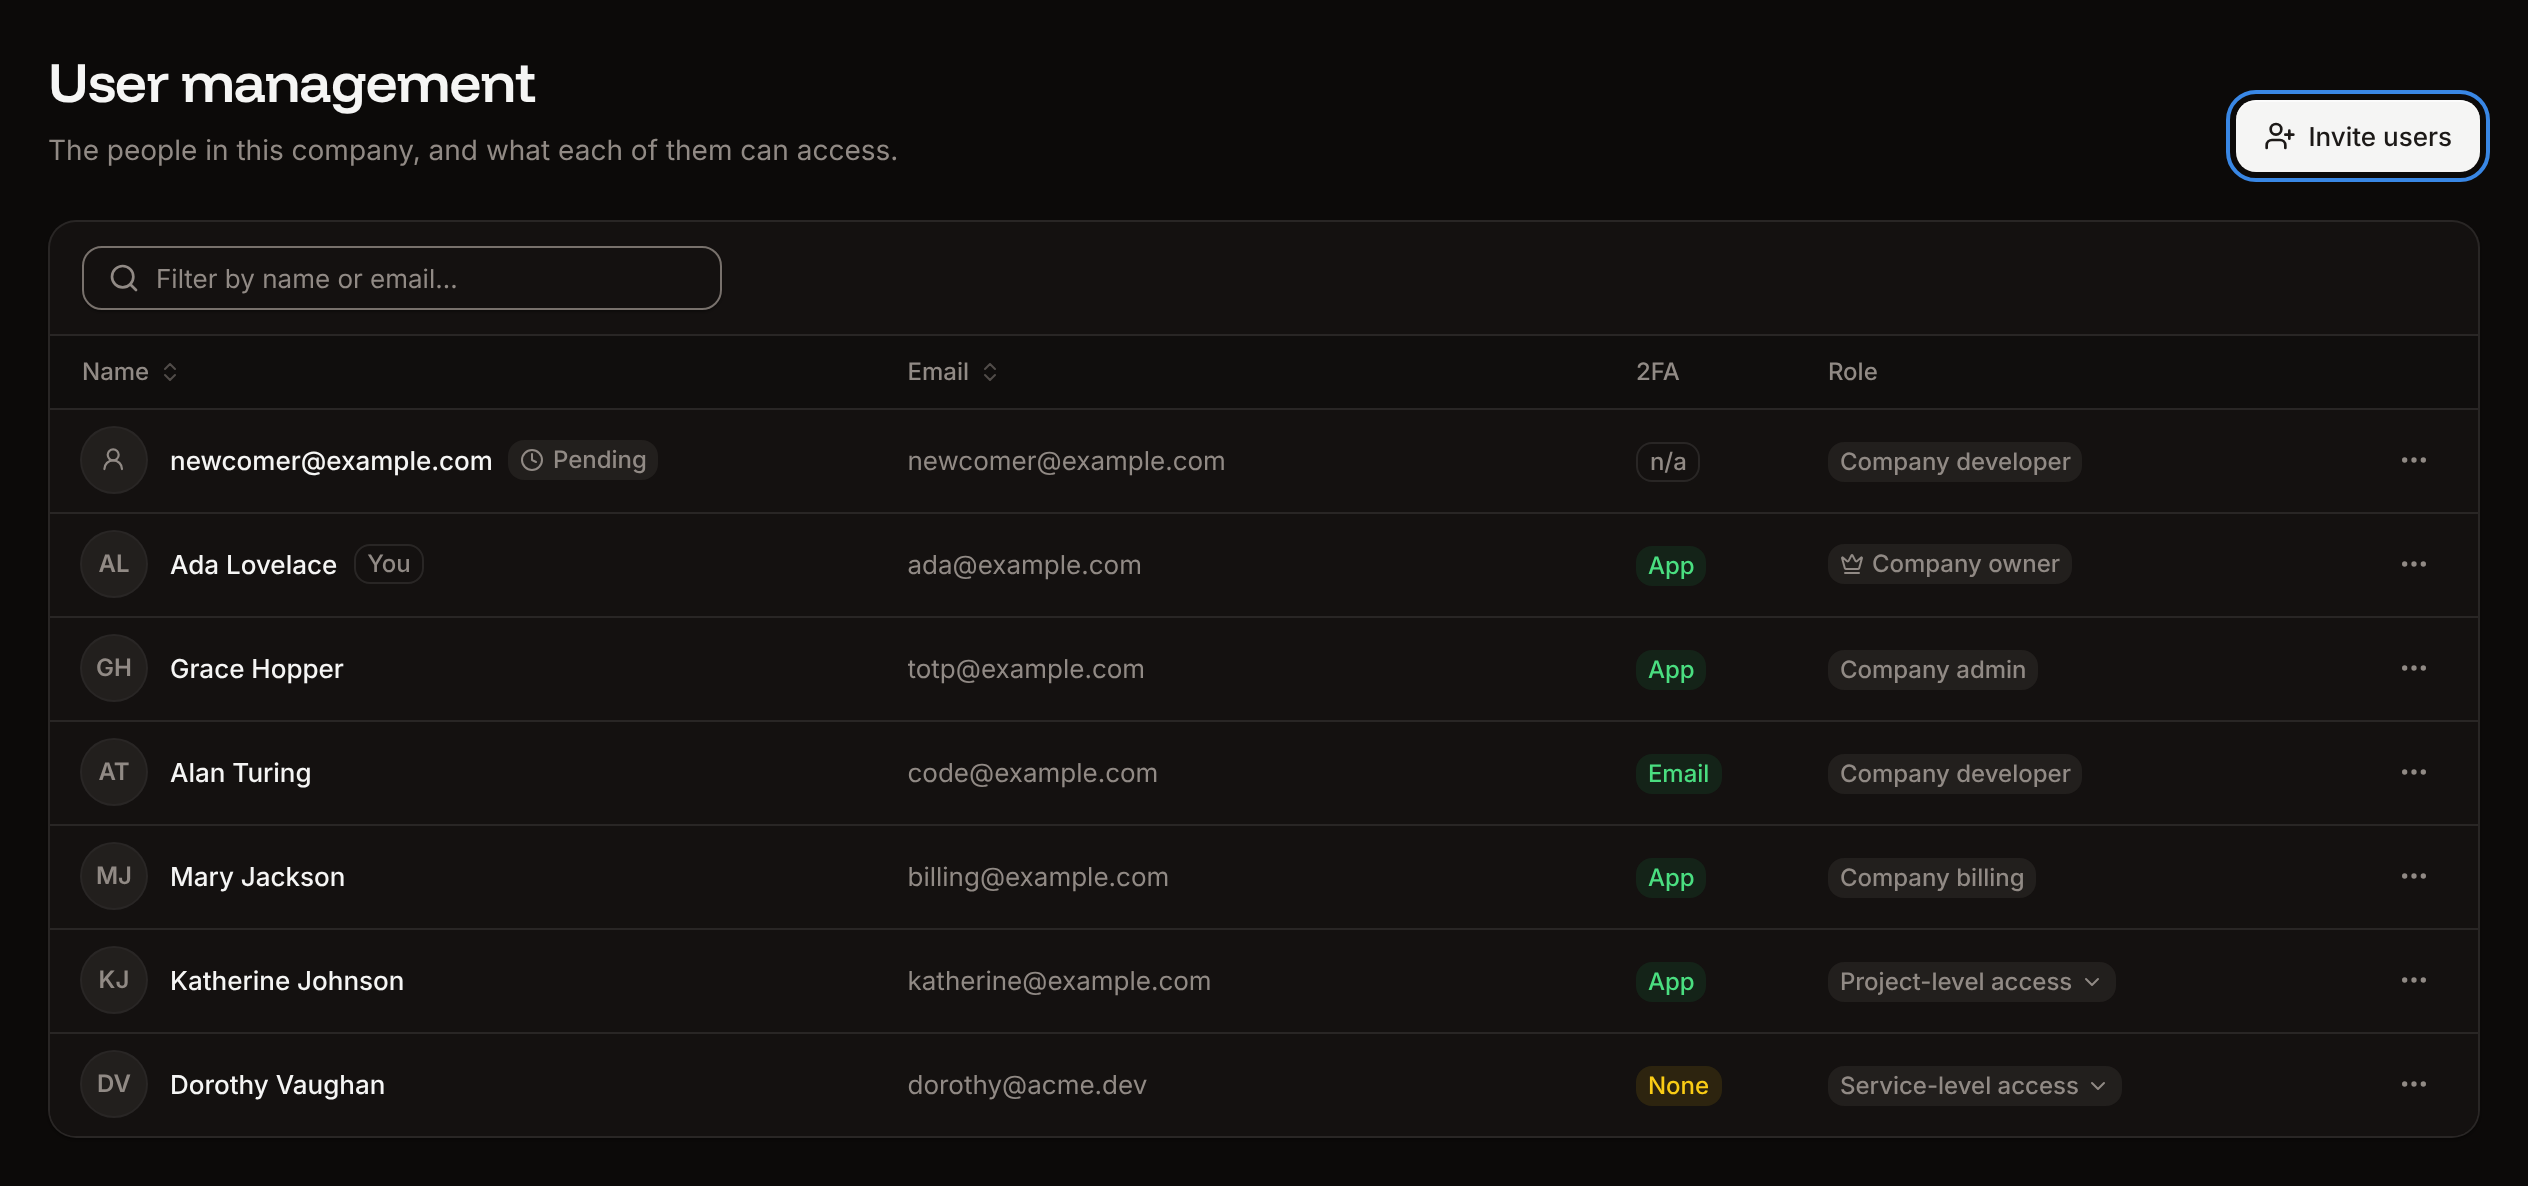
In the sidebar, under **Company**, click **User management**. The page lists pending invitations first, then the company's users, 20 per page by default. Type in **Filter by name or email…** to find someone.
| Column | Shows |
| - | - |
| **Name** | The person's name. Pending invitations show the email address and a **Pending** badge; your own row shows **You**. |
| **Email** | The email address they sign in with. |
| **2FA** | How they receive sign-in codes: **App** (an authenticator app) or **Email**. Pending invitations show **n/a**. See [two-factor authentication](/account/sign-in#two-factor-authentication). |
| **Role** | Their company role, or **Project-level access** or **Service-level access**. Hover over those to see the projects or services and the role in each. The owner's role has a crown. |
Each row's actions (**⋯**) menu offers what you're allowed to do to that row: **Update access**, **Remove from company**, **Transfer ownership** (on the owner's row, for the owner), or **Copy invitation link** and **Cancel invitation** for an invitation.
 ## Invite users
Company owners and admins can invite people at any level. Company developers can invite people to projects and to services that belong to a project, not to the company.
In the sidebar, under **Company**, click **User management**, then click **Invite users**.
In **Email addresses**, enter up to 10 addresses, separated by commas, spaces or new lines. Each address appears as a badge below the field; invalid ones are marked in red.
Under **Access level**, pick **Company**, **Project** or **Service**, then choose the access:
* **Company**: pick **Company administrator**, **Company developer** or **Company billing**.
* **Project**: in **Select project**, pick one or more projects, then set each one's role to **Project developer** (the default) or **Project admin**. This option appears only when the company has projects.
* **Service**: optionally filter by service type, then in **Select service**, pick one or more services. Each person becomes the administrator of every service you pick.
For company-level access, enter your Sevalla password under **Confirm it’s you**.
Click **Send invitation** (or **Send 3 invitations** for three addresses).
What happens next depends on the address:
* **The address belongs to a Sevalla account**: Sevalla adds the person to the company right away and emails them that they were added. They appear in the list as a user.
* **The address has no Sevalla account**: Sevalla emails an invitation with a link to join, and the invitation appears in the list with a **Pending** badge until they accept. Invitation links don't expire; they stop working when you cancel the invitation or once it's accepted.
* **The address is already in the company, or already has a pending invitation**: Sevalla skips it.
If the company requires [mandatory single sign-on](/company/single-sign-on/overview#make-sso-mandatory), new users must sign in through your identity provider unless you add them as exceptions.
## Invite users
Company owners and admins can invite people at any level. Company developers can invite people to projects and to services that belong to a project, not to the company.
In the sidebar, under **Company**, click **User management**, then click **Invite users**.
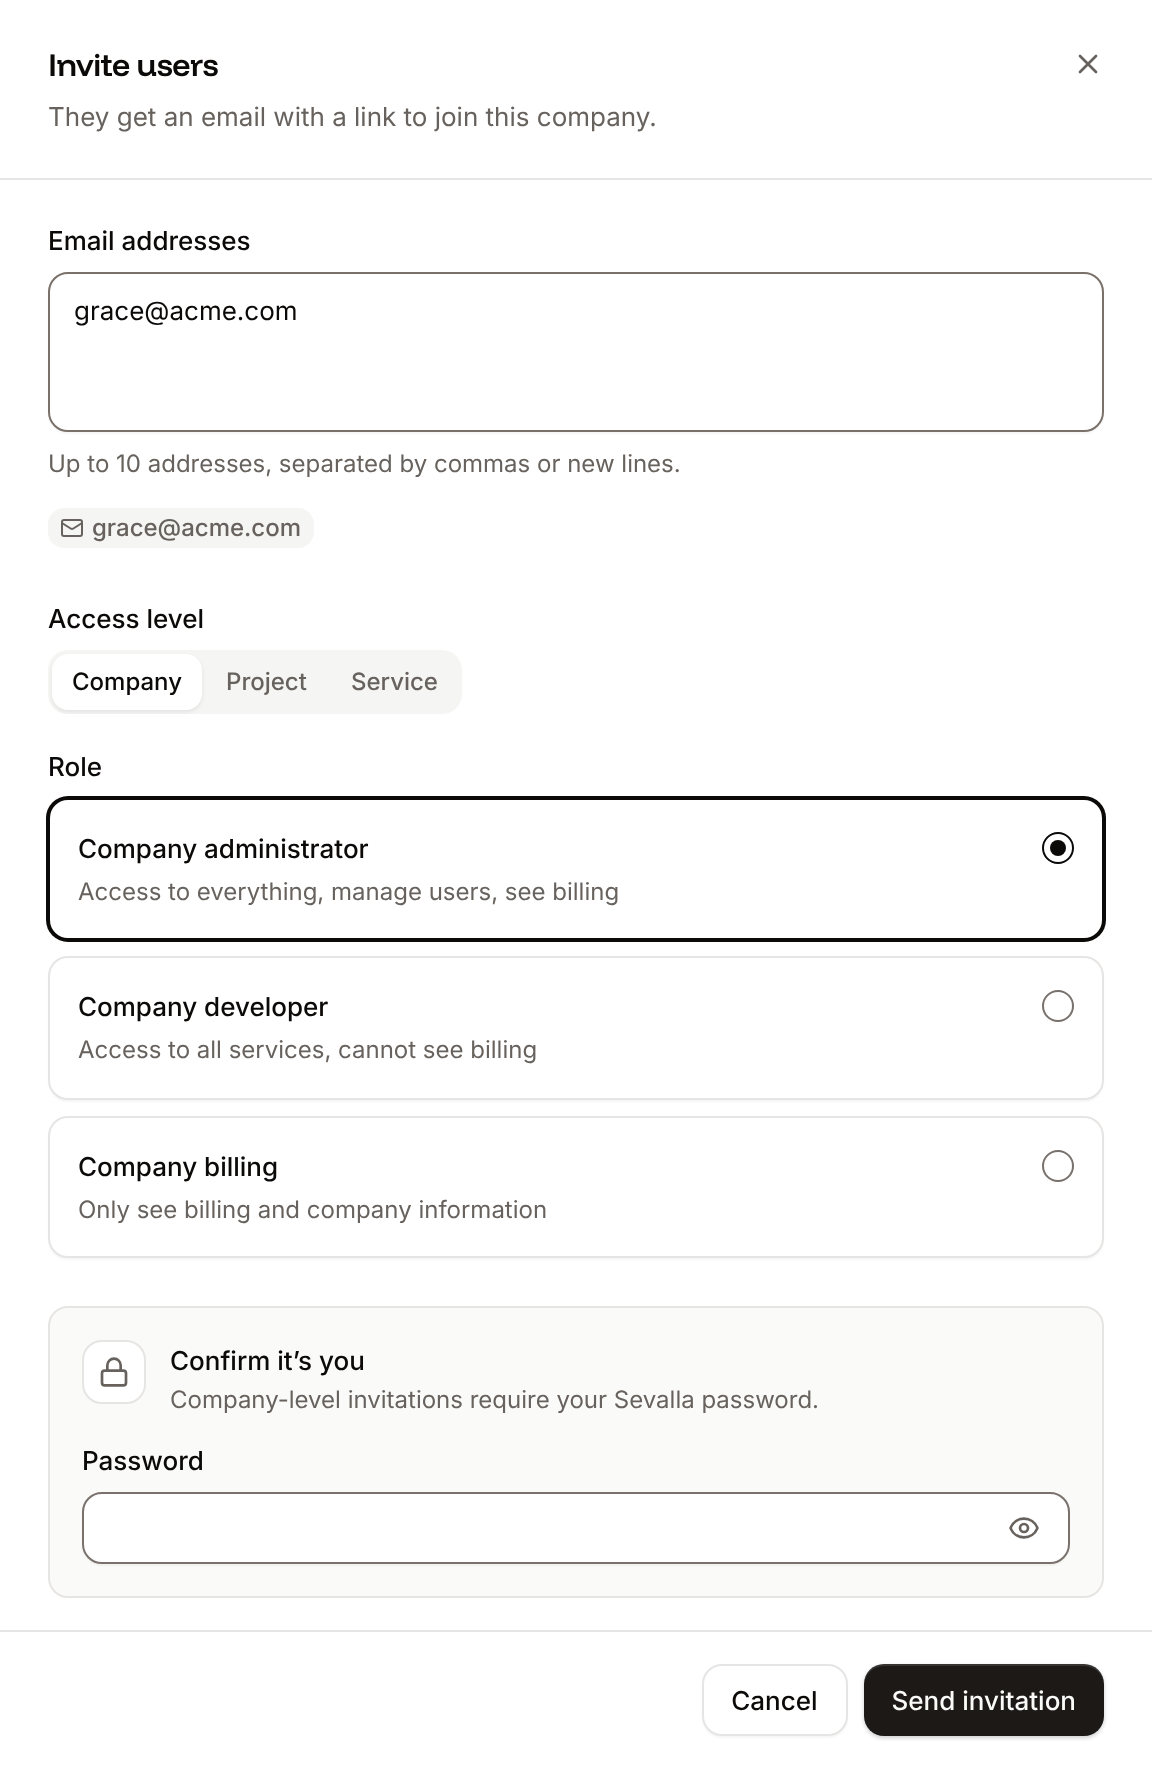
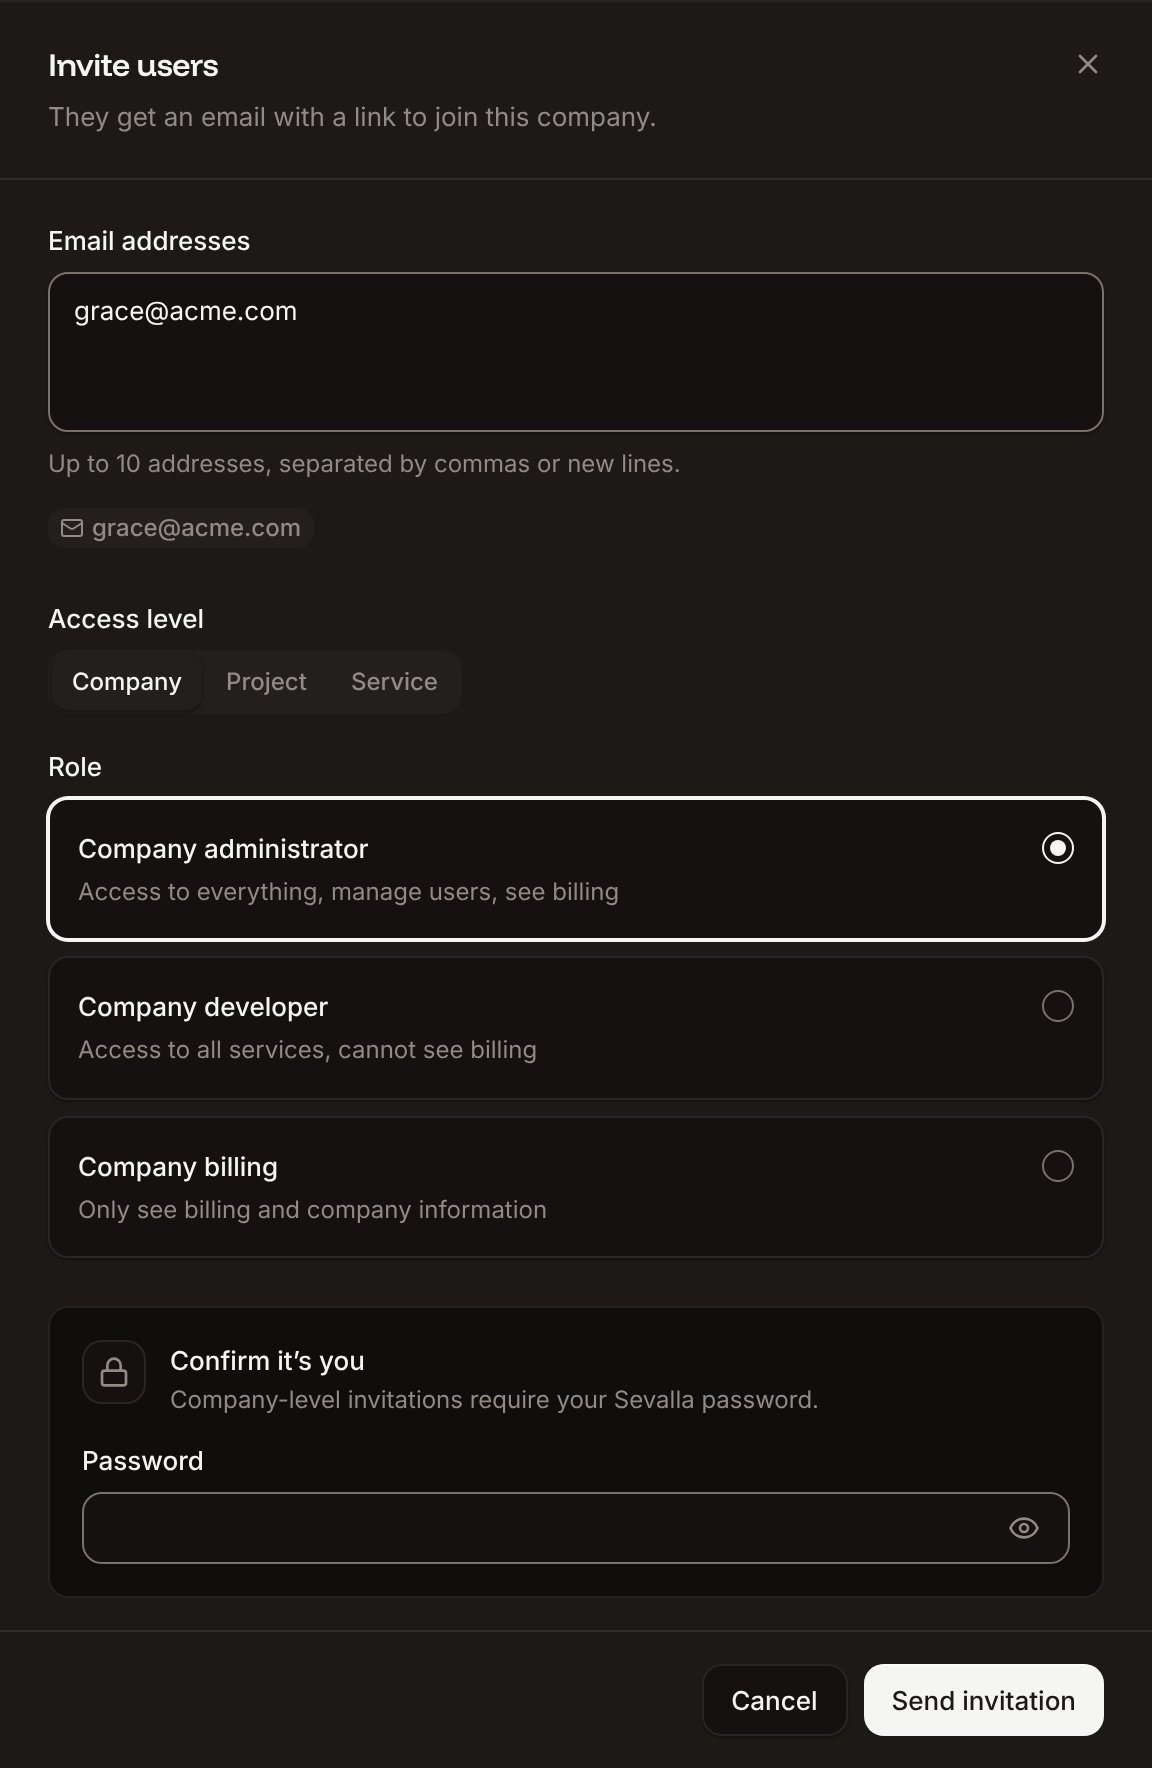
In **Email addresses**, enter up to 10 addresses, separated by commas, spaces or new lines. Each address appears as a badge below the field; invalid ones are marked in red.
Under **Access level**, pick **Company**, **Project** or **Service**, then choose the access:
* **Company**: pick **Company administrator**, **Company developer** or **Company billing**.
* **Project**: in **Select project**, pick one or more projects, then set each one's role to **Project developer** (the default) or **Project admin**. This option appears only when the company has projects.
* **Service**: optionally filter by service type, then in **Select service**, pick one or more services. Each person becomes the administrator of every service you pick.
For company-level access, enter your Sevalla password under **Confirm it’s you**.
Click **Send invitation** (or **Send 3 invitations** for three addresses).
What happens next depends on the address:
* **The address belongs to a Sevalla account**: Sevalla adds the person to the company right away and emails them that they were added. They appear in the list as a user.
* **The address has no Sevalla account**: Sevalla emails an invitation with a link to join, and the invitation appears in the list with a **Pending** badge until they accept. Invitation links don't expire; they stop working when you cancel the invitation or once it's accepted.
* **The address is already in the company, or already has a pending invitation**: Sevalla skips it.
If the company requires [mandatory single sign-on](/company/single-sign-on/overview#make-sso-mandatory), new users must sign in through your identity provider unless you add them as exceptions.
 ### How invited people join
The invitation link opens a **Join your team** page that names the person who invited them and the company. They create their account with GitHub, GitLab or Bitbucket, or with their first name, last name and a password, then click **Register & accept invitation**. The email address is fixed: an invitation works only for the address it was sent to. If they created a Sevalla account with that address in the meantime, they click **Sign in** instead, and the invitation is accepted when they sign in.
A link that was cancelled shows **Cancelled invitation**, and one that was used shows **Accepted invitation**.
## Manage pending invitations
* **Resend an invitation**: in the invitation's actions (**⋯**) menu, click **Copy invitation link**, then send the link to the person yourself.
* **Cancel an invitation**: in the invitation's actions (**⋯**) menu, click **Cancel invitation**, then confirm with **Cancel invitation**. The link stops working right away. You can't undo this, but you can invite the person again.
## Update user access
On the **User management** page, open the user's actions (**⋯**) menu and click **Update access**.
Pick the new **Access level** and role, projects or services, the same way as when you invite someone. To take away one project or service, click its trash icon.
For company-level access, enter your Sevalla password under **Confirm it’s you**. Click **Update access**.
The change applies right away. Nobody can update the company owner's access: to change it, the owner [transfers ownership](#transfer-ownership) first.
## Remove a user from the company
On the **User management** page, open the user's actions (**⋯**) menu and click **Remove from company**.
Enter your Sevalla password, then click **Remove user**.
The person loses access to everything in the company right away, including every project and service they had access to. Their user account stays, along with any other companies they belong to.
* **API keys keep working.** API keys belong to the company, not to the person who created them. Review them in **Tools** > **API keys** and delete any the person used. See [API keys](/developer-tools/api-keys).
* **Single sign-on can bring them back.** If [just-in-time provisioning](/company/single-sign-on/overview#turn-on-just-in-time-provisioning) is on, a person your identity provider still allows can sign in again and rejoin. Remove them from your identity provider too.
* **The owner can't be removed.** The owner's row shows **Remove (transfer ownership first)**, which you can't select.
## Transfer ownership
Only the company owner can transfer ownership, and only to a company admin.
If the person isn't a company admin yet, [update their access](#update-user-access) to **Company administrator**.
On the **User management** page, open the actions (**⋯**) menu on your own row and click **Transfer ownership**.
In **New company owner**, pick the admin. Enter your Sevalla password, then click **Transfer ownership**.
The new owner gets the **Company owner** role and you become a company admin. To get ownership back, the new owner transfers it to you.
## API and CLI
The Sevalla API and CLI can list a company's users. Inviting, updating and removing users is done in the dashboard.
| Task | API | CLI |
| - | - | - |
| List the company's users | [List company users](https://api-docs.sevalla.com/v3/users/list-company-users) | `sevalla users list` |
This documentation is built and hosted on [Mintlify](https://mintlify.com), a developer documentation platform.
### How invited people join
The invitation link opens a **Join your team** page that names the person who invited them and the company. They create their account with GitHub, GitLab or Bitbucket, or with their first name, last name and a password, then click **Register & accept invitation**. The email address is fixed: an invitation works only for the address it was sent to. If they created a Sevalla account with that address in the meantime, they click **Sign in** instead, and the invitation is accepted when they sign in.
A link that was cancelled shows **Cancelled invitation**, and one that was used shows **Accepted invitation**.
## Manage pending invitations
* **Resend an invitation**: in the invitation's actions (**⋯**) menu, click **Copy invitation link**, then send the link to the person yourself.
* **Cancel an invitation**: in the invitation's actions (**⋯**) menu, click **Cancel invitation**, then confirm with **Cancel invitation**. The link stops working right away. You can't undo this, but you can invite the person again.
## Update user access
On the **User management** page, open the user's actions (**⋯**) menu and click **Update access**.
Pick the new **Access level** and role, projects or services, the same way as when you invite someone. To take away one project or service, click its trash icon.
For company-level access, enter your Sevalla password under **Confirm it’s you**. Click **Update access**.
The change applies right away. Nobody can update the company owner's access: to change it, the owner [transfers ownership](#transfer-ownership) first.
## Remove a user from the company
On the **User management** page, open the user's actions (**⋯**) menu and click **Remove from company**.
Enter your Sevalla password, then click **Remove user**.
The person loses access to everything in the company right away, including every project and service they had access to. Their user account stays, along with any other companies they belong to.
* **API keys keep working.** API keys belong to the company, not to the person who created them. Review them in **Tools** > **API keys** and delete any the person used. See [API keys](/developer-tools/api-keys).
* **Single sign-on can bring them back.** If [just-in-time provisioning](/company/single-sign-on/overview#turn-on-just-in-time-provisioning) is on, a person your identity provider still allows can sign in again and rejoin. Remove them from your identity provider too.
* **The owner can't be removed.** The owner's row shows **Remove (transfer ownership first)**, which you can't select.
## Transfer ownership
Only the company owner can transfer ownership, and only to a company admin.
If the person isn't a company admin yet, [update their access](#update-user-access) to **Company administrator**.
On the **User management** page, open the actions (**⋯**) menu on your own row and click **Transfer ownership**.
In **New company owner**, pick the admin. Enter your Sevalla password, then click **Transfer ownership**.
The new owner gets the **Company owner** role and you become a company admin. To get ownership back, the new owner transfers it to you.
## API and CLI
The Sevalla API and CLI can list a company's users. Inviting, updating and removing users is done in the dashboard.
| Task | API | CLI |
| - | - | - |
| List the company's users | [List company users](https://api-docs.sevalla.com/v3/users/list-company-users) | `sevalla users list` |
This documentation is built and hosted on [Mintlify](https://mintlify.com), a developer documentation platform.