> ## Documentation Index
> Fetch the complete documentation index at: https://docs.sevalla.com/llms.txt
> Use this file to discover all available pages before exploring further.
> ## Agent Instructions
> These are the docs for Sevalla, a platform for deploying applications, databases, static sites, object storage and load balancers. The dashboard is at https://app.sevalla.com.
> Bold text in steps is an exact dashboard label.
> To act on a Sevalla account, prefer the Sevalla MCP server (https://mcp.sevalla.com/mcp, see https://docs.sevalla.com/ai-agents/overview.md), then the Sevalla CLI (https://docs.sevalla.com/developer-tools/cli.md), then the REST API (https://api-docs.sevalla.com, OpenAPI spec at https://api.sevalla.com/v3/openapi.json).
> Every page index is at https://docs.sevalla.com/llms.txt.
# Deploy your first application
> Sign up for Sevalla, add a payment method, connect GitHub, create an application from a repository, deploy it and open it on its sevalla.app address.
This quickstart takes you from a new Sevalla account to an application running on its own `sevalla.app` address: you sign up, connect GitHub, create the application from a repository and deploy it. After you sign up, every step happens in the dashboard at [app.sevalla.com](https://app.sevalla.com).
To deploy from your editor instead, connect an AI agent to the [Sevalla MCP server](/ai-agents/overview). To script it, use the [Sevalla CLI](/developer-tools/cli).
## Before you begin
* A GitHub repository with a web application. Sevalla detects the language and builds it with [Nixpacks](/applications/builds/nixpacks) unless you choose another [build strategy](/applications/builds/overview).
* The application listens for HTTP on the port in the `PORT` environment variable. Sevalla sets `PORT` to the web process's port, `8080` by default.
* A credit or debit card. Sevalla verifies it with Stripe and charges only for what you use.
## Sign up and complete setup
Go to [sevalla.com/signup](https://sevalla.com/signup/) and sign up with your email address or a Git account. Sevalla creates a [company](/company/overview) for you, named after you (for example "Ana's Company"), and signs you in to the dashboard. You can rename the company later.
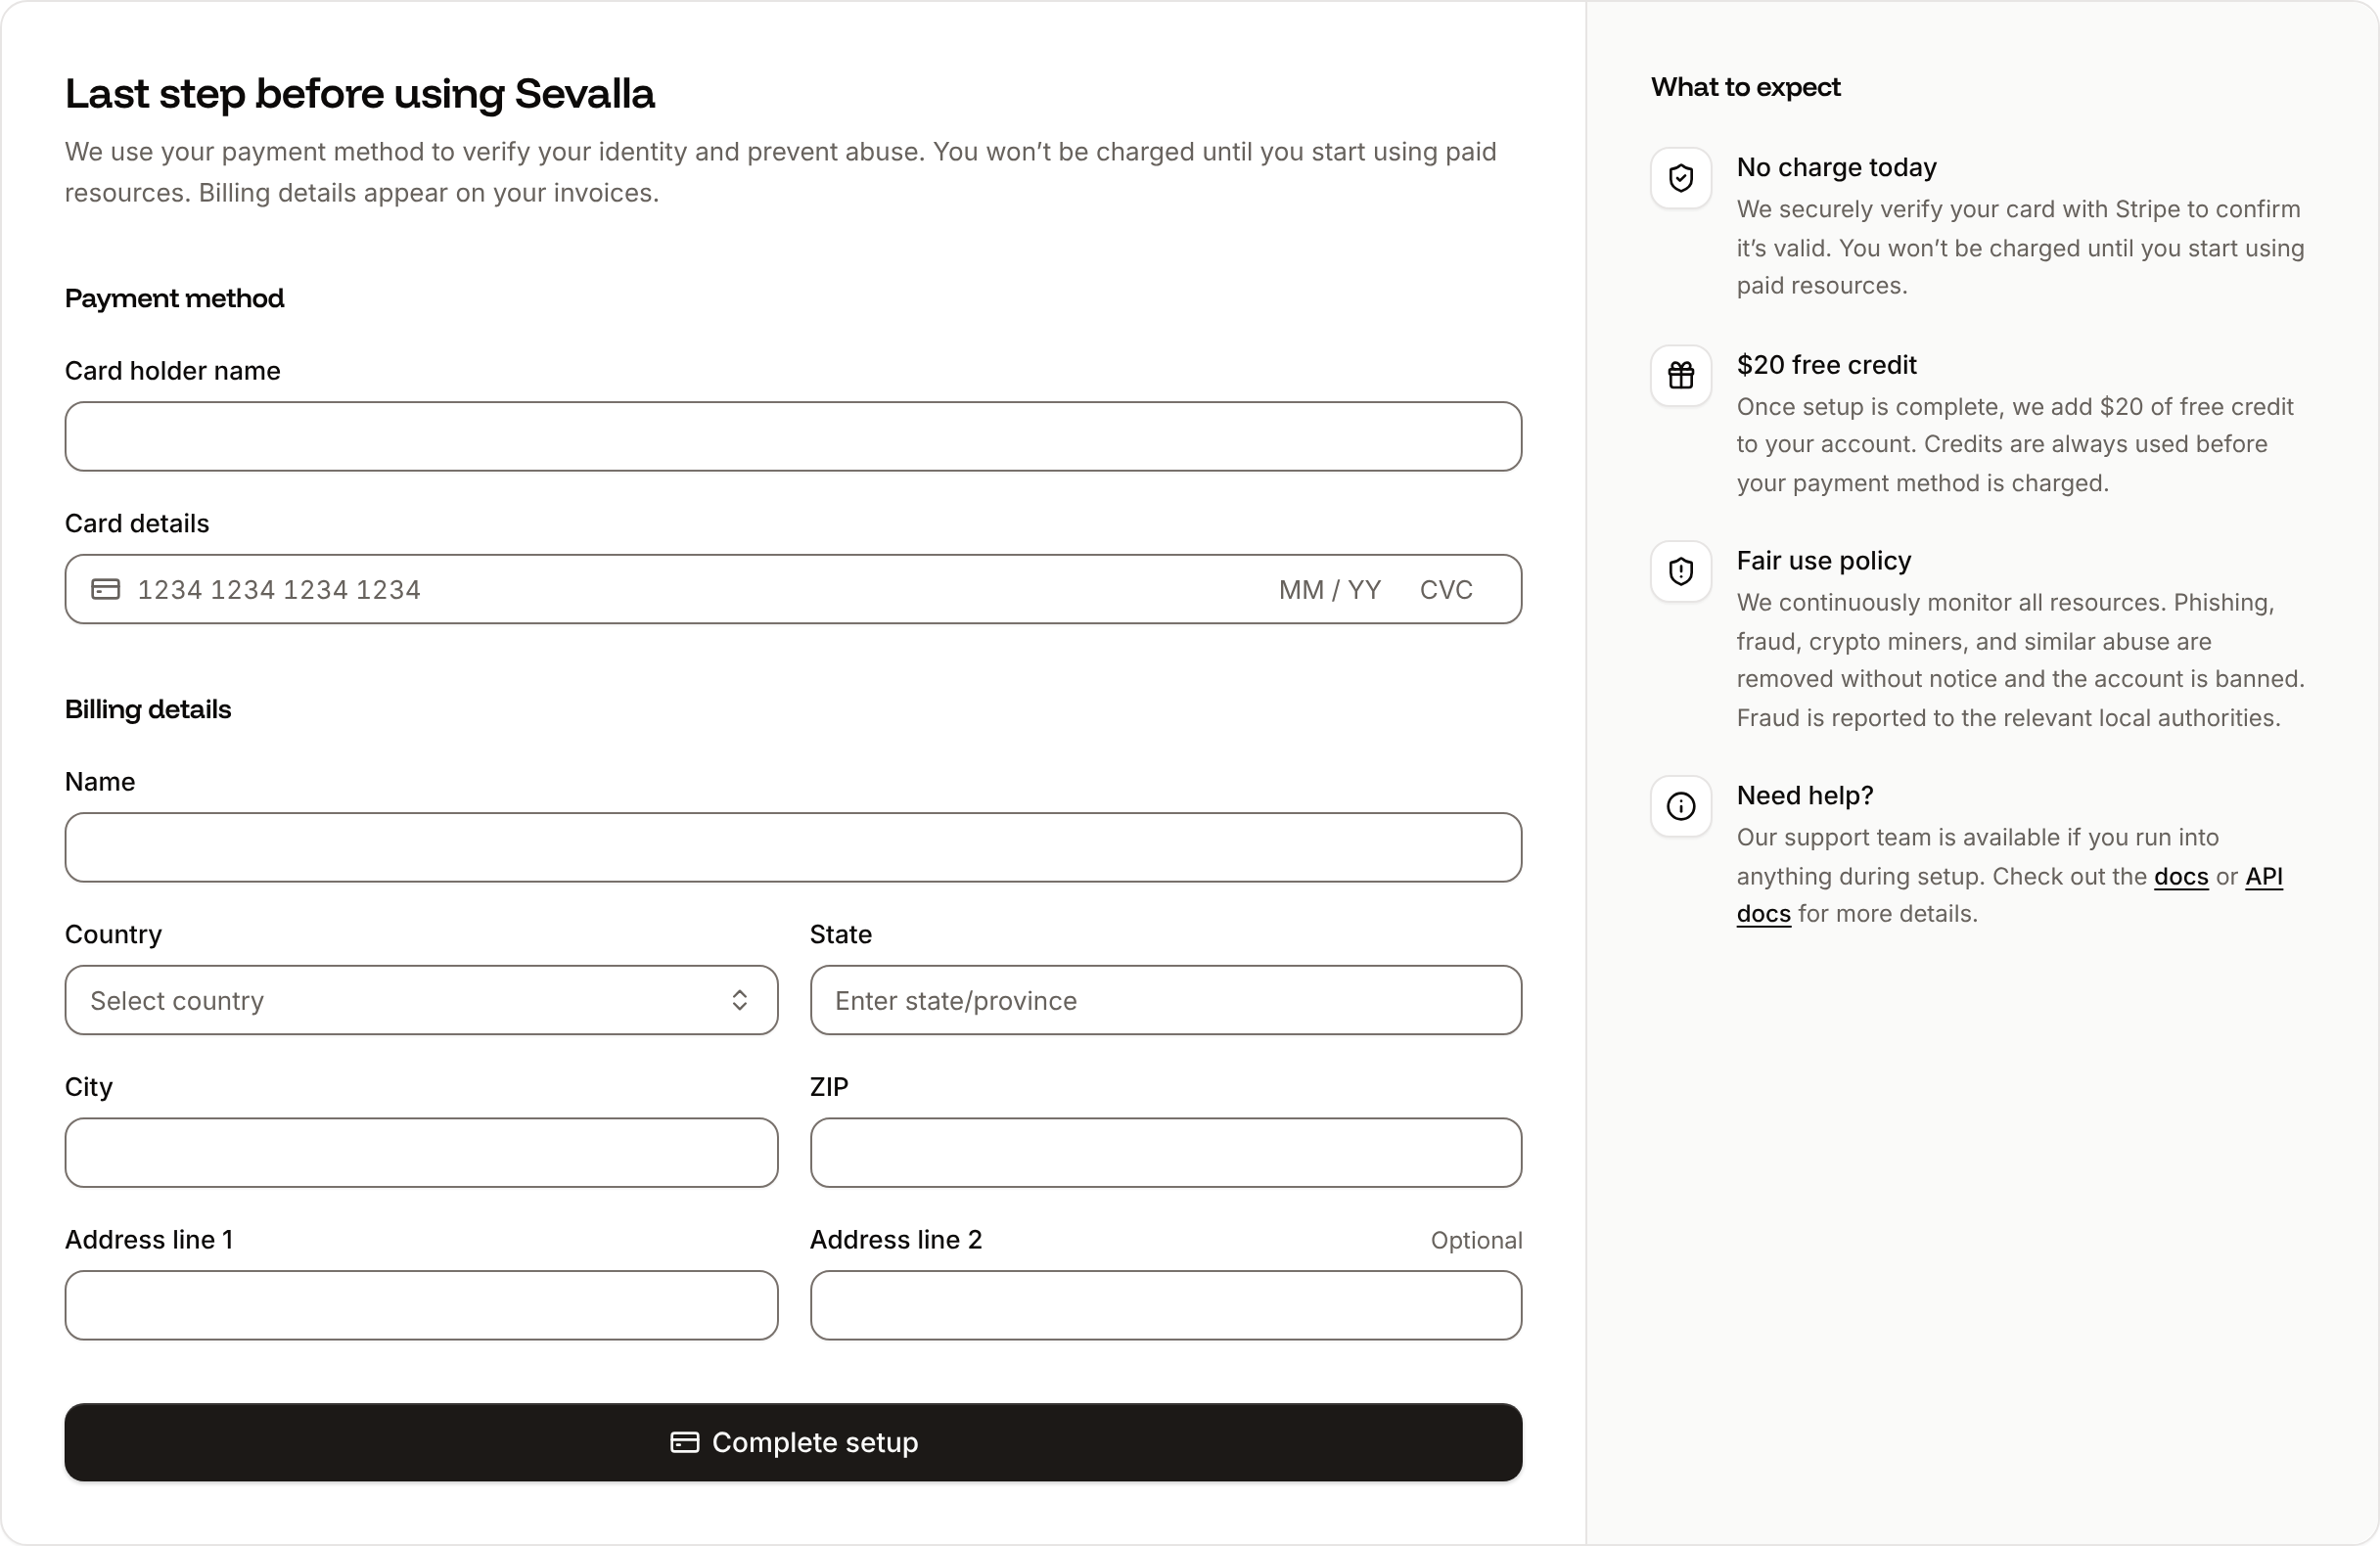
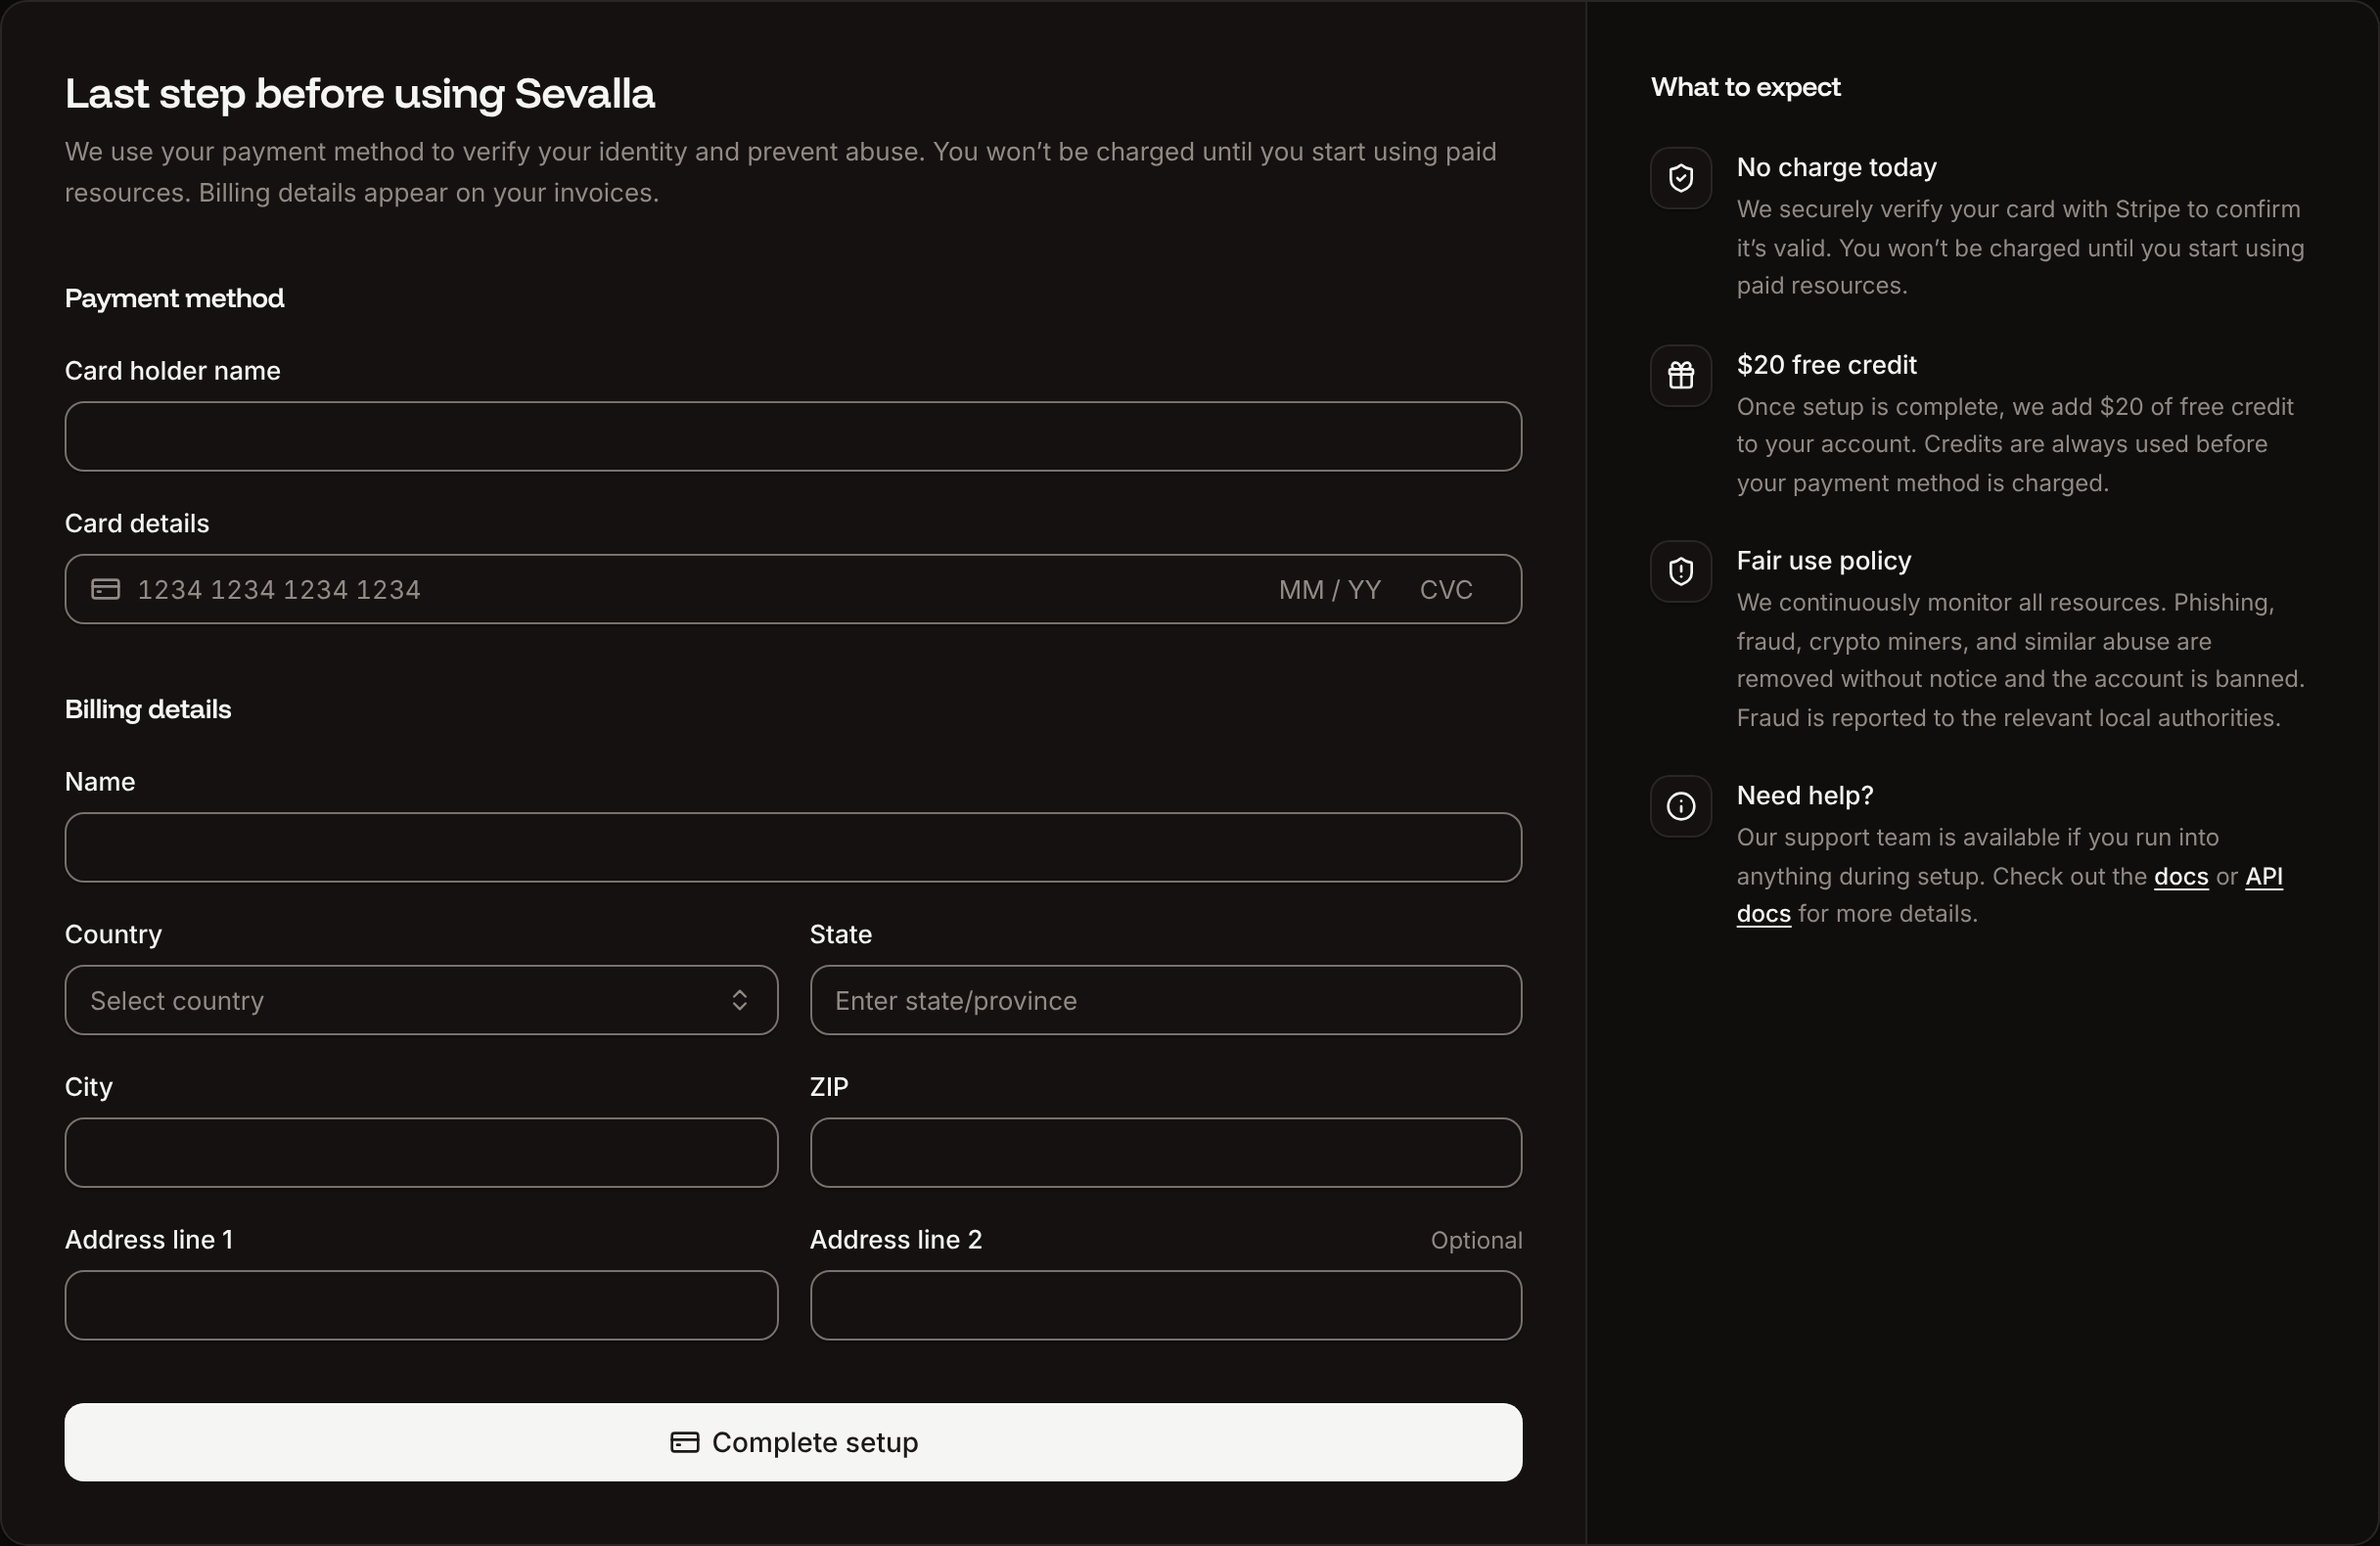
The dashboard opens on **Last step before using Sevalla**. Under **Payment method**, enter the **Card holder name** and the **Card details**.
Under **Billing details**, enter the **Name**, **Country**, **State** (**Province** in Canada, **County** in the UK), **City**, **ZIP** and **Address line 1** that should appear on your invoices. **Address line 2** is optional.
Click **Complete setup**. Your bank may ask you to confirm the card.
The dashboard shows `Setup complete. Welcome to Sevalla.` and opens the **Welcome to Sevalla** guide. Close it to follow this quickstart; you can reopen it from **Help** > **Get started guides**. Your first company also gets \$20 of free credit, which Sevalla uses before it charges your card. [How billing works](/billing/overview) explains credits and invoices.
 ## Create the application
In the sidebar, click **Applications**, then click **Create an application**. If you already have applications, click **Create**, then **Application**.
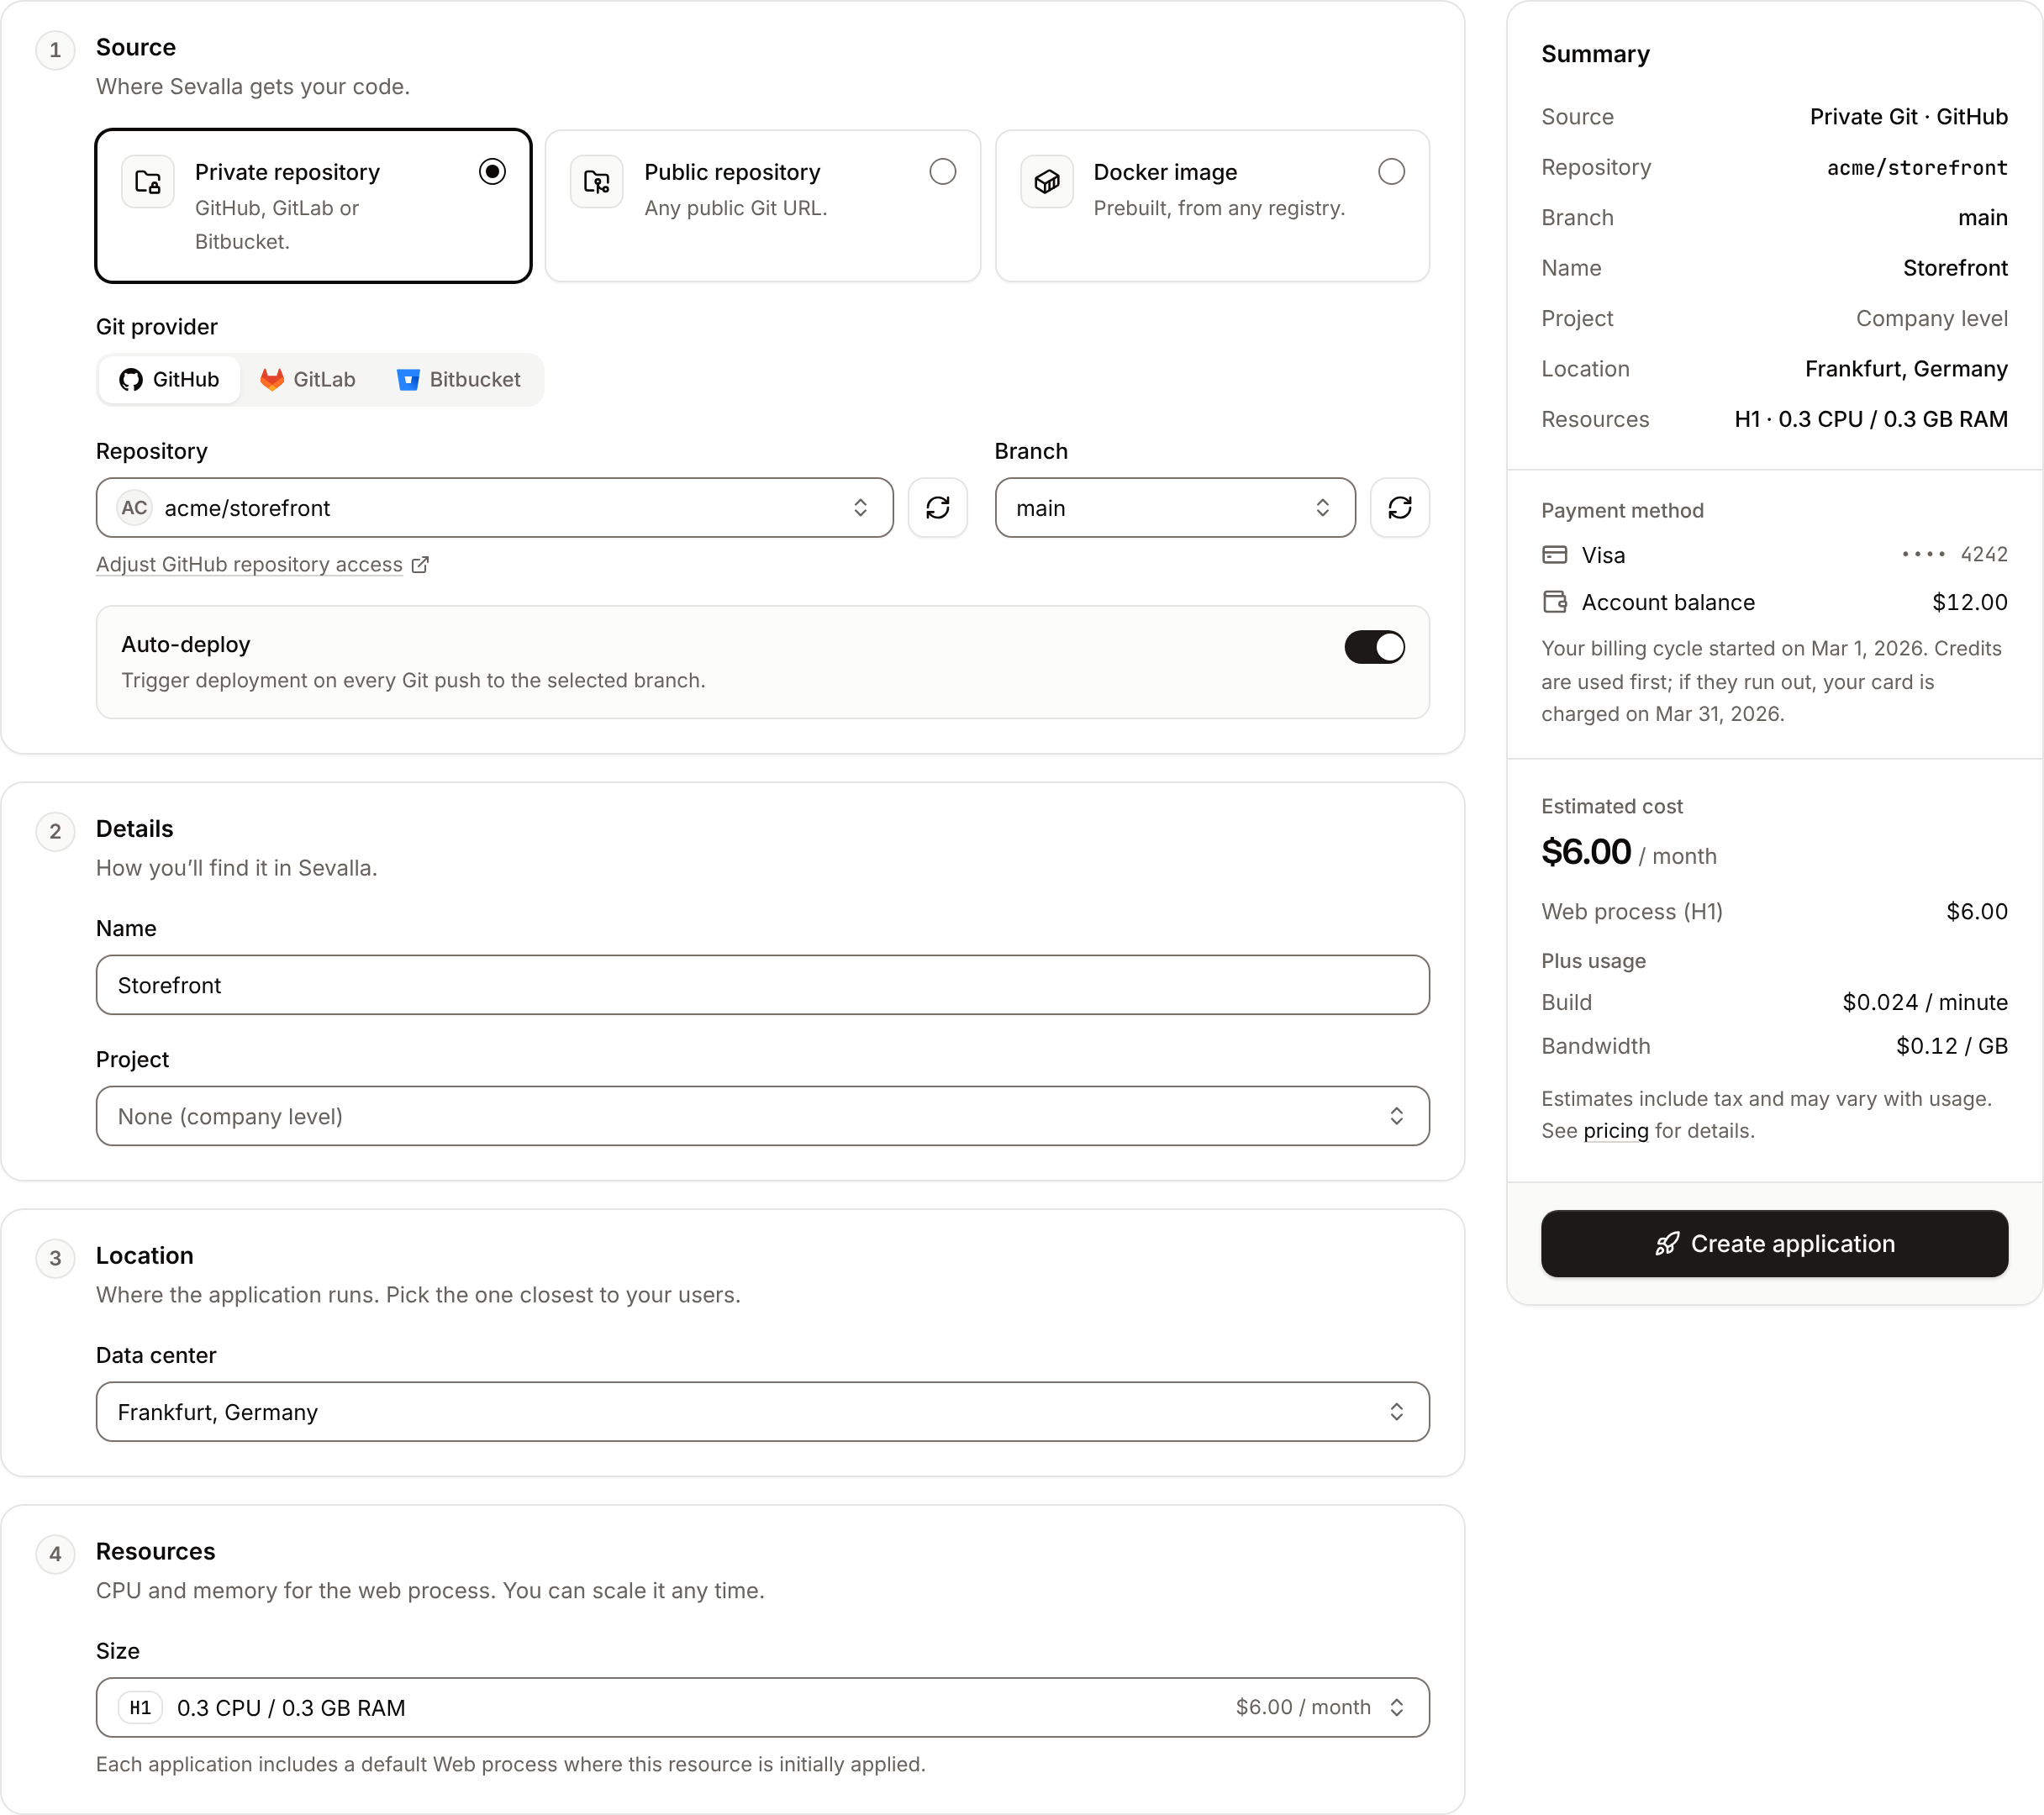
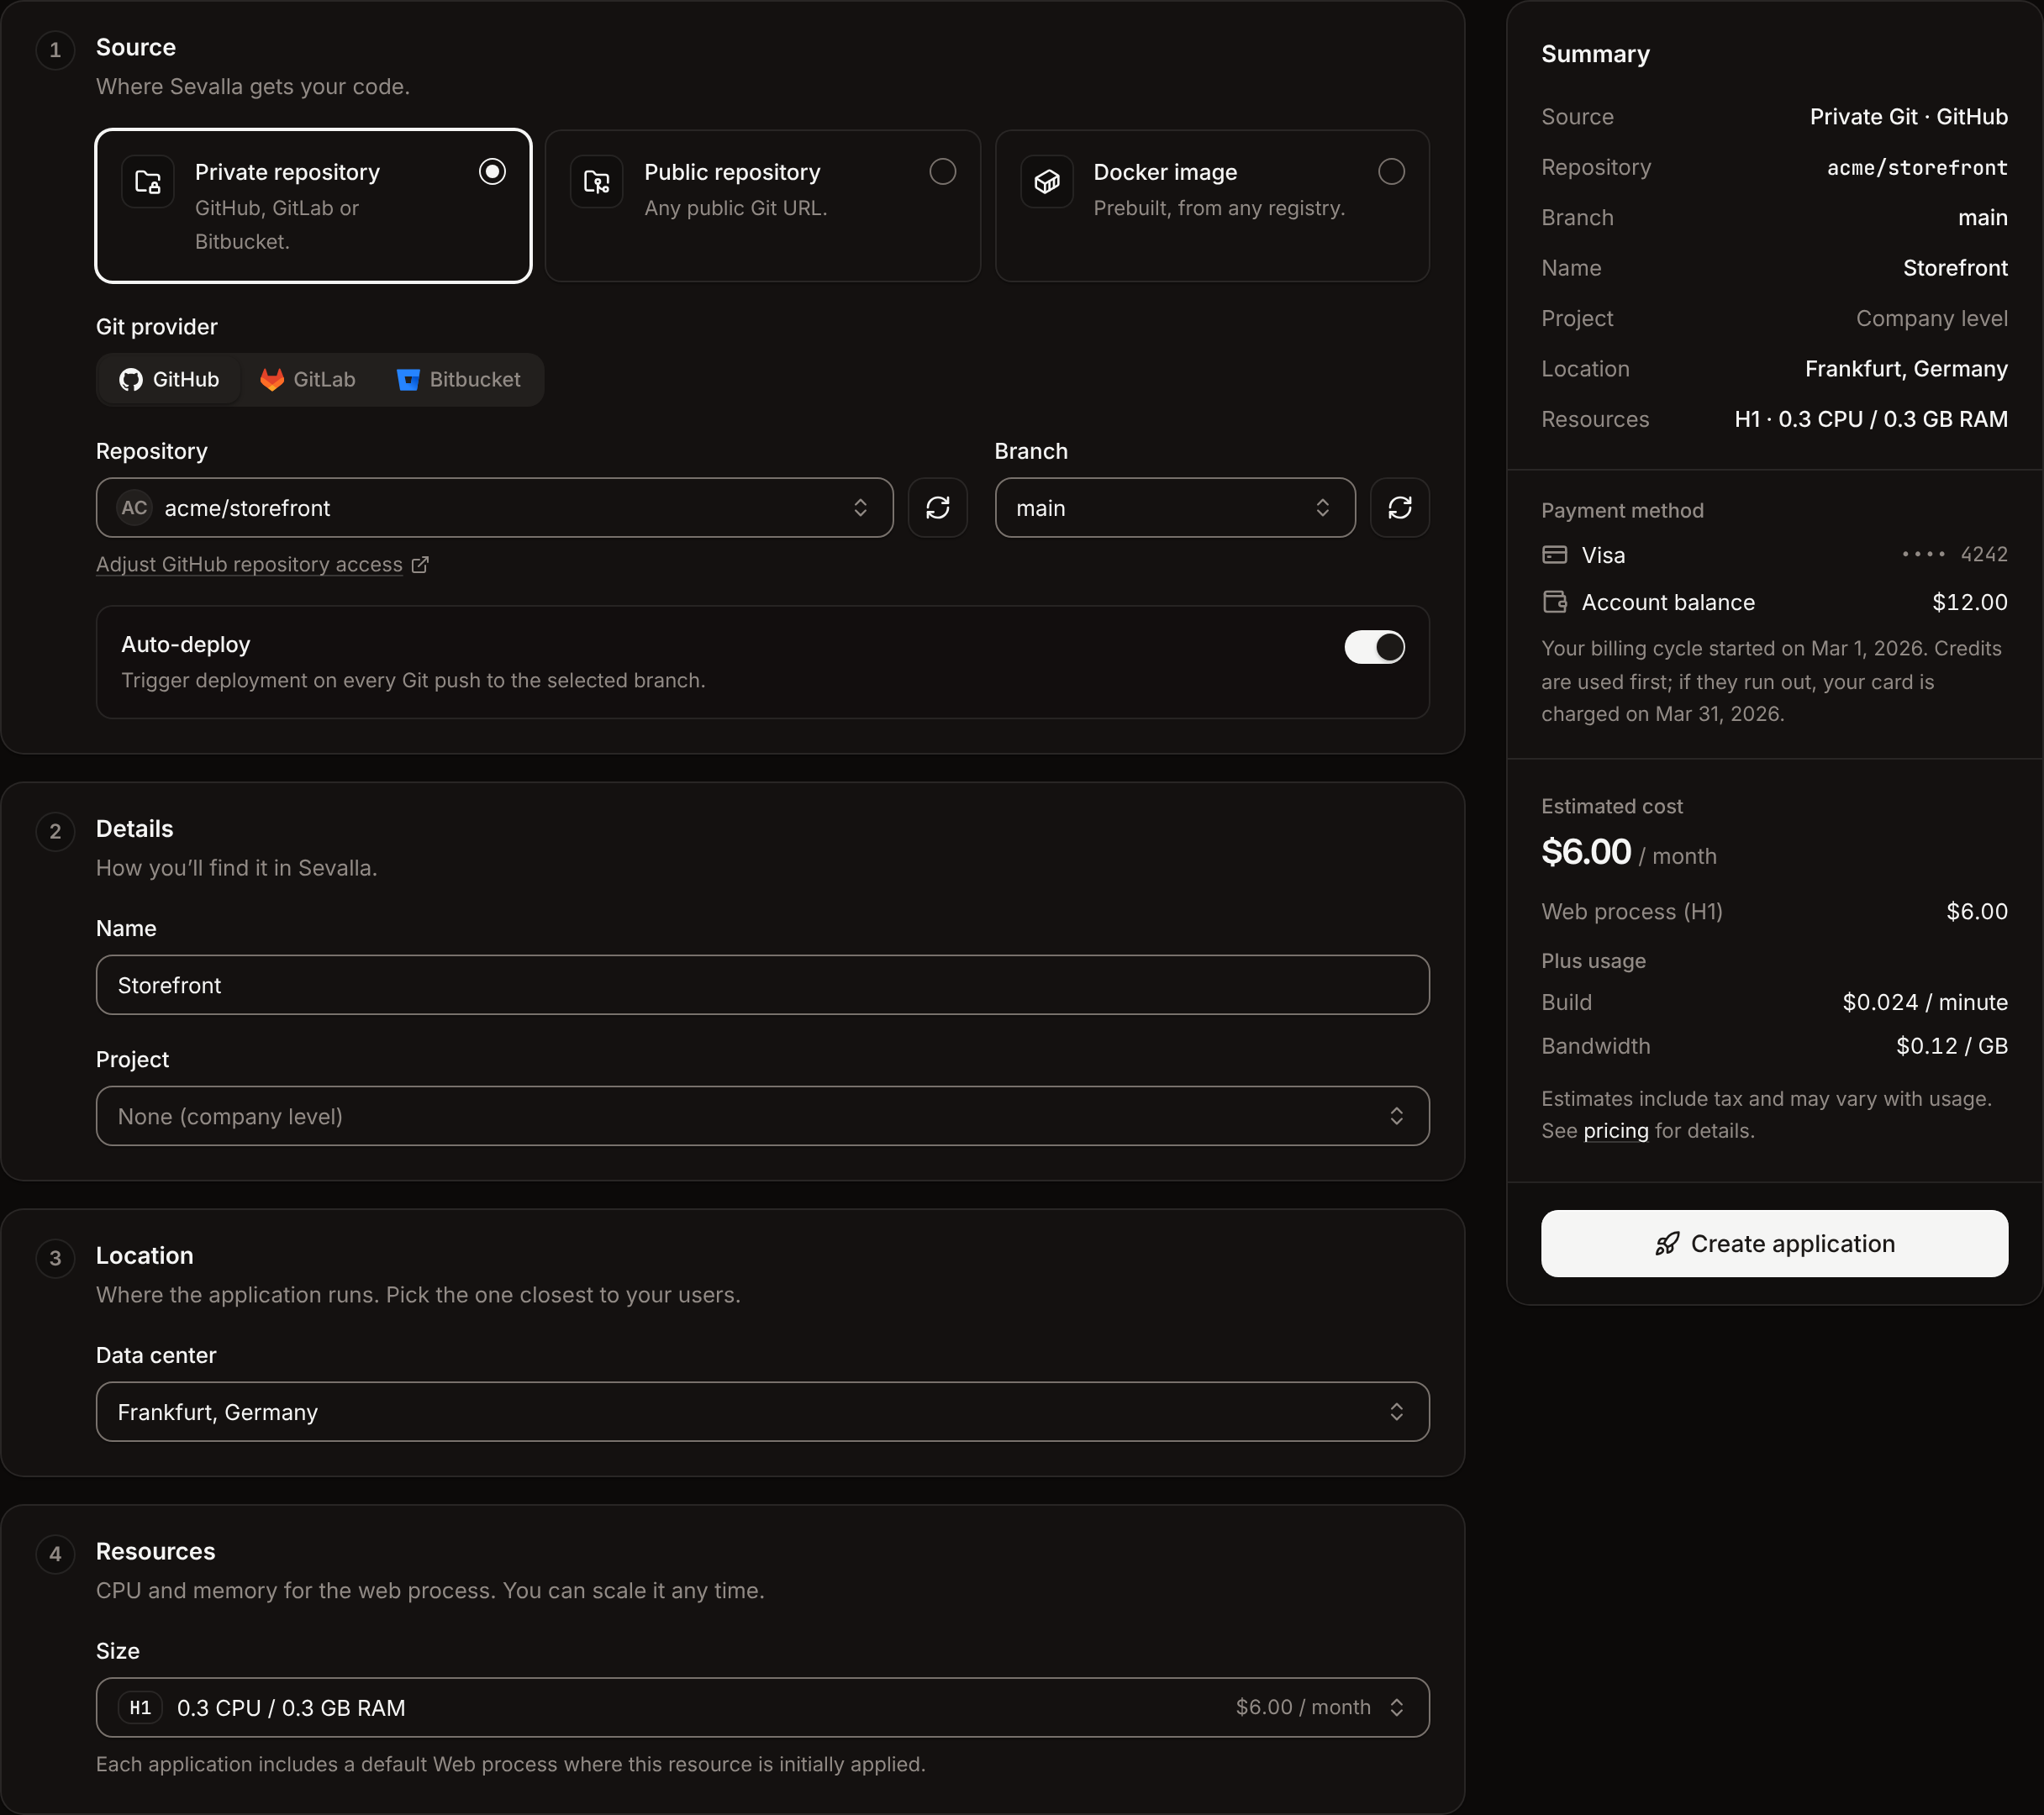
Under **Source**, keep **Private repository** and, under **Git provider**, **GitHub**. If GitHub isn't connected yet, click **Connect to GitHub** and authorize Sevalla in the GitHub tab that opens. Back in the dashboard, the form picks up the connection on its own (click **Check again** if it doesn't).
Choose the repository in **Repository** and the branch to deploy in **Branch**. If the repository isn't listed, click **Adjust GitHub repository access** and give the Kinsta GitHub App access to it.
Under **Details**, keep the repository's name in **Name** or enter your own, for example `storefront`.
Under **Location**, **Data center** already shows a location on your continent, based on your browser's time zone. Pick the one closest to your users. You can't move an application to another [location](/platform/locations) later, and its databases must be in the same location to use [internal connections](/applications/networking#internal-connections).
Under **Resources**, **Size** sets the CPU and memory of the web process. It starts at **H1** (0.3 vCPU, 0.3 GB RAM), the smallest size. Keep it or pick a larger one; you can [scale](/applications/scaling) at any time.
Check the **Summary**, including the **Estimated cost**, then click **Create application**.
The application's **Overview** tab opens, with the status **Not deployed yet**: creating an application never starts its first deployment. [Create an application](/applications/create) describes every field, including public repositories, GitLab and Bitbucket. To deploy a prebuilt image, see [Deploy a Docker image](/applications/docker-images).
## Create the application
In the sidebar, click **Applications**, then click **Create an application**. If you already have applications, click **Create**, then **Application**.
Under **Source**, keep **Private repository** and, under **Git provider**, **GitHub**. If GitHub isn't connected yet, click **Connect to GitHub** and authorize Sevalla in the GitHub tab that opens. Back in the dashboard, the form picks up the connection on its own (click **Check again** if it doesn't).
Choose the repository in **Repository** and the branch to deploy in **Branch**. If the repository isn't listed, click **Adjust GitHub repository access** and give the Kinsta GitHub App access to it.
Under **Details**, keep the repository's name in **Name** or enter your own, for example `storefront`.
Under **Location**, **Data center** already shows a location on your continent, based on your browser's time zone. Pick the one closest to your users. You can't move an application to another [location](/platform/locations) later, and its databases must be in the same location to use [internal connections](/applications/networking#internal-connections).
Under **Resources**, **Size** sets the CPU and memory of the web process. It starts at **H1** (0.3 vCPU, 0.3 GB RAM), the smallest size. Keep it or pick a larger one; you can [scale](/applications/scaling) at any time.
Check the **Summary**, including the **Estimated cost**, then click **Create application**.
The application's **Overview** tab opens, with the status **Not deployed yet**: creating an application never starts its first deployment. [Create an application](/applications/create) describes every field, including public repositories, GitLab and Bitbucket. To deploy a prebuilt image, see [Deploy a Docker image](/applications/docker-images).
 ## Deploy it
On the application's **Overview** tab, under **Recent deployments**, click **Deploy now**.
In **Manual deploy**, keep the branch you chose, then click **Deploy**.
Click the deployment in **Recent deployments** to open it. It moves through **Queued**, **Build** and **Rollout**, with the build log on the same page.
When the rollout finishes, the deployment shows **Deployed** and the application's status changes to **Running**. If the build or the rollout fails, the build log shows where it stopped: [Troubleshoot builds and deployments](/applications/troubleshooting/builds-and-deployments) lists the common errors and fixes.
## Open the application
The application's address shows in its header, next to the repository and branch: its name followed by 5 random characters on `sevalla.app`, for example `storefront-a1b2c.sevalla.app`. Click it to open the application in a new tab.
## Deploy it
On the application's **Overview** tab, under **Recent deployments**, click **Deploy now**.
In **Manual deploy**, keep the branch you chose, then click **Deploy**.
Click the deployment in **Recent deployments** to open it. It moves through **Queued**, **Build** and **Rollout**, with the build log on the same page.
When the rollout finishes, the deployment shows **Deployed** and the application's status changes to **Running**. If the build or the rollout fails, the build log shows where it stopped: [Troubleshoot builds and deployments](/applications/troubleshooting/builds-and-deployments) lists the common errors and fixes.
## Open the application
The application's address shows in its header, next to the repository and branch: its name followed by 5 random characters on `sevalla.app`, for example `storefront-a1b2c.sevalla.app`. Click it to open the application in a new tab.

 To deploy every push to the branch from now on, click the application's **Settings** tab and check that the **Auto-deploy** section's **Status** shows **Enabled**. If it shows **Disabled**, turn it on as described in [Deploy automatically on push](/applications/deployments#deploy-automatically-on-push). Each deployment starts the new instances before it stops the old ones; [Deployments](/applications/deployments) explains the whole lifecycle.
## Add a custom domain and a database
* **Custom domain**: on the application's **Domains** tab, add a domain such as `shop.example.com` and point your DNS at it. Custom domains aren't available on the **H1** size, so scale the web process first. See [Custom domains](/domains/overview).
* **Database**: [create a database](/databases/create), for example `orders-db`, in the same location as the application, then connect them with an internal connection from the database's **Networking** tab. In the same step you can add the connection details, such as `DB_HOST` and `DB_PORT`, to the application as environment variables. See [Connect an application](/databases/connect#connect-an-application).
Before you send production traffic, go through the [go-live checklist](/applications/go-live-checklist).
This documentation is built and hosted on [Mintlify](https://mintlify.com), a developer documentation platform.
To deploy every push to the branch from now on, click the application's **Settings** tab and check that the **Auto-deploy** section's **Status** shows **Enabled**. If it shows **Disabled**, turn it on as described in [Deploy automatically on push](/applications/deployments#deploy-automatically-on-push). Each deployment starts the new instances before it stops the old ones; [Deployments](/applications/deployments) explains the whole lifecycle.
## Add a custom domain and a database
* **Custom domain**: on the application's **Domains** tab, add a domain such as `shop.example.com` and point your DNS at it. Custom domains aren't available on the **H1** size, so scale the web process first. See [Custom domains](/domains/overview).
* **Database**: [create a database](/databases/create), for example `orders-db`, in the same location as the application, then connect them with an internal connection from the database's **Networking** tab. In the same step you can add the connection details, such as `DB_HOST` and `DB_PORT`, to the application as environment variables. See [Connect an application](/databases/connect#connect-an-application).
Before you send production traffic, go through the [go-live checklist](/applications/go-live-checklist).
This documentation is built and hosted on [Mintlify](https://mintlify.com), a developer documentation platform.