> ## Documentation Index
> Fetch the complete documentation index at: https://docs.sevalla.com/llms.txt
> Use this file to discover all available pages before exploring further.
> ## Agent Instructions
> These are the docs for Sevalla, a platform for deploying applications, databases, static sites, object storage and load balancers. The dashboard is at https://app.sevalla.com.
> Bold text in steps is an exact dashboard label.
> To act on a Sevalla account, prefer the Sevalla MCP server (https://mcp.sevalla.com/mcp, see https://docs.sevalla.com/ai-agents/overview.md), then the Sevalla CLI (https://docs.sevalla.com/developer-tools/cli.md), then the REST API (https://api-docs.sevalla.com, OpenAPI spec at https://api.sevalla.com/v3/openapi.json).
> Every page index is at https://docs.sevalla.com/llms.txt.
# Build a multitenant Django application
> Give each tenant its own PostgreSQL schema and subdomain with django-tenants on Sevalla: a wildcard custom domain, migrate_schemas in a job, and tenants created from the web terminal.
A multitenant application serves several customers (tenants) from one deployment while keeping their data apart. With django-tenants, each tenant gets its own PostgreSQL schema and its own subdomain, such as `acme.shop.example.com`, and a `public` schema holds what tenants share. On Sevalla, a wildcard custom domain sends every subdomain to the application, and a job migrates every schema before each deployment.
## Before you begin
* A Django project deployed on Sevalla with a PostgreSQL database, as in [Deploy Django](/guides/python/django/deploy). Use a database that holds no data you need yet: django-tenants expects to manage every schema from its first migration.
* A domain whose DNS you control, such as `shop.example.com`.
* The web process on a size larger than **H1**: custom domains aren't available on **H1**. See [Scaling](/applications/scaling).
## Install django-tenants
Install the package and update `requirements.txt`:
```bash theme={null}
pip install django-tenants
pip freeze > requirements.txt
```
django-tenants 4.0 supports Django 5.2, 6.0 and 6.1, on PostgreSQL only.
## Add the tenant models
Create an app for the tenants and their domains, and an app with the tenants' own features:
```bash theme={null}
python manage.py startapp customers
python manage.py startapp shop
```
```python customers/models.py theme={null}
from django.db import models
from django_tenants.models import DomainMixin, TenantMixin
class Client(TenantMixin):
name = models.CharField(max_length=100)
created_on = models.DateField(auto_now_add=True)
# Create and migrate the tenant's schema when it's saved.
auto_create_schema = True
class Domain(DomainMixin):
pass
```
## Configure the project
Update `storefront/settings.py`:
```python storefront/settings.py theme={null}
SHARED_APPS = [
"django_tenants", # must come first
"customers",
"django.contrib.admin",
"django.contrib.auth",
"django.contrib.contenttypes",
"django.contrib.sessions",
"django.contrib.messages",
"django.contrib.staticfiles",
]
TENANT_APPS = ["shop"]
INSTALLED_APPS = SHARED_APPS + [app for app in TENANT_APPS if app not in SHARED_APPS]
TENANT_MODEL = "customers.Client"
TENANT_DOMAIN_MODEL = "customers.Domain"
DATABASES = {
"default": env.db("DB_URL", engine="django_tenants.postgresql_backend"),
}
DATABASE_ROUTERS = ["django_tenants.routers.TenantSyncRouter"]
MIDDLEWARE = [
"django_tenants.middleware.main.TenantMainMiddleware",
"django.middleware.security.SecurityMiddleware",
"whitenoise.middleware.WhiteNoiseMiddleware",
# ...the rest of the middleware...
]
# Tenants' URLs, and the main site's URLs on the public schema.
ROOT_URLCONF = "storefront.urls"
PUBLIC_SCHEMA_URLCONF = "storefront.urls_public"
```
* `TenantMainMiddleware` comes before Django's own middleware: it picks the tenant, and so the schema, from the request's host. If you added the [health check middleware](/guides/python/django/health-checks), keep it in front of `TenantMainMiddleware`, because the probes' host matches no tenant.
* `django.contrib.auth` and `django.contrib.sessions` are both shared here. Keep them together, in `SHARED_APPS` or in `TENANT_APPS`: a session points at a user, so both tables must be in the same schema.
* `DB_URL` comes from the database's internal connection. Without it locally, set `DB_URL` in `.env` to a local PostgreSQL database.
## Add the views and URLs
```python shop/views.py theme={null}
from django.http import HttpResponse
def index(request):
return HttpResponse(f"Welcome to {request.tenant.name}")
```
```python storefront/urls.py theme={null}
from django.urls import path
from shop import views
urlpatterns = [
path("", views.index),
]
```
```python storefront/urls_public.py theme={null}
from django.contrib import admin
from django.http import HttpResponse
from django.urls import path
urlpatterns = [
path("admin/", admin.site.urls),
path("", lambda request: HttpResponse("Shop platform")),
]
```
Create the migrations, then commit and push the changes:
```bash theme={null}
python manage.py makemigrations customers shop
```
## Prepare the application on Sevalla
On the application's **Processes** tab, click **⋯** on the `Migrate` job, then click **Update process**. Change the **Custom start command** to `python manage.py migrate_schemas` and click **Update process**. It migrates the `public` schema with the shared apps and every tenant's schema with the tenant apps.
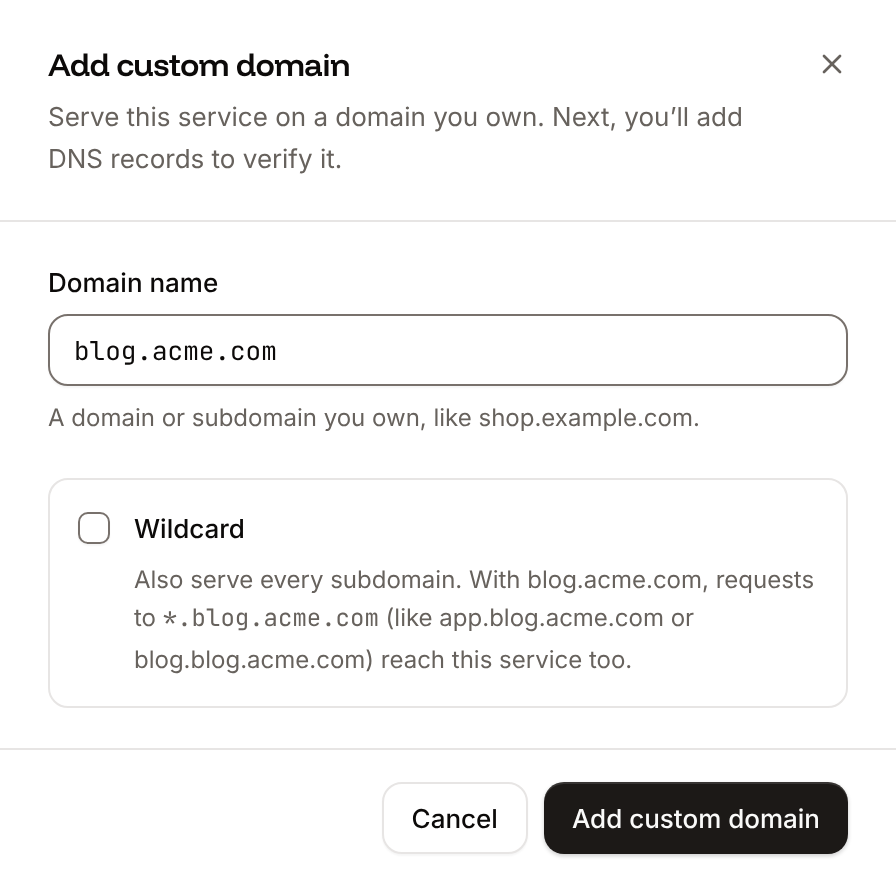
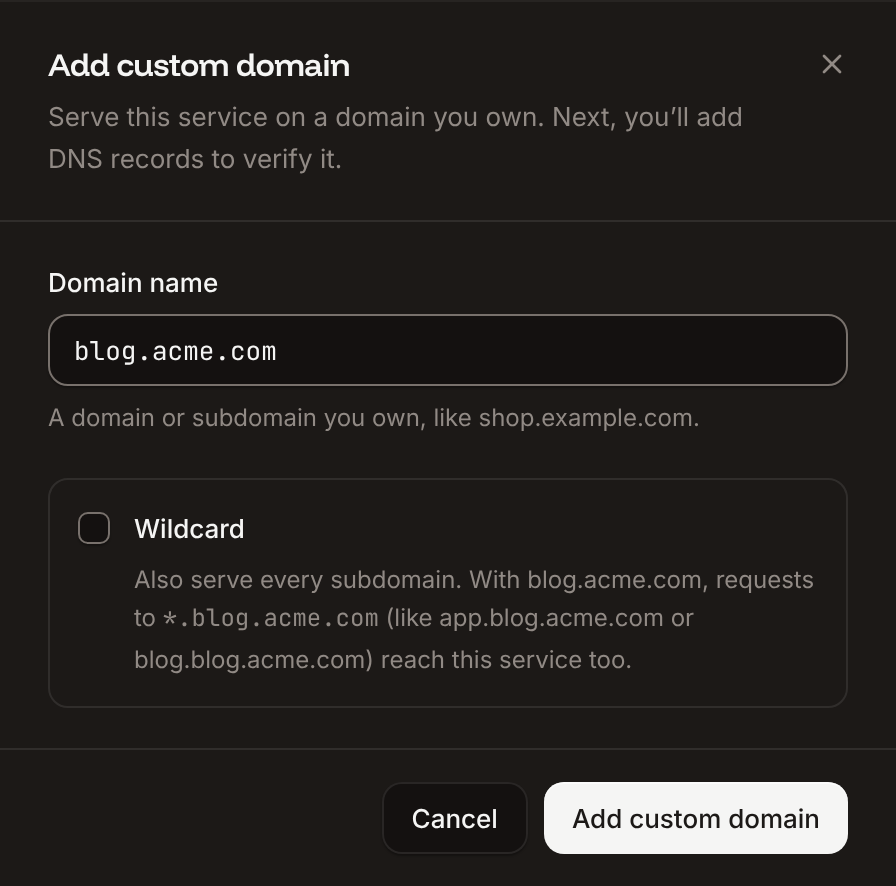
Click the **Domains** tab, then click **Add custom domain**. Enter `shop.example.com` as the **Domain name**, select **Wildcard** so that every subdomain such as `acme.shop.example.com` reaches the application too, and click **Add custom domain**. Add the DNS records that Sevalla shows at your DNS provider, including the pointing record for `*.shop.example.com`, and wait until the domain's status is **Active**. See [Wildcard domains](/domains/overview#wildcard-domains).
Click the **Environment variables** tab. Update `ALLOWED_HOSTS` to `storefront-x7k2m.sevalla.app,.shop.example.com` (the leading dot matches the domain and every subdomain) and `CSRF_TRUSTED_ORIGINS` to `https://storefront-x7k2m.sevalla.app,https://shop.example.com,https://*.shop.example.com`, with your application's `sevalla.app` domain.
Click **Deploy** in the undeployed changes bar at the bottom of the page.
 ## Create the tenants
django-tenants serves a request only when its host belongs to a tenant, so create the `public` tenant for the main domain first. Click the **Web terminal** tab, choose the **Web** process, and open a Django shell:
```bash theme={null}
. /opt/venv/bin/activate
python manage.py shell
```
```python theme={null}
from customers.models import Client, Domain
public = Client.objects.create(schema_name="public", name="Shop platform")
Domain.objects.create(domain="shop.example.com", tenant=public, is_primary=True)
acme = Client.objects.create(schema_name="acme", name="Acme Inc")
Domain.objects.create(domain="acme.shop.example.com", tenant=acme, is_primary=True)
```
Saving `acme` creates the `acme` schema and runs the tenant apps' migrations in it. Create every later tenant the same way, or from your own sign-up view.
The application's `sevalla.app` domain matches no tenant, so it returns `404`. To show the public site there too, set `SHOW_PUBLIC_IF_NO_TENANT_FOUND = True` in `storefront/settings.py`.
## Verify
1. Open `https://shop.example.com`: the page reads `Shop platform`.
2. Open `https://acme.shop.example.com`: the page reads `Welcome to Acme Inc`.
This documentation is built and hosted on [Mintlify](https://mintlify.com), a developer documentation platform.
## Create the tenants
django-tenants serves a request only when its host belongs to a tenant, so create the `public` tenant for the main domain first. Click the **Web terminal** tab, choose the **Web** process, and open a Django shell:
```bash theme={null}
. /opt/venv/bin/activate
python manage.py shell
```
```python theme={null}
from customers.models import Client, Domain
public = Client.objects.create(schema_name="public", name="Shop platform")
Domain.objects.create(domain="shop.example.com", tenant=public, is_primary=True)
acme = Client.objects.create(schema_name="acme", name="Acme Inc")
Domain.objects.create(domain="acme.shop.example.com", tenant=acme, is_primary=True)
```
Saving `acme` creates the `acme` schema and runs the tenant apps' migrations in it. Create every later tenant the same way, or from your own sign-up view.
The application's `sevalla.app` domain matches no tenant, so it returns `404`. To show the public site there too, set `SHOW_PUBLIC_IF_NO_TENANT_FOUND = True` in `storefront/settings.py`.
## Verify
1. Open `https://shop.example.com`: the page reads `Shop platform`.
2. Open `https://acme.shop.example.com`: the page reads `Welcome to Acme Inc`.
This documentation is built and hosted on [Mintlify](https://mintlify.com), a developer documentation platform.