> ## Documentation Index
> Fetch the complete documentation index at: https://docs.sevalla.com/llms.txt
> Use this file to discover all available pages before exploring further.
> ## Agent Instructions
> These are the docs for Sevalla, a platform for deploying applications, databases, static sites, object storage and load balancers. The dashboard is at https://app.sevalla.com.
> Bold text in steps is an exact dashboard label.
> To act on a Sevalla account, prefer the Sevalla MCP server (https://mcp.sevalla.com/mcp, see https://docs.sevalla.com/ai-agents/overview.md), then the Sevalla CLI (https://docs.sevalla.com/developer-tools/cli.md), then the REST API (https://api-docs.sevalla.com, OpenAPI spec at https://api.sevalla.com/v3/openapi.json).
> Every page index is at https://docs.sevalla.com/llms.txt.
# Create a load balancer
> Create a load balancer, add applications, static sites, load balancers or external services as destinations, disable or remove them, change its routing and name, and delete it.
A new load balancer has a routing type, a name and a `sevalla.net` domain, but no destinations: you add them from its **Overview** tab once it exists. This page covers the whole life of a load balancer, from creating it to deleting it.
## Before you begin
* The company needs a valid payment method: the dashboard doesn't let you add destinations without one. See [Payment methods and invoices](/billing/payments).
* Deploy the applications and static sites you want to route to first, so they have a domain.
* You need permission to create load balancers in the company, or in at least one project. See [Users and roles](/company/users-and-roles).
## Create the load balancer
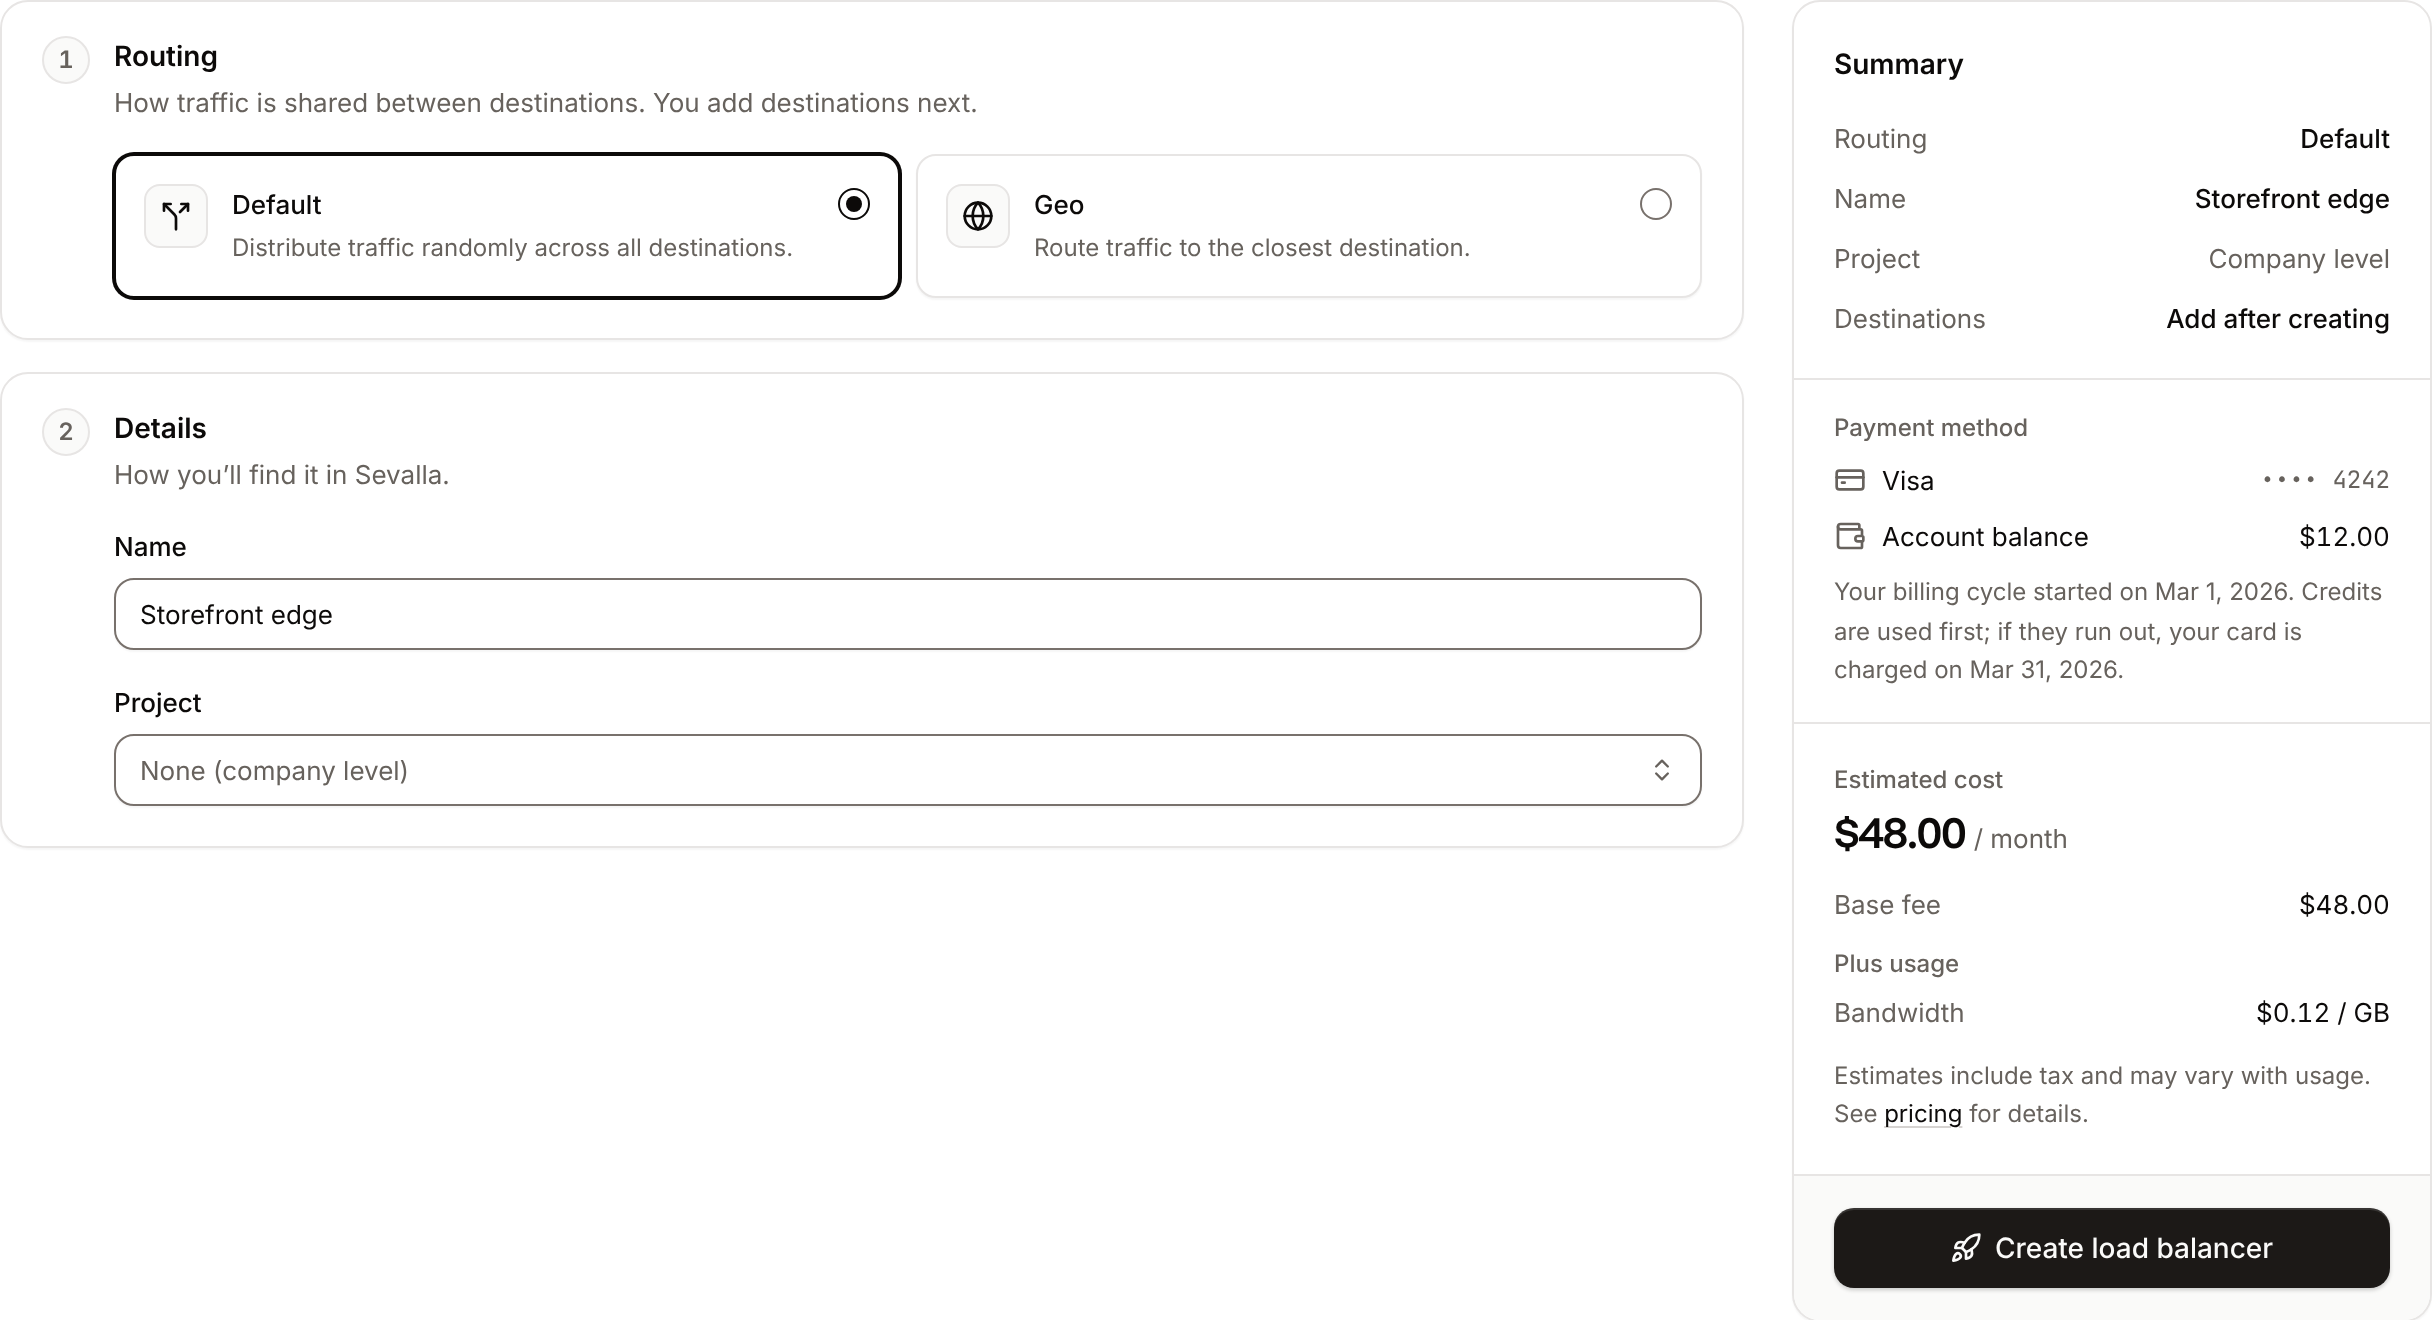
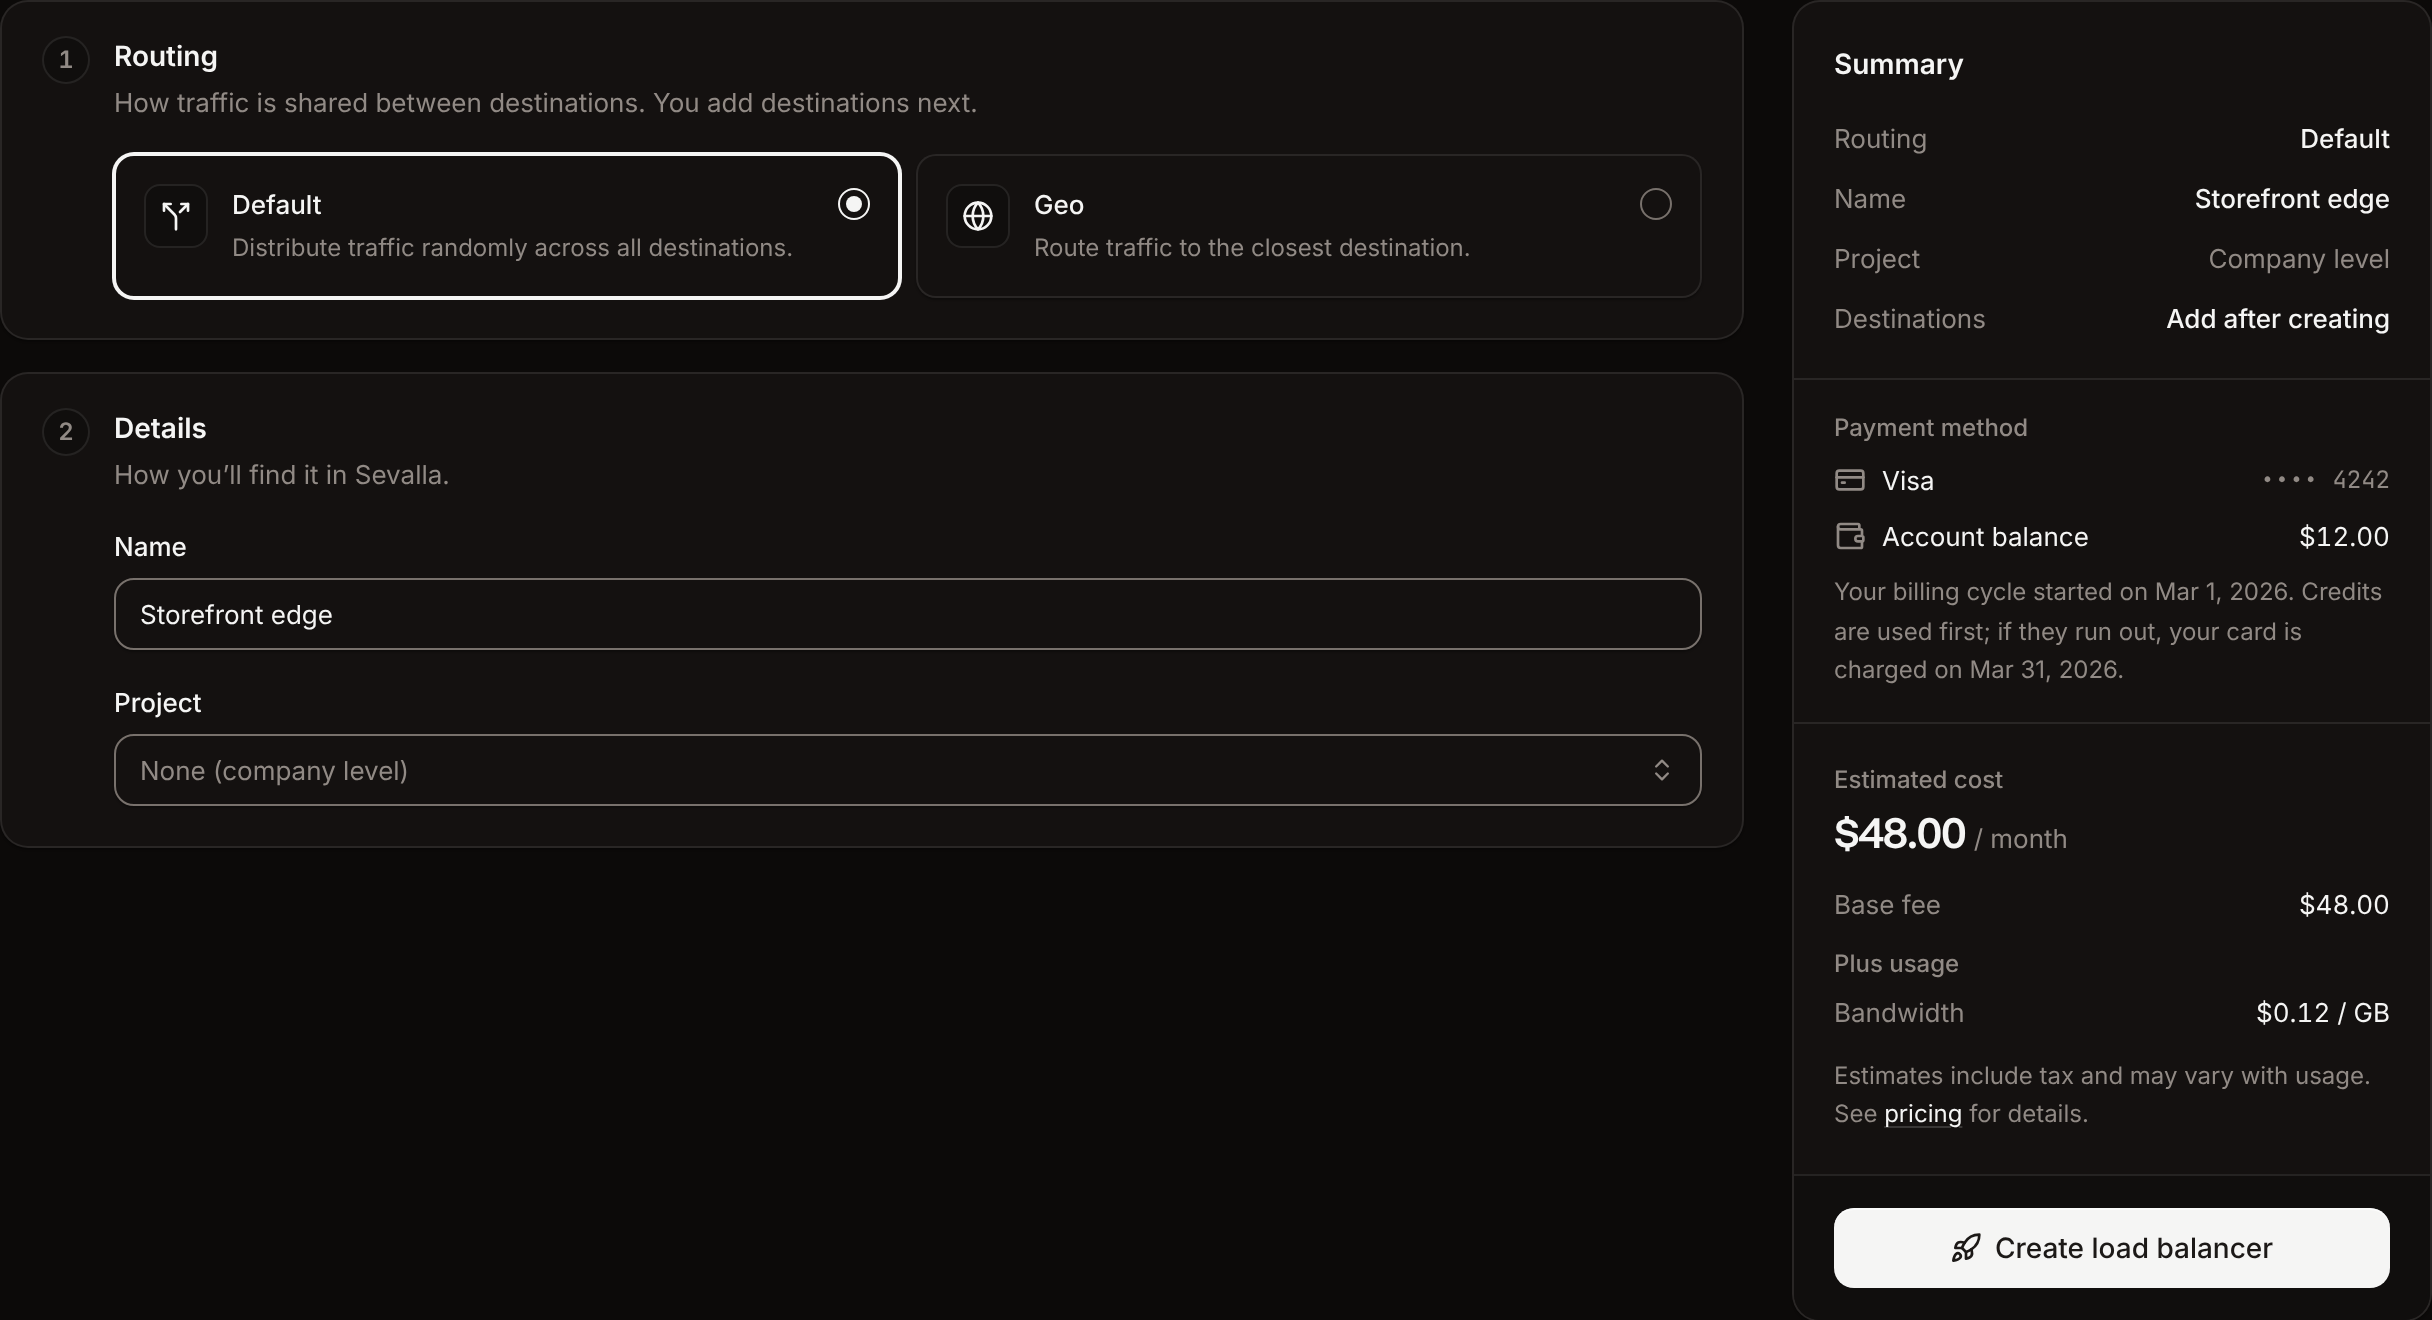
In the sidebar, click **Load balancers**, then click **Create load balancer**.
Under **Routing**, click **Default** to spread traffic randomly, or **Geo** to send each visitor to the closest destination. See [Routing](/load-balancers/overview#routing).
Under **Details**, enter a **Name**, such as `Storefront edge`. If your company has projects, pick one in **Project**, or keep **None (company level)**.
Check the **Summary** and the **Estimated cost**, then click **Create load balancer**.
The dashboard shows **Load balancer created.** and opens the load balancer's **Overview** tab, where the diagram has an **Add destination** placeholder. Its `.sevalla.net` domain is in the diagram, next to **Domain**.
 | Field | What it is | Values | Default |
| - | - | - | - |
| **Routing** | How traffic is shared between destinations. | **Default** (random), **Geo** (closest destination) | **Default** |
| **Name** | The load balancer's name in Sevalla. Its `sevalla.net` domain is made from it. | 3 to 100 characters | A random name, such as `brave-olive-tiger` |
| **Project** | The [project](/projects/overview) it belongs to. Shown only if there's a project you can create in. | A project, or **None (company level)** | **None (company level)**. If your access comes only from a project role, you must pick a project. |
The **Estimated cost** is the $40 monthly base fee plus $0.10 per GB of bandwidth, both with your company's tax.
## Add a destination
In the sidebar, click **Load balancers**, then click the load balancer. The **Overview** tab opens.
Click **Create destination** (the **+** in the diagram's toolbar). While the load balancer has no destinations, you can also click **Add destination** in the diagram.
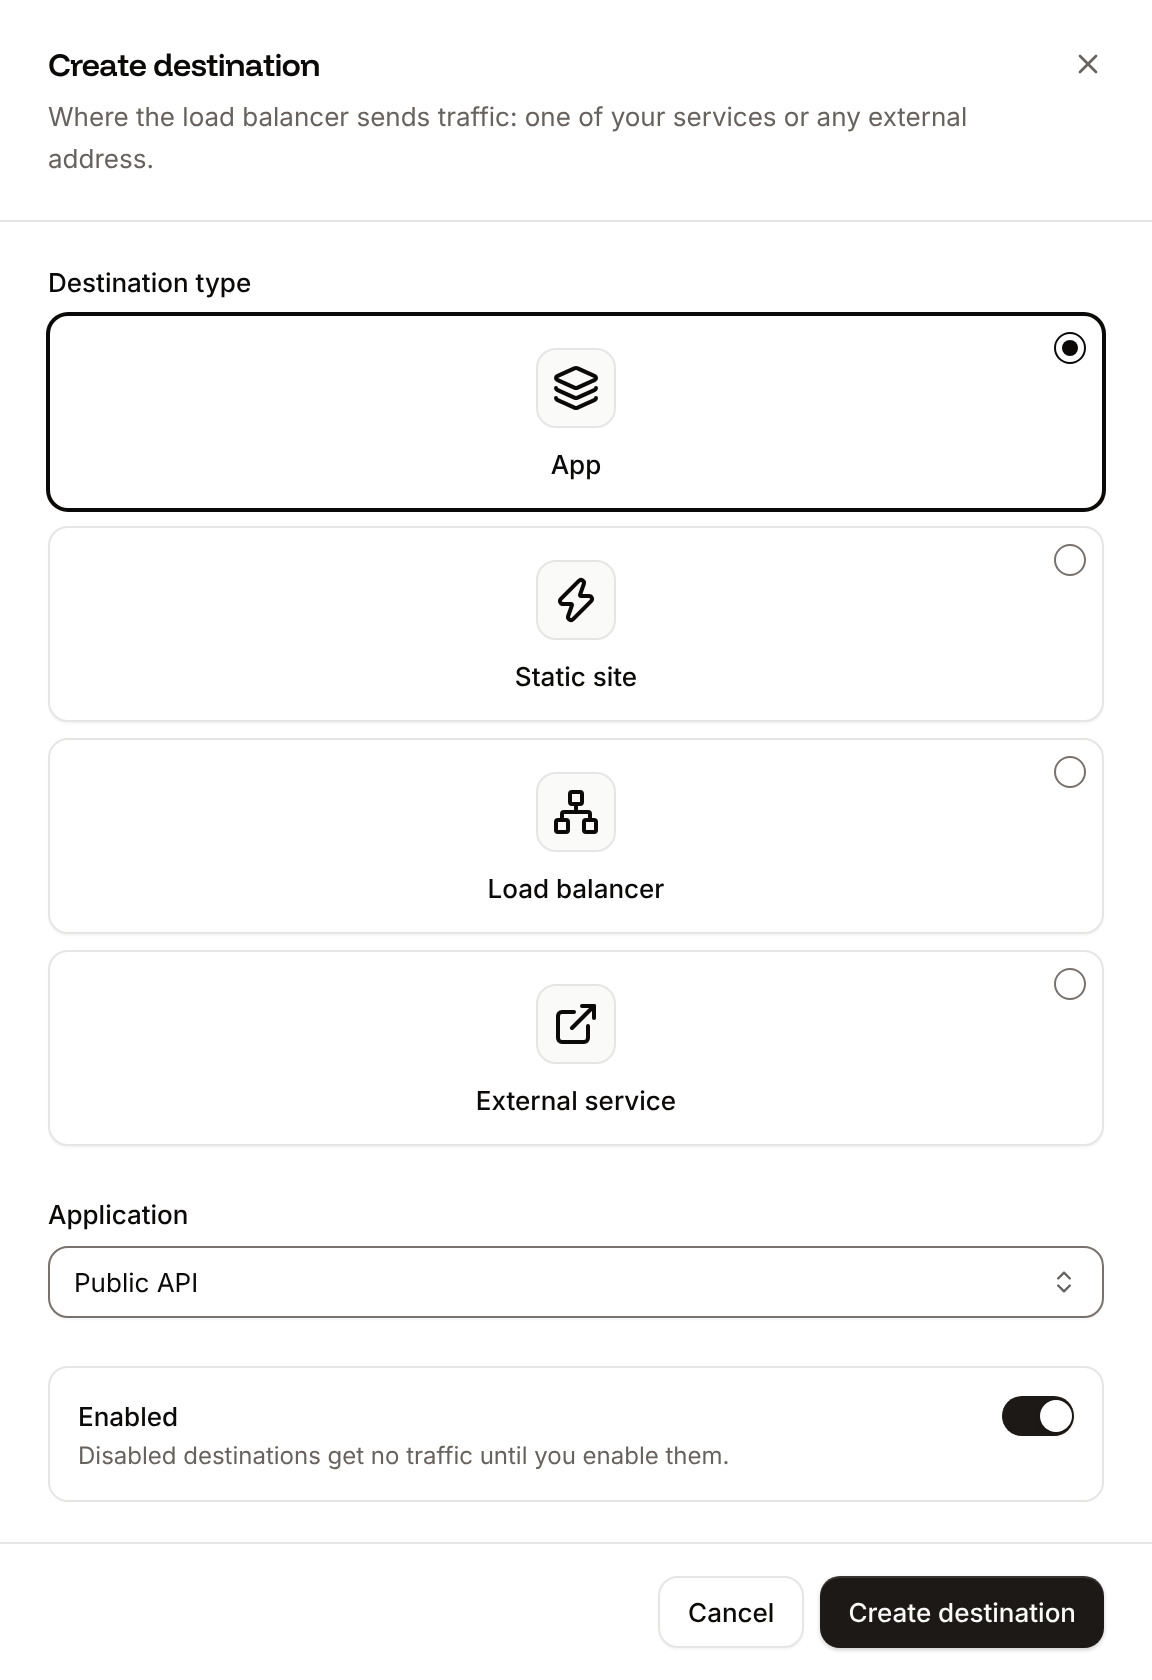
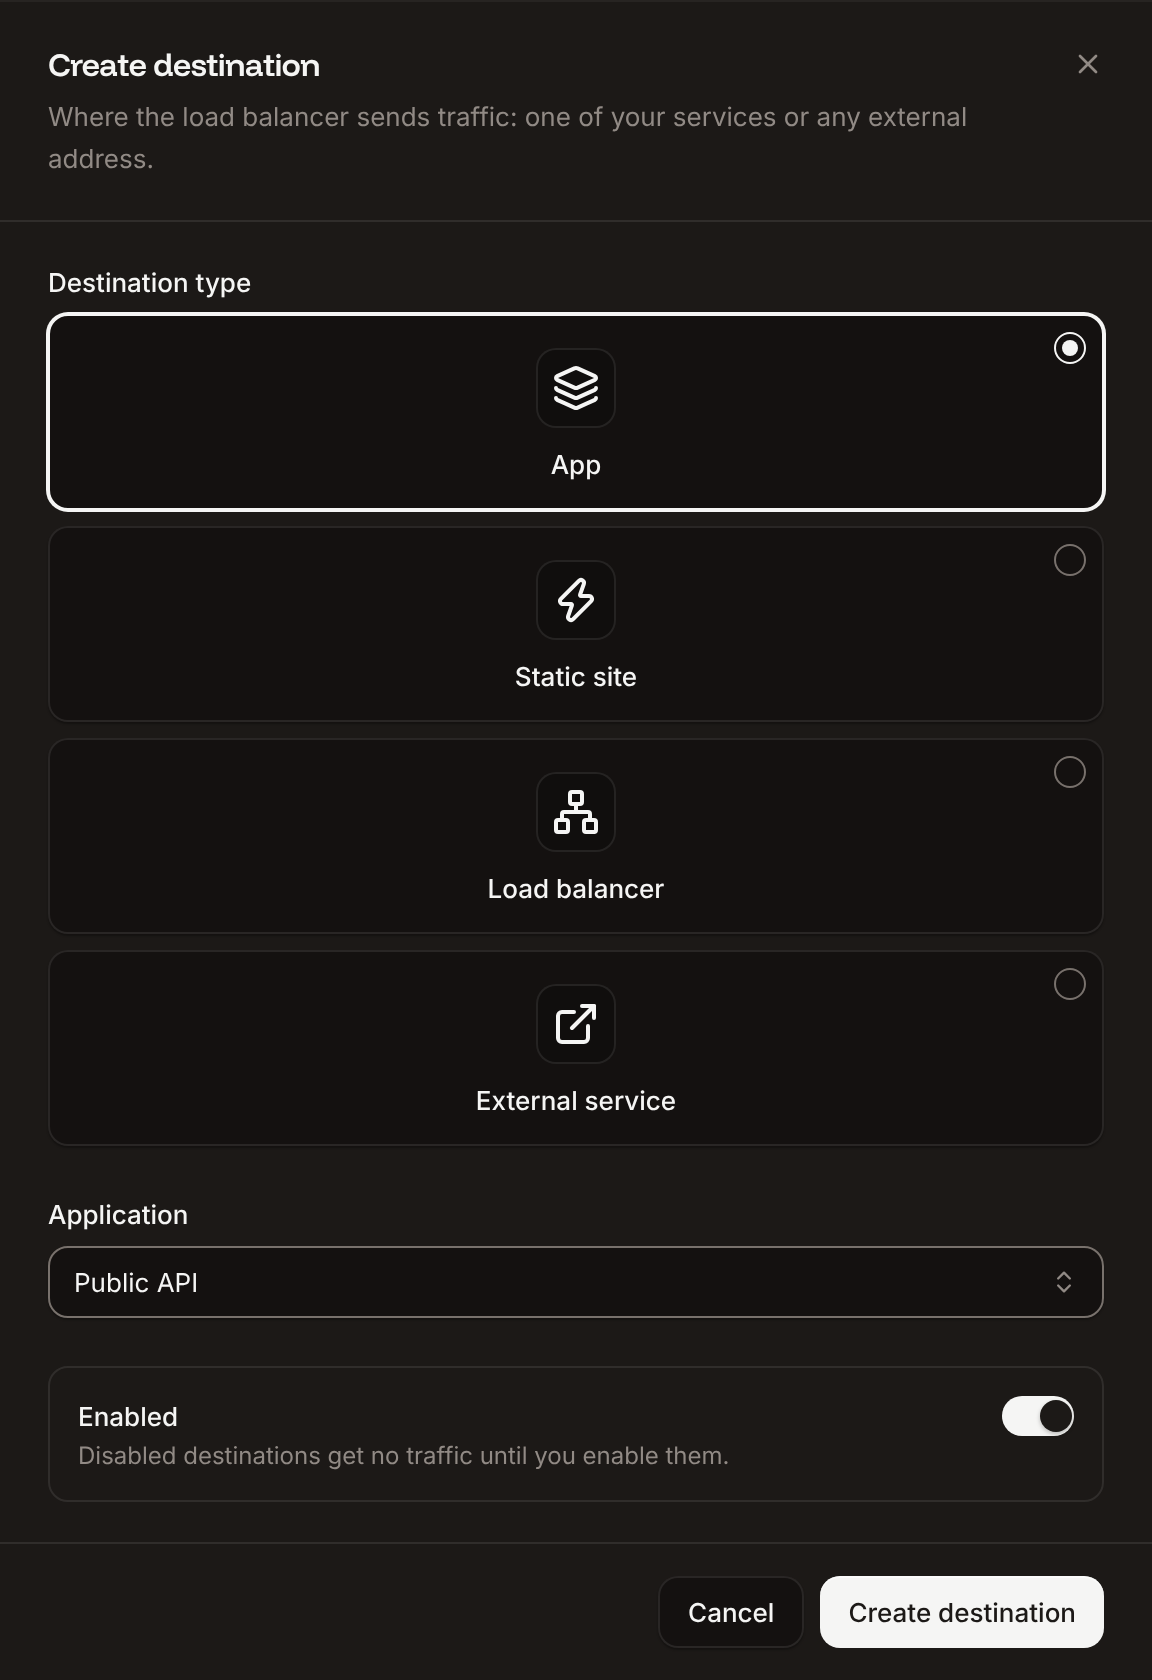
Under **Destination type**, click **App**, **Static site**, **Load balancer** or **External service**.
For a Sevalla service, pick it in **Application**, **Static site** or **Load balancer**; you can search by name or domain. For an external service, enter its **URL**, and its **Latitude** and **Longitude** if you use Geo routing.
Keep **Enabled** on to send it traffic right away, then click **Create destination**.
The dashboard shows **Destination created.**, and the destination's card appears in the diagram, connected to the load balancer.
| Field | What it is | Values | Default |
| - | - | - | - |
| **Routing** | How traffic is shared between destinations. | **Default** (random), **Geo** (closest destination) | **Default** |
| **Name** | The load balancer's name in Sevalla. Its `sevalla.net` domain is made from it. | 3 to 100 characters | A random name, such as `brave-olive-tiger` |
| **Project** | The [project](/projects/overview) it belongs to. Shown only if there's a project you can create in. | A project, or **None (company level)** | **None (company level)**. If your access comes only from a project role, you must pick a project. |
The **Estimated cost** is the $40 monthly base fee plus $0.10 per GB of bandwidth, both with your company's tax.
## Add a destination
In the sidebar, click **Load balancers**, then click the load balancer. The **Overview** tab opens.
Click **Create destination** (the **+** in the diagram's toolbar). While the load balancer has no destinations, you can also click **Add destination** in the diagram.
Under **Destination type**, click **App**, **Static site**, **Load balancer** or **External service**.
For a Sevalla service, pick it in **Application**, **Static site** or **Load balancer**; you can search by name or domain. For an external service, enter its **URL**, and its **Latitude** and **Longitude** if you use Geo routing.
Keep **Enabled** on to send it traffic right away, then click **Create destination**.
The dashboard shows **Destination created.**, and the destination's card appears in the diagram, connected to the load balancer.
 | Field | What it is | Values | Default |
| - | - | - | - |
| **Destination type** | What the destination is. See [Destinations](/load-balancers/overview#destinations). | **App**, **Static site**, **Load balancer**, **External service** | **App** |
| **Application**, **Static site** or **Load balancer** | The service to send traffic to. Services that are already destinations show **Already a destination** and can't be picked; the load balancer itself isn't listed. | A service in the company | None |
| **URL** (external service) | The address traffic goes to. | A full URL with its scheme, such as `https://origin.example.com` | None |
| **Latitude** (external service) | Where the external service is, for Geo routing. Optional. | -90 to 90, such as `52.37` | None |
| **Longitude** (external service) | Where the external service is, for Geo routing. Optional. | -180 to 180, such as `4.89` | None |
| **Enabled** | Whether the destination gets traffic. | On or off | On |
Applications get their location's coordinates automatically. An external service without coordinates has no location for Geo routing.
## Disable or enable a destination
Disabling a destination stops its traffic but keeps it on the load balancer, so you can enable it again later.
On the load balancer's **Overview** tab, click **...** on the destination's card, then click **Disable** (or **Enable**).
Click **Disable destination** (or **Enable destination**).
A disabled destination's card shows a red cross and **Disabled**, and its line in the diagram turns grey. The dashboard shows **Destination disabled.** or **Destination enabled.**
## Remove a destination
On the load balancer's **Overview** tab, click **...** on the destination's card, then click **Remove from load balancer**.
Click **Remove destination**.
The card disappears and the dashboard shows **Destination removed.** The service itself isn't changed: only the load balancer stops sending it traffic. To route to it again, add it as a new destination.
## Update the routing or name
On the load balancer's **Overview** tab, click **Settings** on the load balancer's card, or **Load balancer settings** in the diagram's toolbar.
In the **Update load balancer** sheet, choose a different **Routing**, or change the **Name**.
Click **Update load balancer**.
The dashboard shows **Load balancer updated.**, and the diagram shows the new routing. Changing the name doesn't change the `sevalla.net` domain. A load balancer with **Multi tenancy** routing shows its routing as a note: you can only change its name.
To move a load balancer into or out of a project, use the project's **Services** tab. See [Projects](/projects/overview).
## Delete a load balancer
On the load balancer's **Overview** tab, click **More actions** (the **...** in the diagram's toolbar), then click **Delete load balancer**.
Type the load balancer's name as the dialog shows it, such as `storefront-edge-k2m9x`, then click **Delete load balancer**.
The dashboard shows **Load balancer deleted.** and returns to the **Load balancers** list.
Deleting a load balancer stops all routing through it and removes its domains, custom domains included. You can't undo it. The applications, static sites and other services it routed to keep running.
## API and CLI
| Task | API | CLI |
| - | - | - |
| Create a load balancer | [Create load balancer](https://api-docs.sevalla.com/v3/load-balancers/create-load-balancer) | `sevalla load-balancers create --name "Storefront edge" --type GEO` |
| List destinations | [List load balancer destinations](https://api-docs.sevalla.com/v3/load-balancers/list-load-balancer-destinations) | `sevalla load-balancers destinations list --lb-id ` |
| Add a destination | [Create load balancer destination](https://api-docs.sevalla.com/v3/load-balancers/create-load-balancer-destination) | `sevalla load-balancers destinations create --service-type APP --service-id ` |
| Disable or enable a destination | [Toggle load balancer destination](https://api-docs.sevalla.com/v3/load-balancers/toggle-load-balancer-destination) | `sevalla load-balancers destinations toggle ` |
| Remove a destination | [Delete load balancer destination](https://api-docs.sevalla.com/v3/load-balancers/delete-load-balancer-destination) | `sevalla load-balancers destinations delete --confirm` |
| Update the routing, name or project | [Update load balancer](https://api-docs.sevalla.com/v3/load-balancers/update-load-balancer) | `sevalla load-balancers update --type DEFAULT --display-name "Storefront edge"` |
| Delete a load balancer | [Delete load balancer](https://api-docs.sevalla.com/v3/load-balancers/delete-load-balancer) | `sevalla load-balancers delete --confirm` |
For an external service, use `--service-type EXTERNAL --url https://origin.example.com`, with `--latitude` and `--longitude` for Geo routing.
This documentation is built and hosted on [Mintlify](https://mintlify.com), a developer documentation platform.
| Field | What it is | Values | Default |
| - | - | - | - |
| **Destination type** | What the destination is. See [Destinations](/load-balancers/overview#destinations). | **App**, **Static site**, **Load balancer**, **External service** | **App** |
| **Application**, **Static site** or **Load balancer** | The service to send traffic to. Services that are already destinations show **Already a destination** and can't be picked; the load balancer itself isn't listed. | A service in the company | None |
| **URL** (external service) | The address traffic goes to. | A full URL with its scheme, such as `https://origin.example.com` | None |
| **Latitude** (external service) | Where the external service is, for Geo routing. Optional. | -90 to 90, such as `52.37` | None |
| **Longitude** (external service) | Where the external service is, for Geo routing. Optional. | -180 to 180, such as `4.89` | None |
| **Enabled** | Whether the destination gets traffic. | On or off | On |
Applications get their location's coordinates automatically. An external service without coordinates has no location for Geo routing.
## Disable or enable a destination
Disabling a destination stops its traffic but keeps it on the load balancer, so you can enable it again later.
On the load balancer's **Overview** tab, click **...** on the destination's card, then click **Disable** (or **Enable**).
Click **Disable destination** (or **Enable destination**).
A disabled destination's card shows a red cross and **Disabled**, and its line in the diagram turns grey. The dashboard shows **Destination disabled.** or **Destination enabled.**
## Remove a destination
On the load balancer's **Overview** tab, click **...** on the destination's card, then click **Remove from load balancer**.
Click **Remove destination**.
The card disappears and the dashboard shows **Destination removed.** The service itself isn't changed: only the load balancer stops sending it traffic. To route to it again, add it as a new destination.
## Update the routing or name
On the load balancer's **Overview** tab, click **Settings** on the load balancer's card, or **Load balancer settings** in the diagram's toolbar.
In the **Update load balancer** sheet, choose a different **Routing**, or change the **Name**.
Click **Update load balancer**.
The dashboard shows **Load balancer updated.**, and the diagram shows the new routing. Changing the name doesn't change the `sevalla.net` domain. A load balancer with **Multi tenancy** routing shows its routing as a note: you can only change its name.
To move a load balancer into or out of a project, use the project's **Services** tab. See [Projects](/projects/overview).
## Delete a load balancer
On the load balancer's **Overview** tab, click **More actions** (the **...** in the diagram's toolbar), then click **Delete load balancer**.
Type the load balancer's name as the dialog shows it, such as `storefront-edge-k2m9x`, then click **Delete load balancer**.
The dashboard shows **Load balancer deleted.** and returns to the **Load balancers** list.
Deleting a load balancer stops all routing through it and removes its domains, custom domains included. You can't undo it. The applications, static sites and other services it routed to keep running.
## API and CLI
| Task | API | CLI |
| - | - | - |
| Create a load balancer | [Create load balancer](https://api-docs.sevalla.com/v3/load-balancers/create-load-balancer) | `sevalla load-balancers create --name "Storefront edge" --type GEO` |
| List destinations | [List load balancer destinations](https://api-docs.sevalla.com/v3/load-balancers/list-load-balancer-destinations) | `sevalla load-balancers destinations list --lb-id ` |
| Add a destination | [Create load balancer destination](https://api-docs.sevalla.com/v3/load-balancers/create-load-balancer-destination) | `sevalla load-balancers destinations create --service-type APP --service-id ` |
| Disable or enable a destination | [Toggle load balancer destination](https://api-docs.sevalla.com/v3/load-balancers/toggle-load-balancer-destination) | `sevalla load-balancers destinations toggle ` |
| Remove a destination | [Delete load balancer destination](https://api-docs.sevalla.com/v3/load-balancers/delete-load-balancer-destination) | `sevalla load-balancers destinations delete --confirm` |
| Update the routing, name or project | [Update load balancer](https://api-docs.sevalla.com/v3/load-balancers/update-load-balancer) | `sevalla load-balancers update --type DEFAULT --display-name "Storefront edge"` |
| Delete a load balancer | [Delete load balancer](https://api-docs.sevalla.com/v3/load-balancers/delete-load-balancer) | `sevalla load-balancers delete --confirm` |
For an external service, use `--service-type EXTERNAL --url https://origin.example.com`, with `--latitude` and `--longitude` for Geo routing.
This documentation is built and hosted on [Mintlify](https://mintlify.com), a developer documentation platform.