- Each application, database, or site belongs to just one company.
- You, as a user, can have access to one or more companies.
- You can invite other users to your company, application, database, or site.
- Billing information - Amend your company name or address, add payment methods, and view your invoices.
- Usage report - To view the resource consumption and costs across all your services.
- User management - Grant other users access to your company, manage their access level, or grant access to individual applications, databases, or sites.
- Single sign-on - Set up SAML SSO to securely access multiple applications using a single set of credentials.
Update your company name
To update or change your company name in Sevalla, click on your company name and then click Update company name.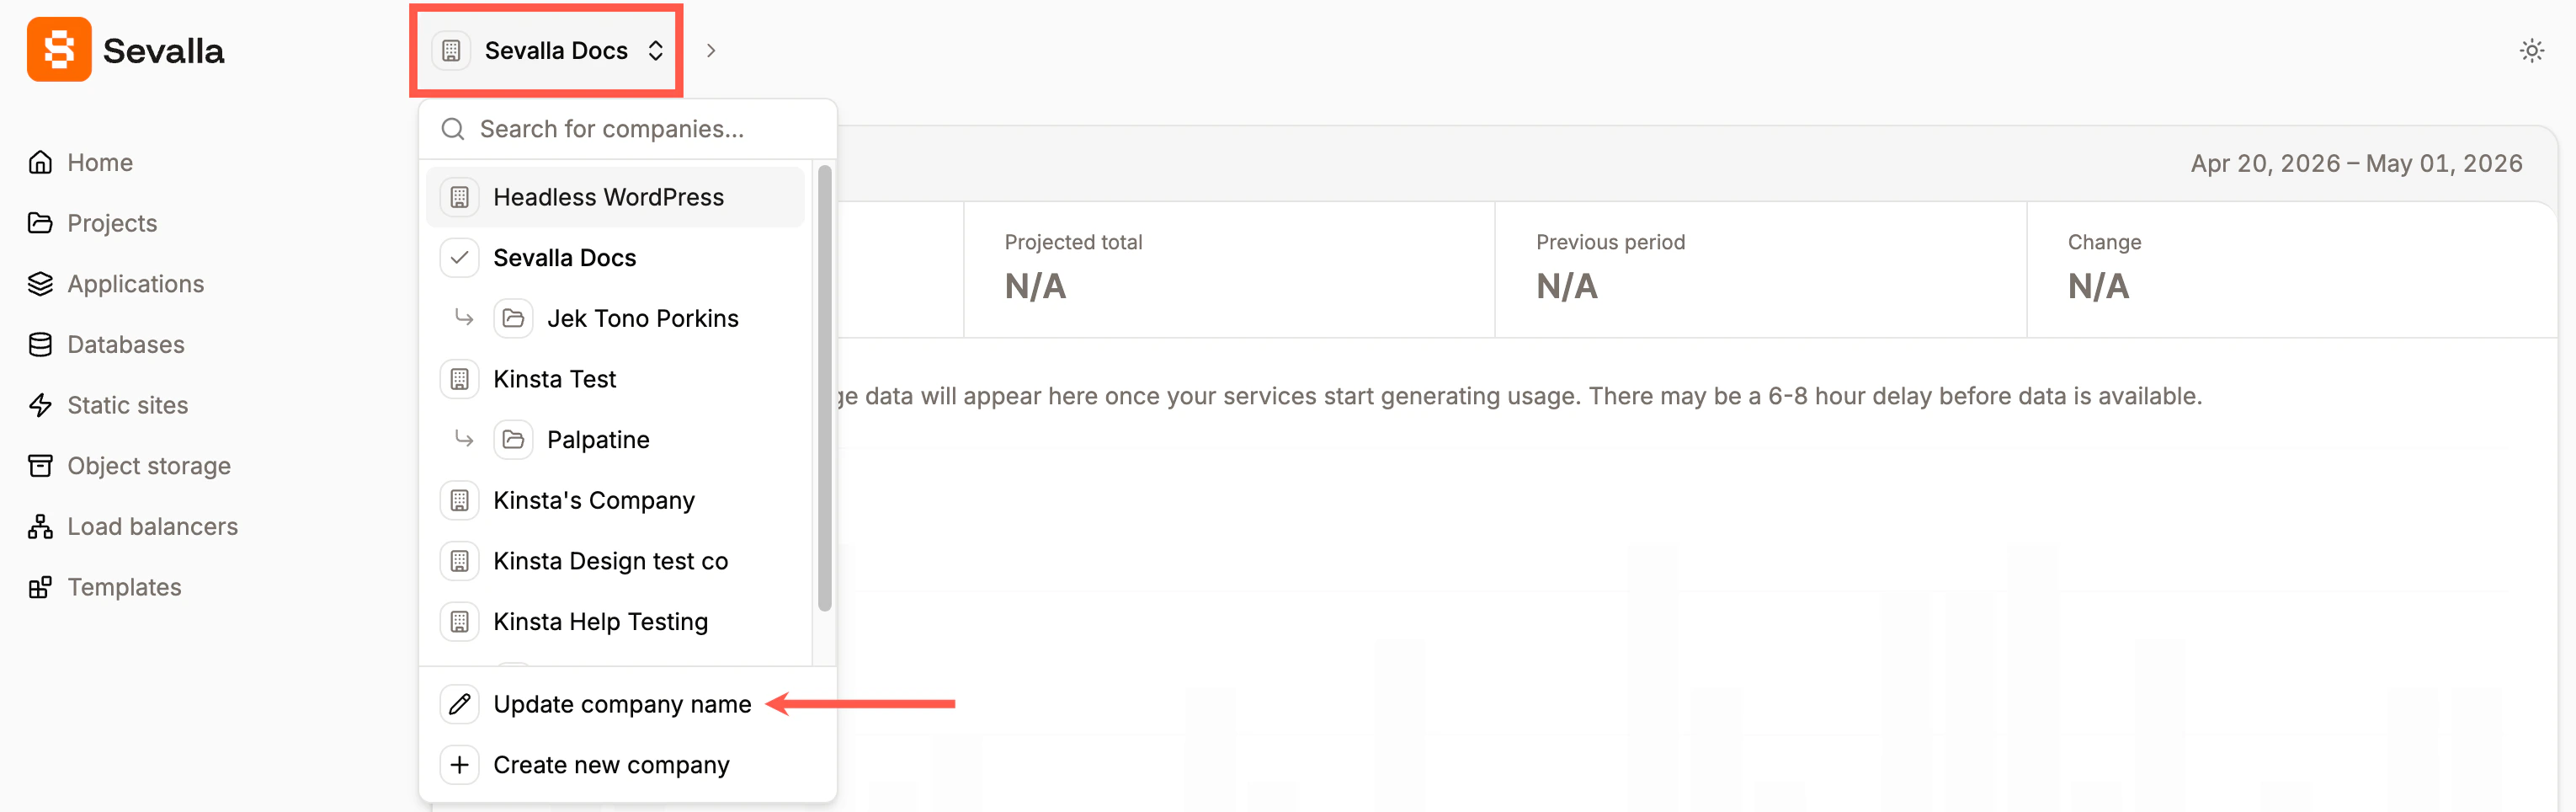
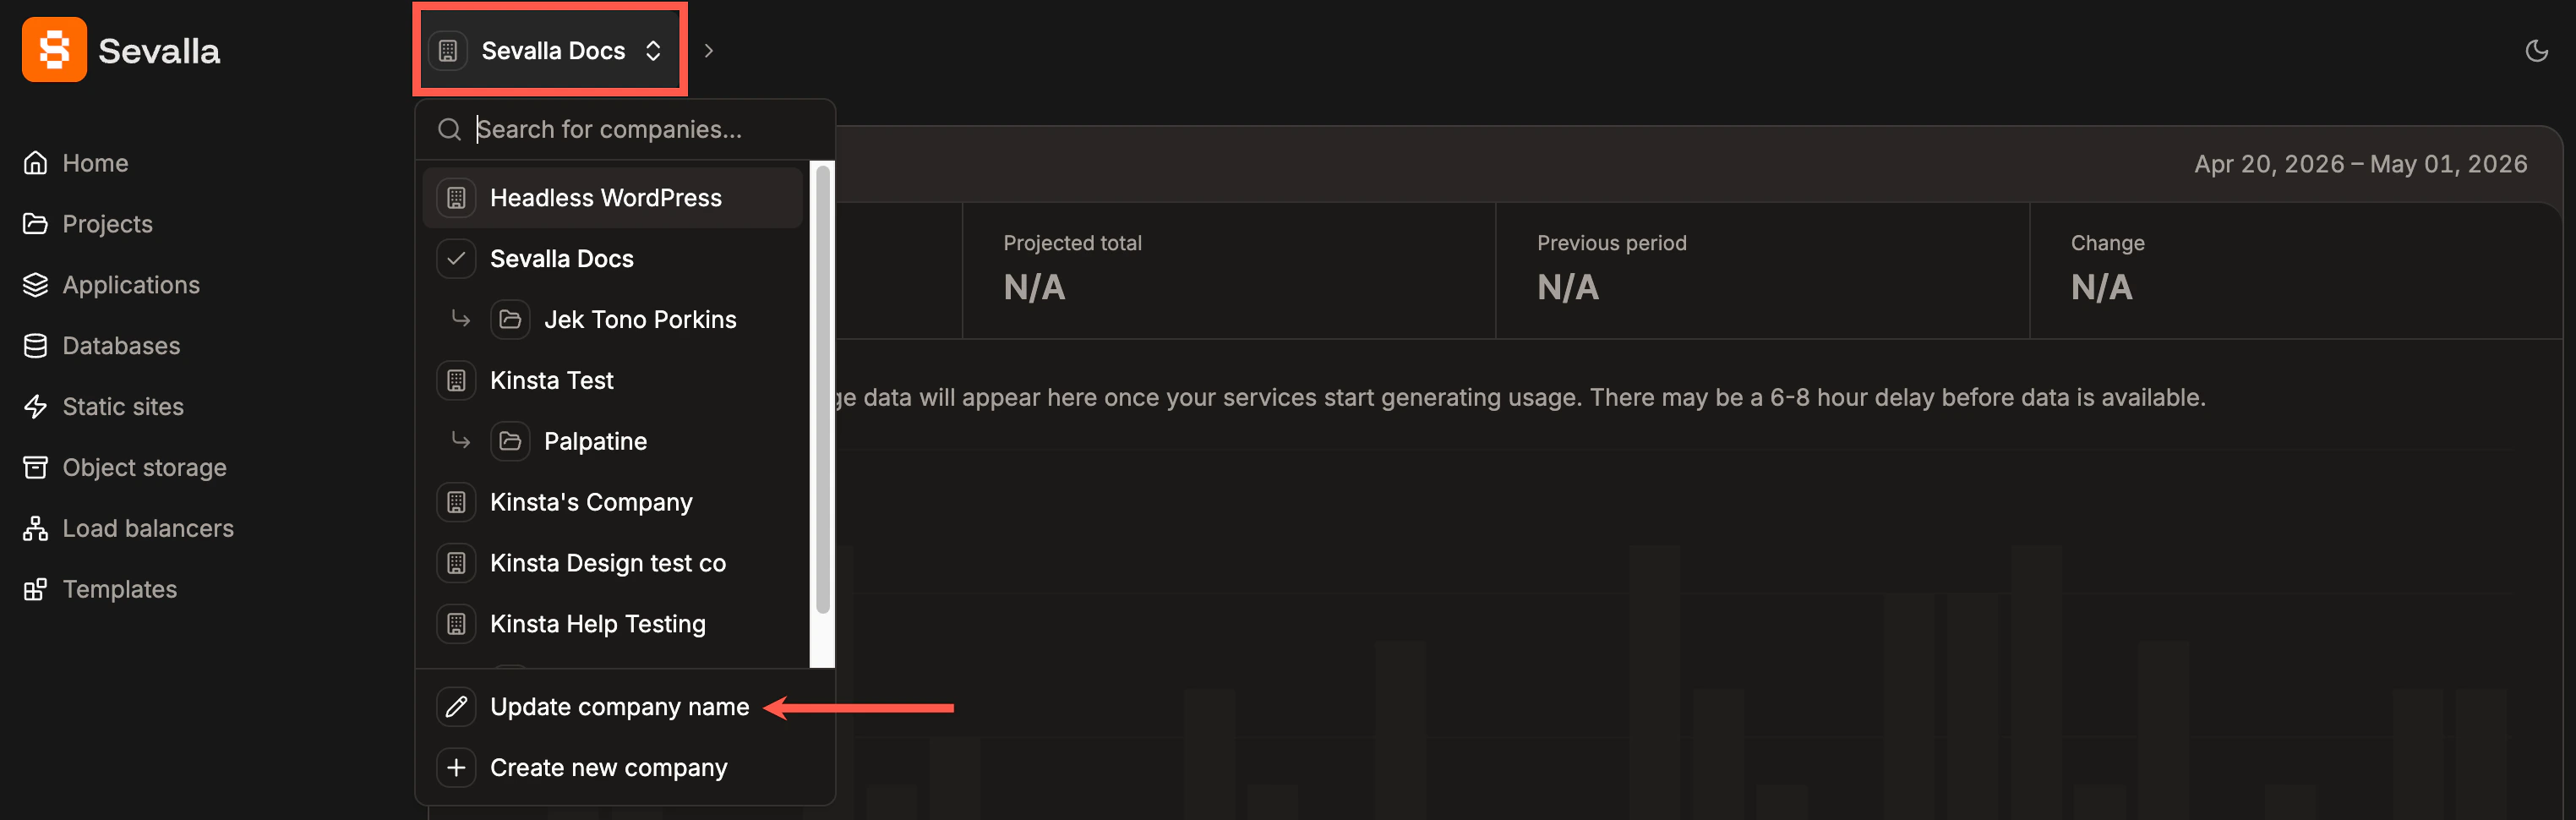
Update your company name in Sevalla.
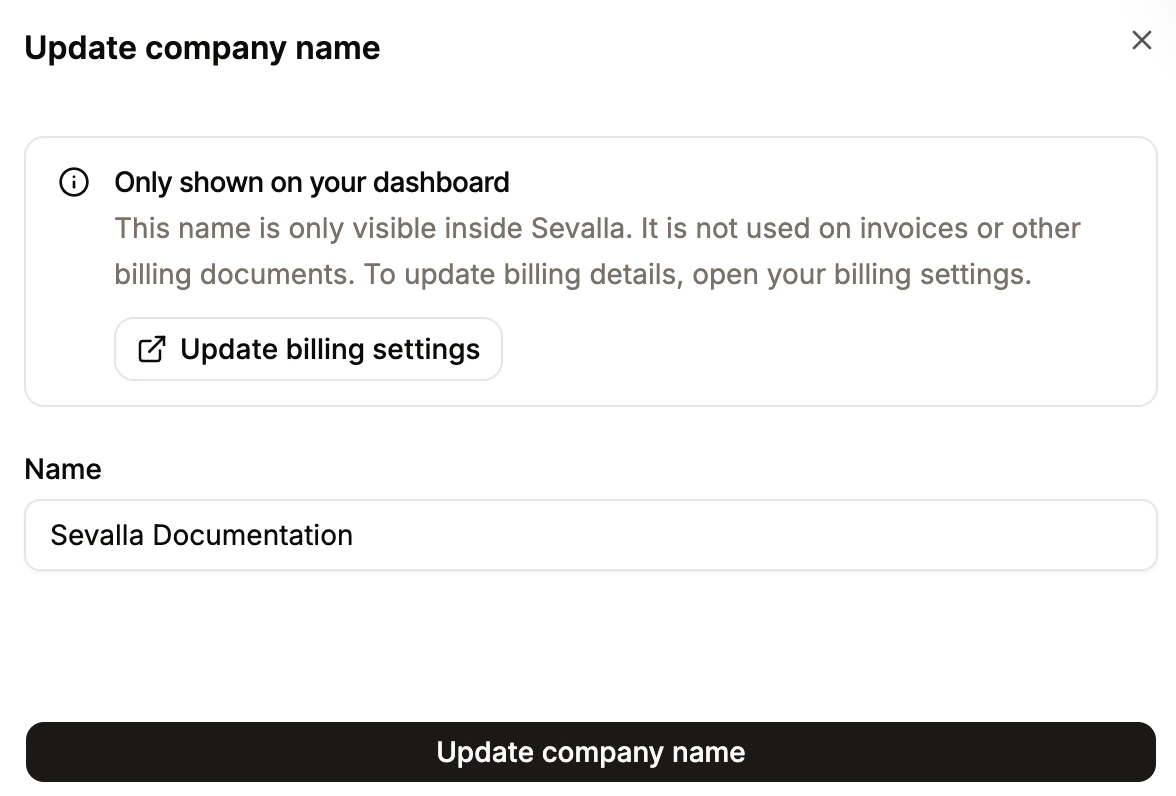
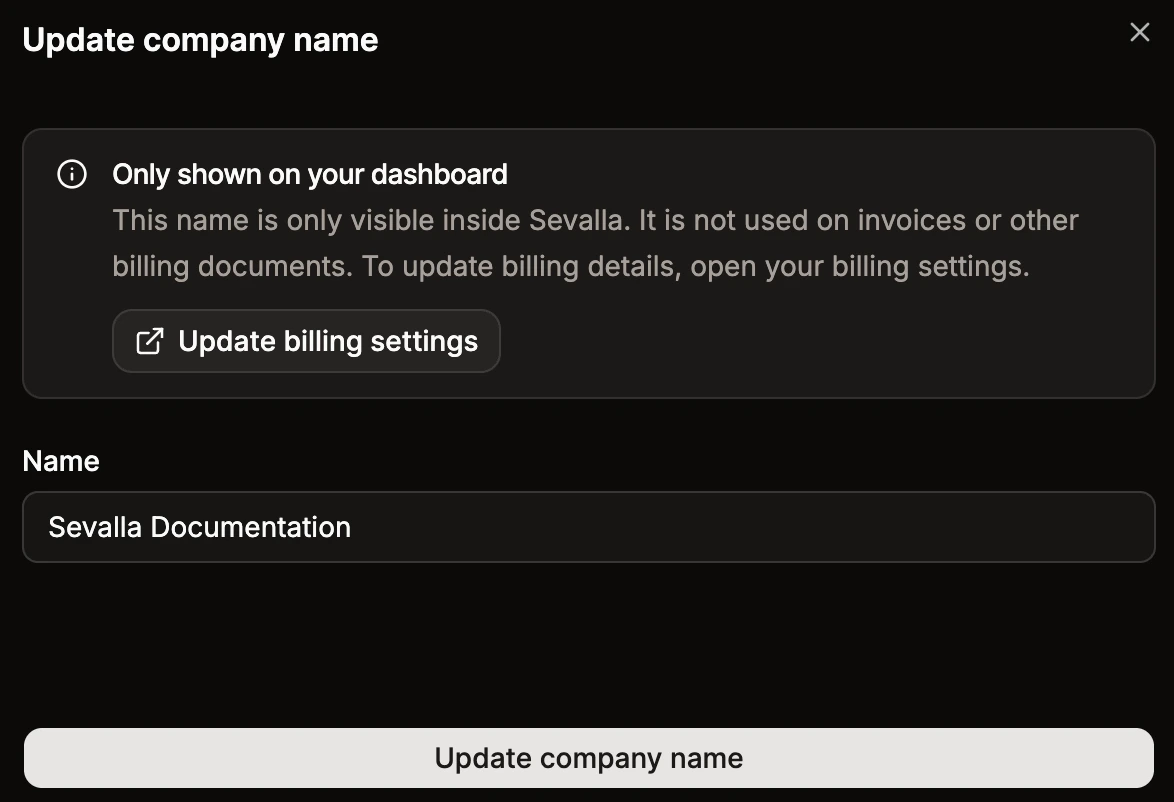
Update your company name in Sevalla.
Create a new company
If you are working with multiple clients or agencies, you may want to create an additional company for your sites and then grant access to the company. You can create up to 10 companies within Sevalla. To create a new company, click on your company name and then click Create new company.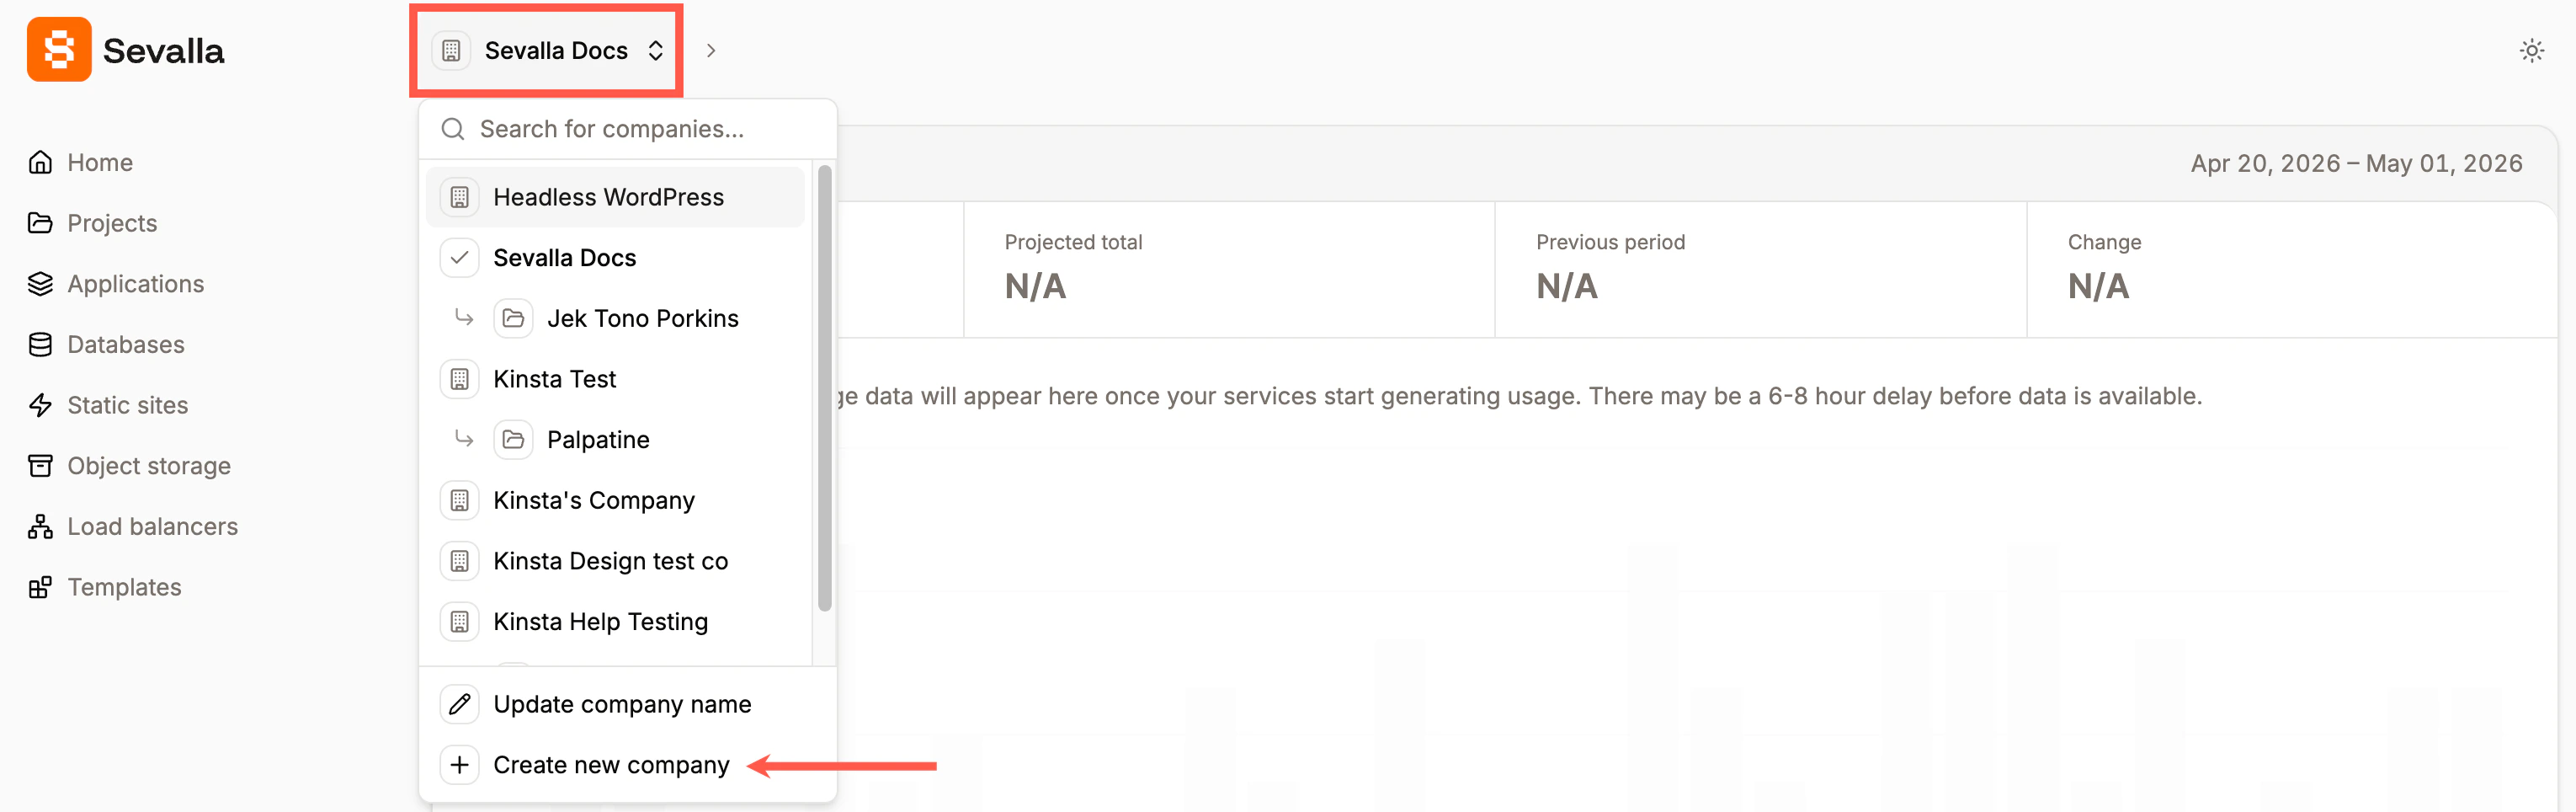
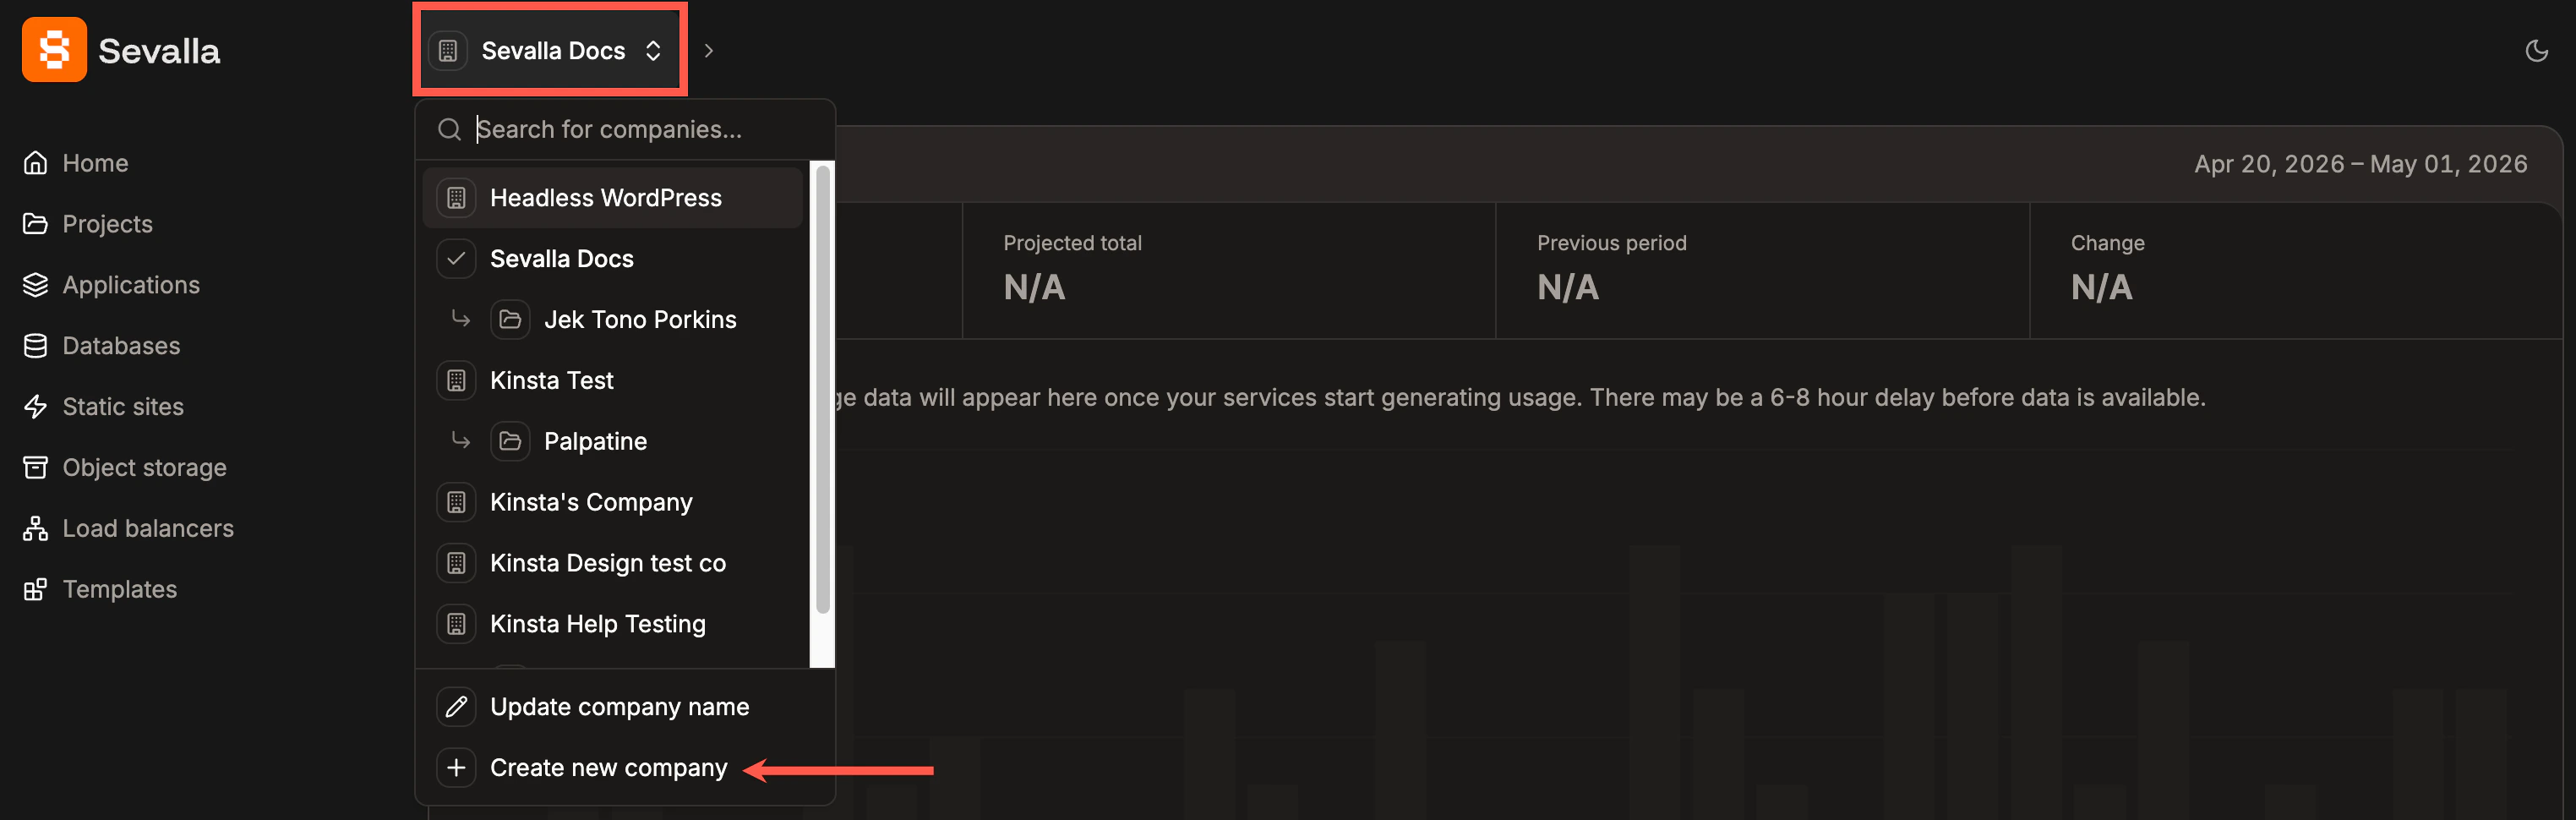
Create a new company in Sevalla.
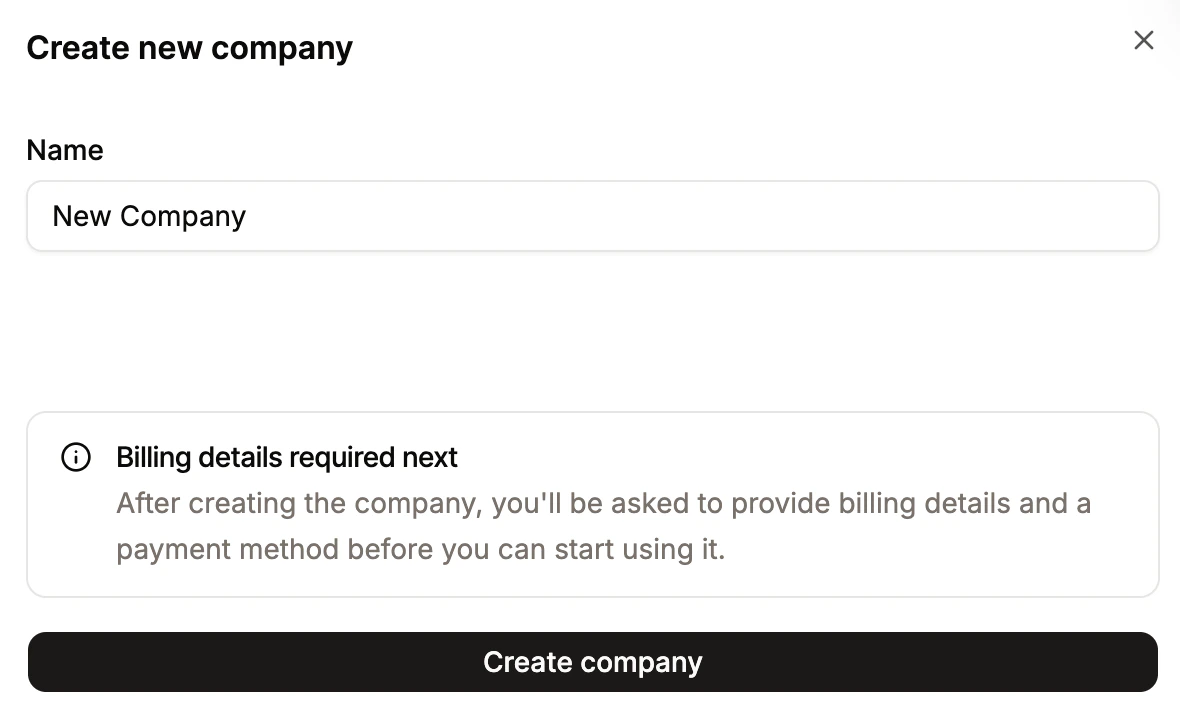
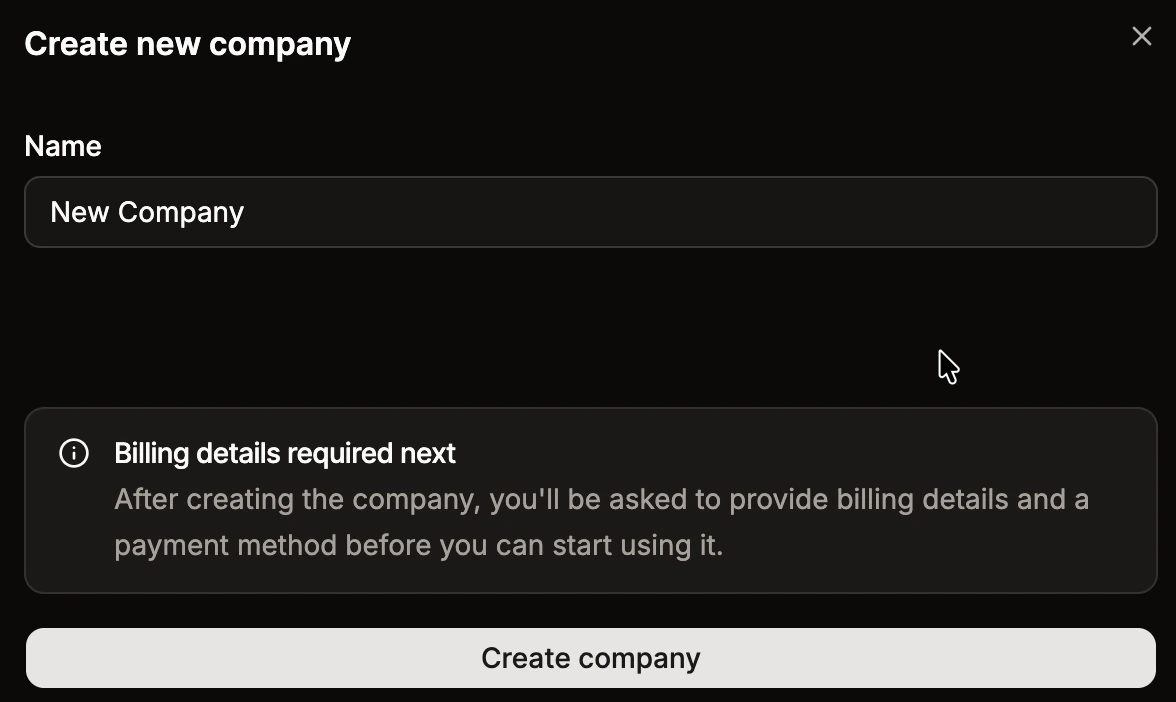
Add your company name.
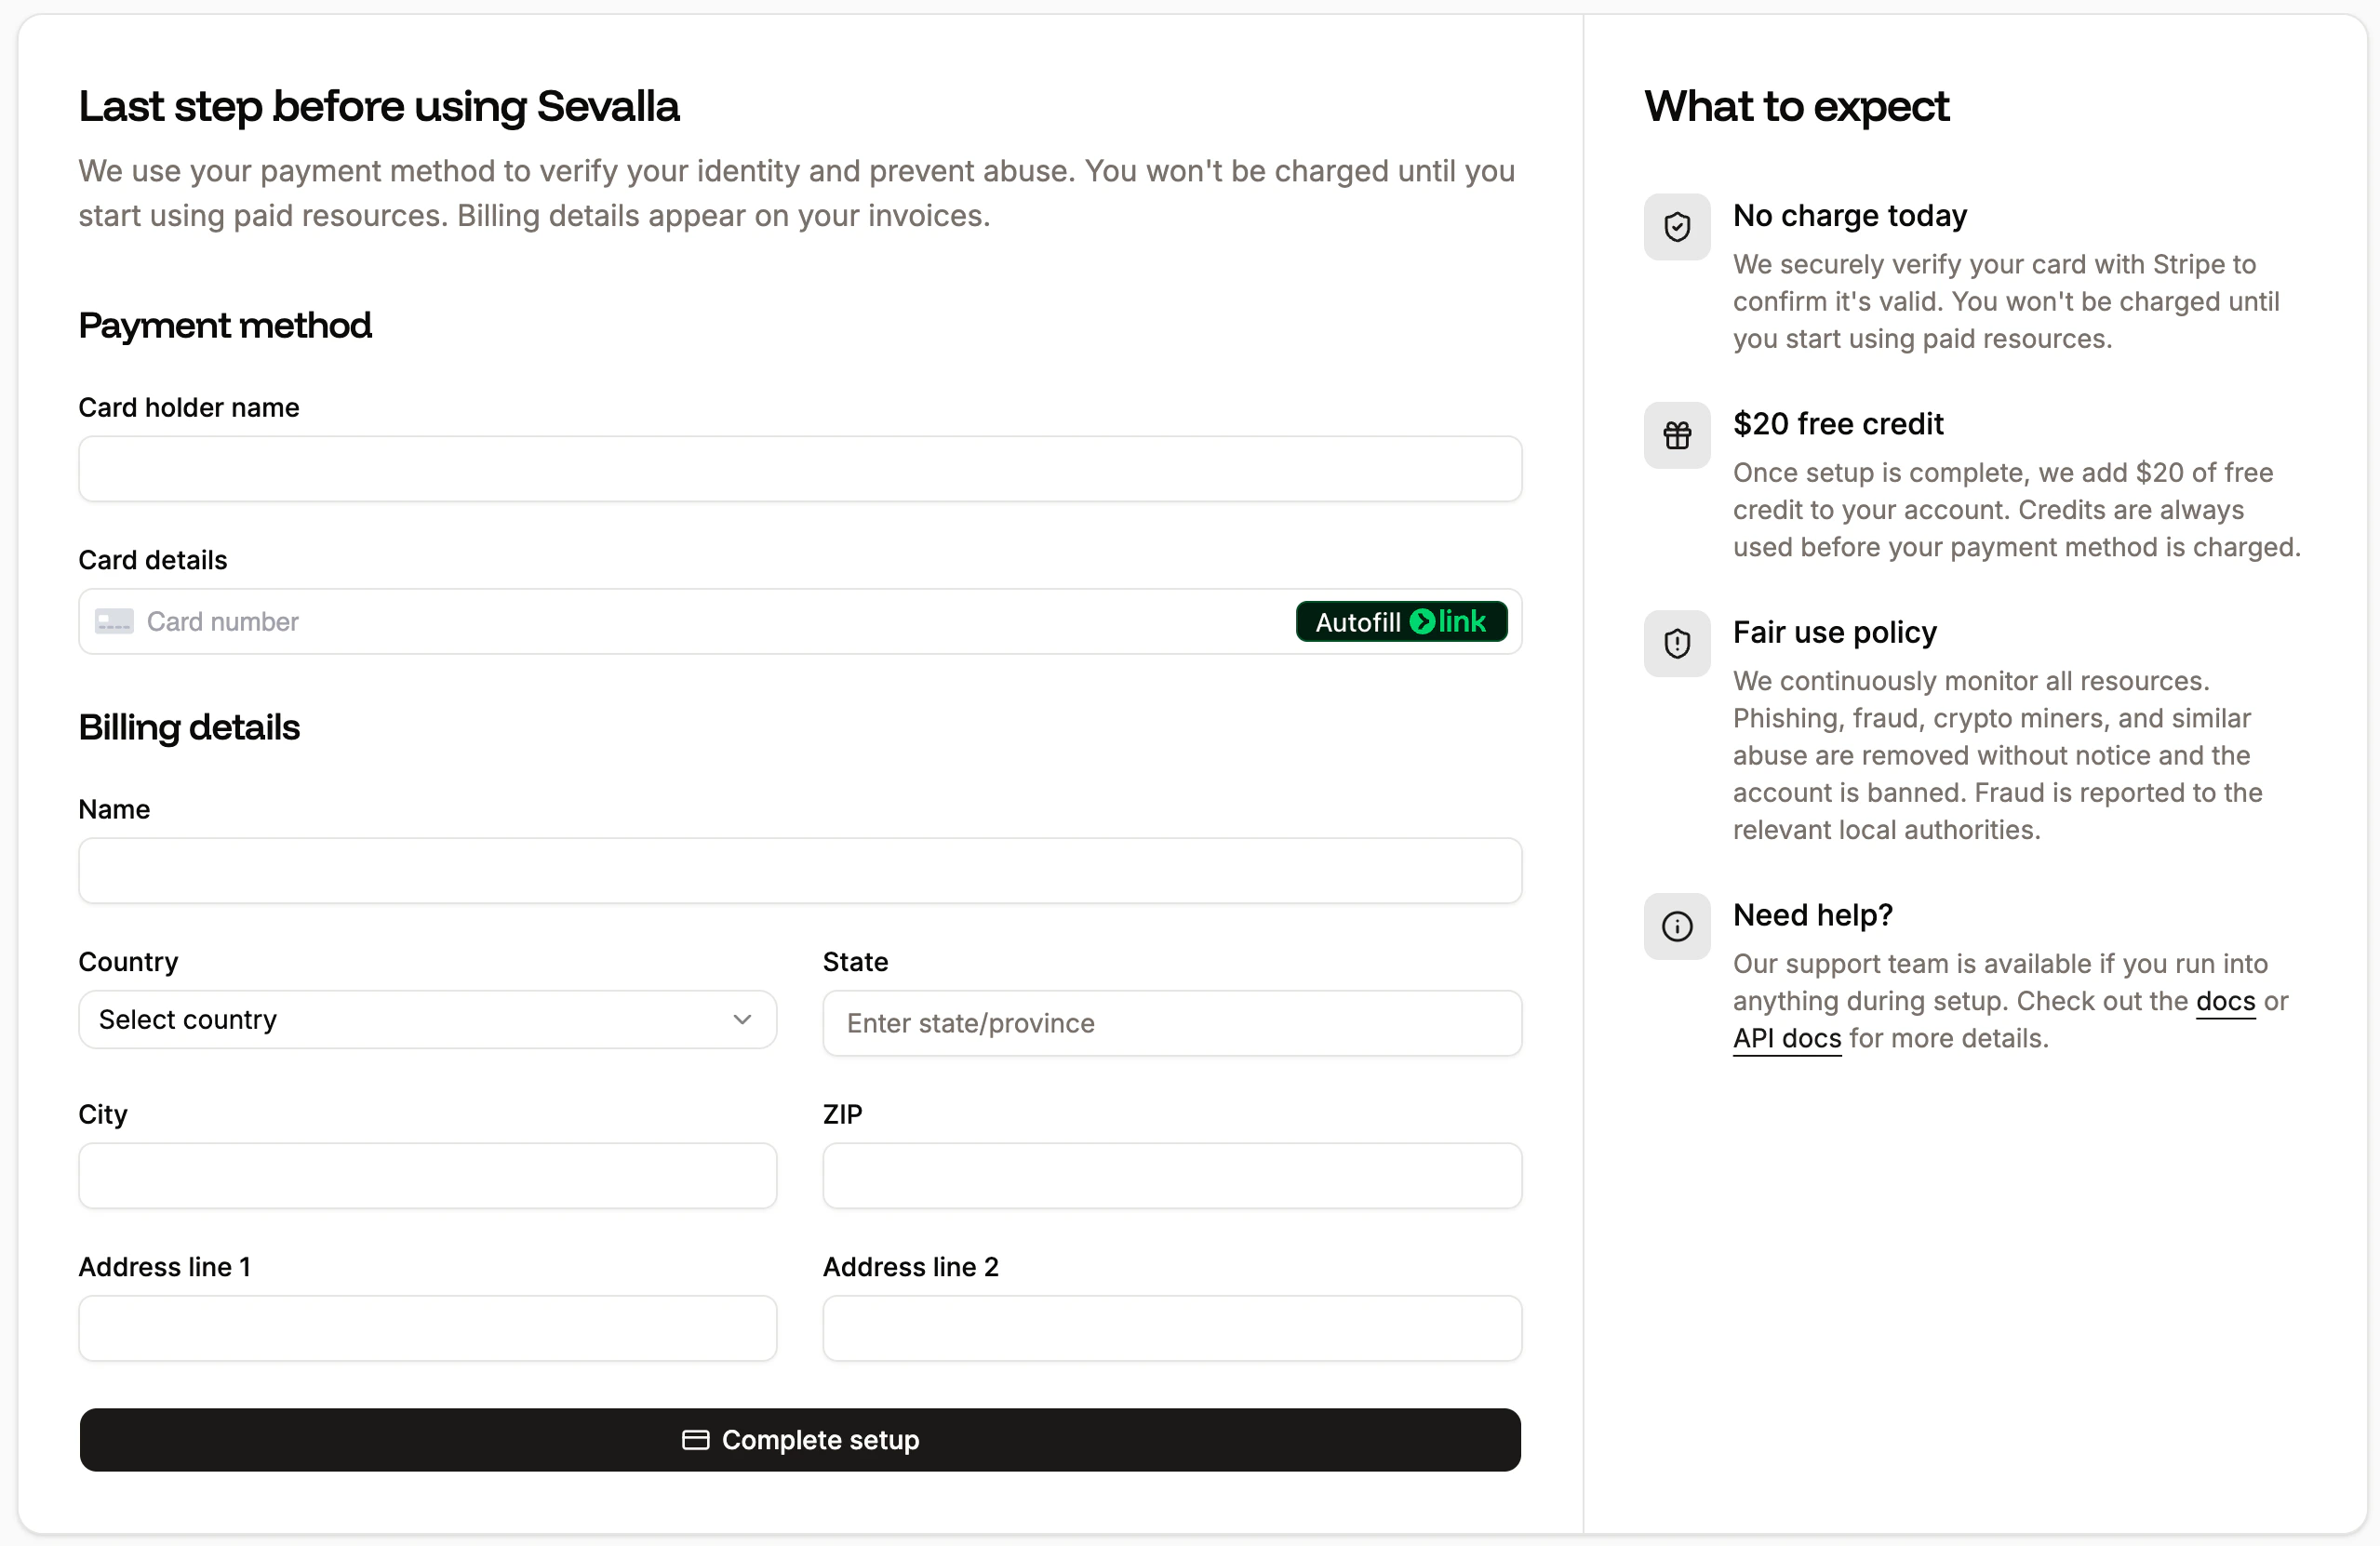
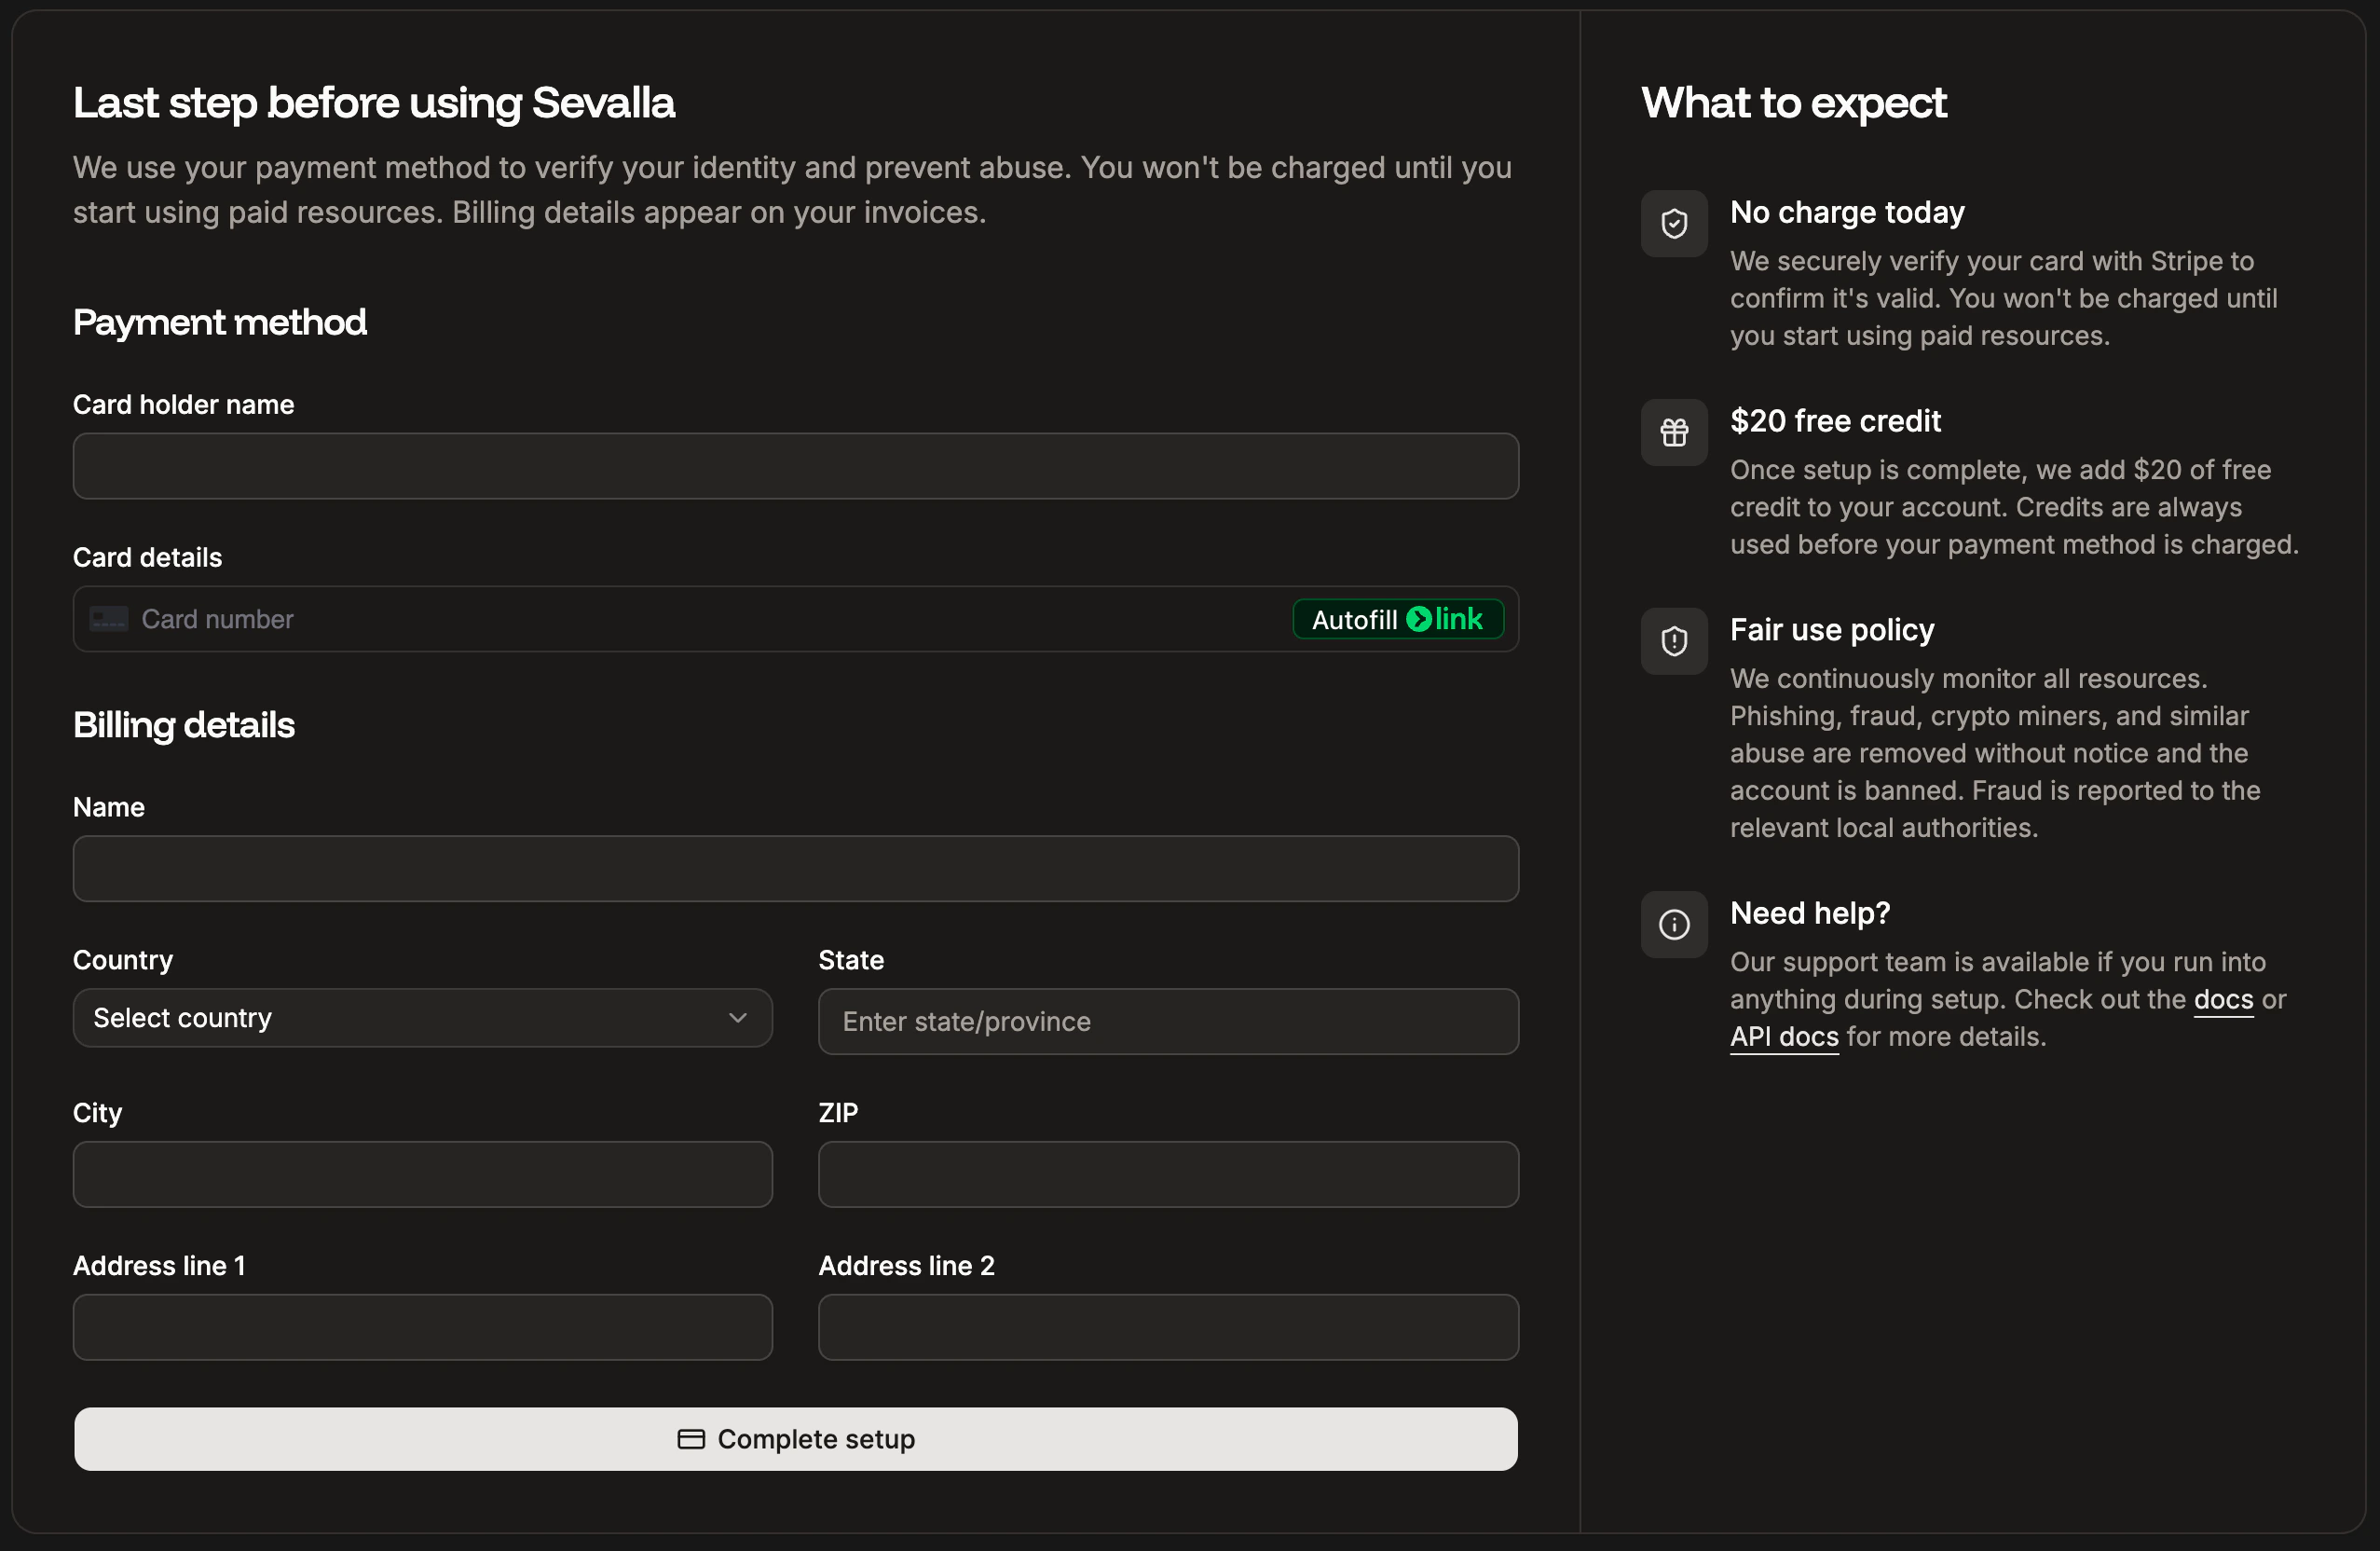
Add your payment and billing details.
Transfer company ownership
Only Company Owners can transfer company ownership to a Company Administrator in the same account. Each company can have only one owner, but ownership can be transferred between users. To transfer ownership to another user:- You must be logged in to Sevalla as the Company Owner.
- The user you want to transfer ownership to must be a Company Administrator.
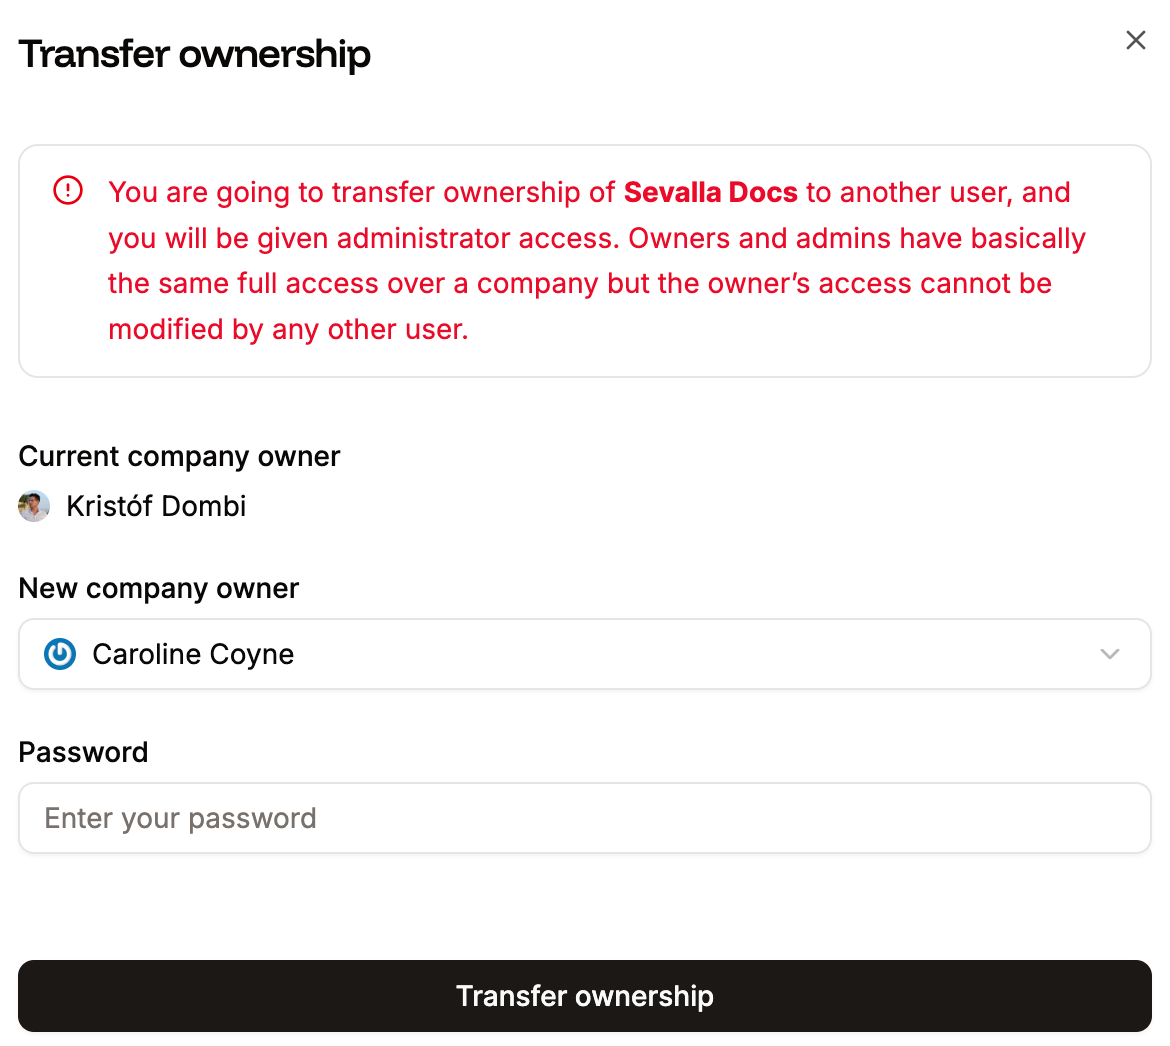
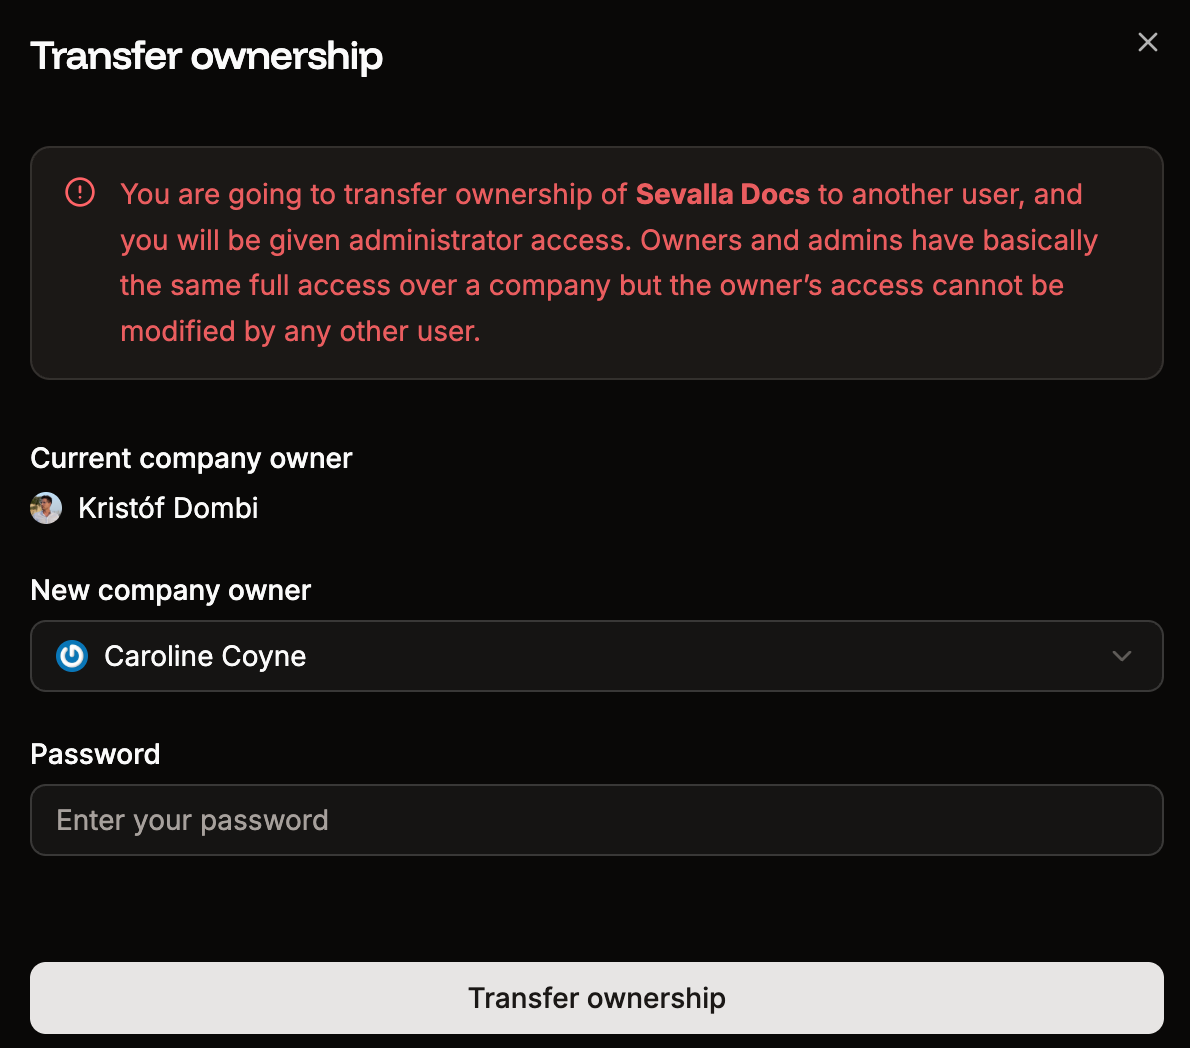
Transfer company ownership.
Once the transfer is complete, the previous company owner will become a company administrator.