Add an application using a private Git repository
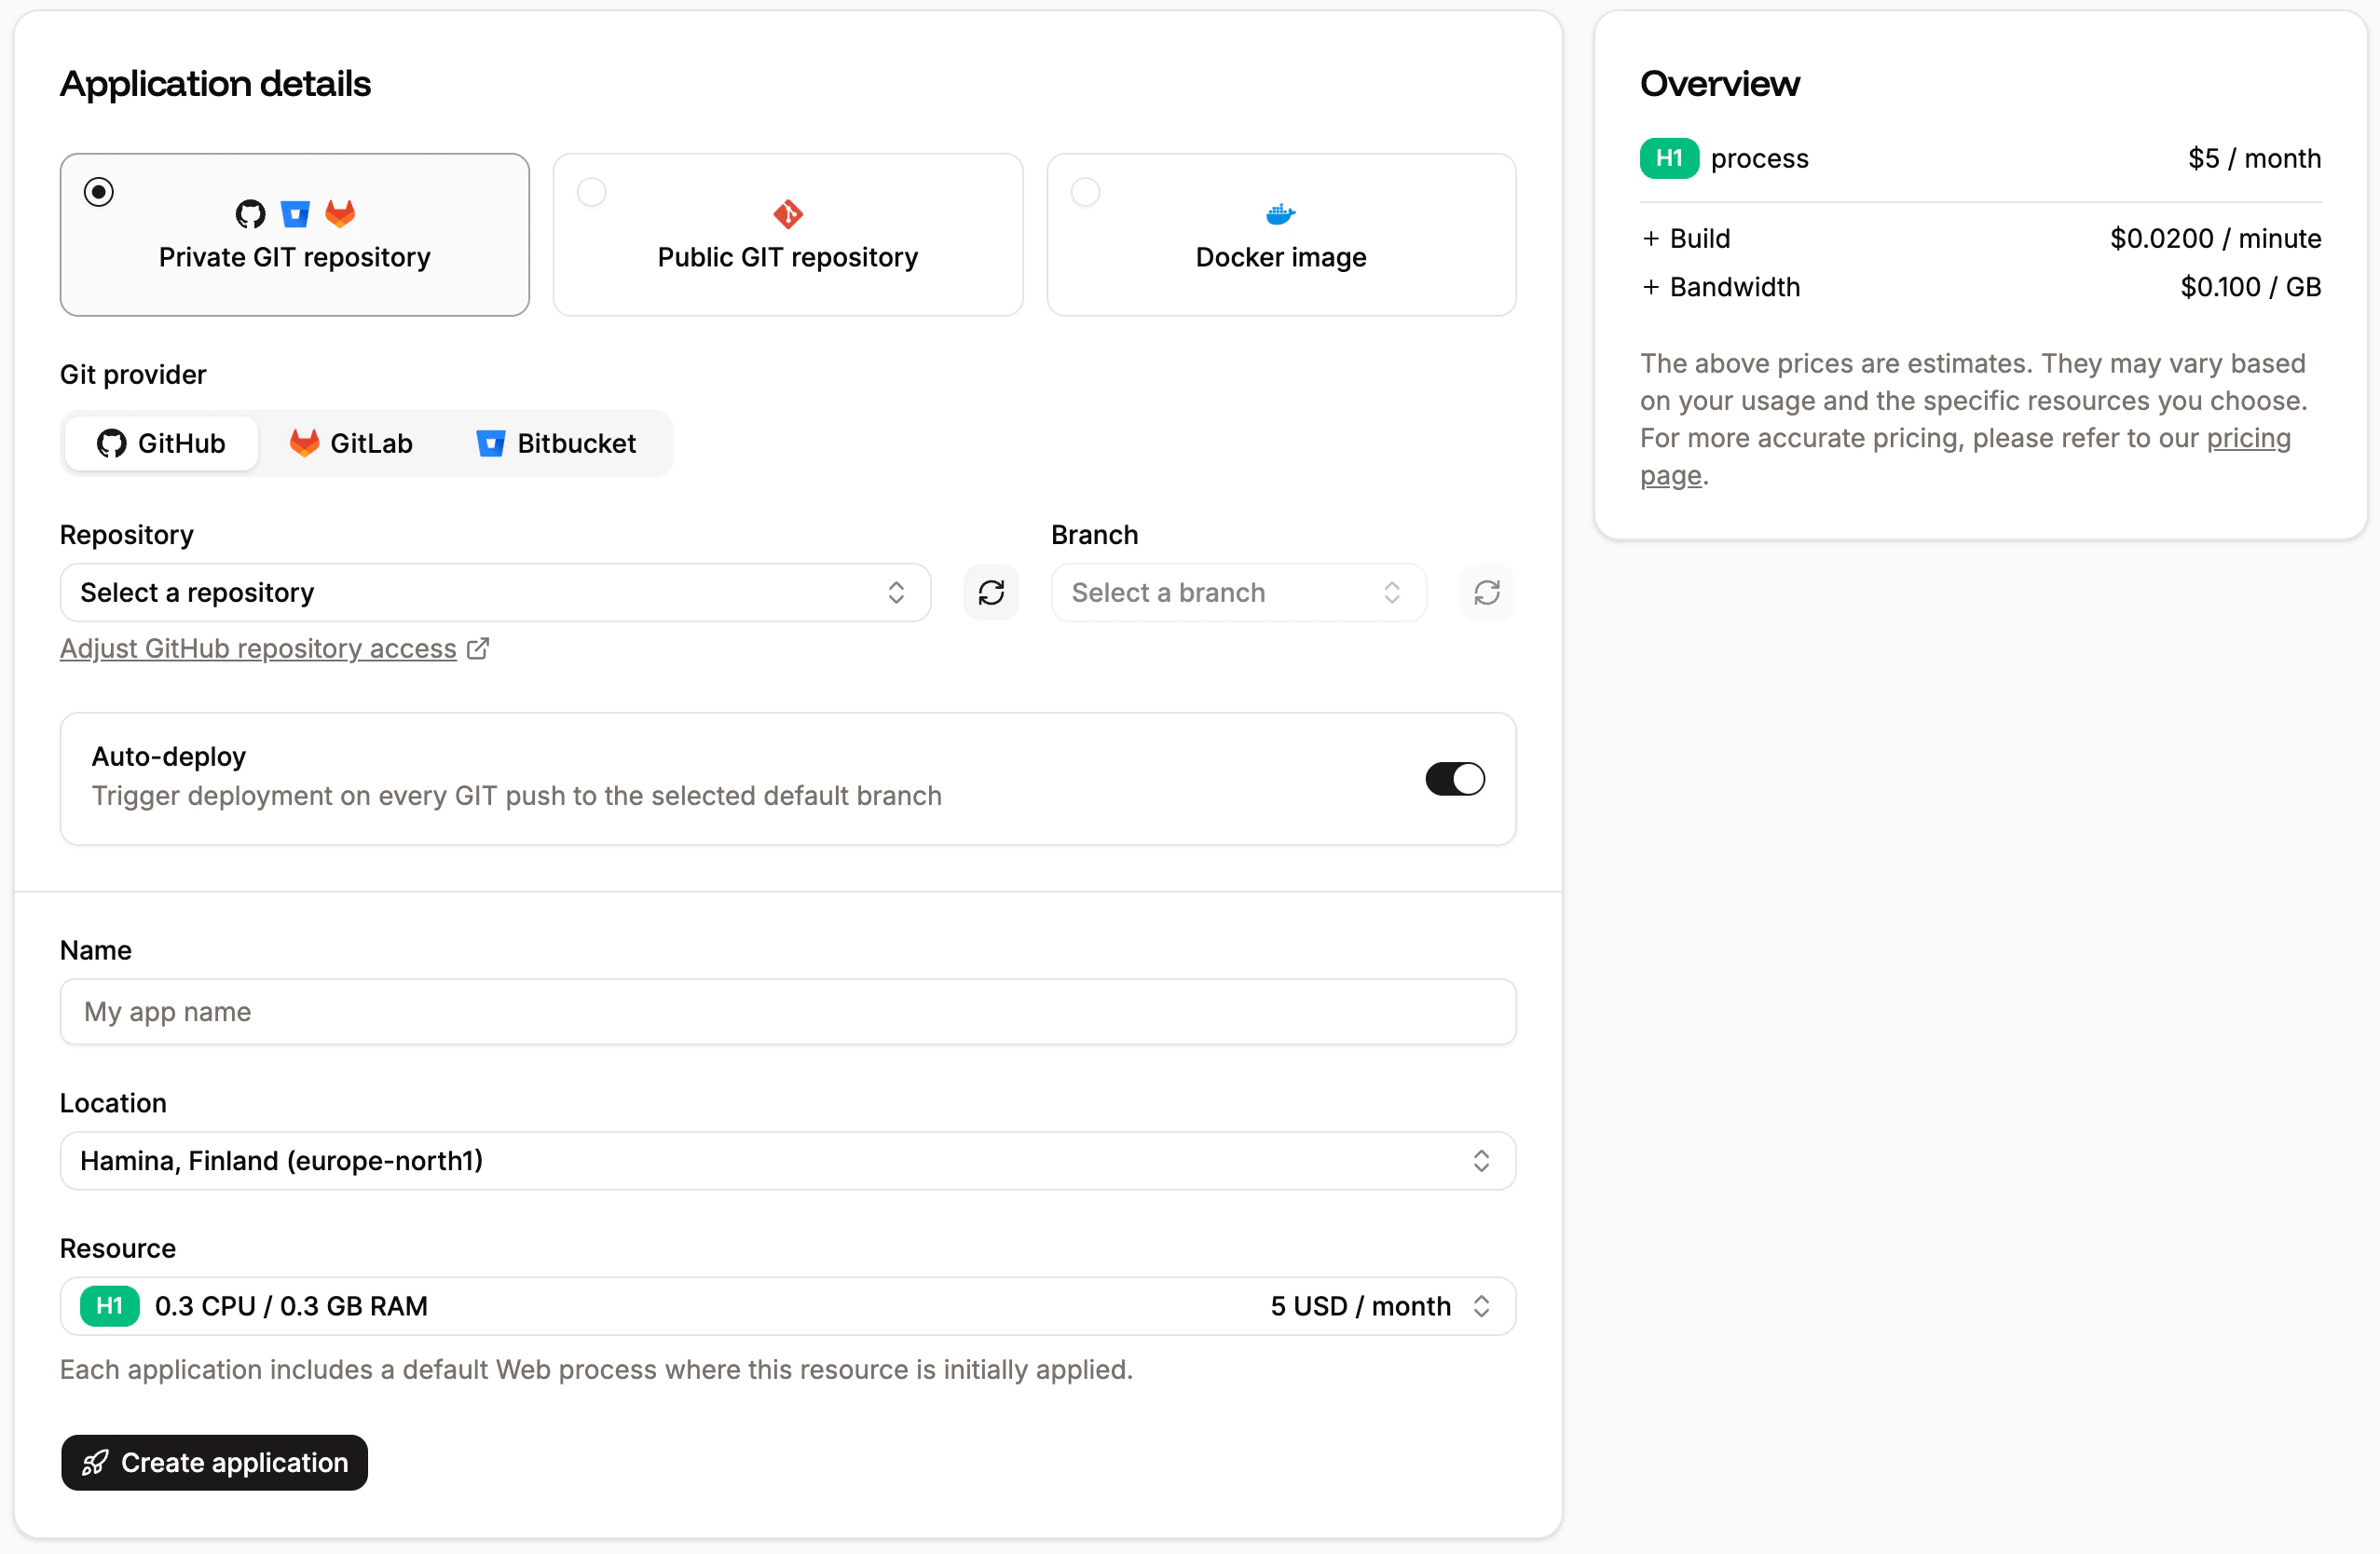
- Git provider: Choose GitHub, Bitbucket, or GitLab and connect your account.
- Repository and Branch: Choose a Git repository and a default branch. If the repository selector is blank, this may be because the account is new; for security, the creation date must be more than 30 days ago. If it is less than 30 days and you want to connect the Git account to Sevalla, ensure you have a valid payment method on your Sevalla account and contact Sevalla’s Support Team.
- Auto-deploy: Select this option to automatically deploy each time a commit is made to the selected branch.
- Name: This name will be displayed in Sevalla for easy reference.
- Project: This option is only shown if your company already has at least one project. Select the project you’d like to add the application to, or leave it blank to keep the application at the company level instead of assigning it to a specific project.
- Location: Choose the data center you want to use for this application.
- Resource: Choose the pod size for your process. This determines the CPU and RAM dedicated to the process.
If you choose a Hobby pod size for your web process, you will not be able to add a custom domain to your application. However, if you need a custom domain for your application, you can upgrade it anytime.
Add an application using a public Git repository
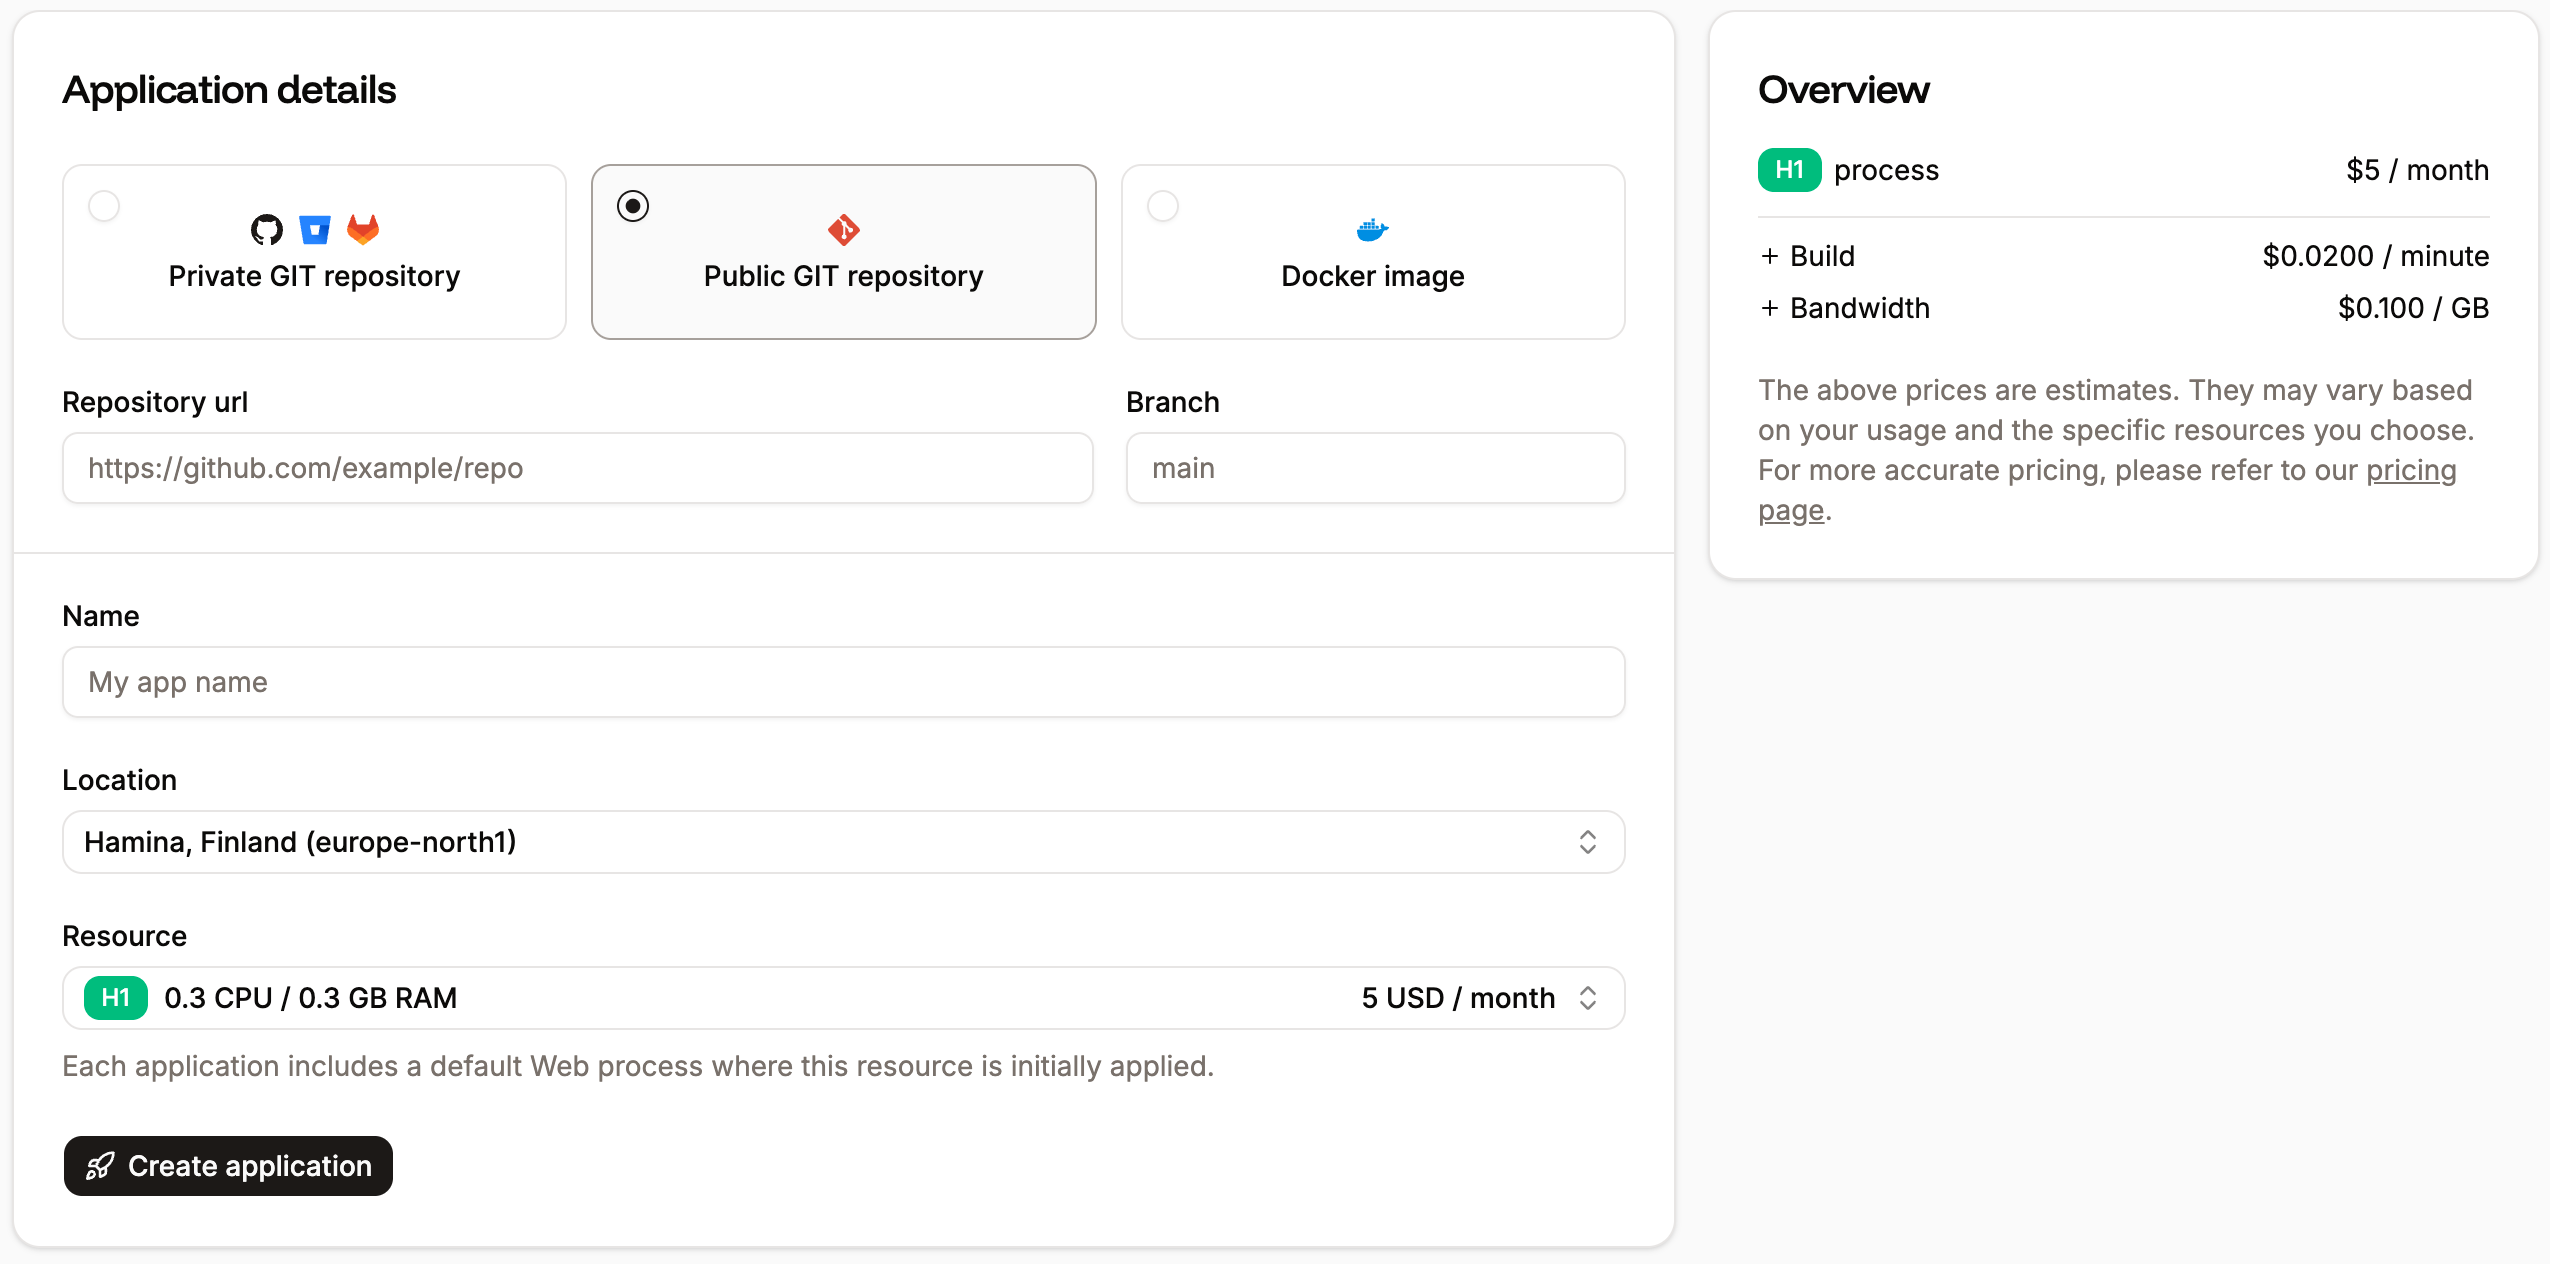
- Repository URL and Branch: Enter the Repository URL and choose a Branch.
- Name: This name will be displayed in Sevalla for easy reference.
- Project: This option is only shown if your company already has at least one project. Select the project you’d like to add the application to, or leave it blank to keep the application at the company level instead of assigning it to a specific project.
- Location: Choose the data center you want to use for this application.
- Resource: Choose the pod size for your process. This determines the CPU and RAM dedicated to the process.
If you choose a Hobby pod size for your web process, you will not be able to add a custom domain to your application. However, if you need a custom domain for your application, you can upgrade it anytime.
Add an application using a Docker image
Sevalla only supports Docker images built for Linux/amd64 architecture. This is validated when you add an application and during the rollout phase.
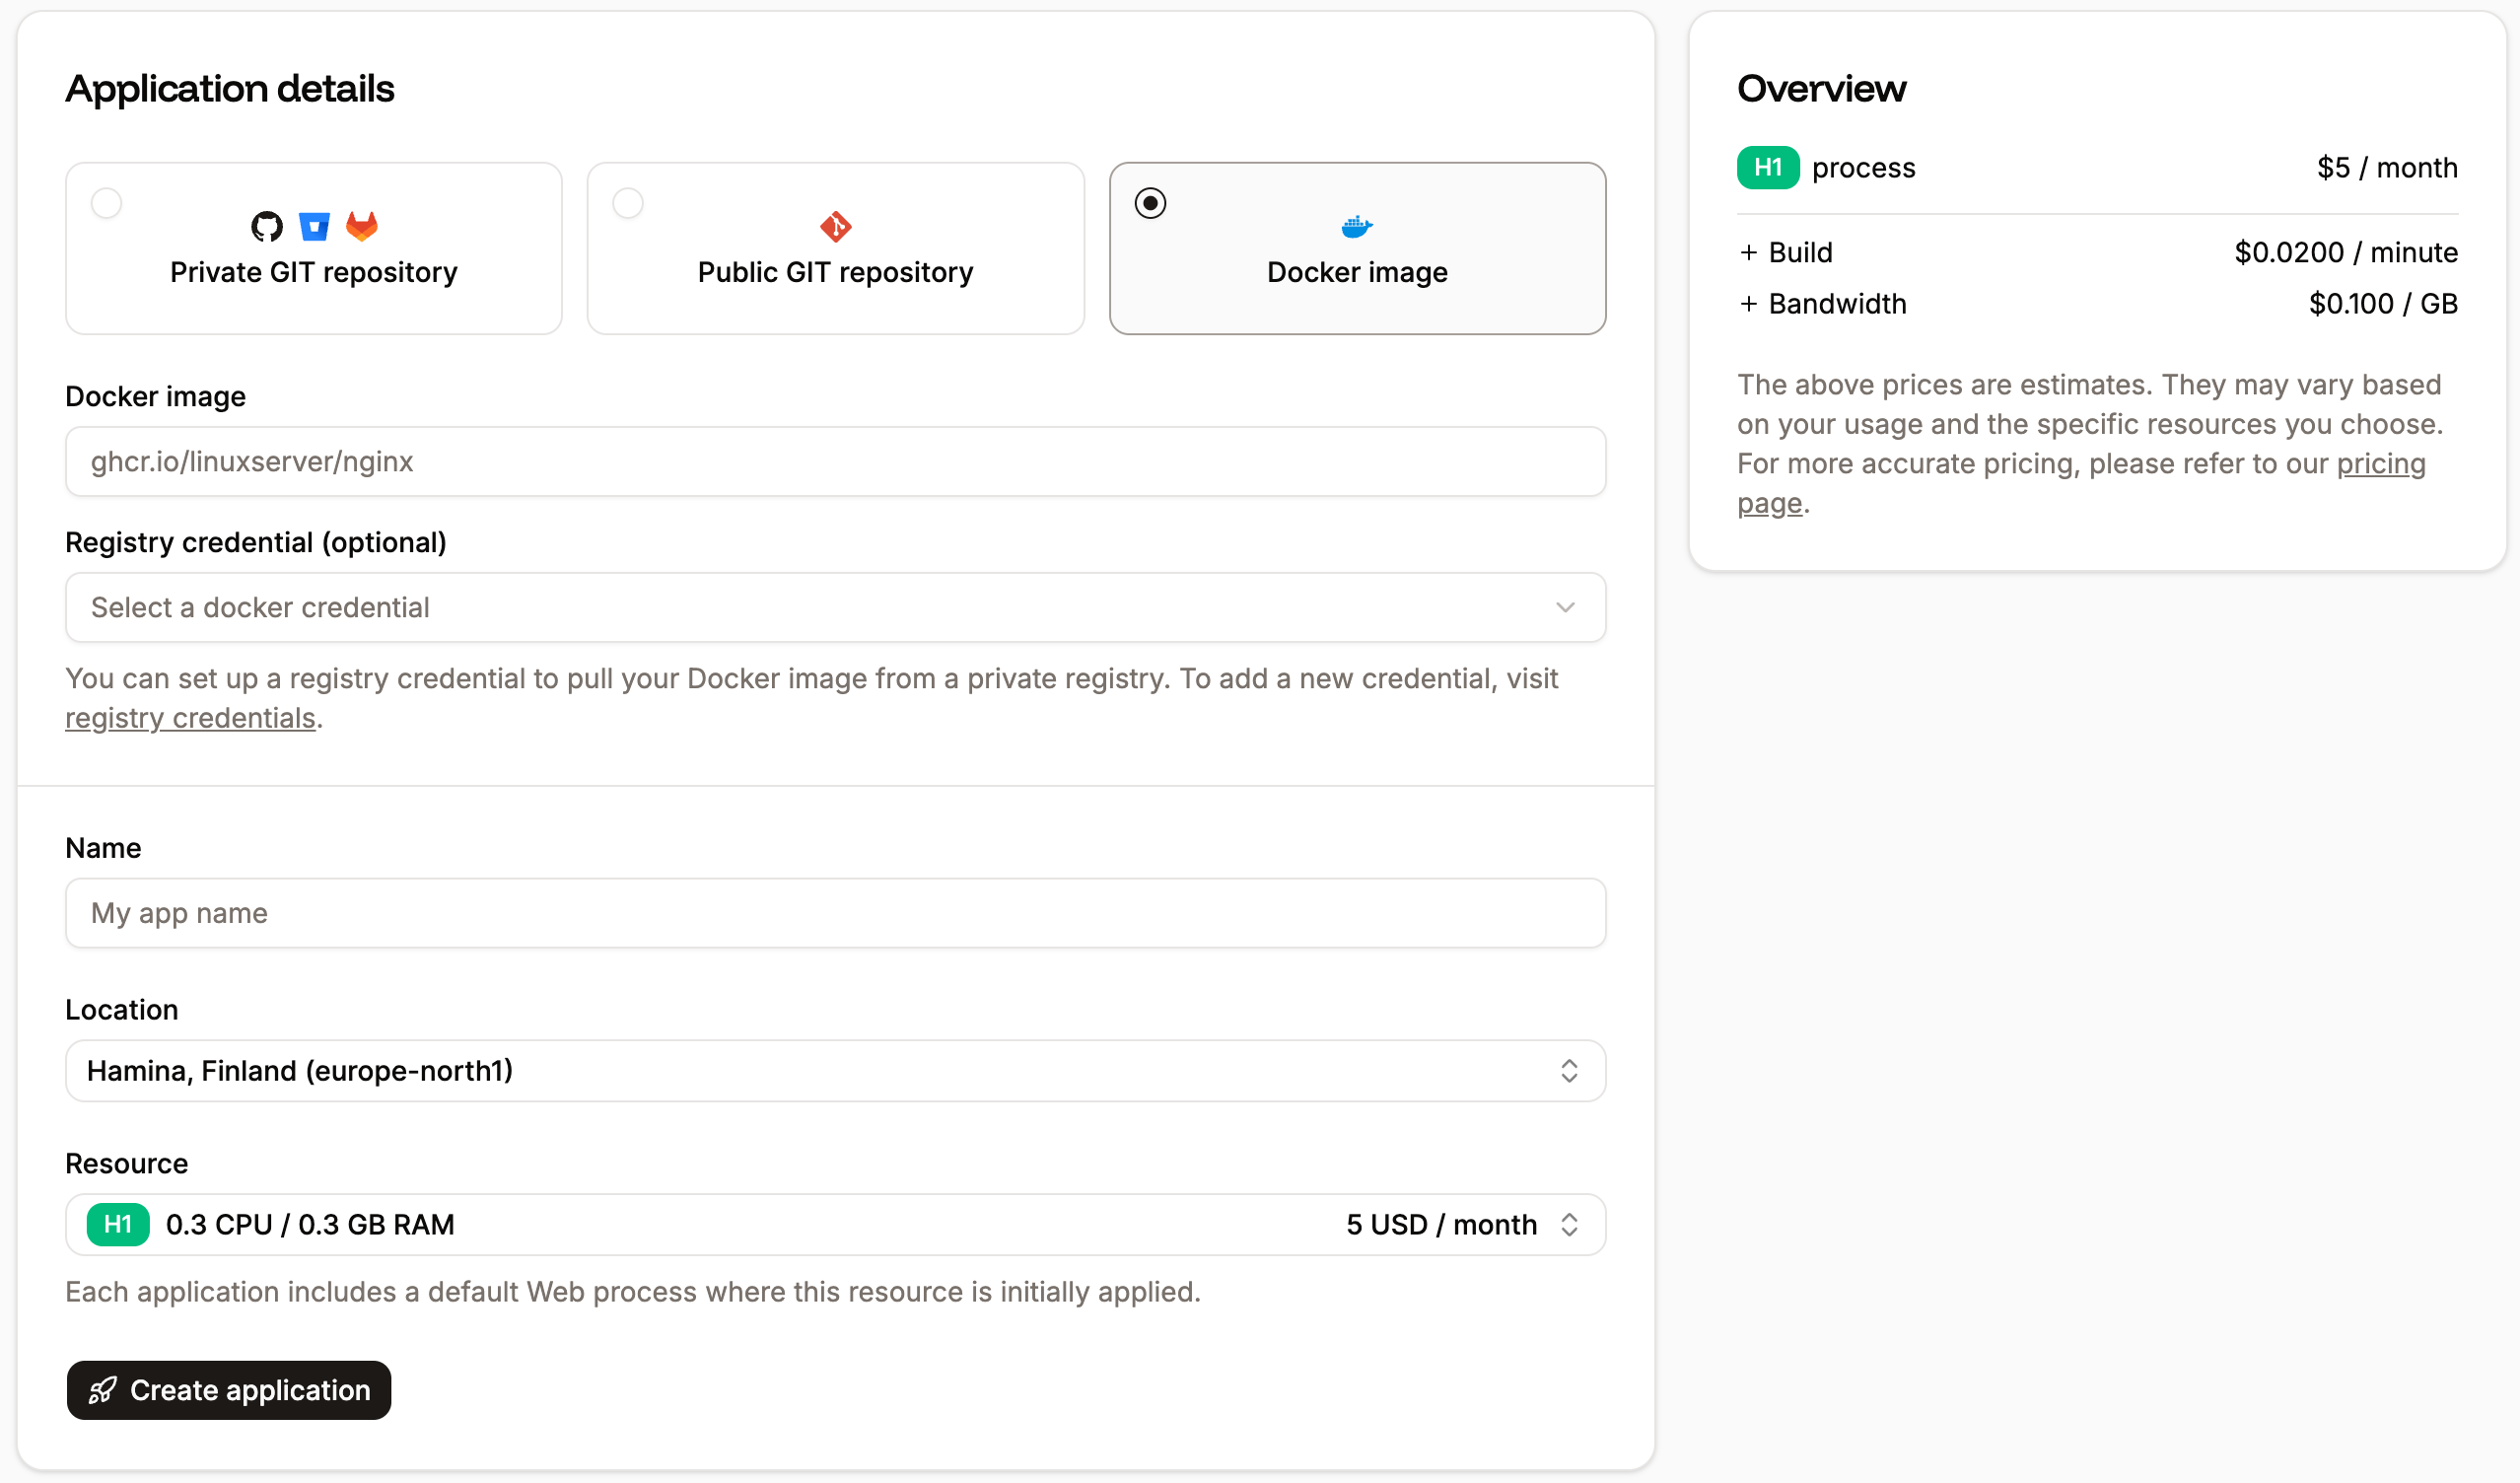
- Docker image: Enter the path to the Docker image. You can use public Docker images from any registry provider. You can access private Docker images from GitHub (ghcr.io), GitLab (registry.gitlab.com), or Docker Hub (docker.io) registries.
- Registry credential (optional): This is only required for private Docker images. You must enter your registry credentials within Integration > Registry credentials. Once you’ve entered your credentials in the Company settings, you can choose which credentials you want to use.
- Name: This name will be displayed in Sevalla for easy reference.
- Project: This option is only shown if your company already has at least one project. Select the project you’d like to add the application to, or leave it blank to keep the application at the company level instead of assigning it to a specific project.
- Location: Choose the data center you want to use for this application.
- Resources: Choose the pod size for your process. This determines the CPU and RAM dedicated to the process.
If you choose a Hobby pod size for your web process, you will not be able to add a custom domain to your application. However, if you need a custom domain for your application, you can upgrade it anytime.
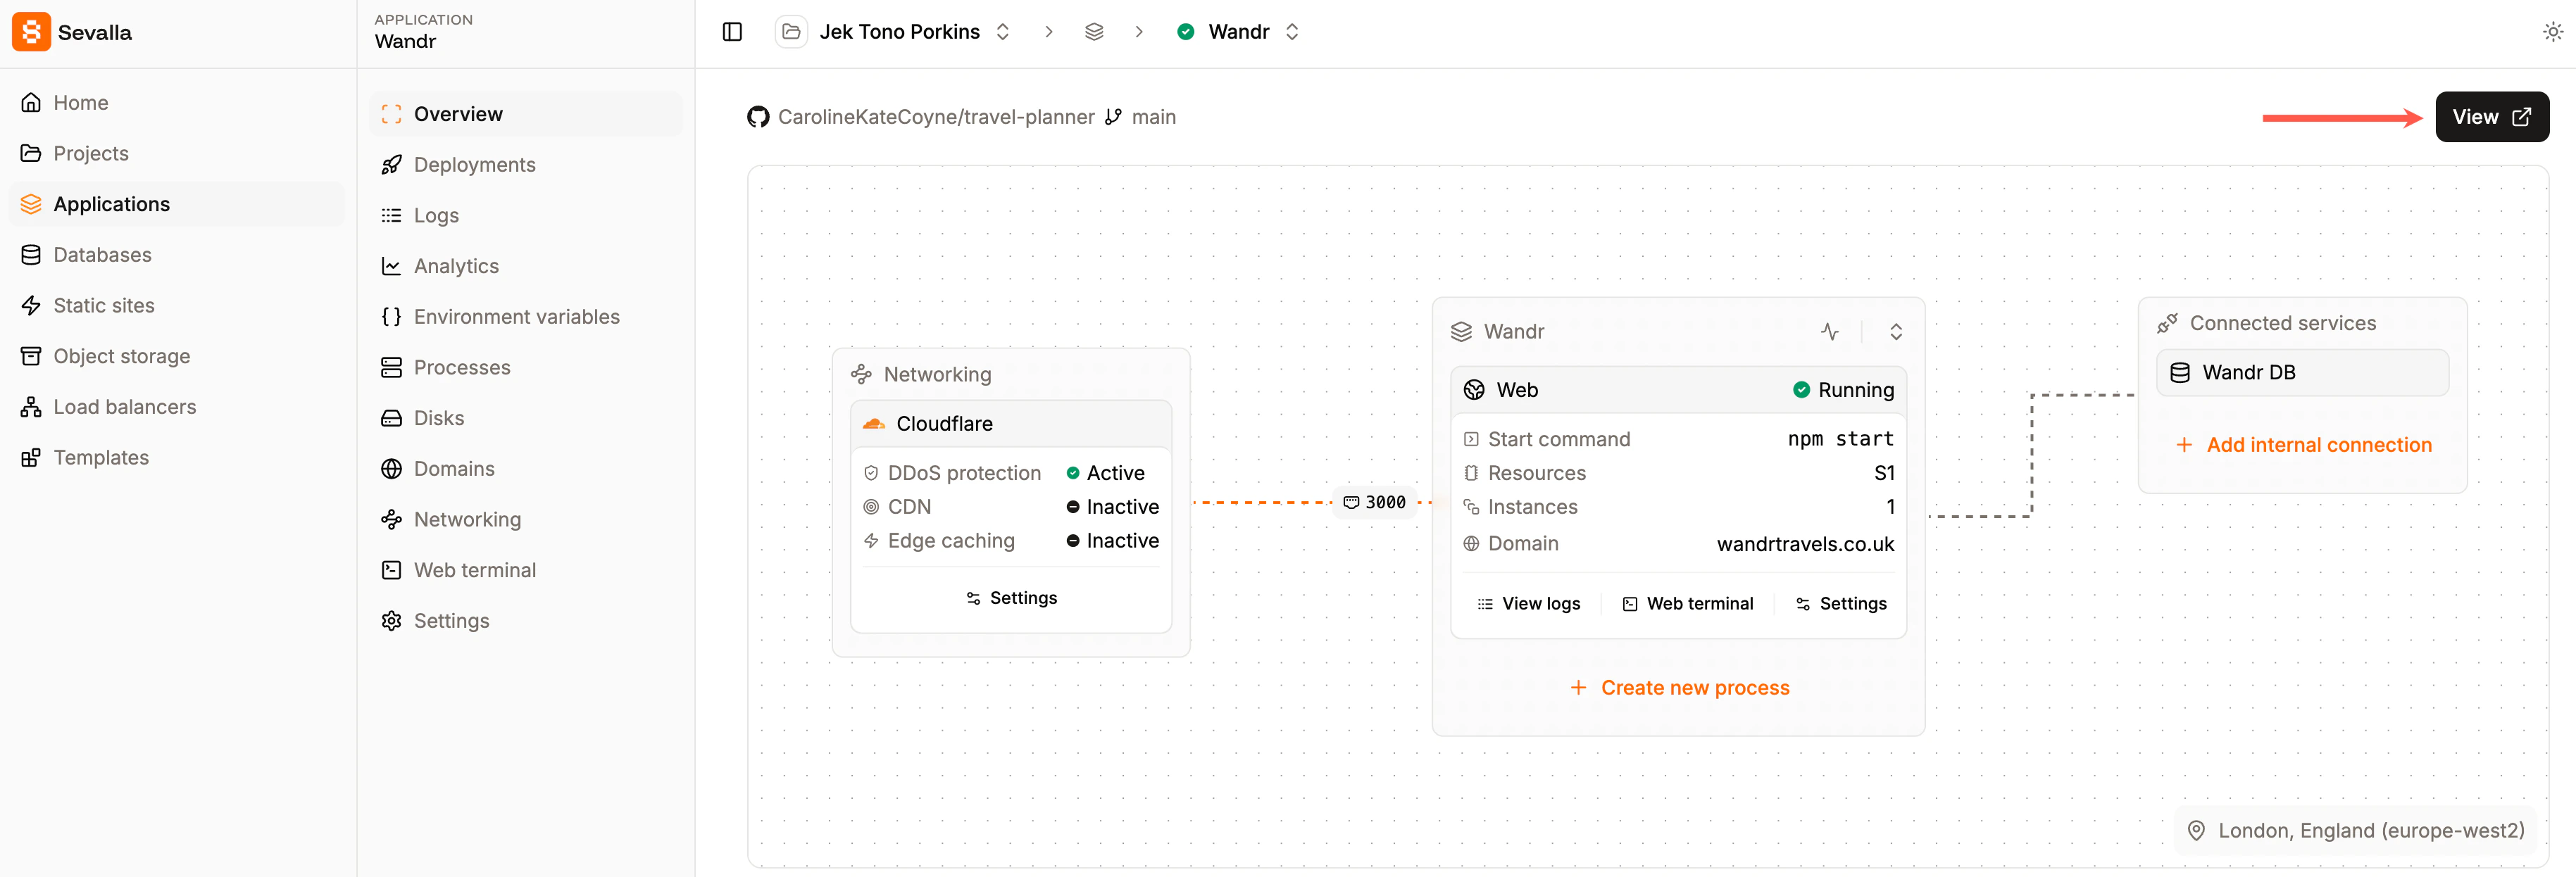
View app
Once your application is successfully deployed, you can open it using View at the top of the Overview page within the application in Sevalla. The Overview page also shows you a diagram of your application so you can easily visualize its components and which ports it is listening on for incoming requests.