With Static Site Hosting, you can easily build and host your static site at Sevalla. Static Site Hosting is available for everyone in Sevalla. You can add up to 100 sites per company. For more information, see the list of Static Site Features.
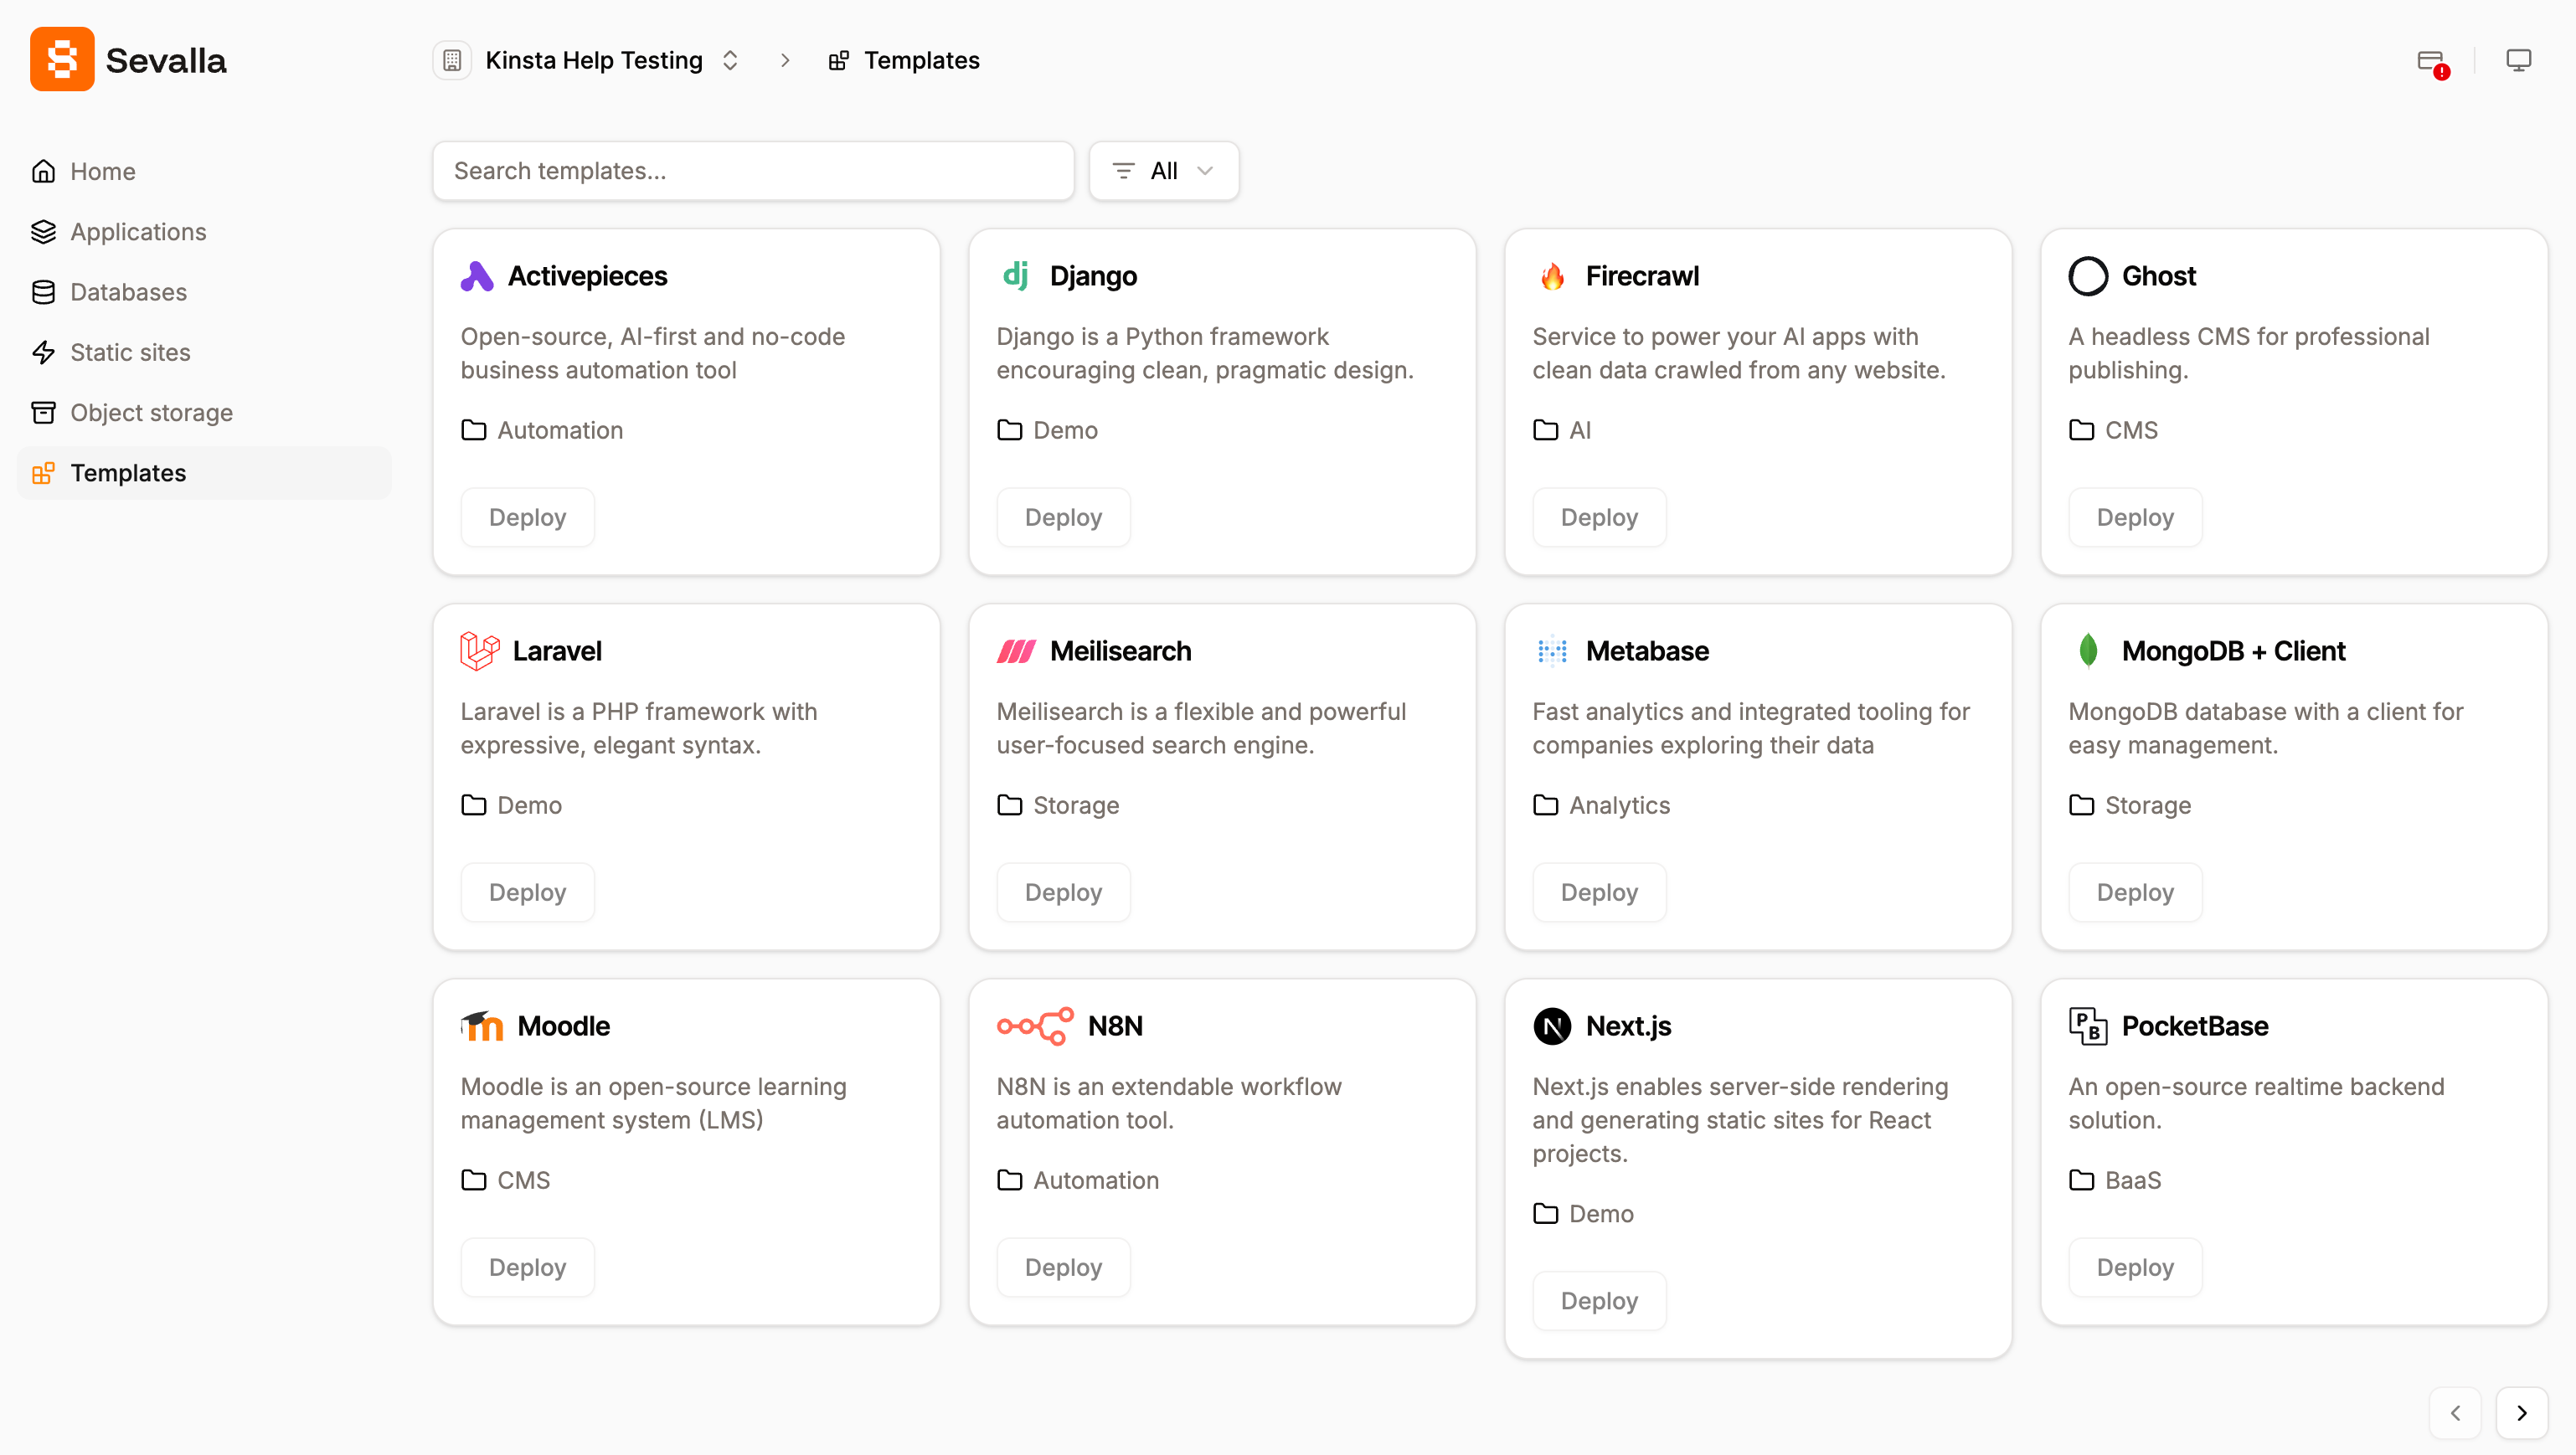
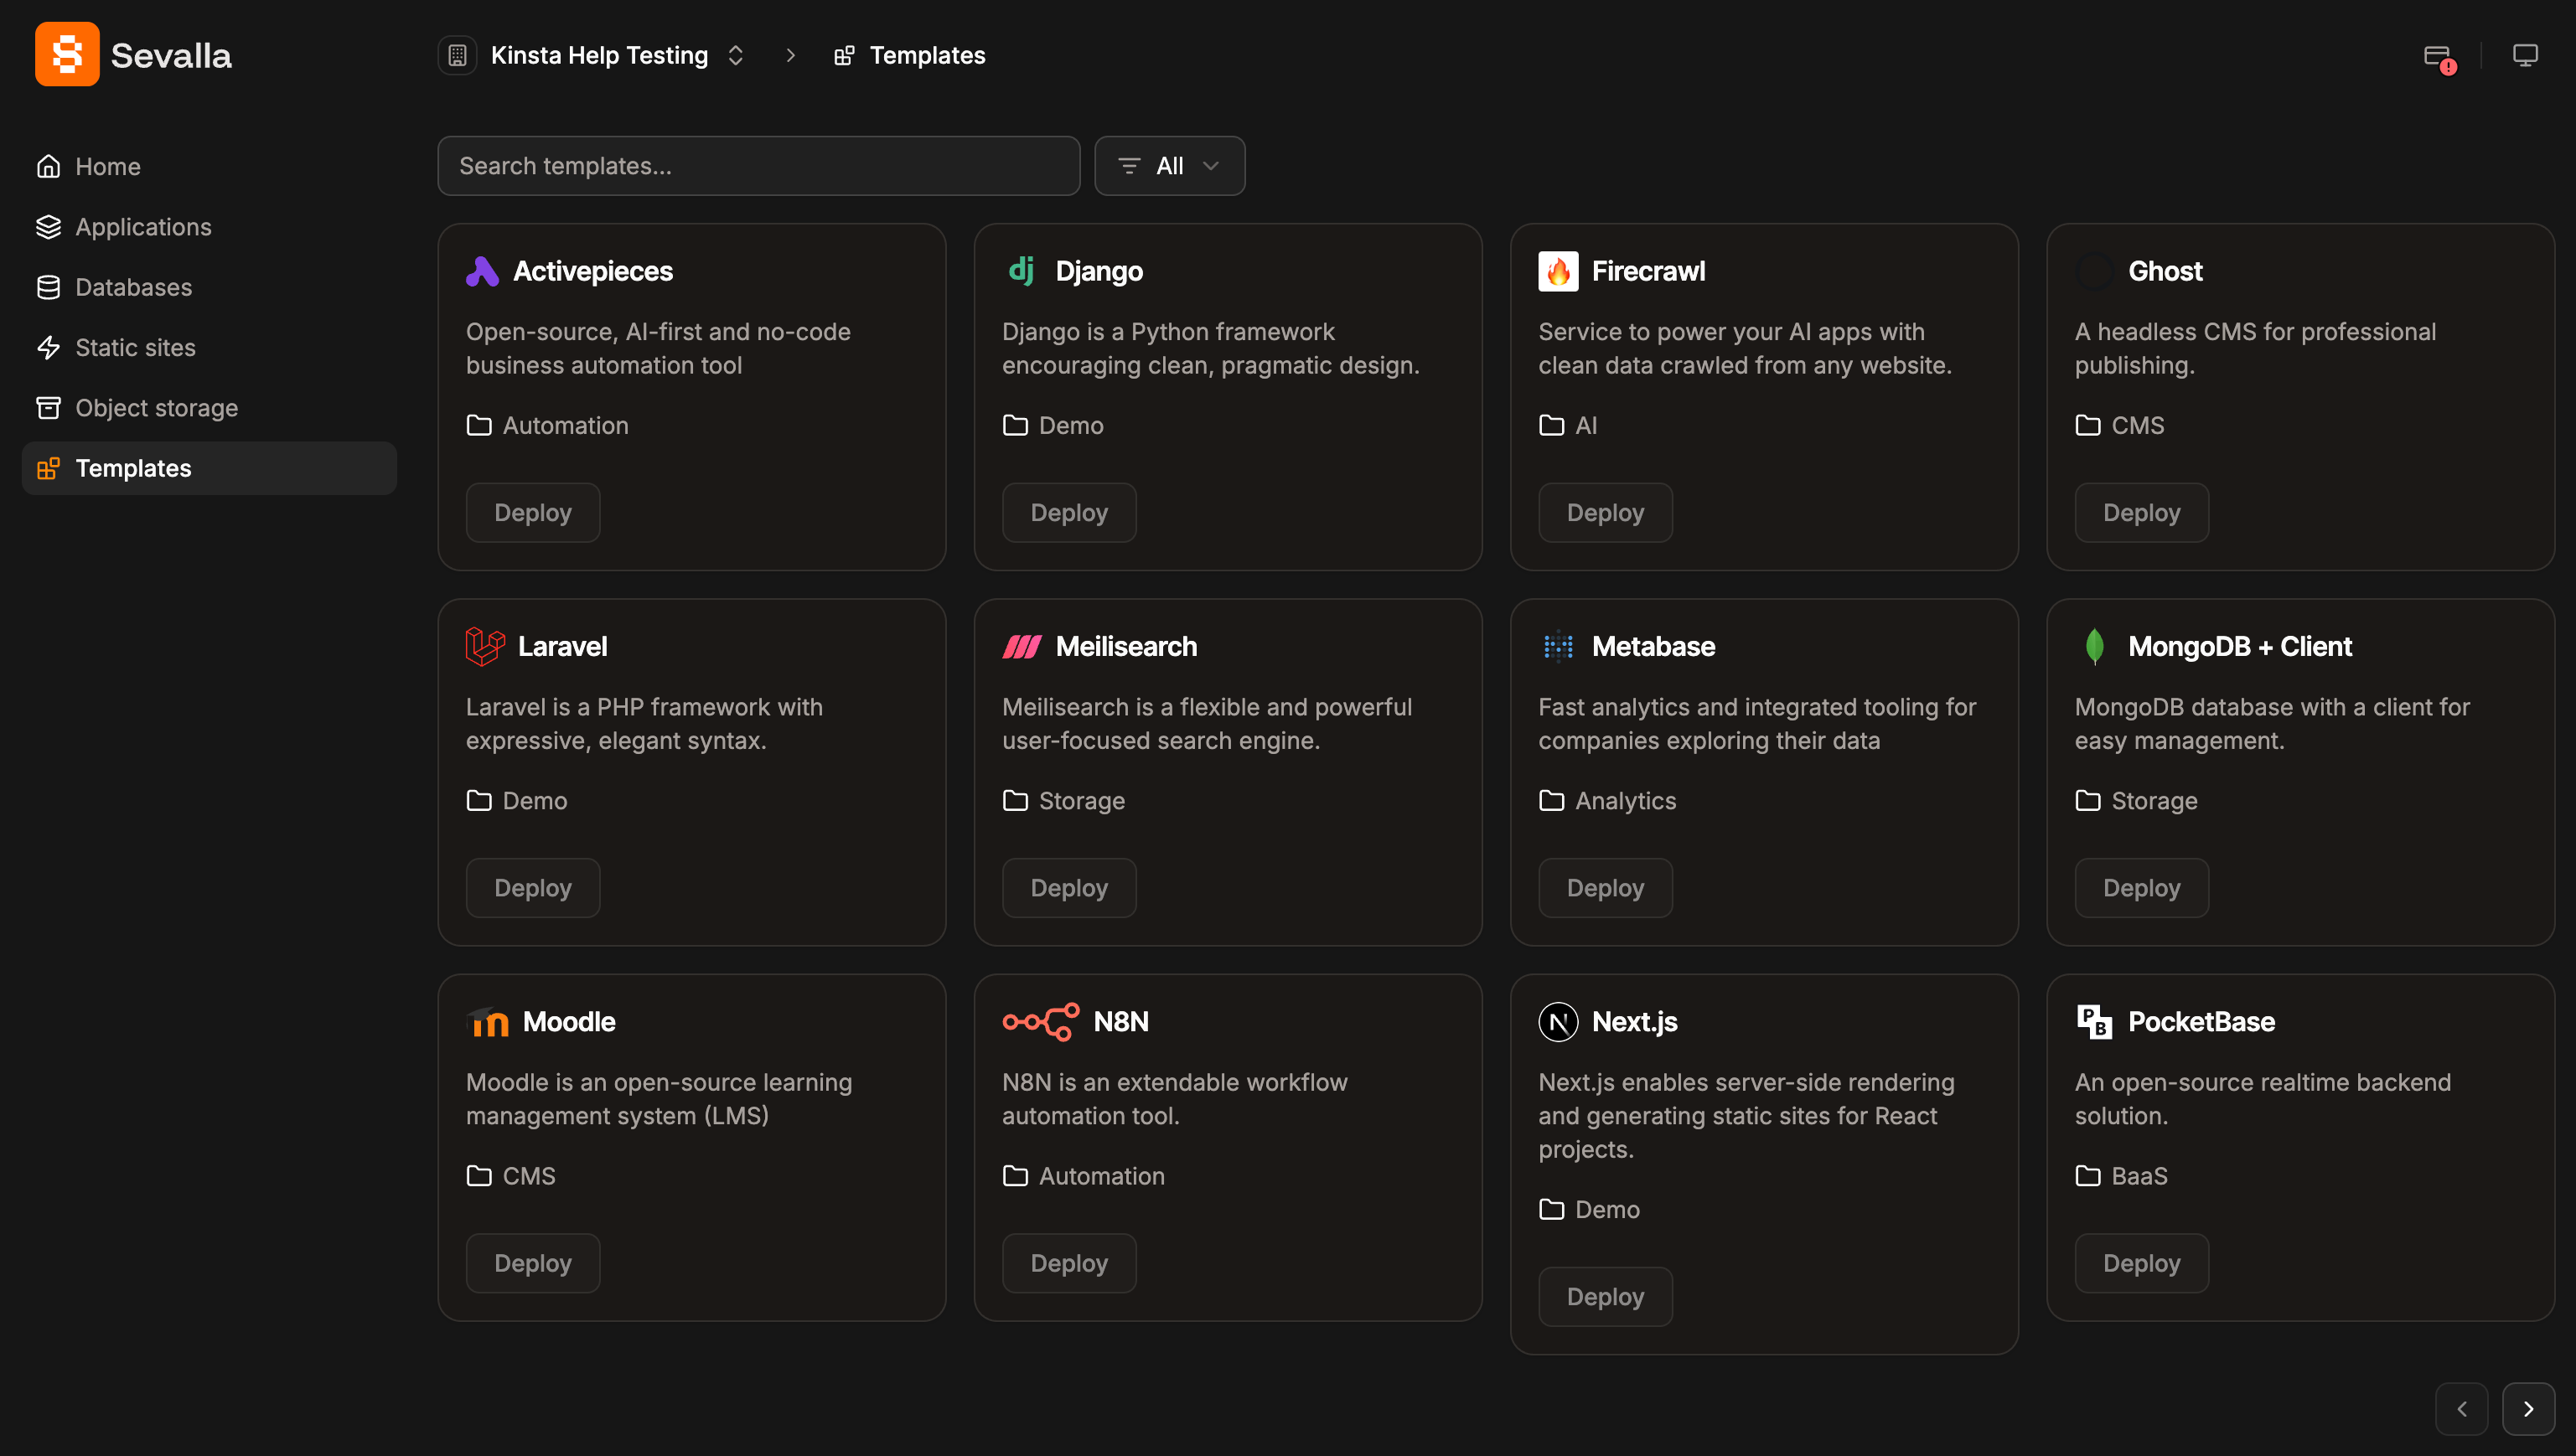
To help get you started and provide examples of minimal applications, you can use one of the Sevalla one-click templates from your Dashboard or from Templates. To access these templates, you must have a positive balance or a credit card on your account.
Click on one of the template options, and this automatically starts the deployment.
Adding a static site
To add a new static site, click Add site on the Static Sites page.
The first time you add a static site, you’ll need to select a Git service provider and repository from your account. You can choose from any (or all) of the following:
Once you’ve connected your Git provider account, you’ll be returned to Sevalla to continue with the rest of the Add static site steps.
The following fields are available in the multipart form with the described effects.
Details
Select branch
You have the option here to select from any of the supported Git service providers.
- Repository: Select the Git repository to use.
- Default branch: Set the branch that will be deployed on commit or manually.
- Automatic deployment on commit: Check this box to automatically deploy your site each time a commit is made to the branch selected above.
Basic details
- Display name: This name will be displayed in Sevalla for easy reference. The name must be unique; it cannot be the same as another static site, application, or database.
Pull request previews
Pull request previews enable you to preview your site, allowing you to review changes before deploying them to your site. To enable pull request previews, select Enable pull request previews.
If you enable pull request previews, this creates a new deployment for each pull request, which will increase your build minutes and bandwidth usage.
Build settings
The build settings dictate how we build your static site. If your site uses one of the frameworks we automatically detect, the Build command and Publish directory are automatically populated, and a notification that the framework was detected is shown. Double-check the fields to confirm they are correct.
Build settings
- Build command: Optional. If your static site requires a build command, enter it here.
- Node version: Optional. If you enter a build command, you can specify which major version of Node.js to use during the build process to ensure compatibility and avoid errors. When you select the major version, Sevalla pulls the latest image for that version during the build. You can also choose,
latest to use the most up-to-date version and lts for the currently active long-term support version.
- Root directory: Optional. This field defines the root folder of your static site, which is useful if you have a non-standard folder structure or monorepo setup.
- Publish directory: Optional. If this is left blank, it defaults to the root folder of your repository.
- If you want to publish your site to a specific subdirectory, enter it here, relative to the repository root.
- If you have an HTML site that doesn’t need to be built that you want to run from a specific subdirectory, place your site files in that directory and enter it here, relative to the repository root.
- Index file: If you use a single-page application (SPA), enter the site’s default page. SPAs typically use a single HTML file, commonly named
index.html. When a user enters a URL for your site, all navigation traffic is directed through the index file to ensure seamless navigation within the site.
- Error file: If you use a single-page application (SPA), you can specify which file to redirect traffic to if an error occurs in the navigation.
Specifying a Build command and Publish directory are crucial steps if your site depends on a build step. The Build command tells our system how to assemble your site, and the Publish directory is the subdirectory where the finished site files live, relative to the root of your repository. Filling these out correctly will ensure your site is built and served as you intend. If the Build command is left blank, the system may indicate the deployment is complete, but it will only upload the unbuilt contents of your repository.
Automatically detected frameworks
To automatically detect the framework, we check which dependencies are used in the package.json file to determine the framework. If one of the following frameworks is detected, then we automatically populate the Build command and Publish directory fields. We also check for a yarn.lock file in the repository, and if one is found, we populate the Build command with the equivalent yarn commands instead of npm commands.
| Framework | Build Command | Publish Directory |
|---|
| Astro | yarn build
npm run build | dist |
| ElderJS | yarn build
npm run build | public |
| Gatsby | yarn build
npm run build | public |
| Next.js | yarn build
npm run build | out |
| Nuxt | yarn generate
npm run generate | .output/public |
| React (using Create React App) | yarn build
npm run build | build |
| React (using Vite) | yarn build
npm run build | dist |
Environment variables
Environment variables securely provide the build process information like API keys or other details you do not want to include as clear text in your site’s code. Add the key-value pairs here for your environment variables. Environment variables can also be added, updated, or removed on the Settings page after your site is created.
Click Create site to begin deploying your site.
View site
Once your site is successfully deployed, you can open the site using View at the top of each page within the static site in Sevalla.


