OneLogin is an Identity Provider (IdP) that enables secure single sign-on (SSO), allowing your company’s users to access multiple applications with one login. With Security Assertion Markup Language (SAML) SSO, employees sign in once using their company credentials (typically email and password). The IdP, such as OneLogin, verifies their identity and grants seamless, secure access to all connected services, without requiring separate logins for each application. Company owners or IT administrators can link their organization’s email domain (e.g., @mycompany.com) to the IdP so that anyone with a company email address is automatically recognized and can securely sign in to SAML-enabled tools. Using Sevalla SAML SSO, you can connect OneLogin to Sevalla by creating a SAML application within OneLogin, verifying your company’s email domain, and adding the required OneLogin details in Sevalla. This allows your team to log in with their existing company credentials, eliminating the need to create or manage separate Sevalla accounts.
When using SAML SSO with Sevalla, login must always be initiated from Sevalla. Logging in directly from your Identity Provider (IdP) is not supported.IdPs only support one active session per browser. If you have multiple Google Workspace accounts and are logged into one, attempting to log into another through Sevalla will result in an error. To switch accounts, log out of Google Workspace or use your browser’s Incognito/Private mode.

Enable SSO in Sevalla

When you set up SAML SSO, you can navigate away from the SSO setup at any stage to store your progress and return later. In Sevalla, go to your Settings > Single sign-on, and click Enable.
Enable SSO

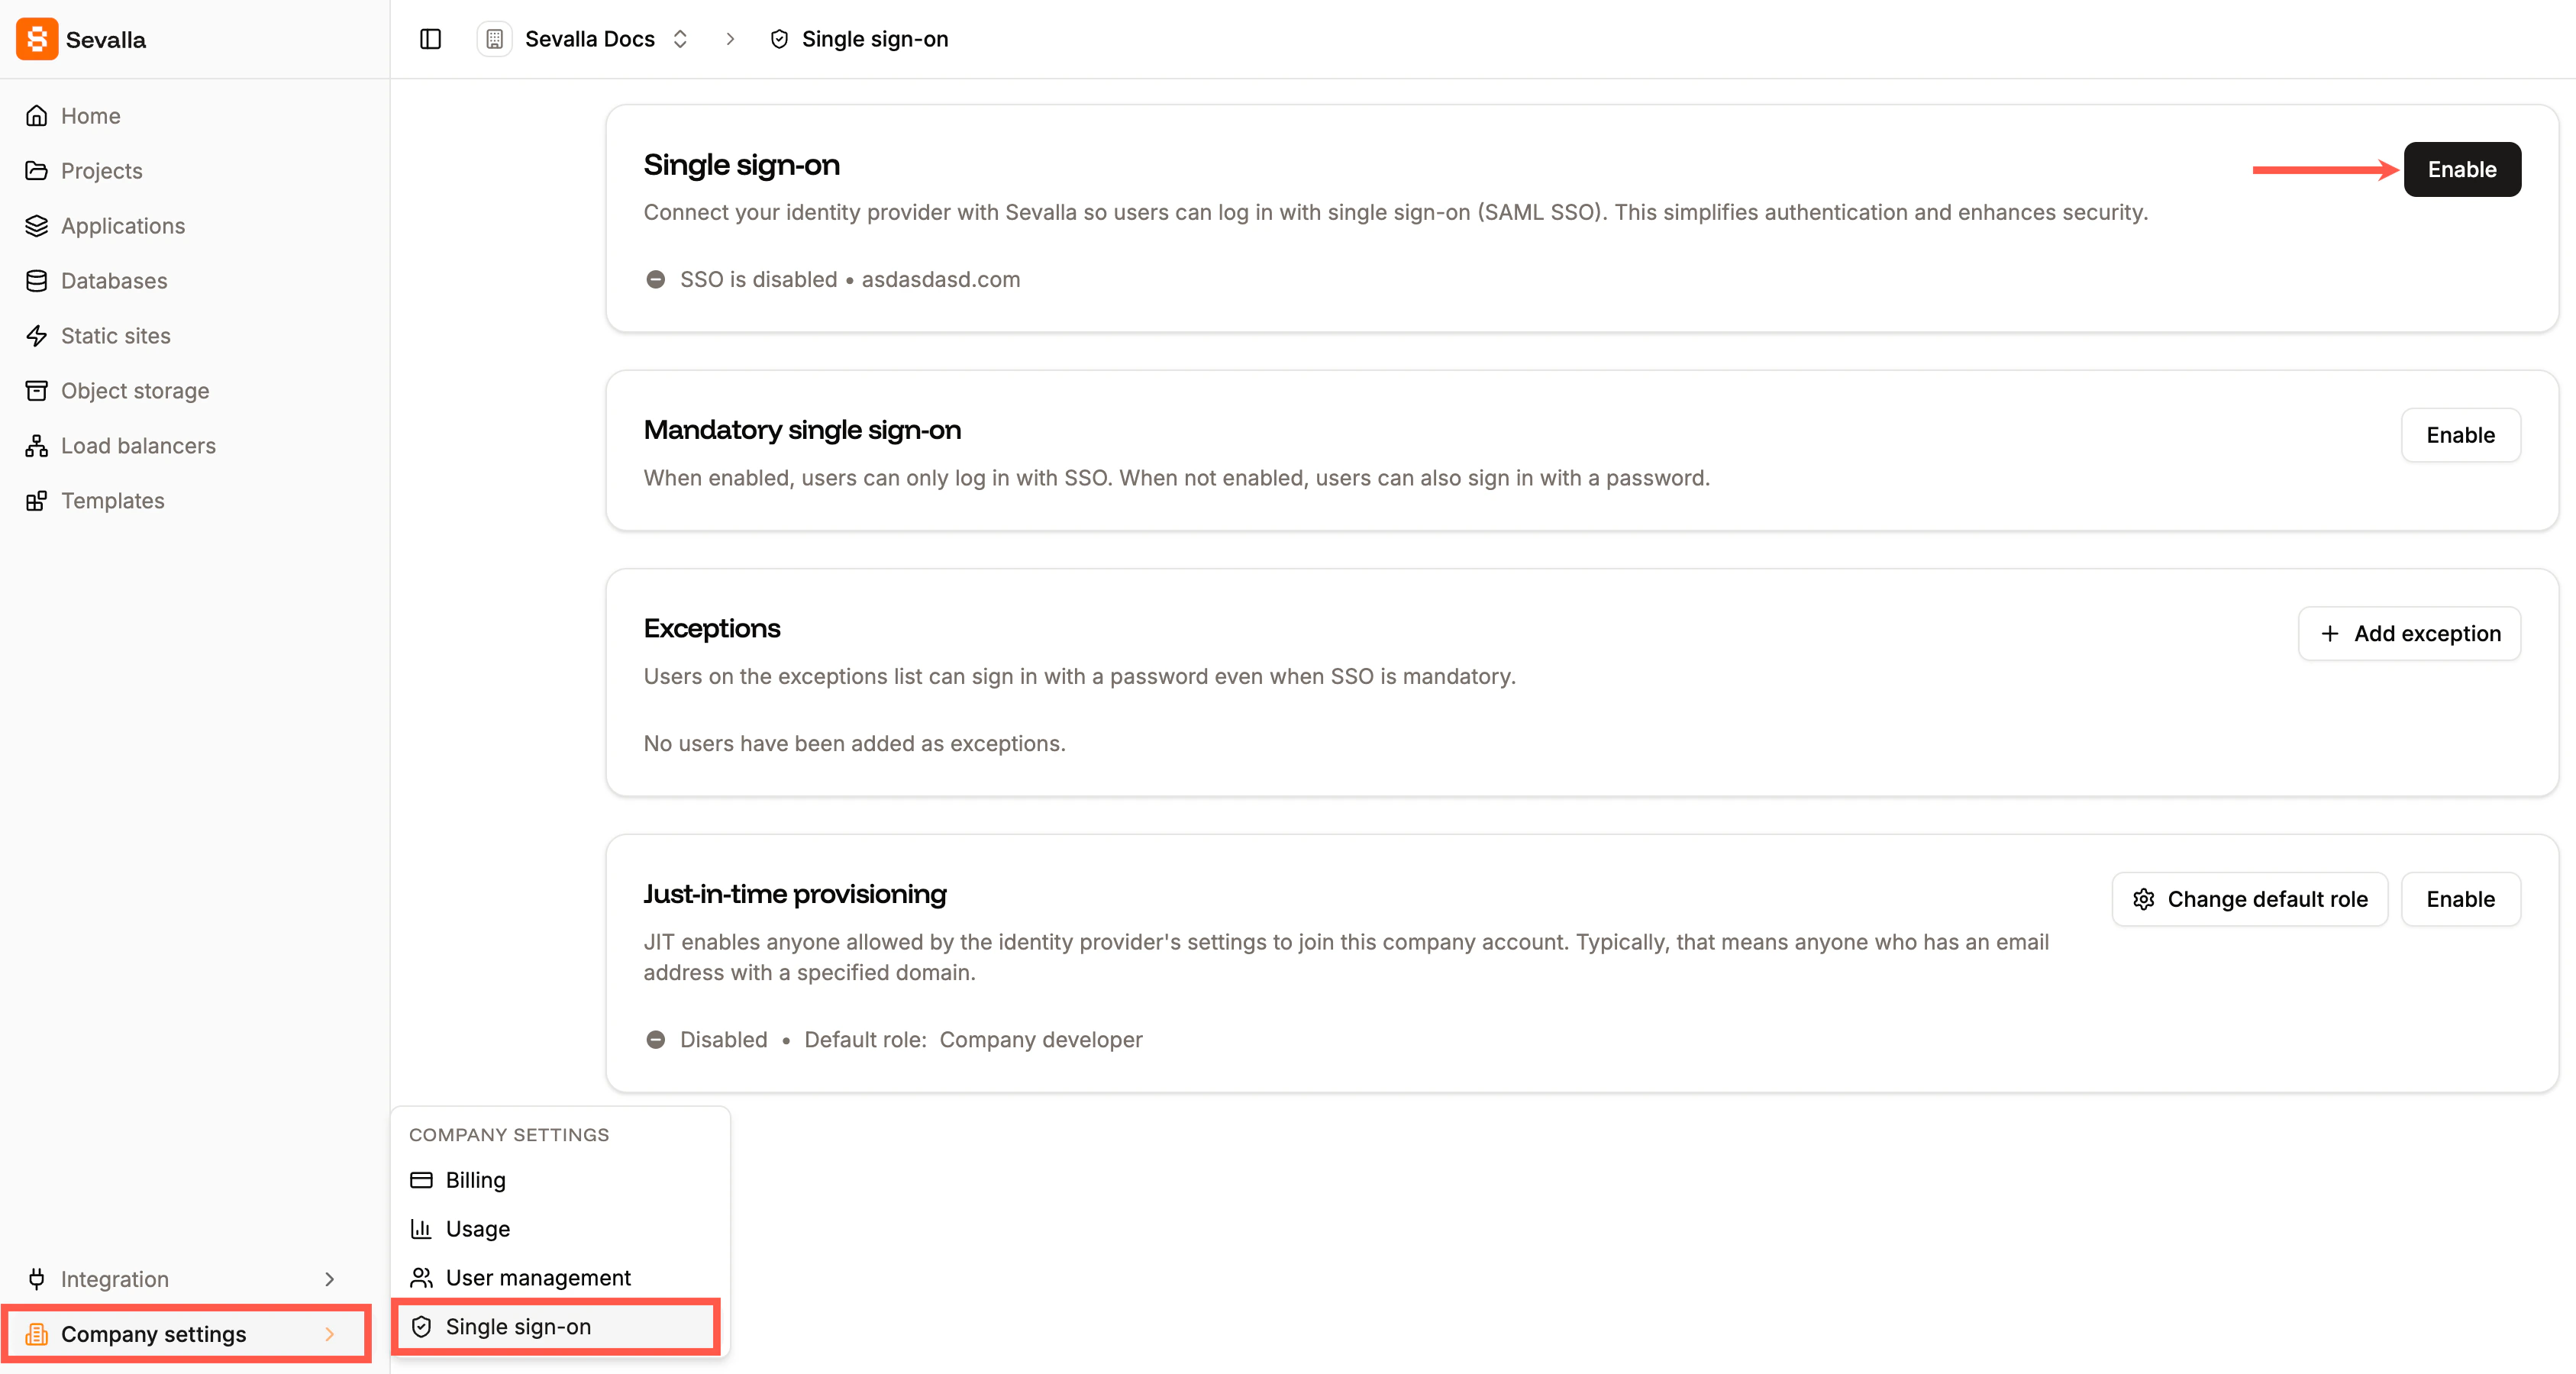
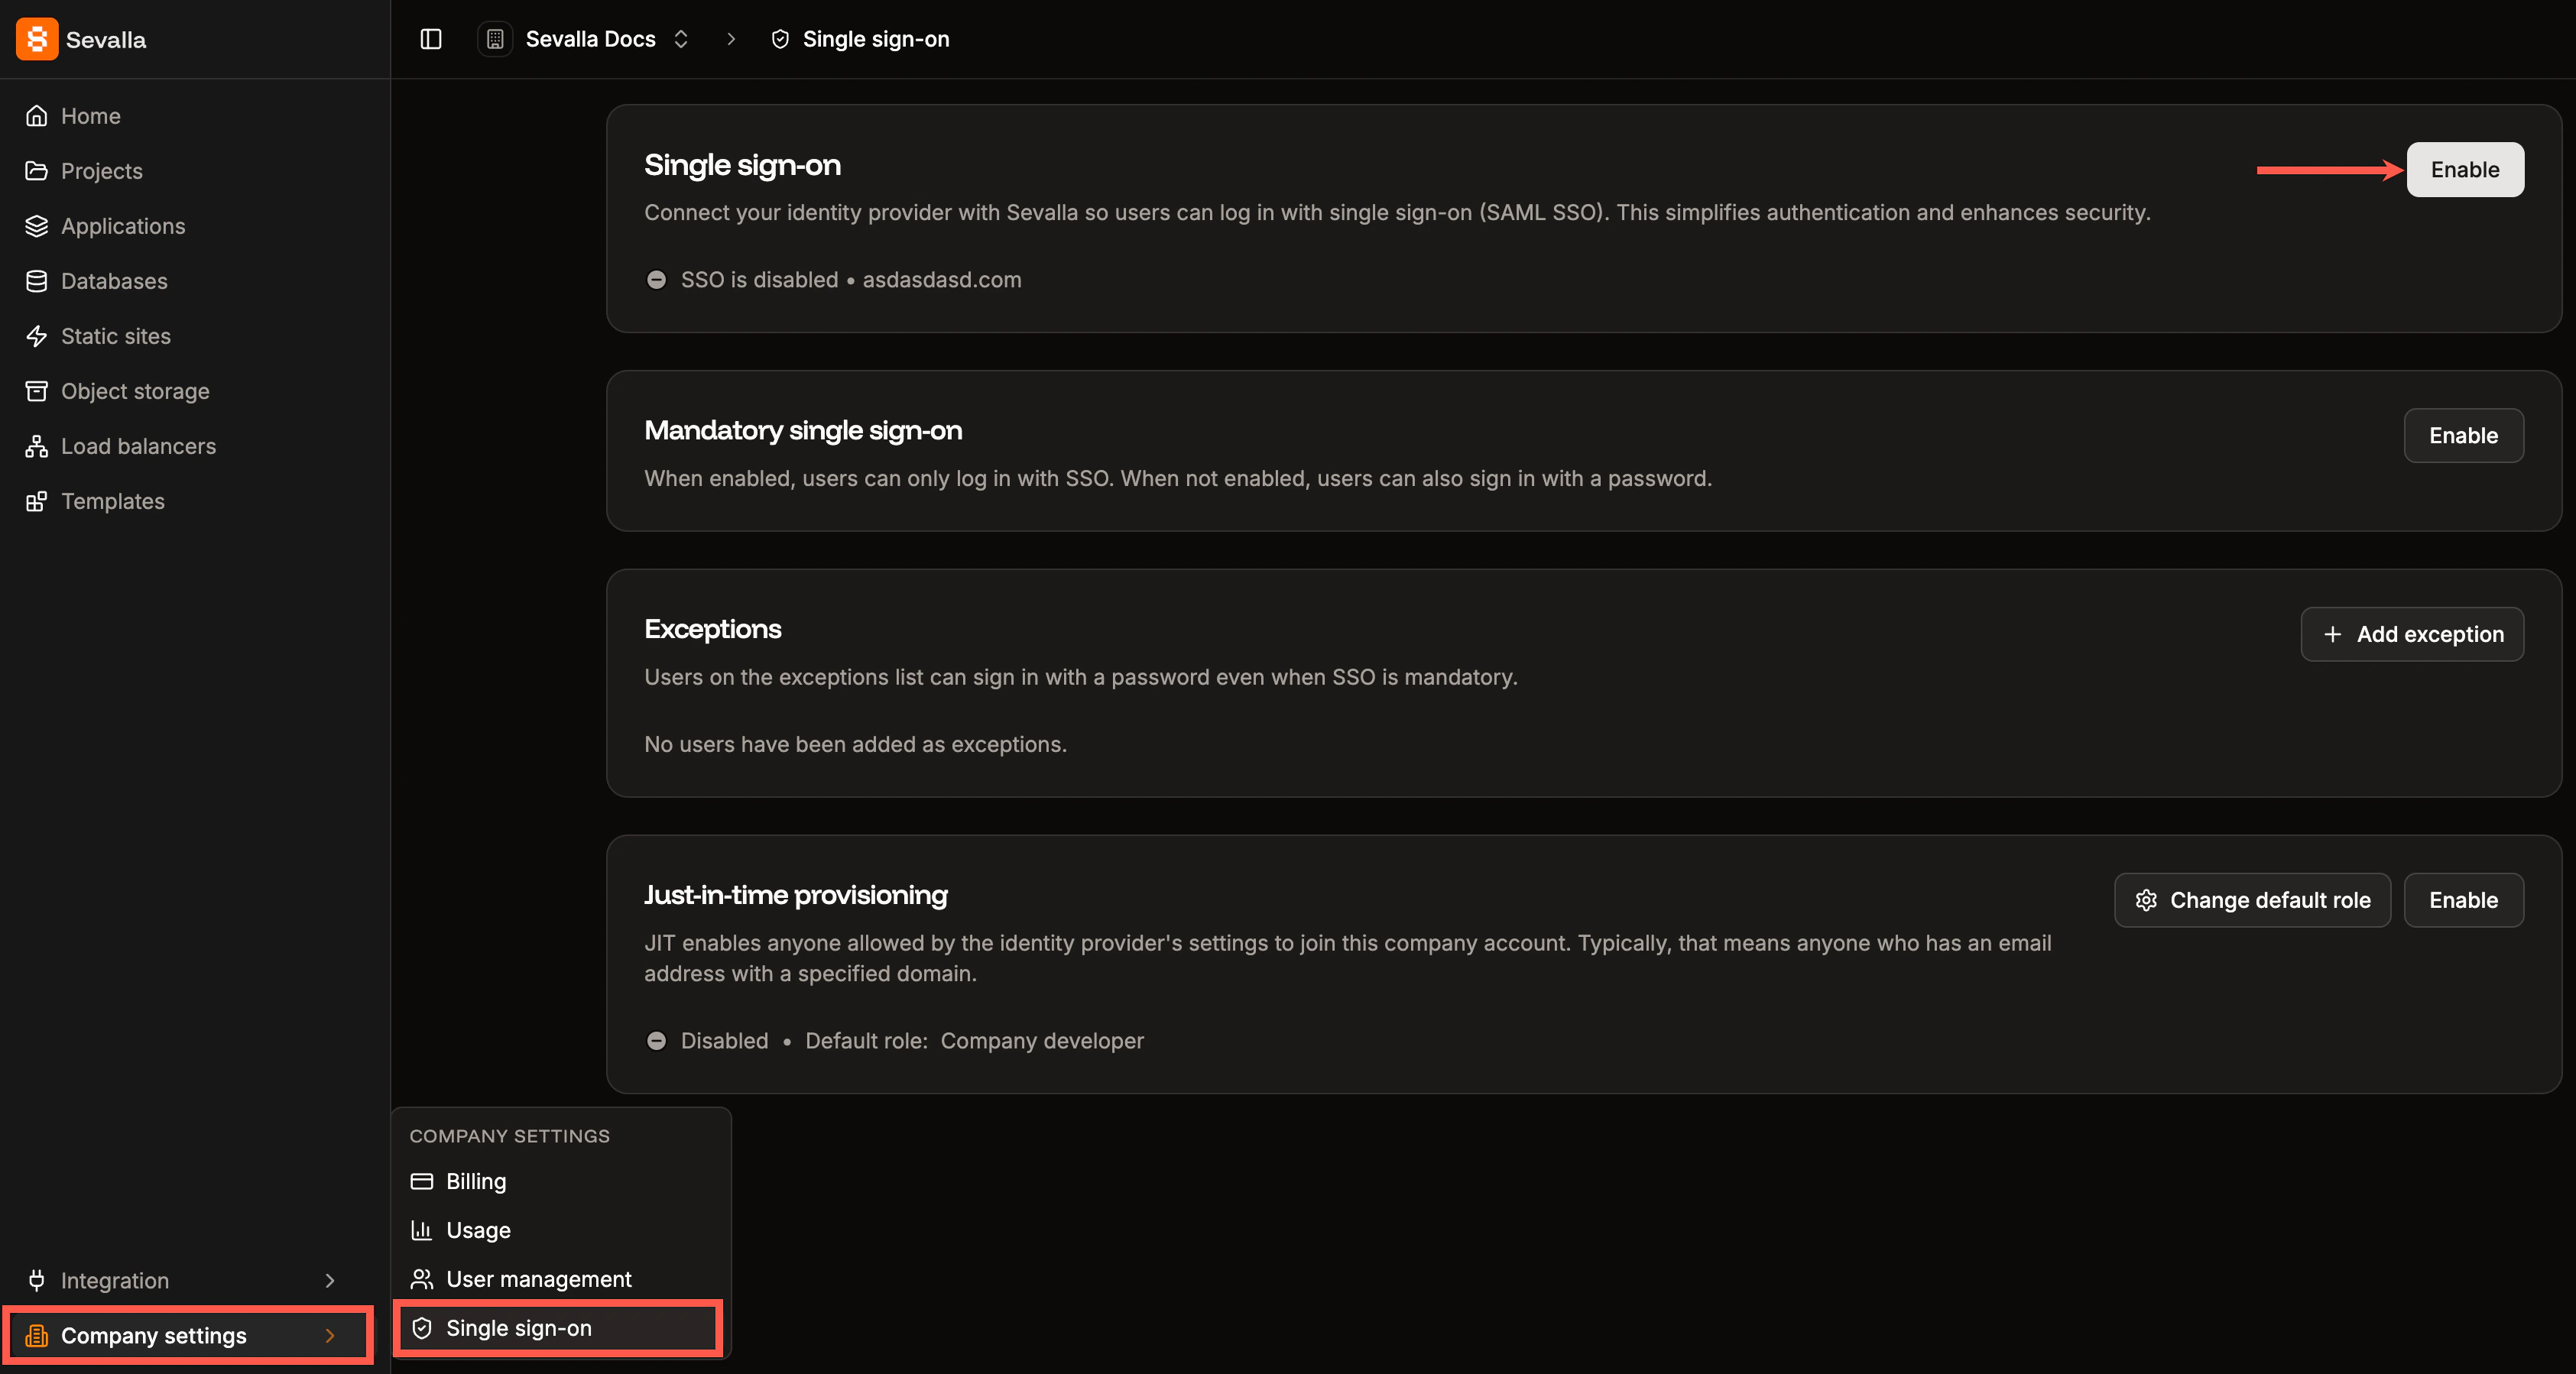
Enable SSO in Sevalla.

Read through the introduction, which explains how SSO will be set up, and click Continue.
Introduction to the steps required to set up SSO

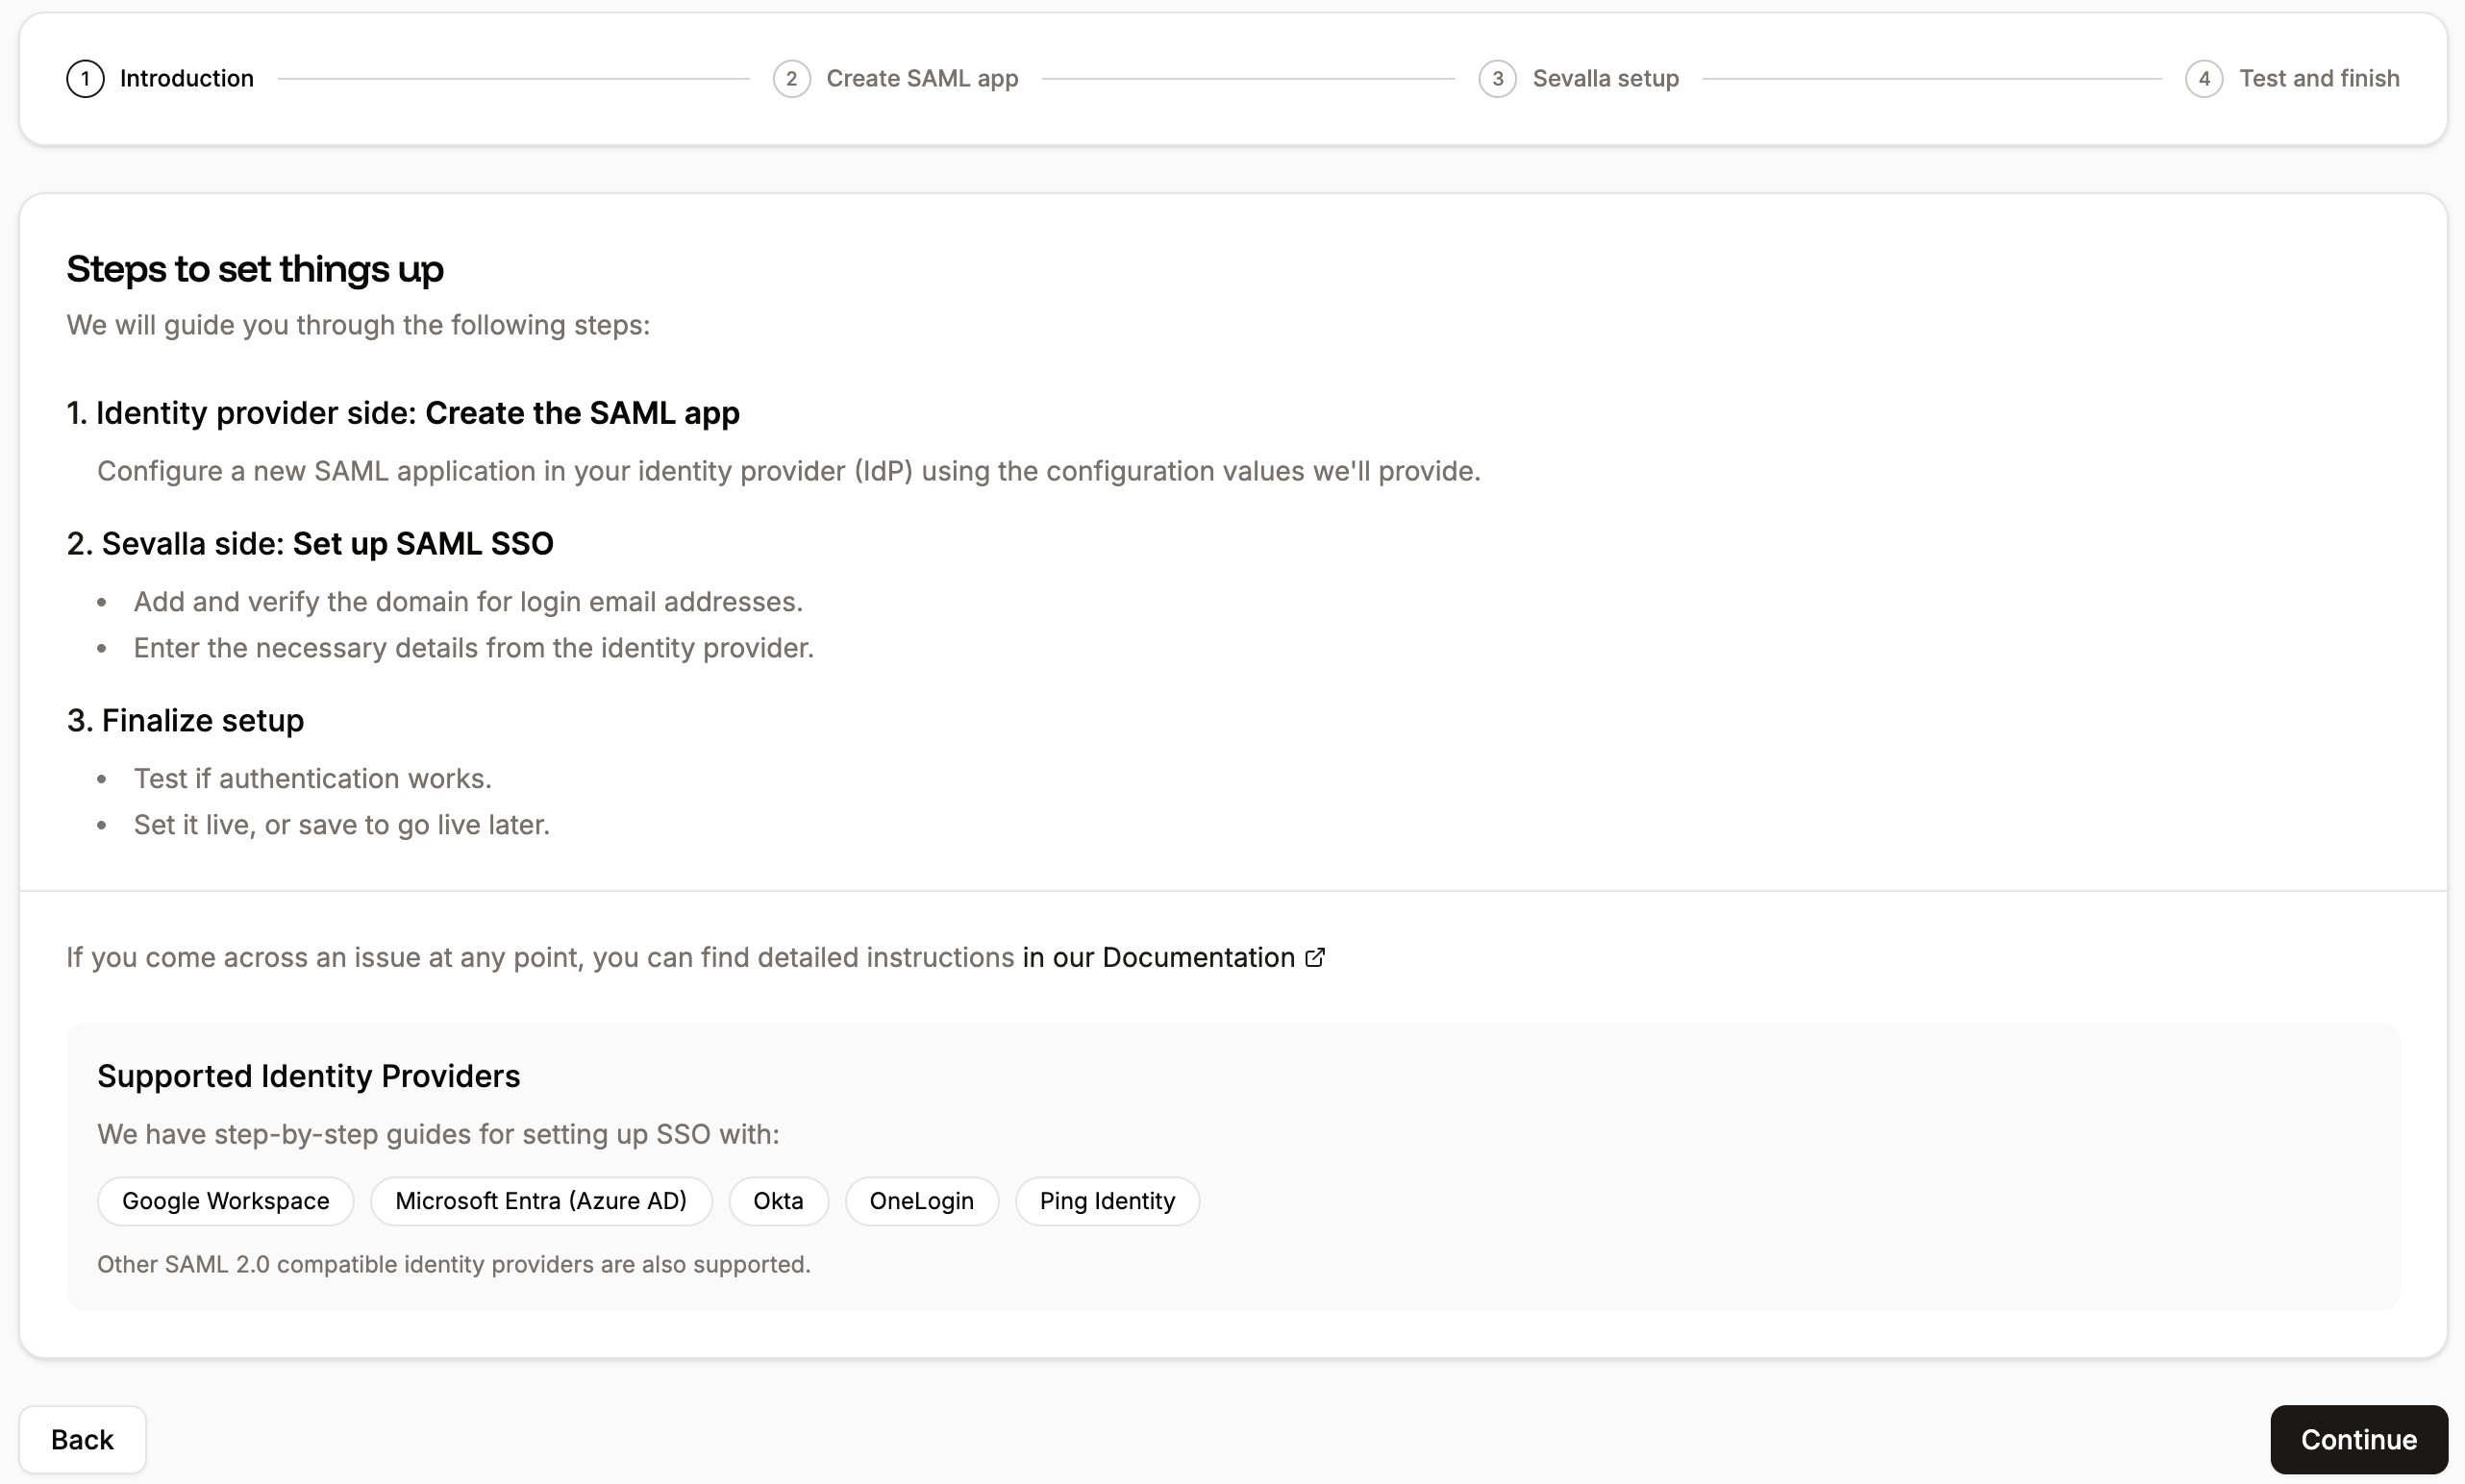
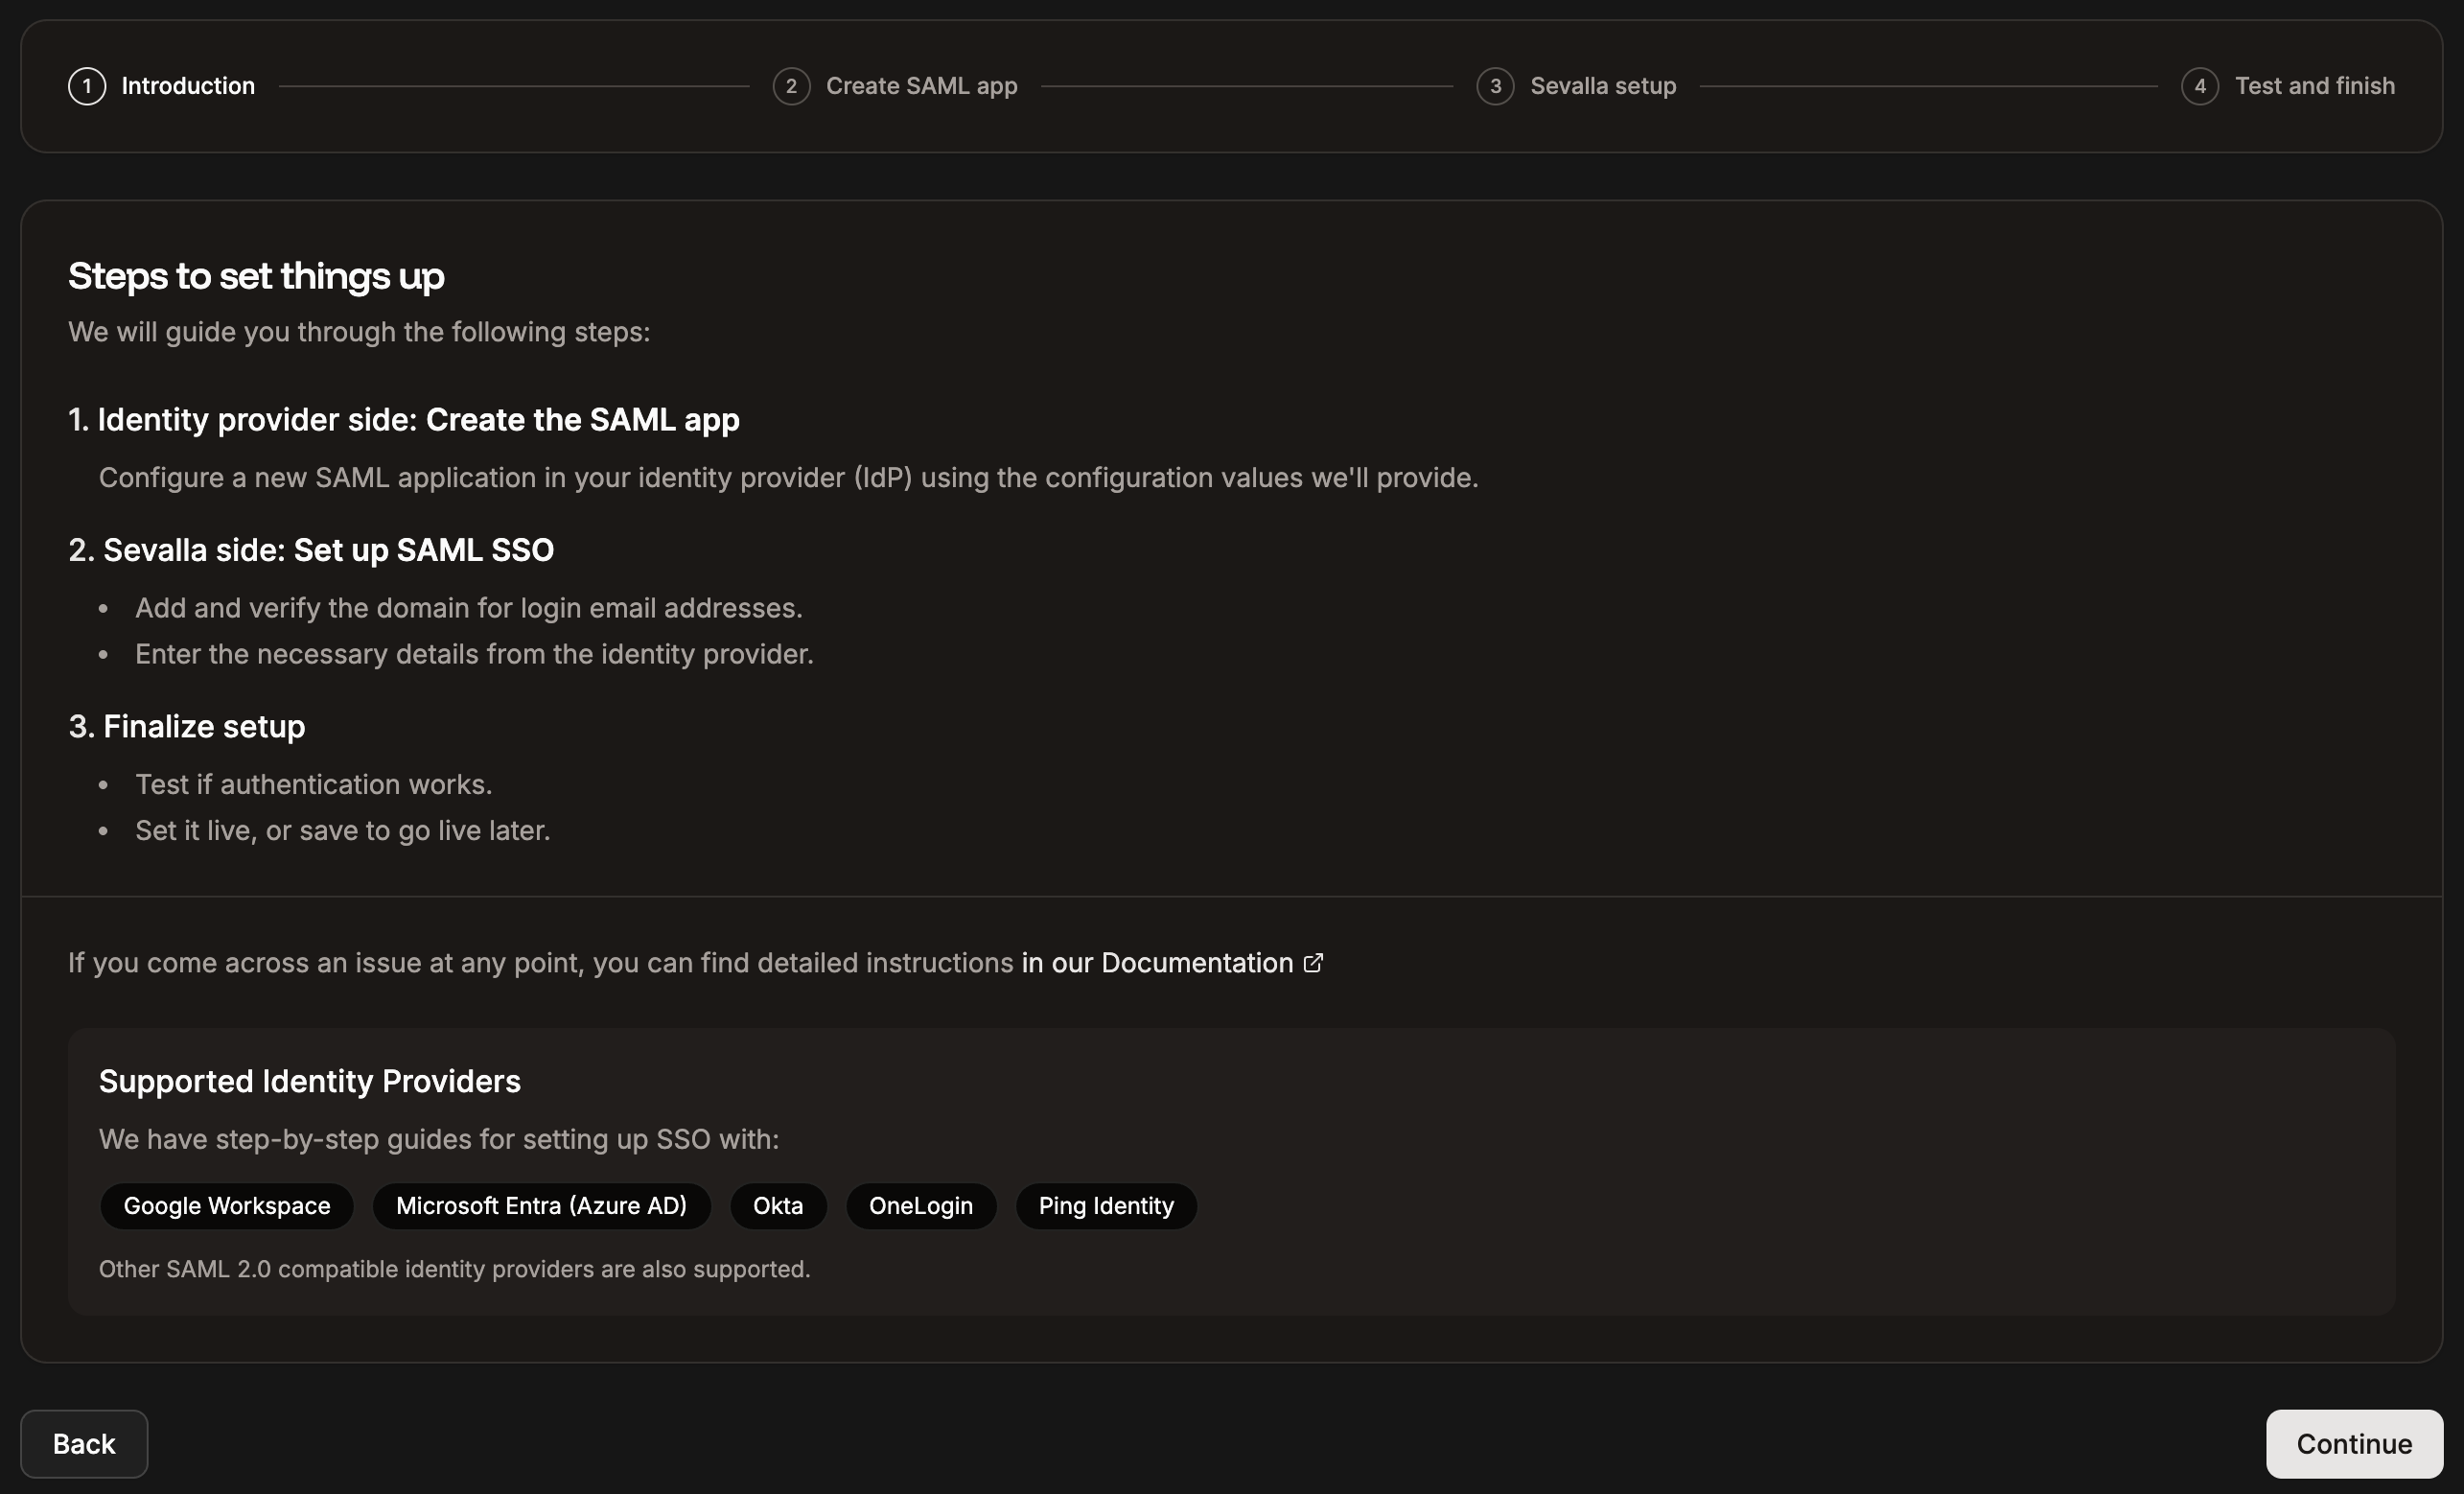
Introduction to the steps required to set up SSO.

The next page provides all the information you need to set up your SAML app within OneLogin.

Set up the app integration in OneLogin

In Sevalla, the Create SAML app tab provides all the information you need to set up your SAML app within OneLogin. The following steps explain where to add this information.
When using SAML SSO with Sevalla, all logins must be initiated directly from Sevalla. Logging in from your Identity Provider (IdP) dashboard is not supported. For this reason, you may want to hide the Sevalla app from users’ IdP dashboards to avoid confusion.
Information to create the SAML app at your IdP

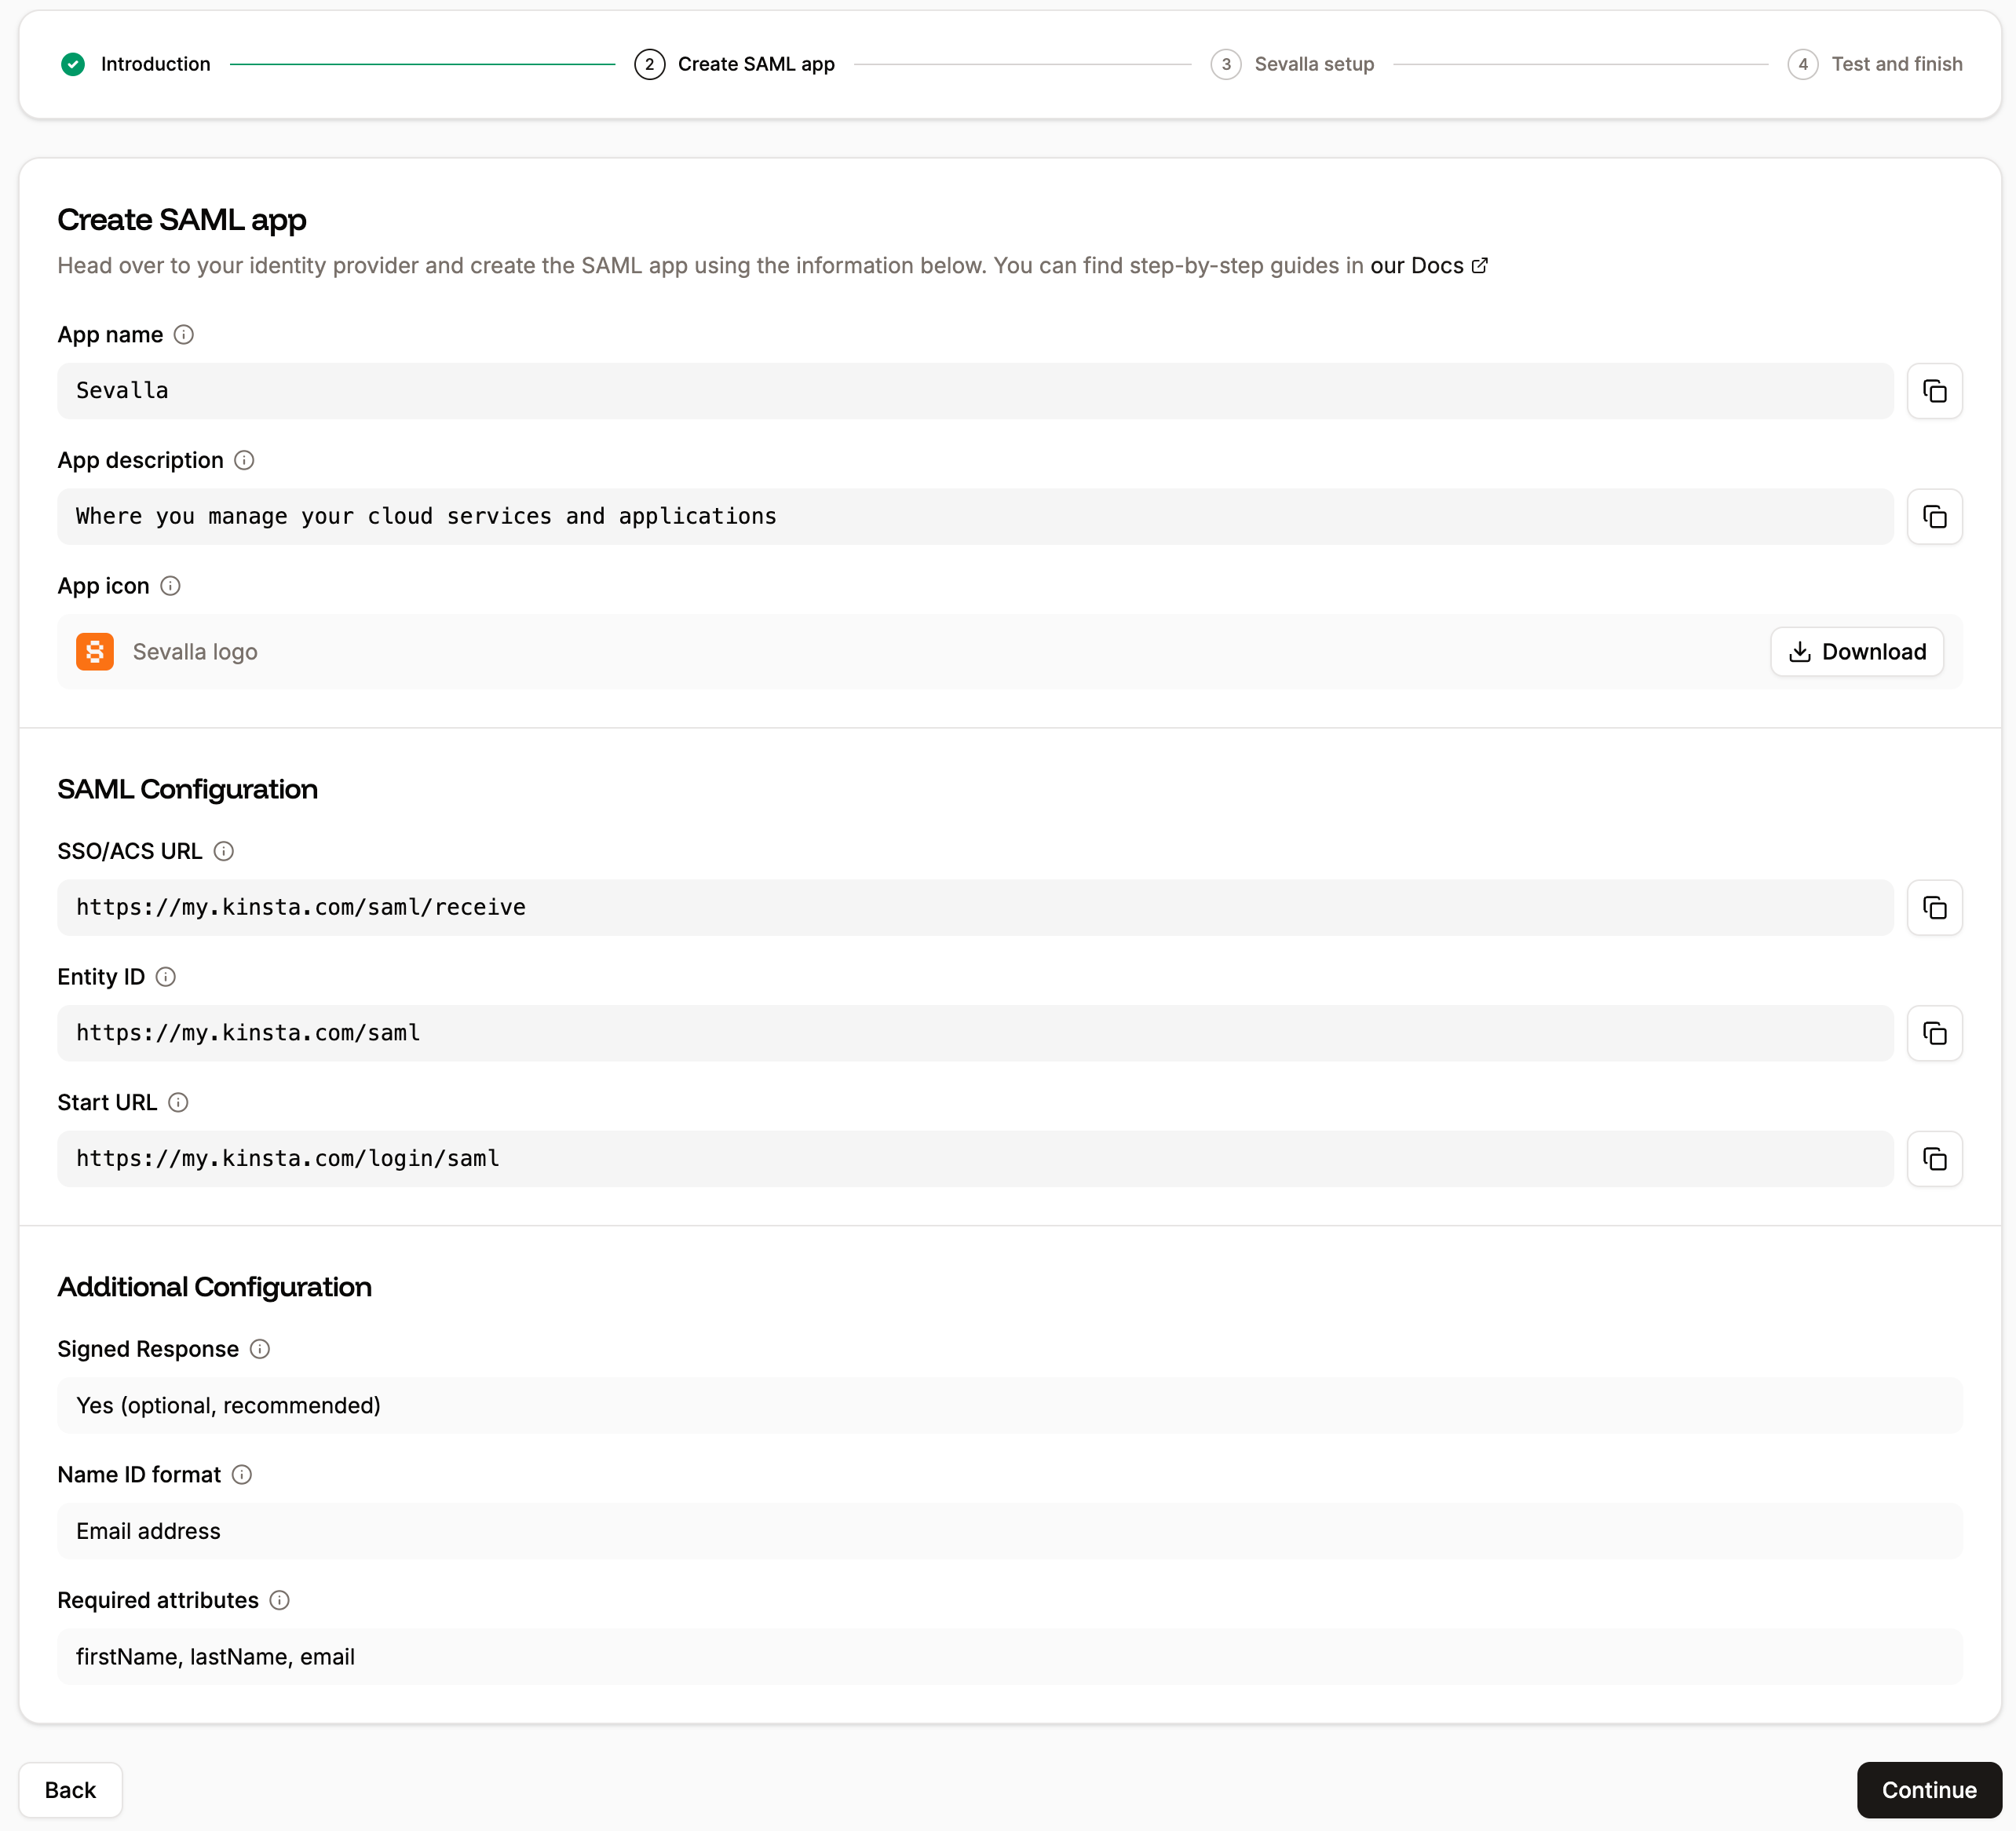
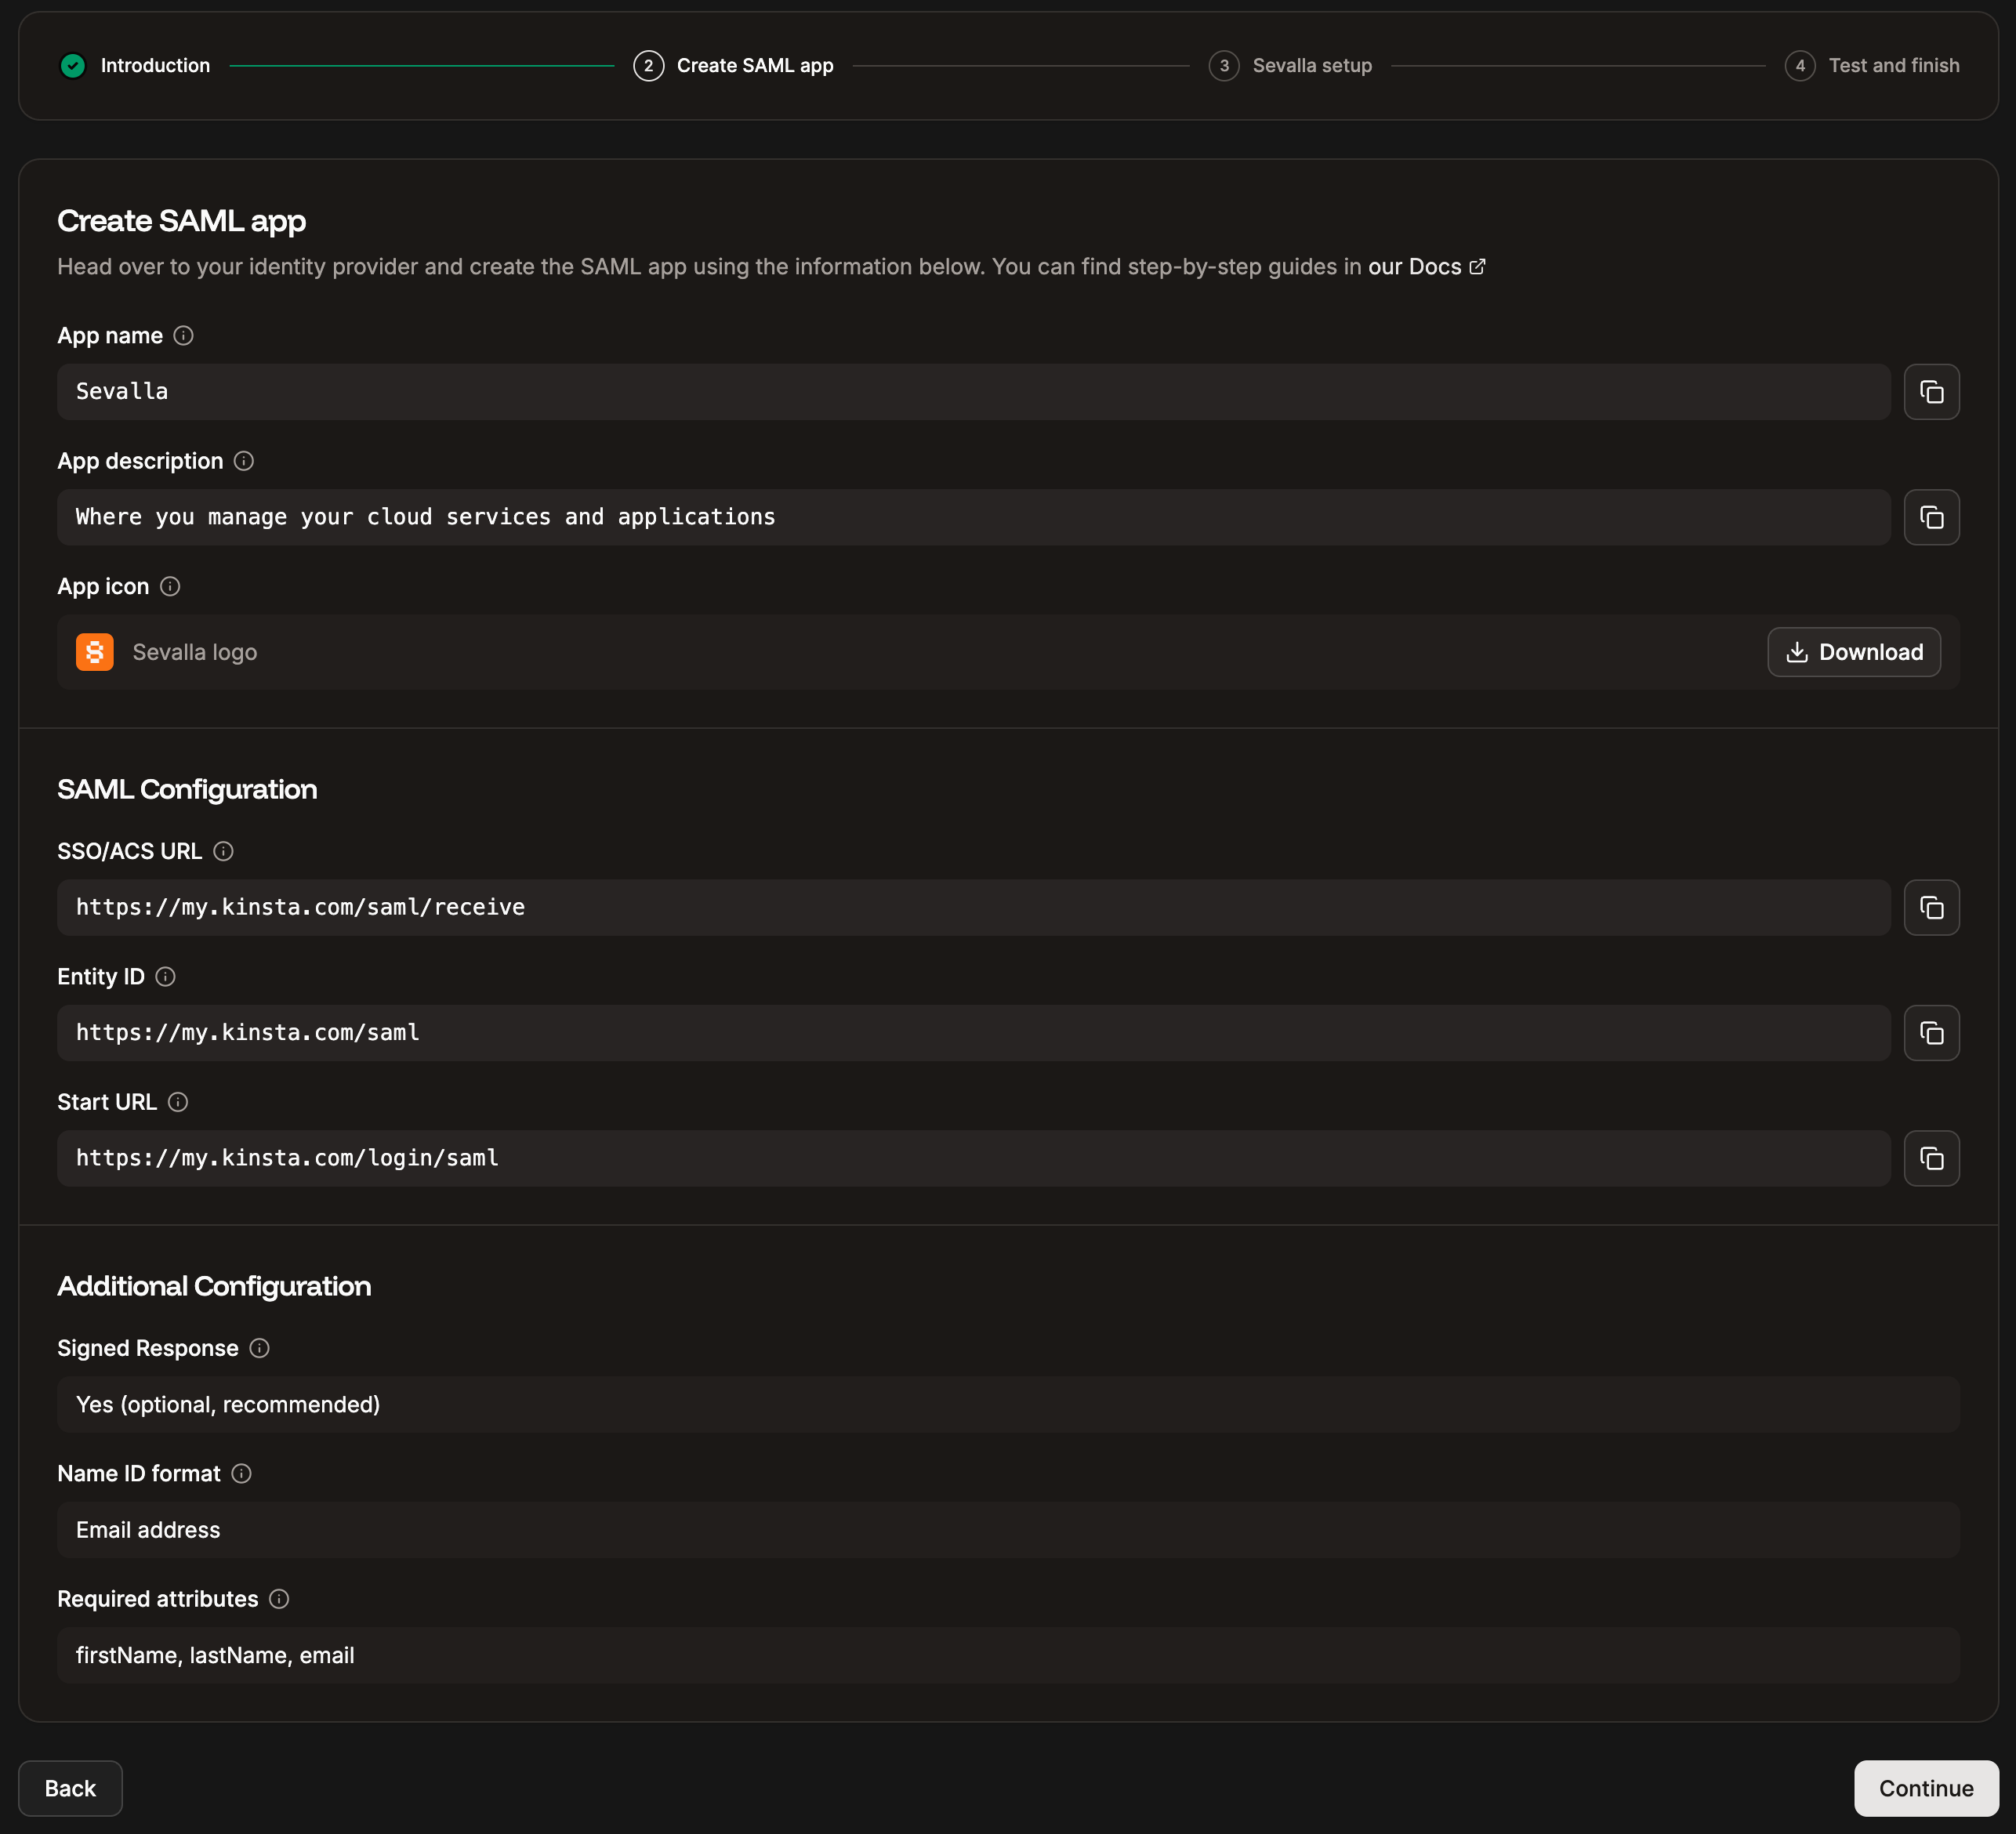
Information to create the SAML app at your IdP.

Log in to OneLogin as a user with admin access, and within Administration, click Applications > **Applications **> Add App.
Onelogin Add App

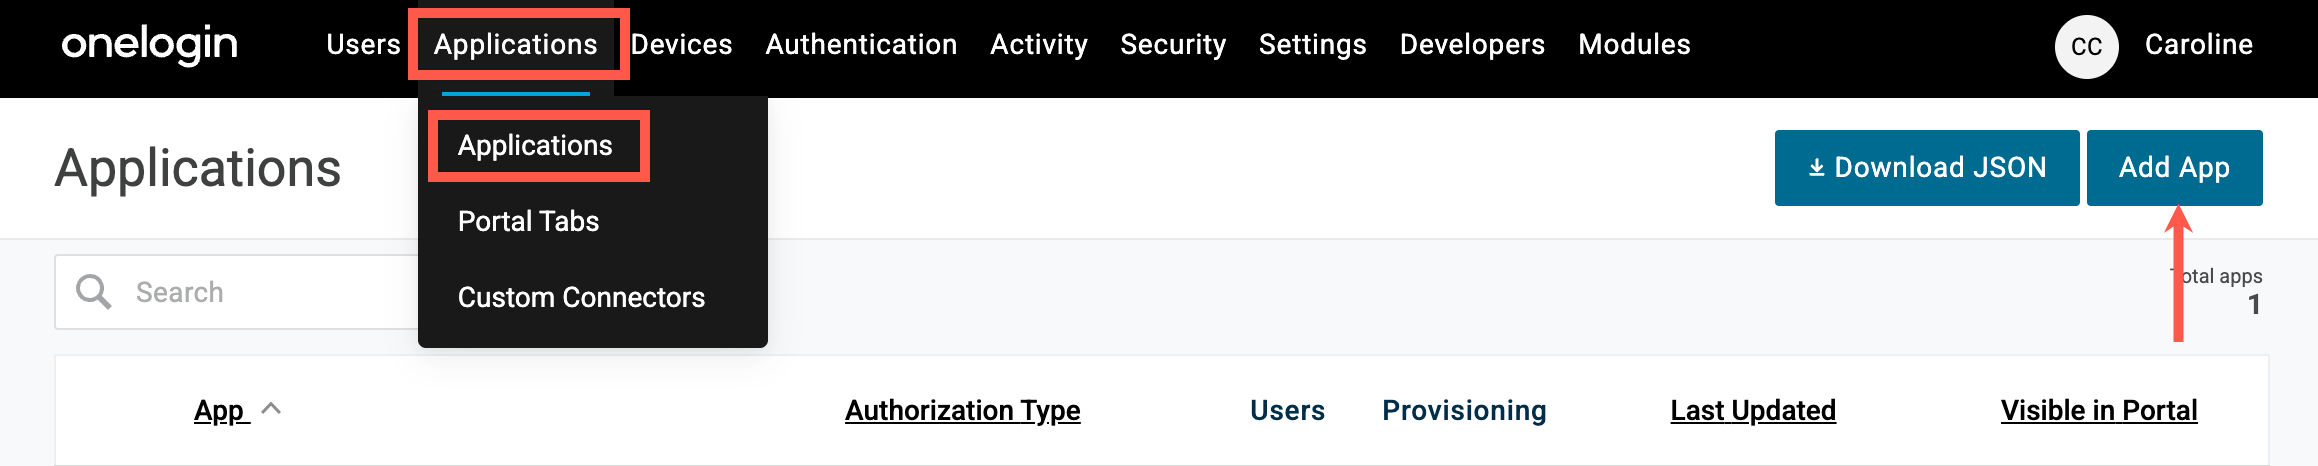
Add an application in OneLogin.

Search for ‘saml custom connector’ and select SAML Custom Connector (Advanced).
Onelogin Search Saml

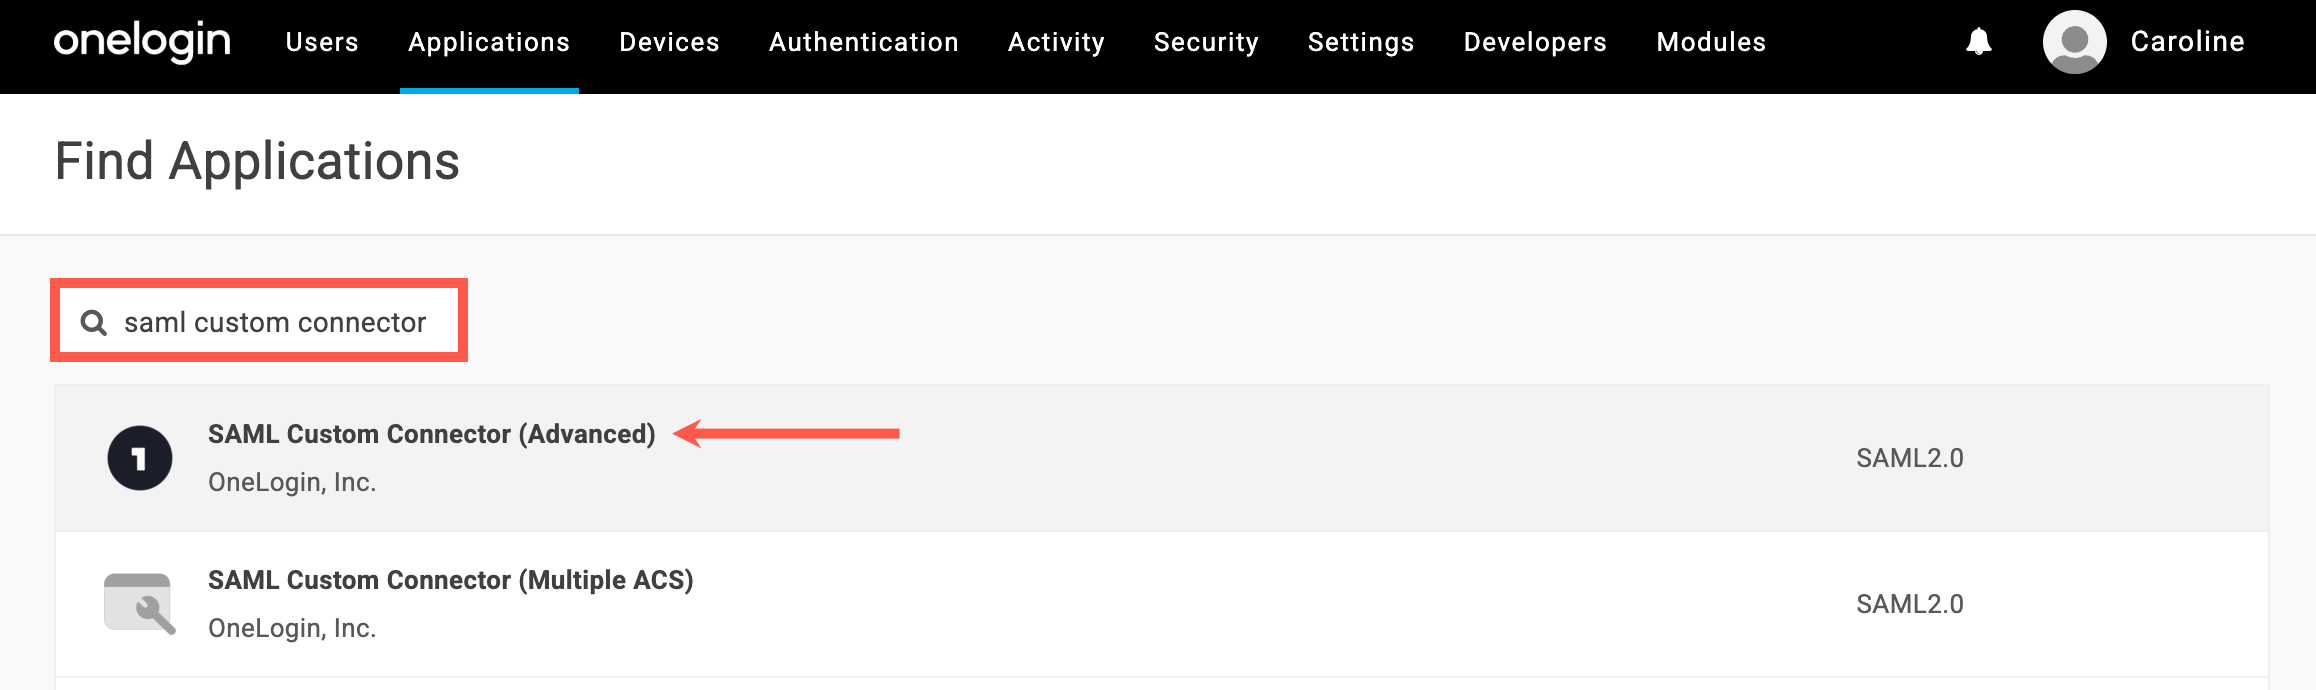
Search for the SAML custom connector app in OneLogin.

In the Display Name, enter the App name from Sevalla. You can also download the App icon from Sevalla and upload this to the Square Icon, and add a Description if required. Click Save.
Onelogin App Name

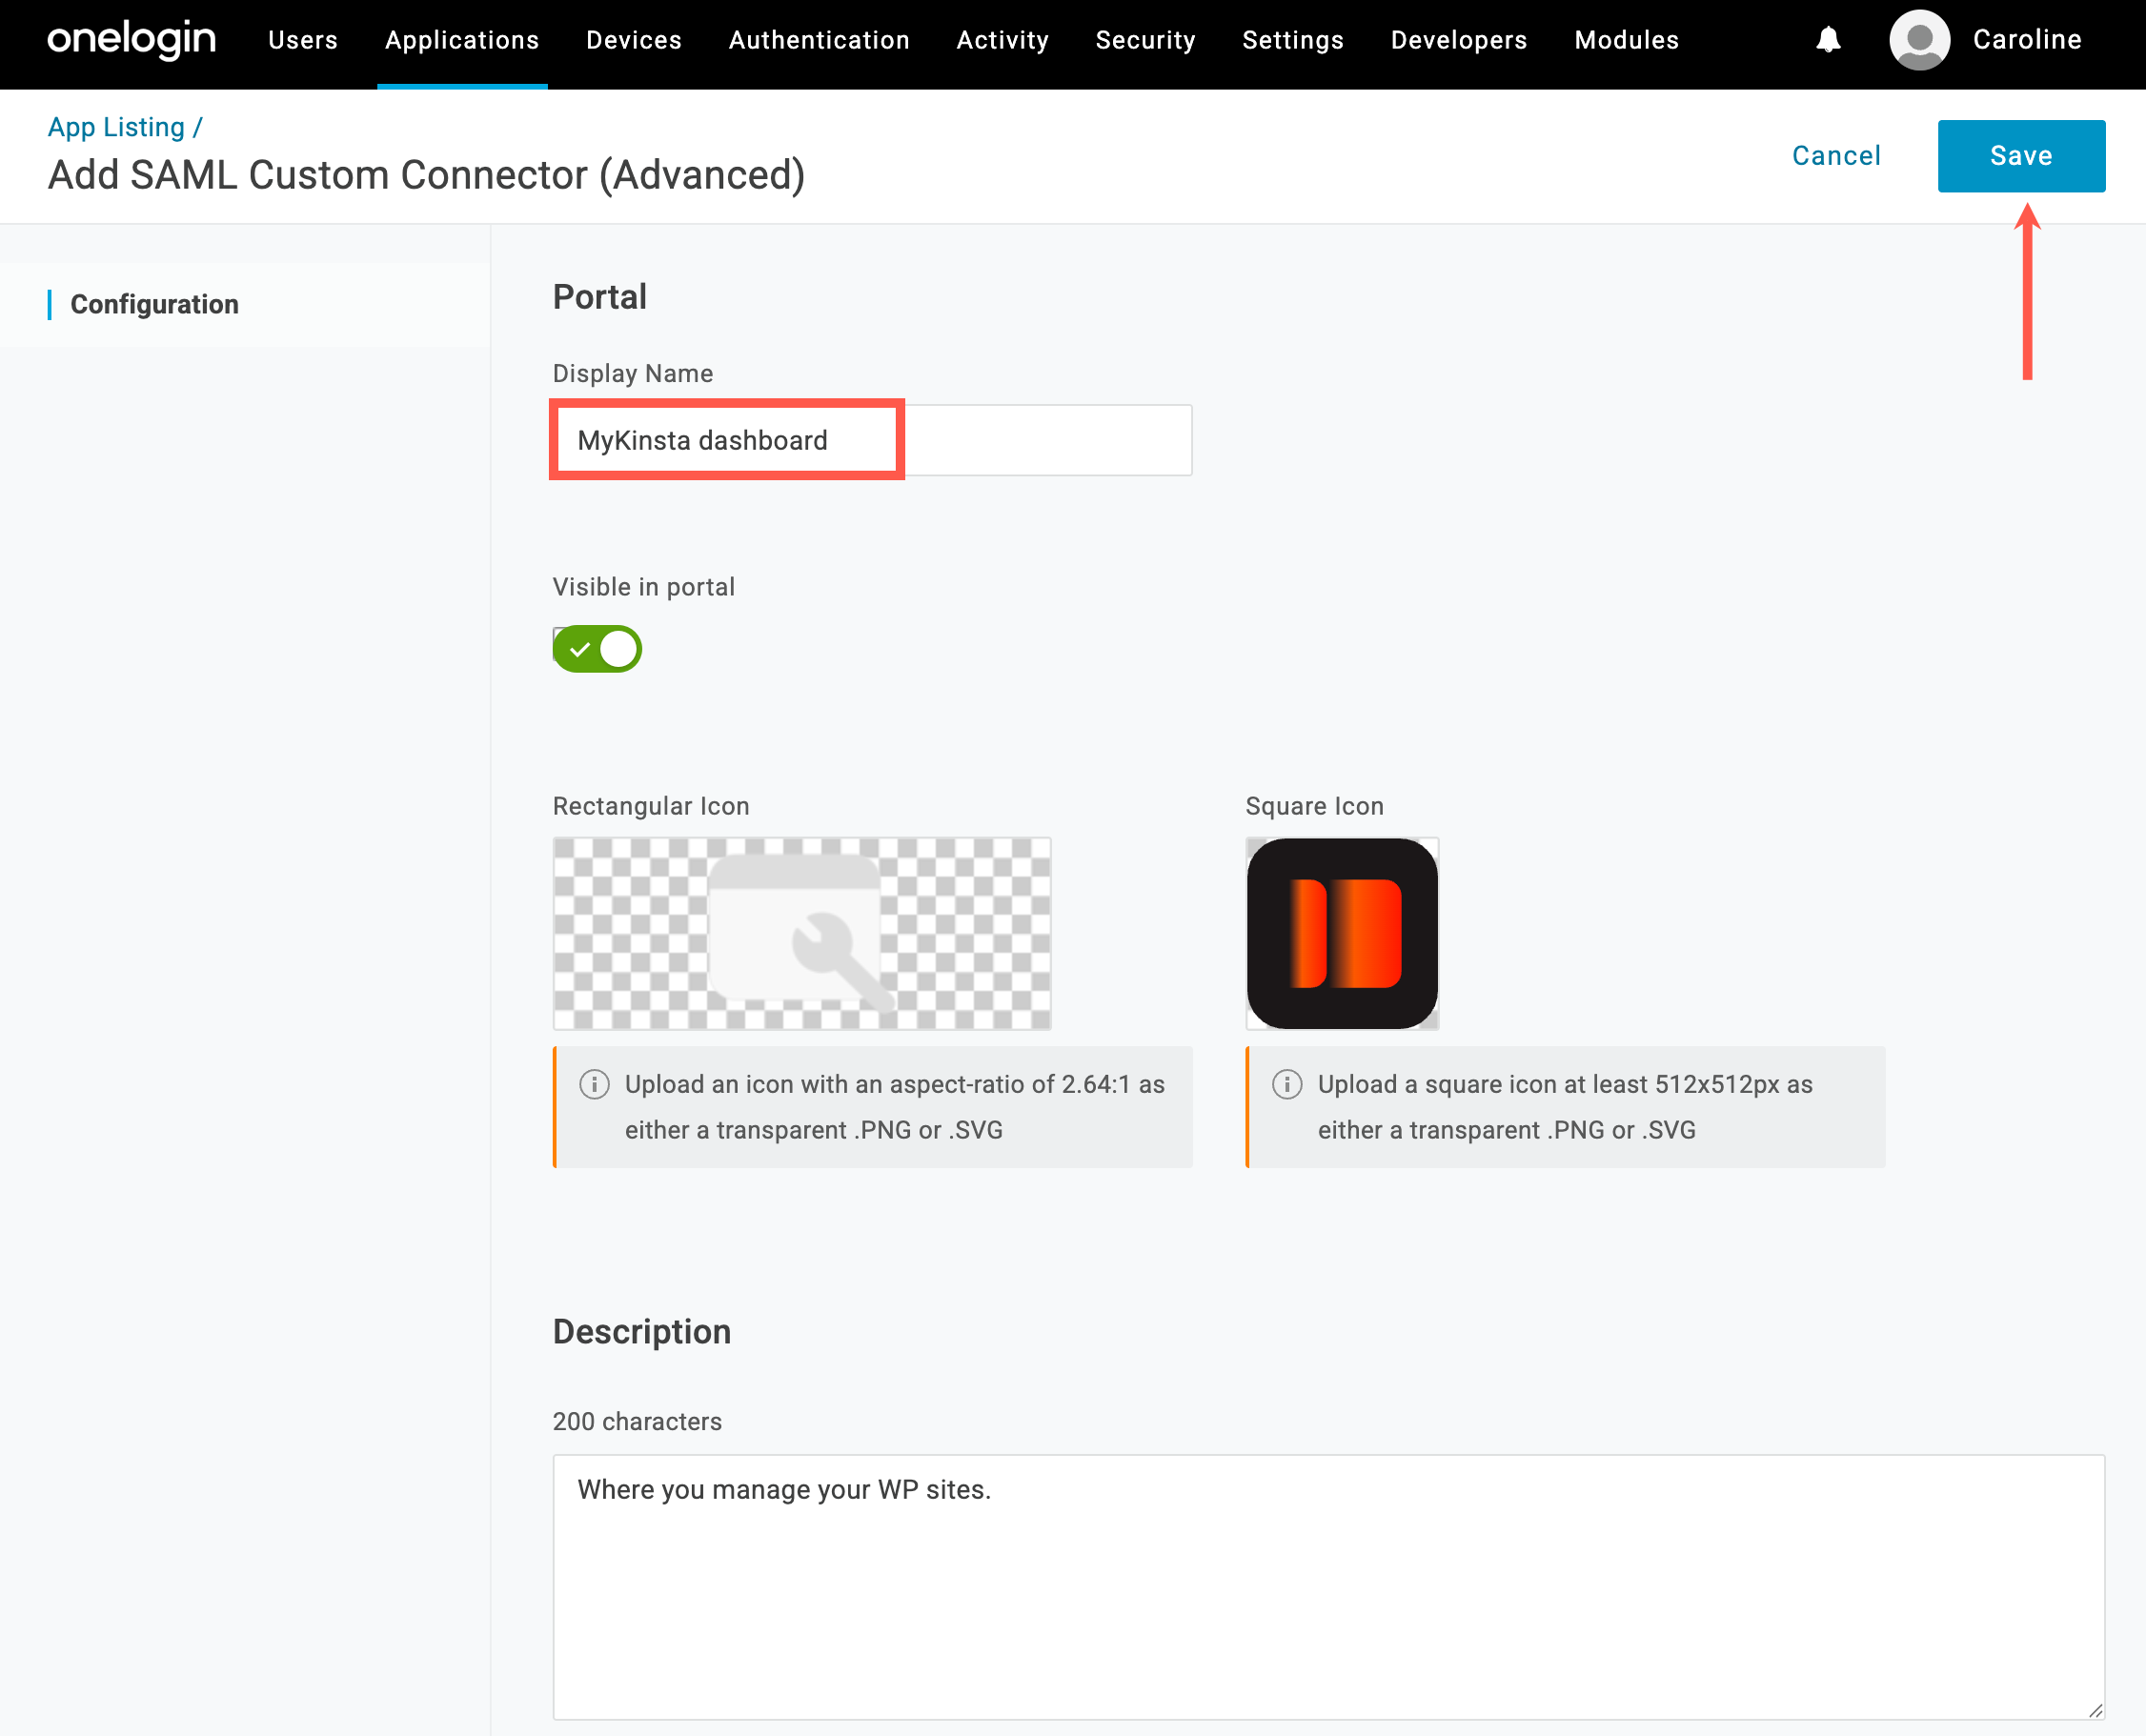
Add the app name in OneLogin.

Click Configuration and complete as follows:
  • Audience (EntityID): Copy and paste the Entity ID from Sevalla.
  • Recipient: Copy and paste the SSO/ACS URL from Sevalla.
  • ACS (Consumer) URL Validator: Copy and paste the SSO/ACS URL from Sevalla.
  • **ACS (Consumer) URL: **Copy and paste the SSO/ACS URL from Sevalla.
  • Login URL: Copy and paste the Start URL from Sevalla.
  • SAML initiator: Select Service Provider.
  • SAML nameID format: Select Email.
  • SAML issuer type: Select Specific.
  • SAML signature element: Select Assertion.
  • **Sign SLO Response: **Select this option.
  • Sign SLO Request: Select this option.
Leave all other fields as default and click Save.
Onelogin Configuration

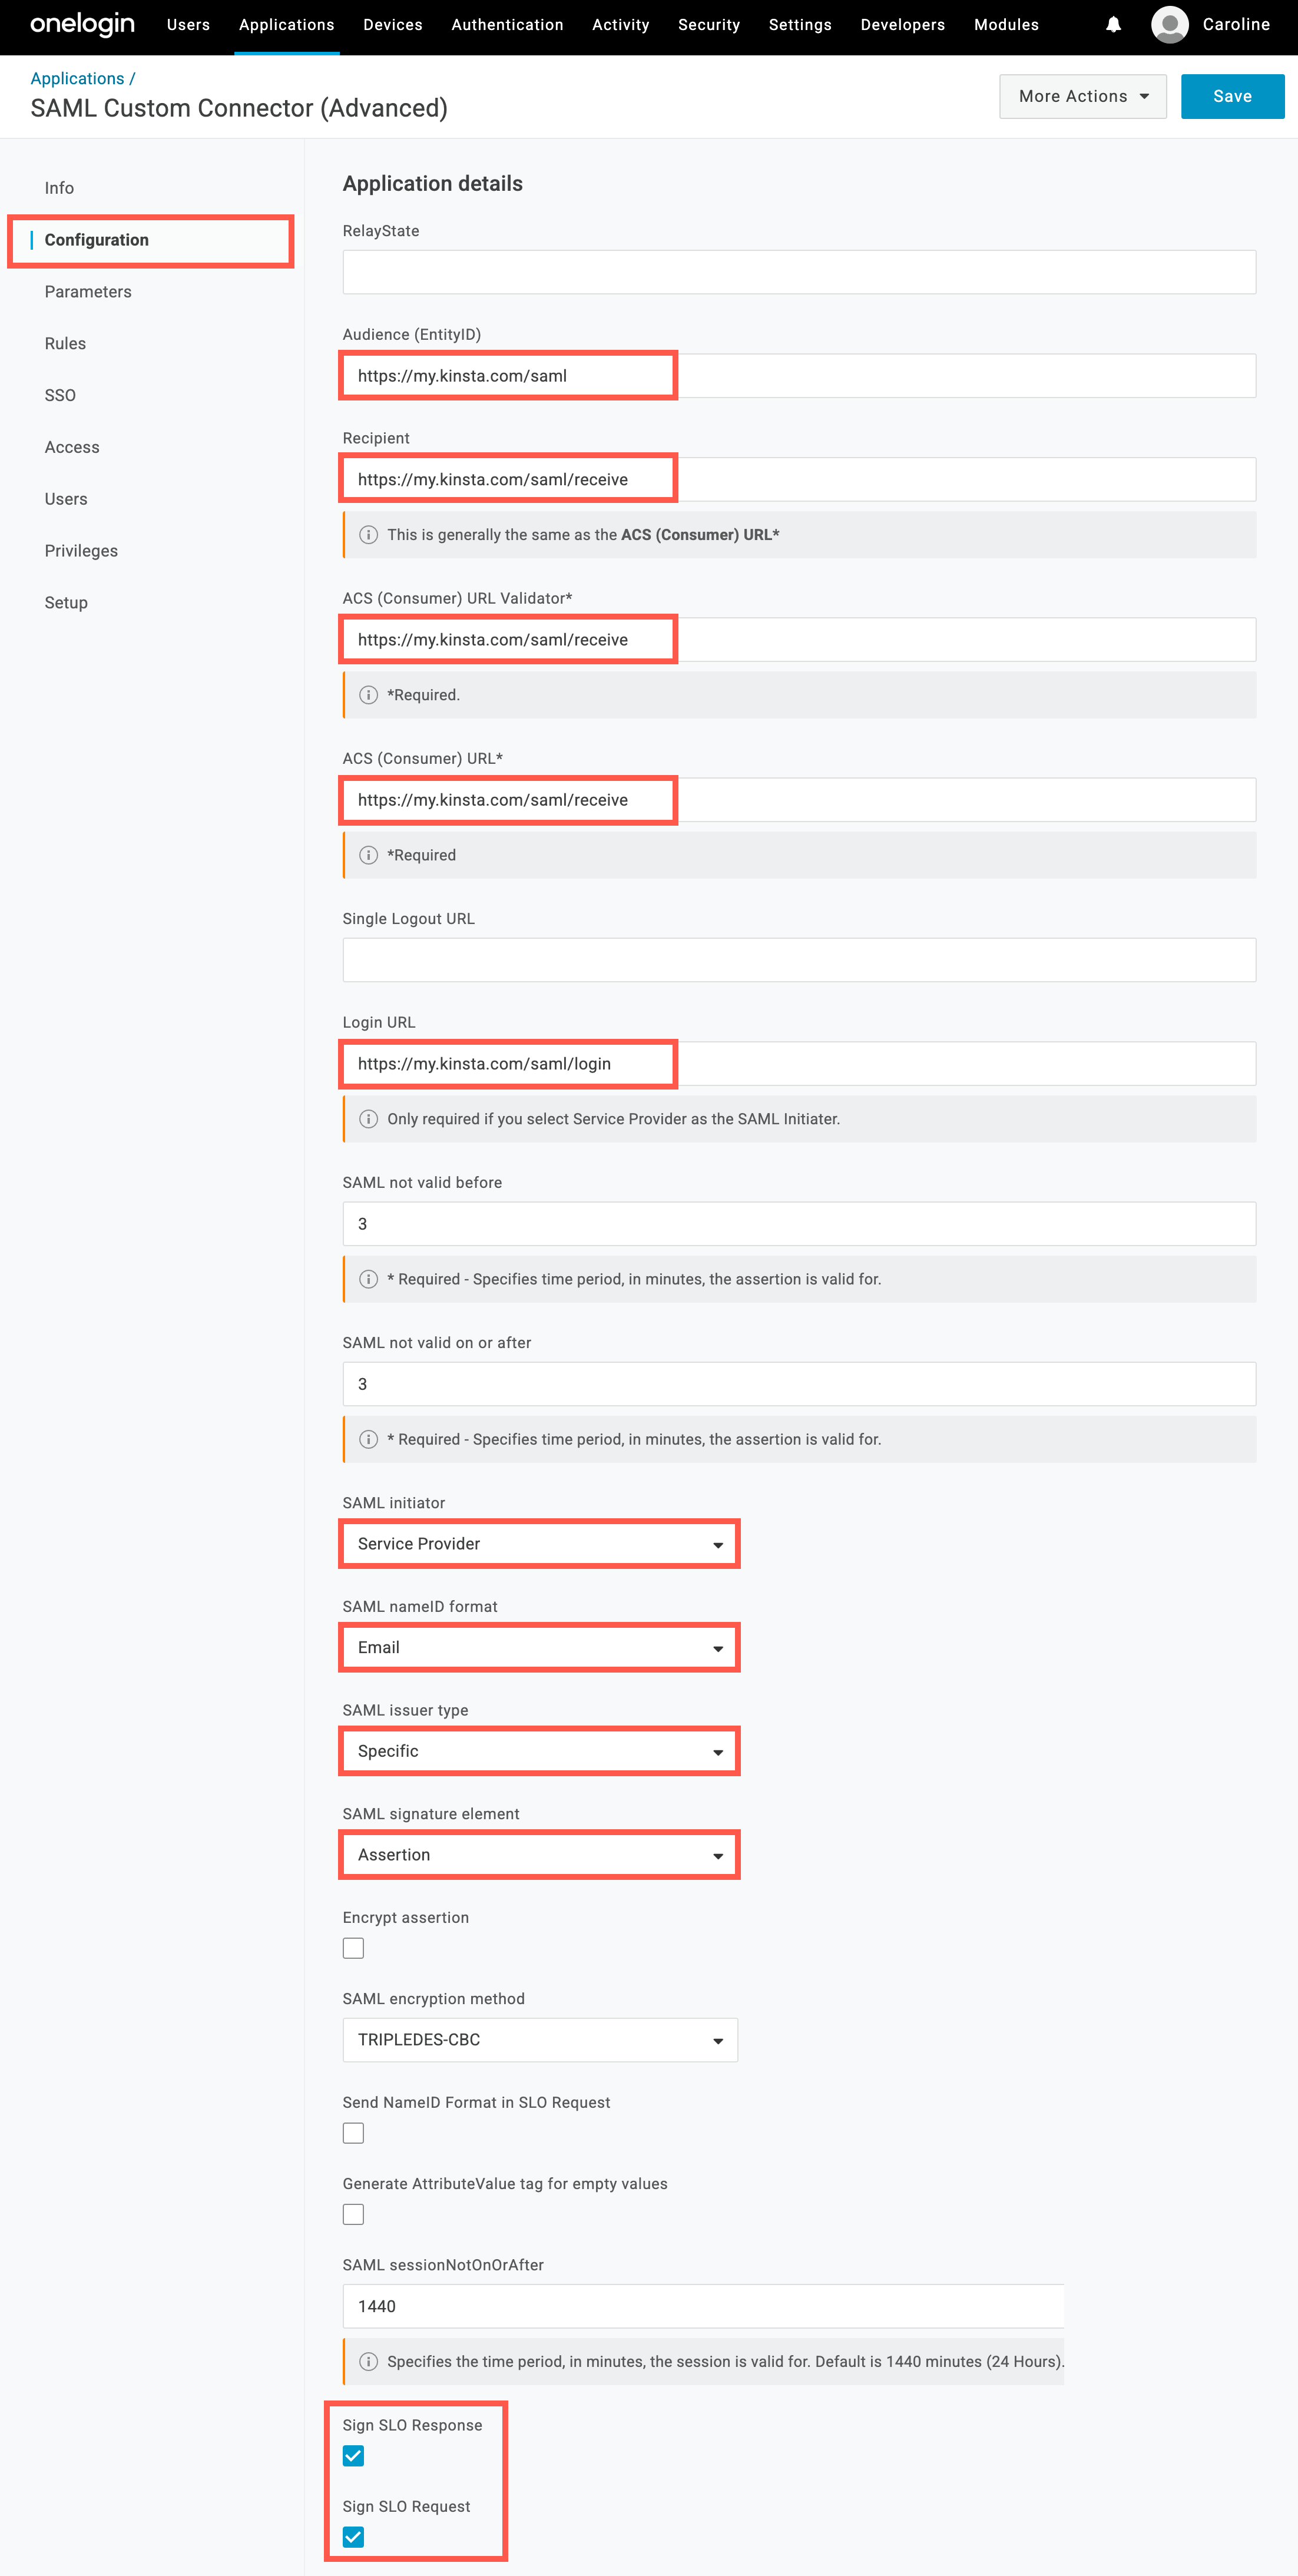
Configuration of the SAML app in OneLogin.

Click SSO, and within SAML Signature Algorithm select SHA-256, and click Save.
Onelogin Sso Signature

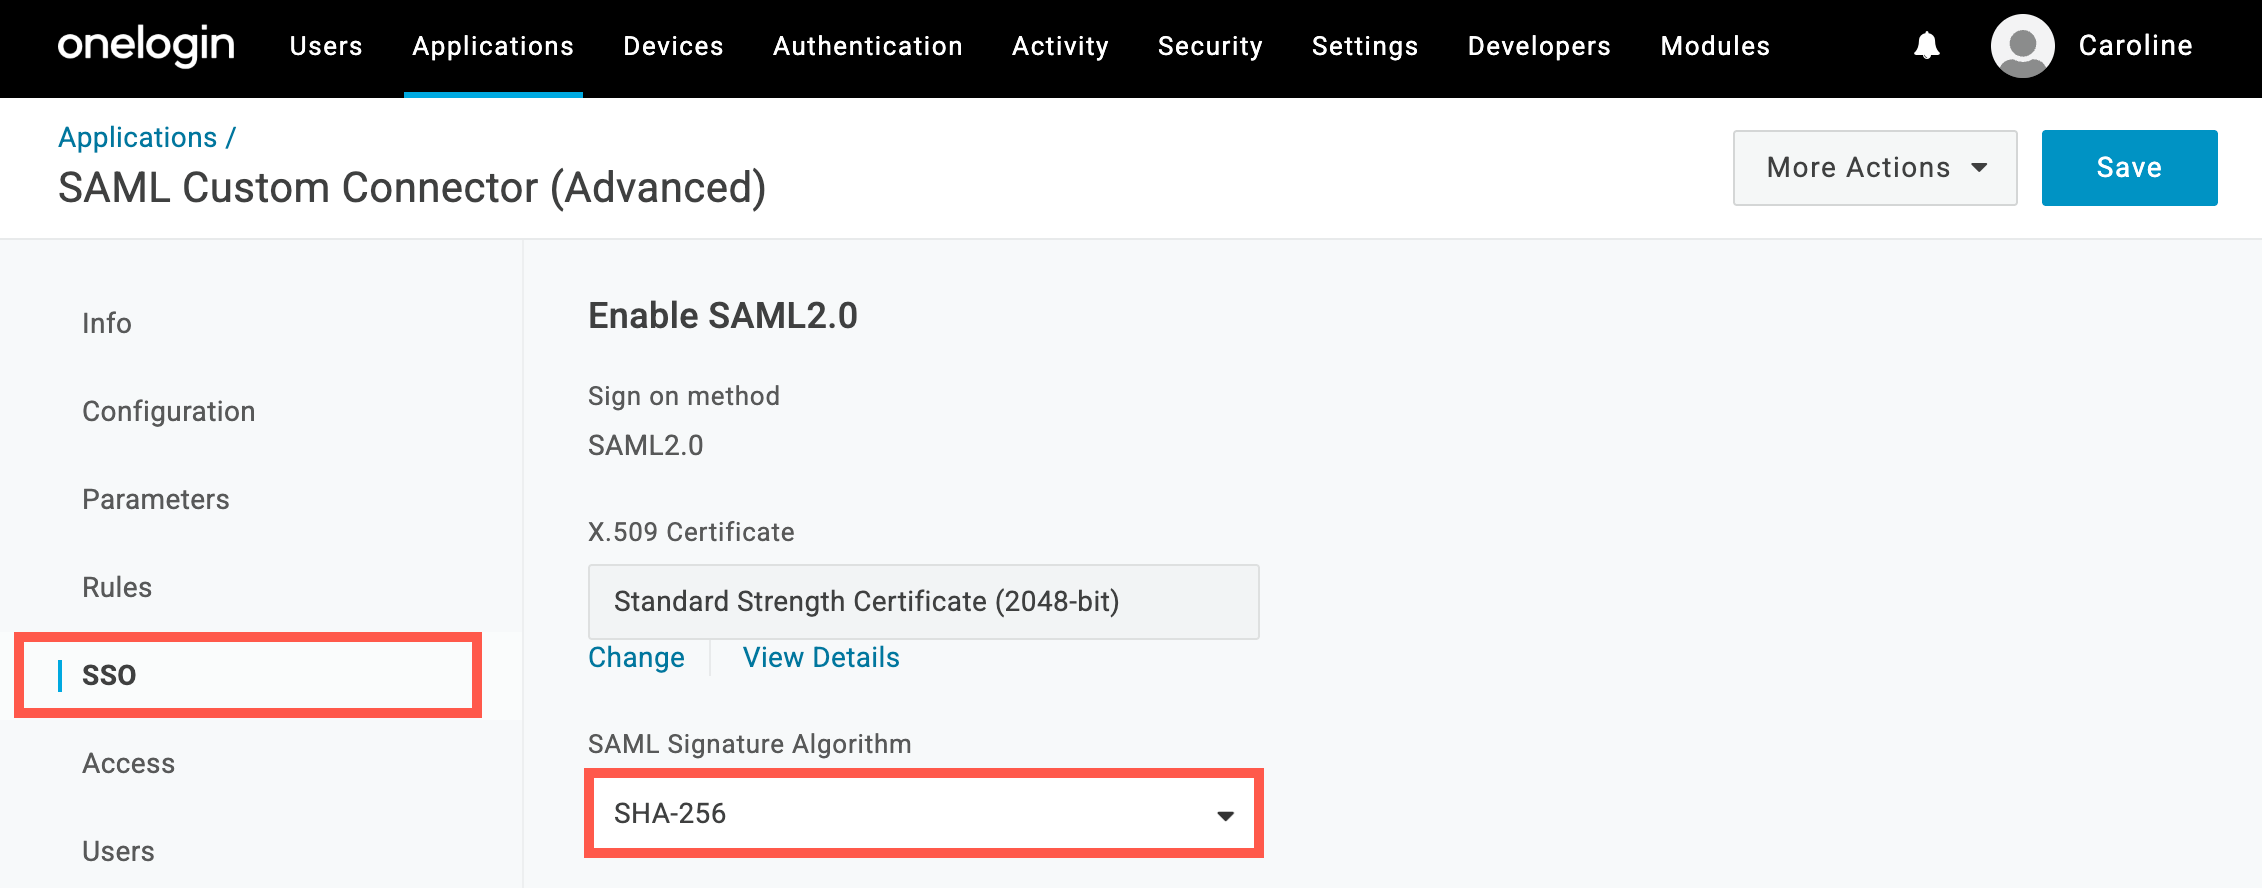
Change the SAML signature algorithm in OneLogin.

Map your OneLogin attributes

Within OneLogin, you must map the firstName, lastName, and email attributes from Sevalla to the correct fields within OneLogin. For more information about how to do this, refer to the OneLogin documentation.

Assign users to the OneLogin app

In OneLogin, you can assign a policy to the application to allow all users using the policy to log in to the app. Go to Applications > Applications, select the application you set up for the Sevalla Dashboard, click Access, choose the policy you want to assign, and click Save. For more information about security policies, refer to OneLogin’s documentation. You can also assign individual users to the application. In OneLogin, click Users > Users, select the user you want to assign, click Applications, and click the plus icon.
Onelogin Add User To App

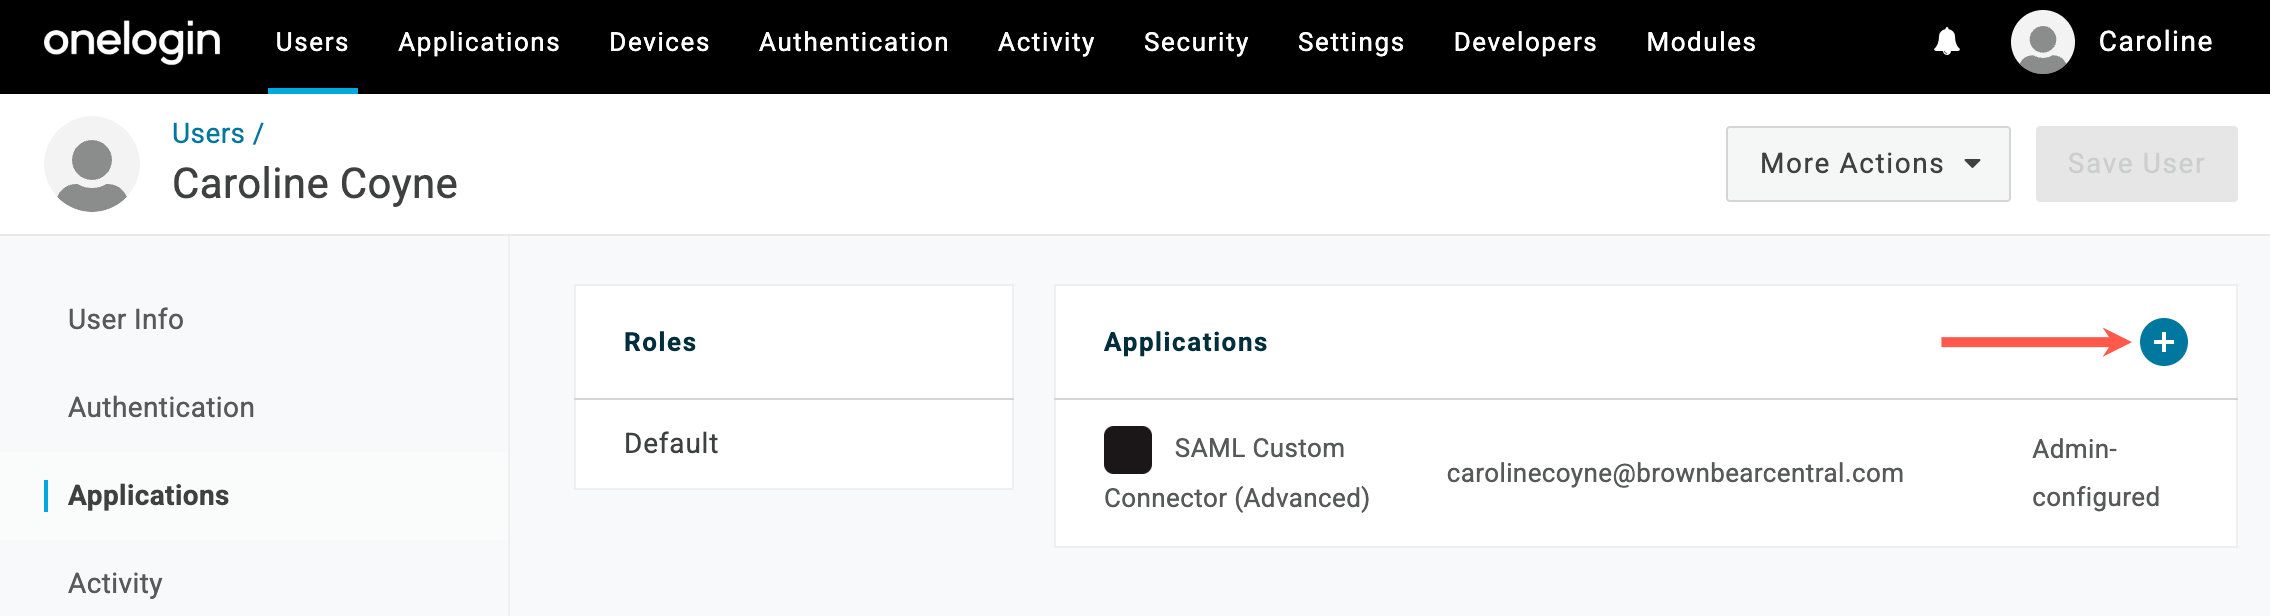
Add a user to an application in OneLogin.

From the Select application dropdown, select the Sevalla application, and click Continue.
Onelogin Assign App User

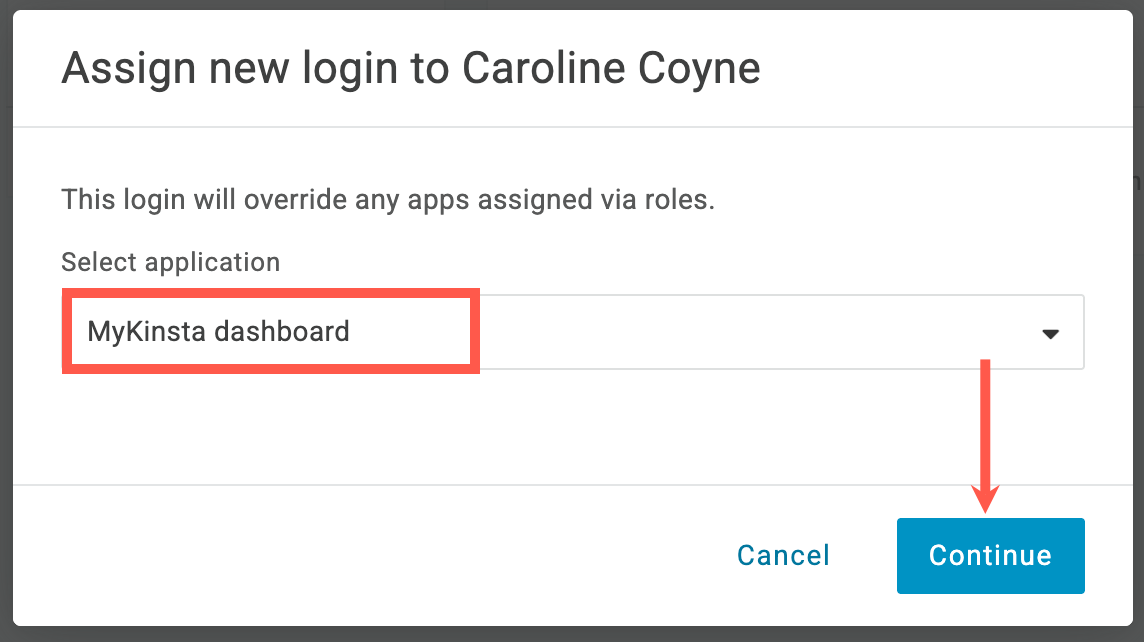
Assign an application to a user in OneLogin.

Select Allow the user to sign in, ensure the credentials are correct, and click Save.
Onelogin Save App User Assign

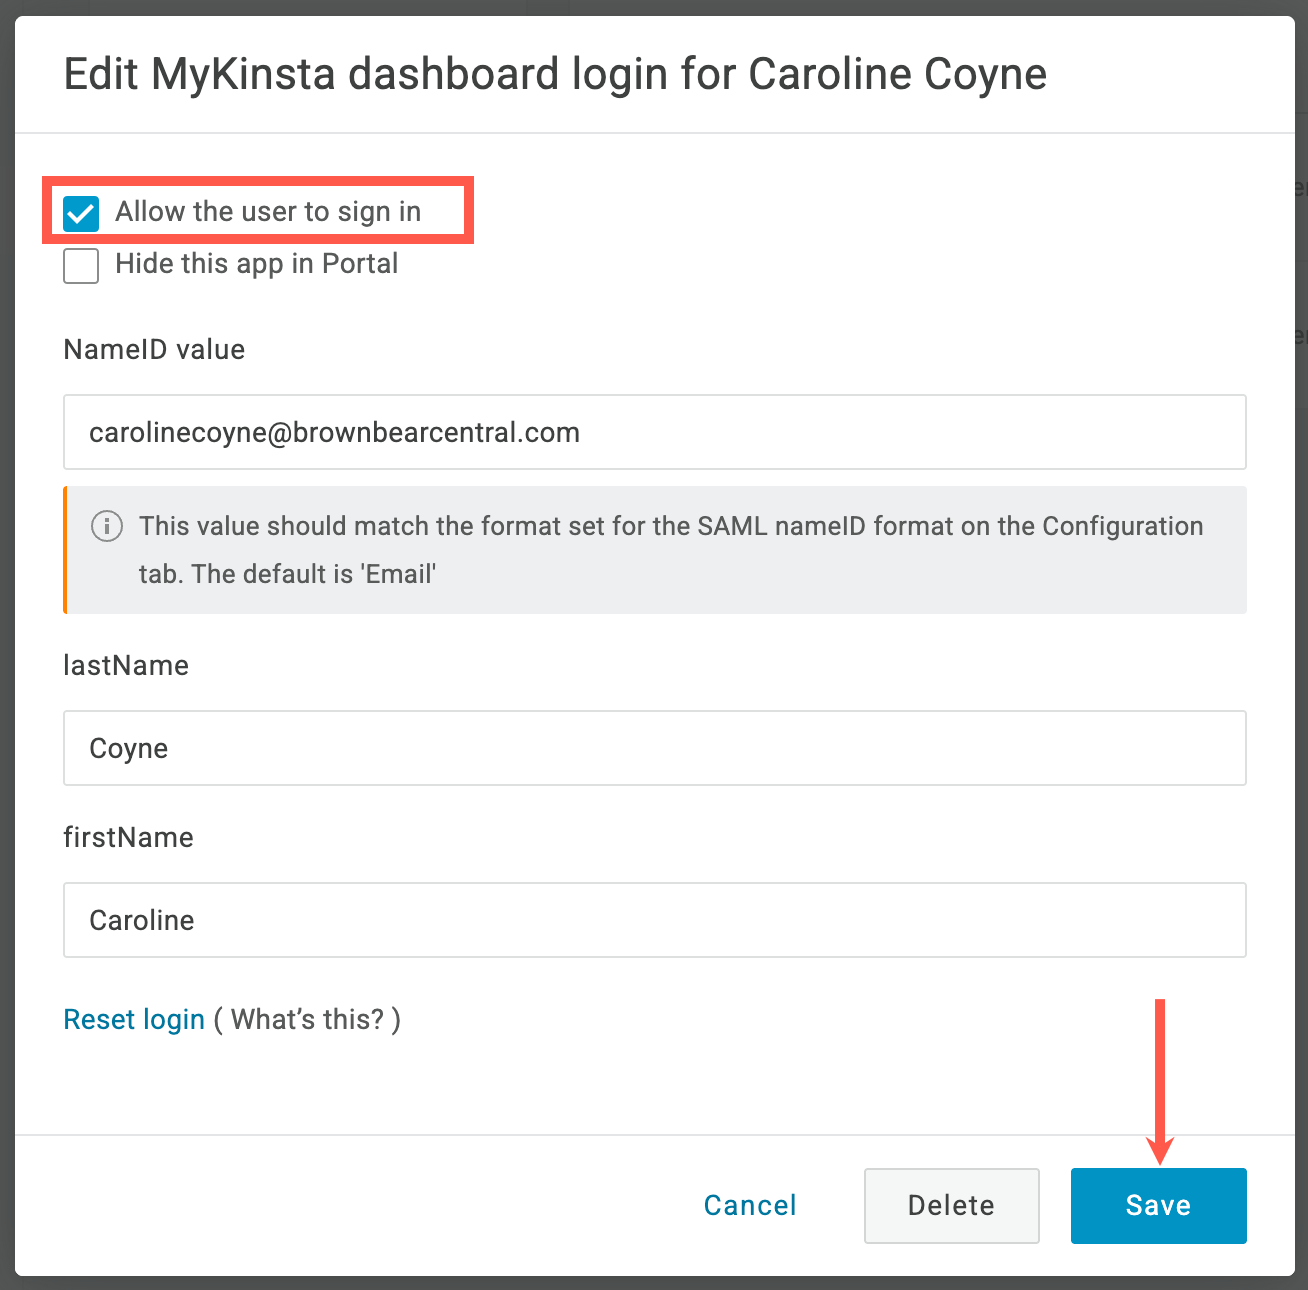
Save the app allocation for the user.

To test authentication, make sure the Sevalla user account you’re signed in with is assigned.

Sevalla setup

In Sevalla, on Create SAML app, click Continue so that you are on the Sevalla setup page.

Email domain

In the Domain name, enter the email domain users will use to sign in using SAML SSO, and click Add domain. Only Sevalla accounts with an email address matching the verified domain can authenticate via SAML. For example, if SAML is enabled for example.com, only users with an @example.com email address will be able to sign in for that company.
Each email address can only be linked to one SAML configuration in Sevalla. This means a domain (e.g., example.com) can be associated with only one company at a time. Similarly, each Sevalla user can use SAML authentication for a single company only.
If the domain has already been verified in Sevalla through DNS management or as a site domain, it will automatically be verified. If it hasn’t, you’ll be prompted to add a TXT record to your DNS management service to confirm domain ownership.
Add the TXT record to your DNS to verify ownership

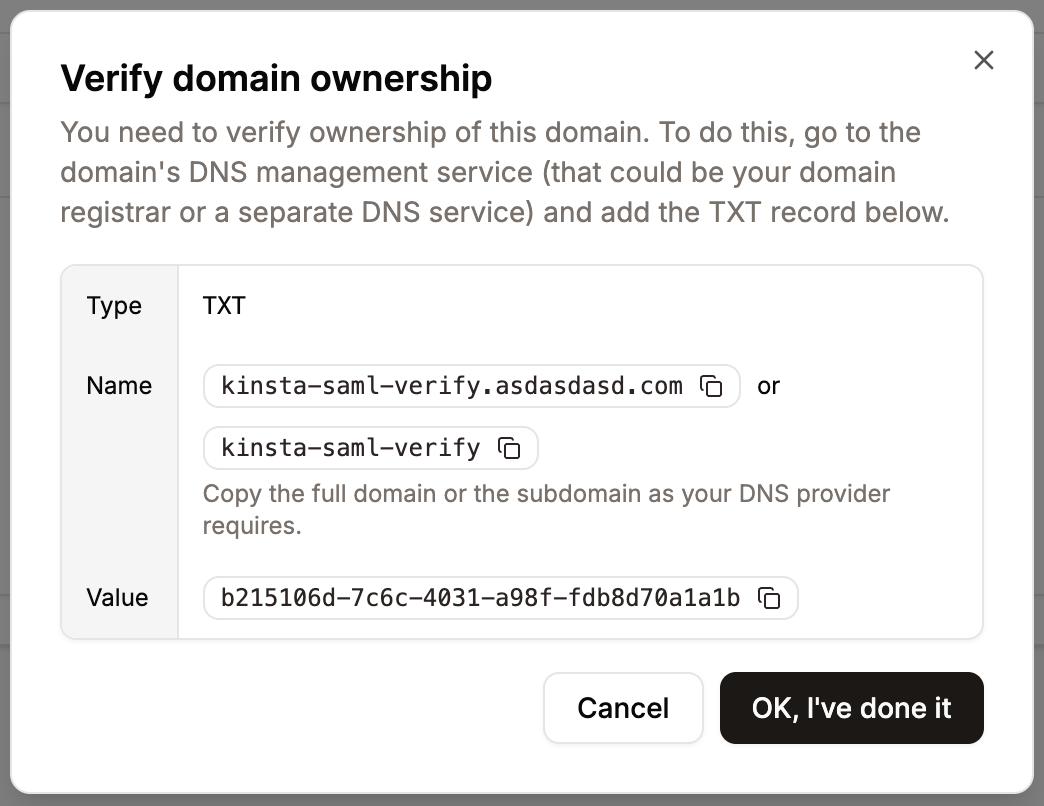
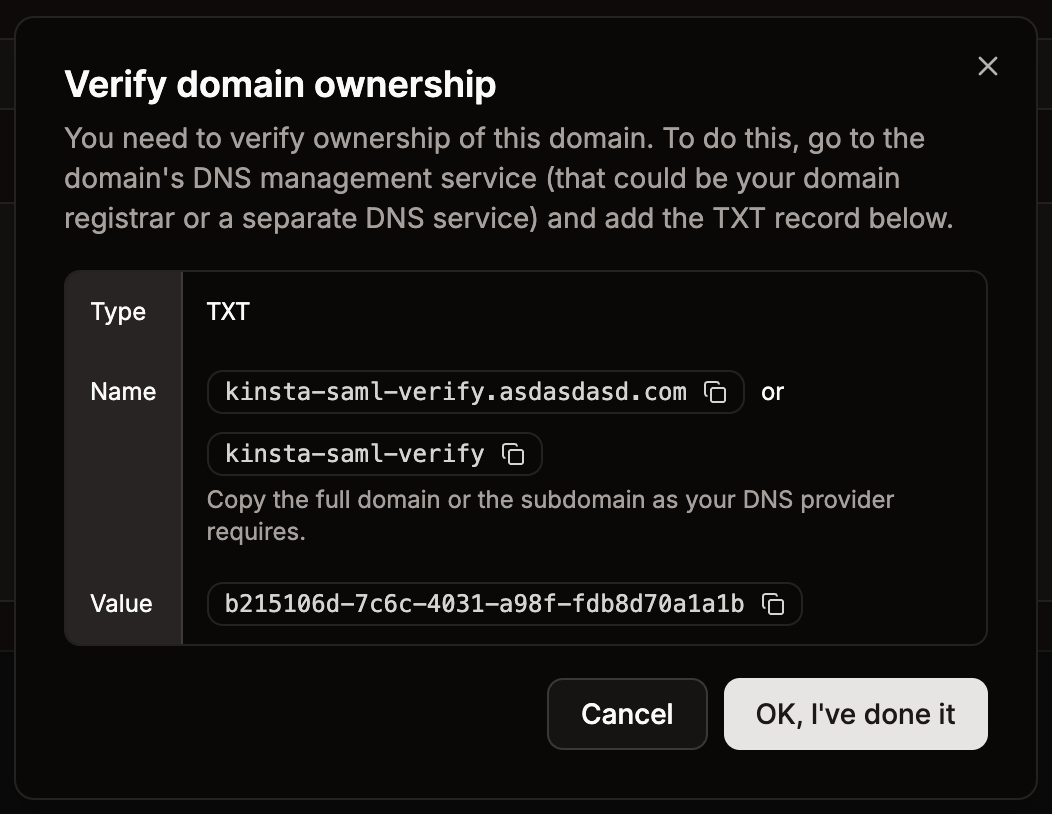
Add the TXT record to your DNS to verify ownership.

Because DNS changes can take time to propagate, you can navigate away from the SSO setup to store your progress and return later.

Set up Sevalla SAML

In OneLogin, go to Applications > Applications, select the application you set up for the Sevalla Dashboard, and click SSO. This page provides all the information you need to set up SAML in Sevalla.
Onelogin Saml Details

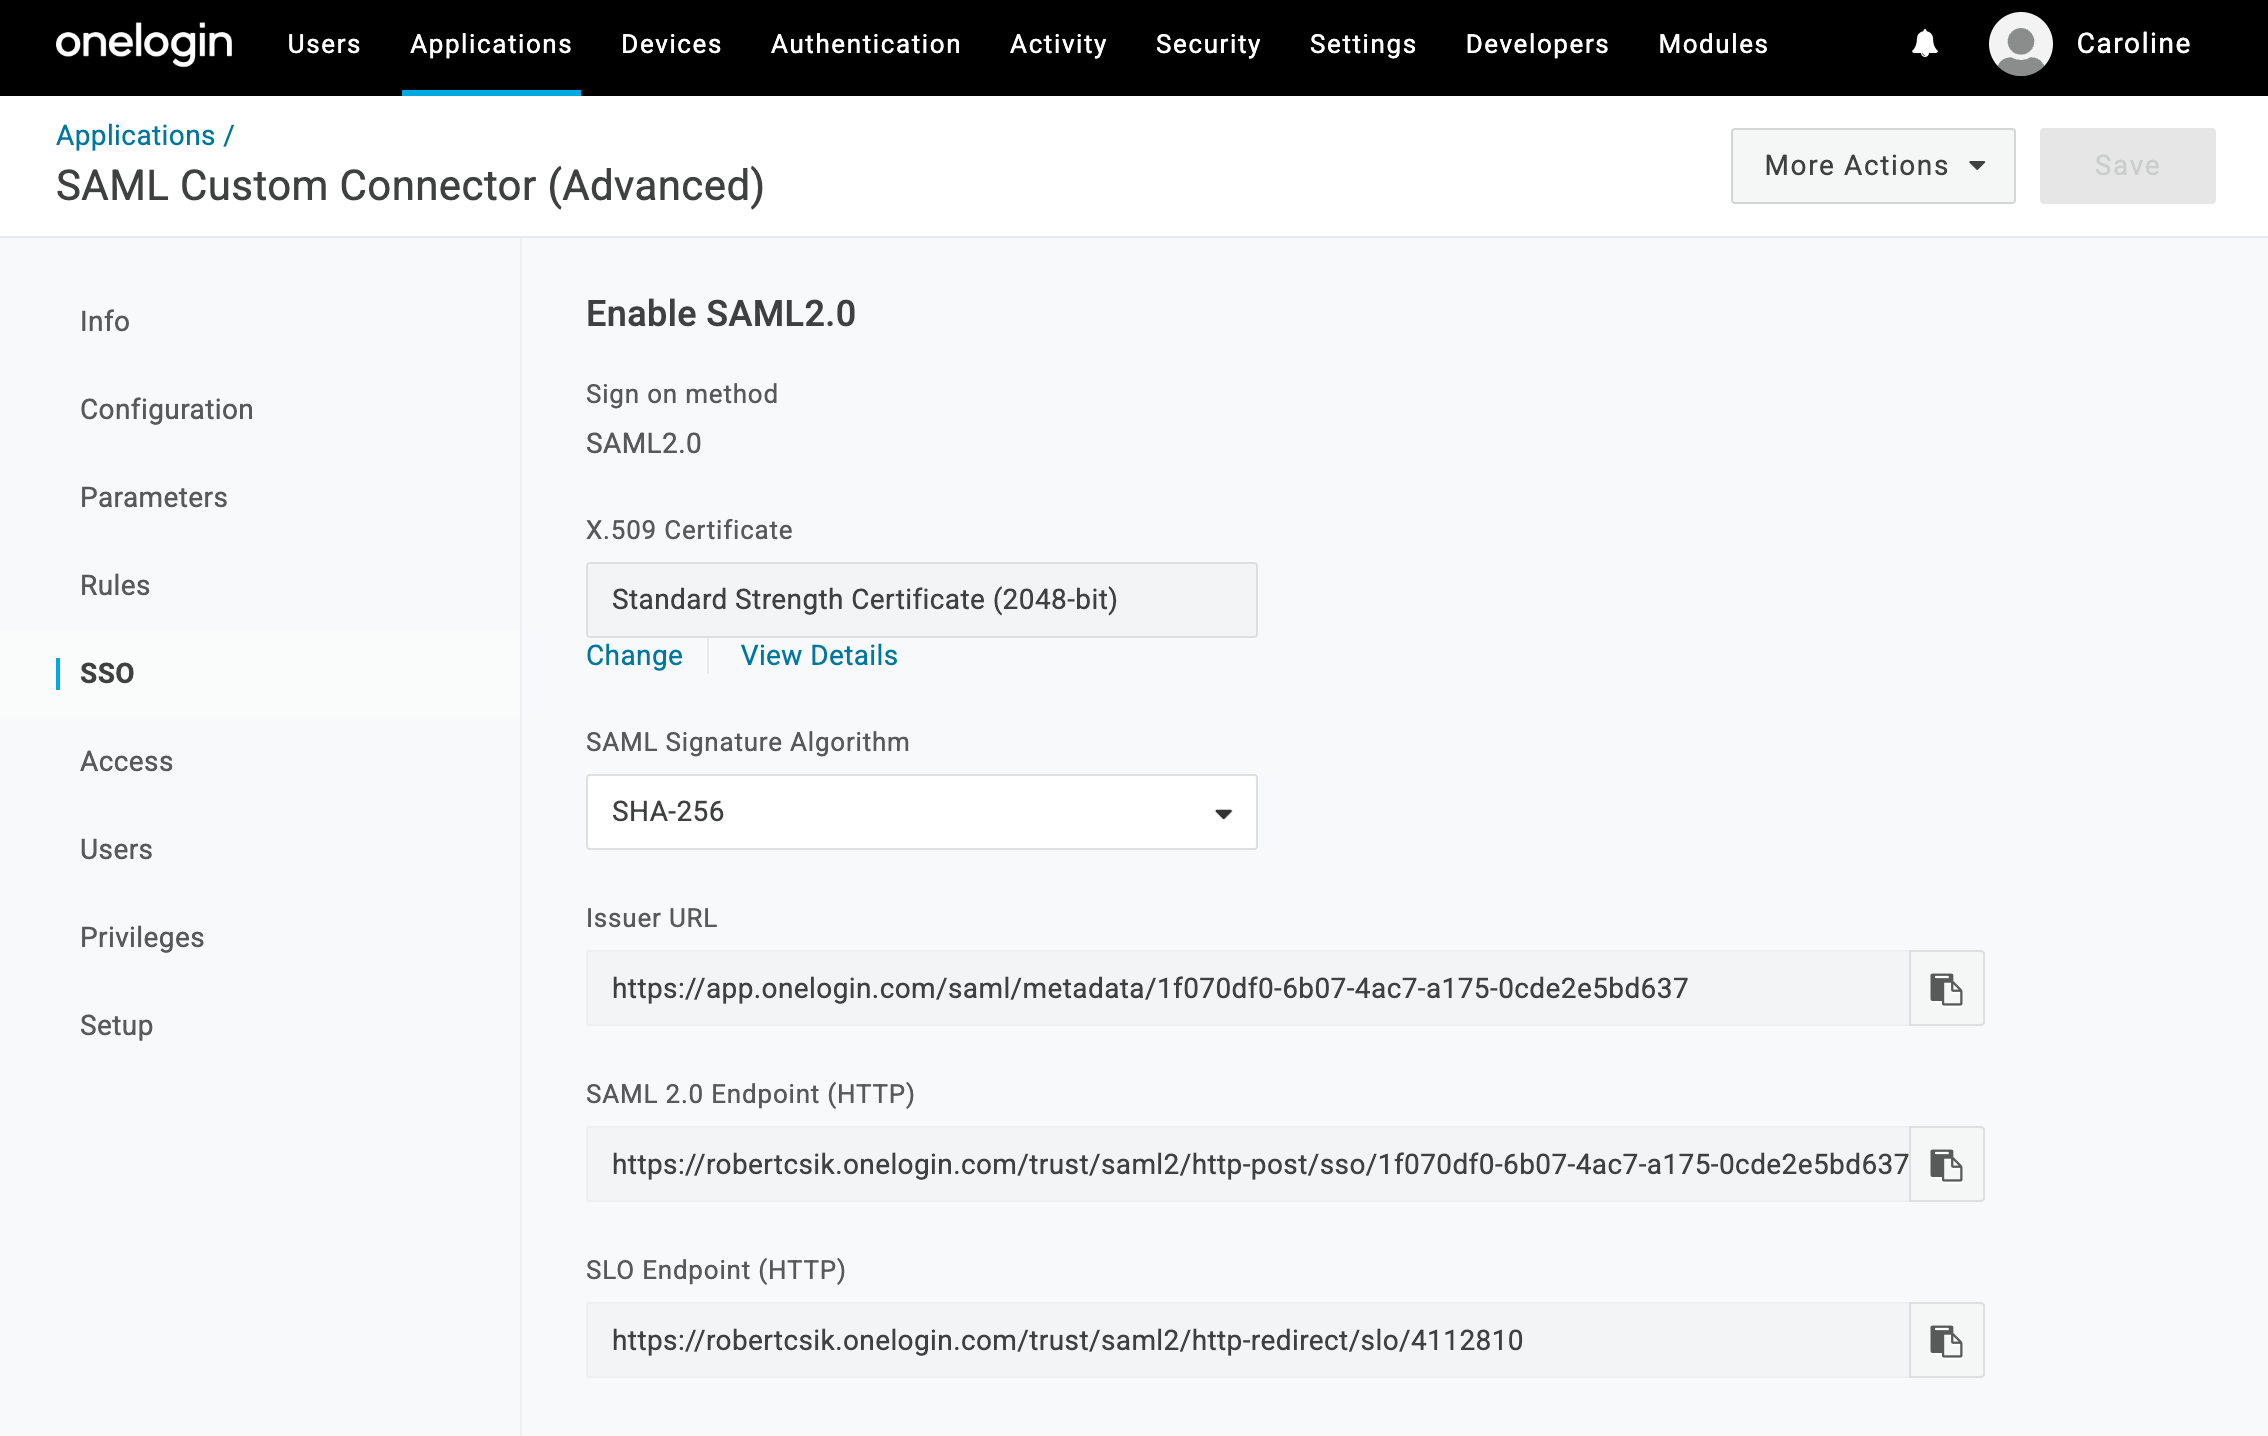
OneLogin SAML information for Sevalla setup.

In Sevalla, within the Single sign-on Sevalla setup tab, complete the fields as follows:
  • SSO URL: Copy and paste the SAML 2.0 Endpoint (HTTP) from OneLogin.
  • Entity ID: Copy and paste the Issuer URL from OneLogin.
  • Public certificate: In OneLogin, on the X.509 Certificate, click View Details, copy and paste the contents of the X.509 Certificate.
Certificates can expire, so you may need to update this in the future. Company Owners and Company Administrators will receive a notification three weeks prior to certificate expiration to ensure the certificate is updated in a timely manner.
Click Continue.

Test the authentication in Sevalla

You cannot enable SAML SSO within Sevalla without first testing the authentication. In Sevalla, within Single sign-on, click Continue until you are on the Test and finish tab, and click Test authentication. A notification appears if the test was successful or if the test fails. If the test fails, click Back and check your SAML settings within your IdP and within Sevalla. If the test is successful and you want to enable SAML, click Save and set SSO live.
Test your SSO setup and set SSO live

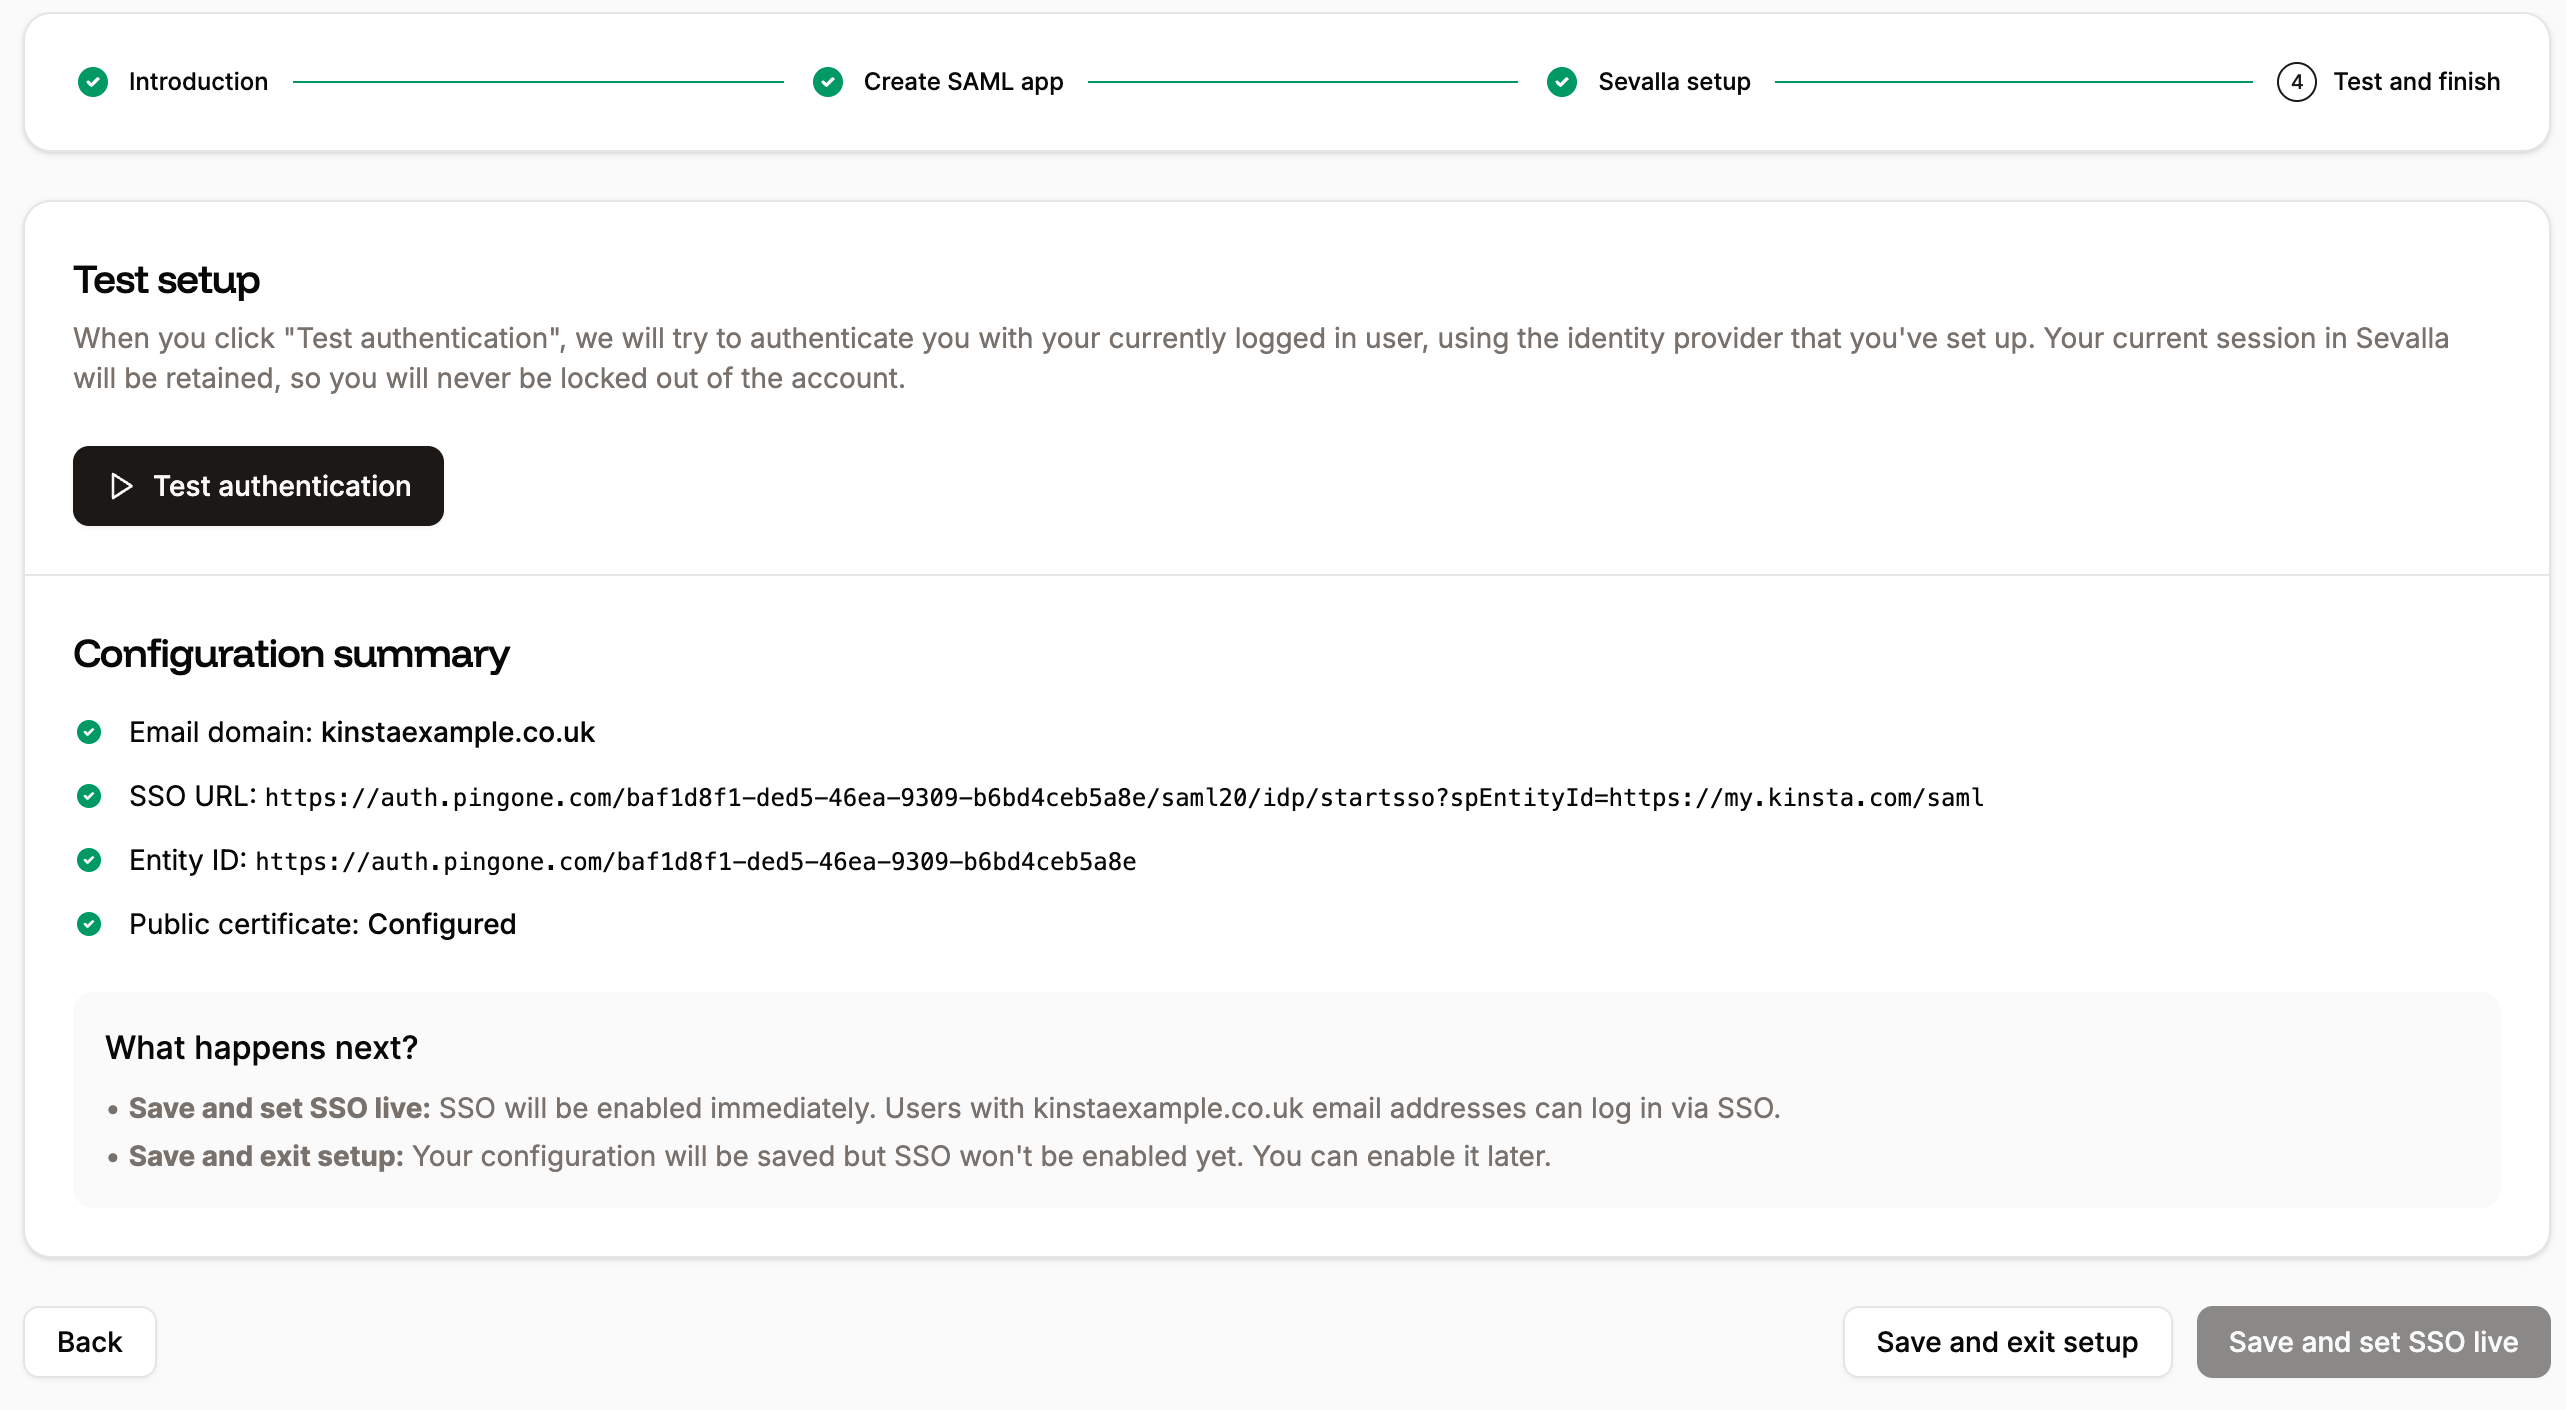
Test your SSO setup and set SSO live.

Your Sevalla company users will now be able to sign in with SAML SSO or by entering their username and password. Users who sign in through an IdP are not required to complete Sevalla’s 2FA, as authentication is handled directly by the IdP. If you want to force users to sign on via SAML, you can enable Mandatory SSO and add Exceptions. You can also enable JIT provisioning to allow users authorized by your IdP to access your Sevalla company without requiring an invitation.
Sign in to Sevalla with SAML SSO

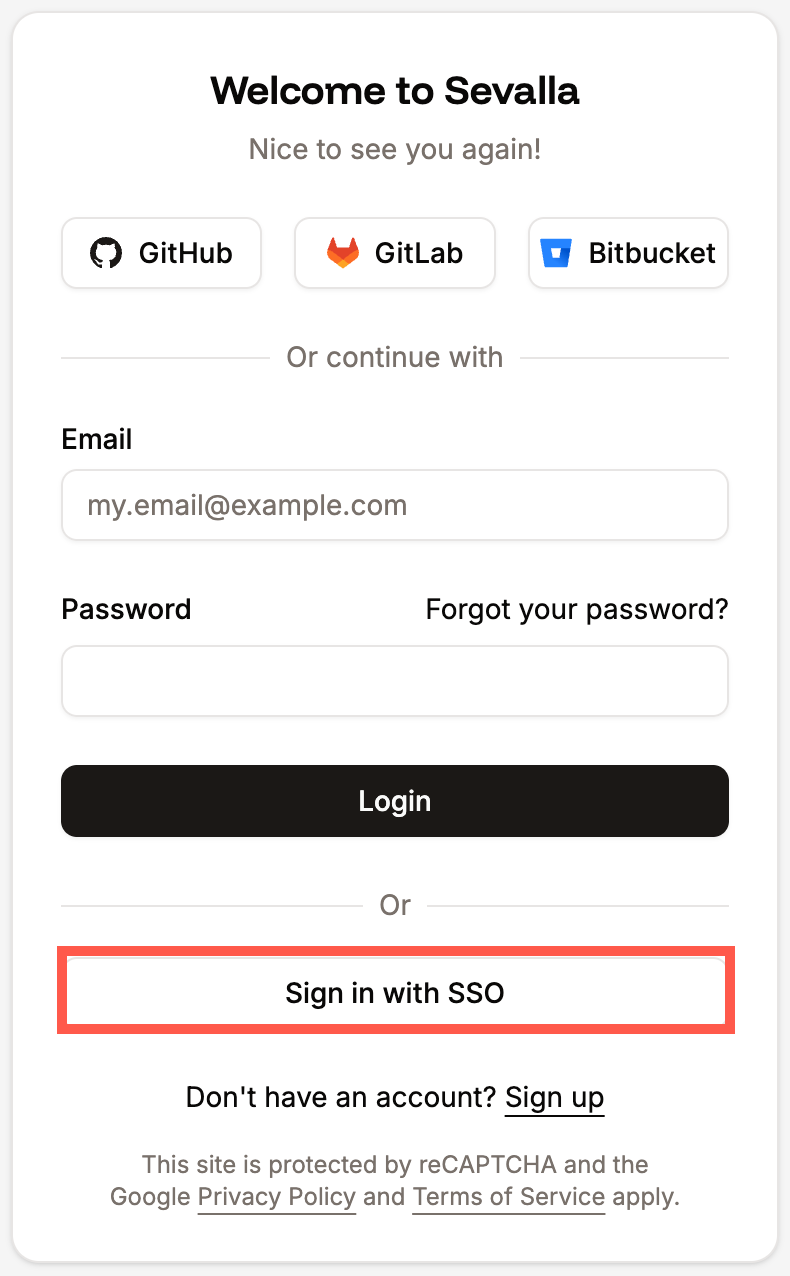
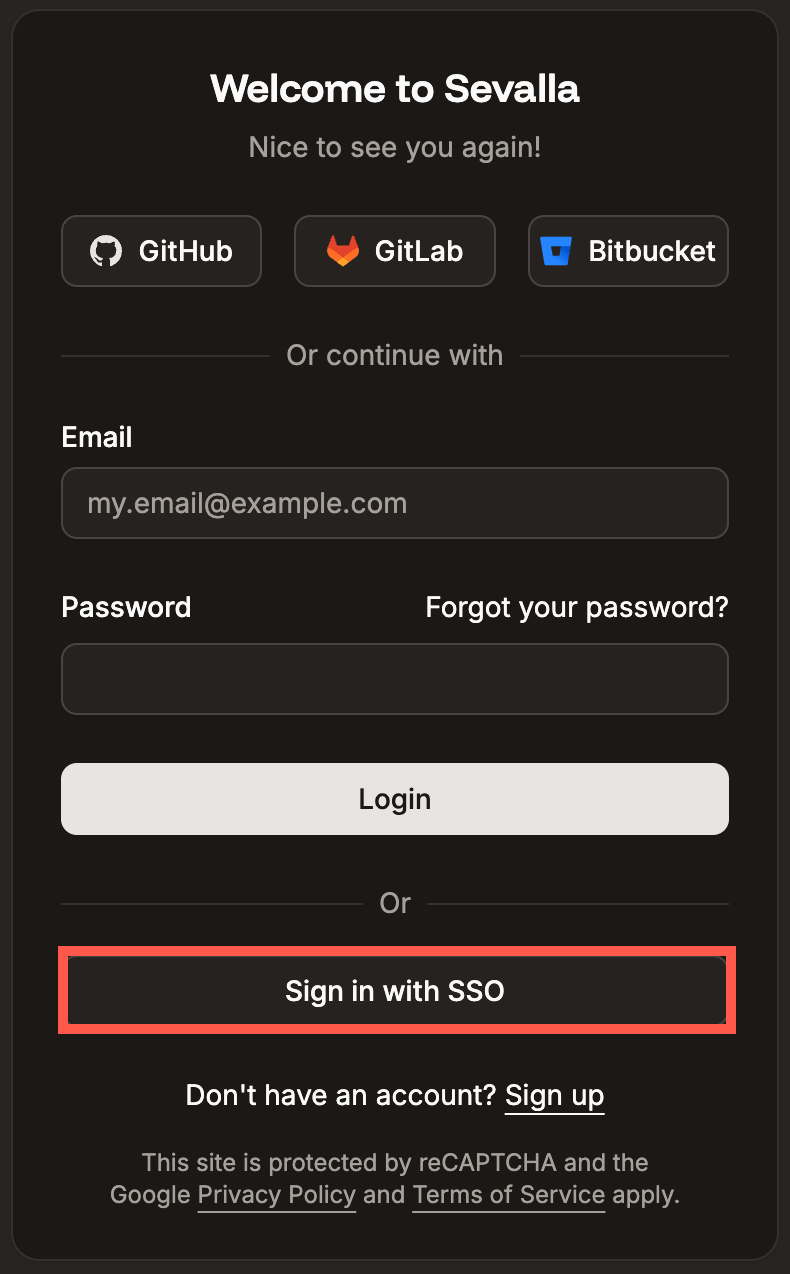
Sign in to Sevalla with SAML SSO.

Change the session duration

Your Identity Provider (IdP) determines how long your SSO session remains active and when it expires. If your IdP doesn’t specify a session duration, Sevalla defaults to a 24-hour session. When your SSO session expires, you’ll be logged out of SSO. If you’re working within a company that uses SSO, you’ll be prompted to reauthenticate. If you have access to multiple companies in Sevalla, you’ll remain logged in overall but will need to reauthenticate before accessing any company that requires SSO. For details on adjusting session duration, refer to the OneLogin Knowledge Base.