@mycompany.com) to the organization’s IdP. This ensures that anyone with a company email address is automatically recognized and securely authenticated when accessing approved tools and services.
At Sevalla, SAML SSO lets you connect your company’s IdP directly to Sevalla. By creating a SAML application in your IdP and adding the connection details to Sevalla, your team can sign in using their existing company credentials, eliminating the need to create or manage separate Sevalla passwords. This also gives company owners centralized control over who can access Sevalla, directly through the IdP.
Sevalla supports all identity providers (IdPs) that use the SAML standard, including Microsoft Entra ID, Okta, OneLogin, Google Workspace, Auth0, Duo, JumpCloud, and more.
When using SAML SSO with Sevalla, login must always be initiated from Sevalla. Logging in directly from your Identity Provider (IdP) is not supported.IdPs only support one active session per browser. If you have multiple accounts and are logged into one, attempting to log into another through Sevalla will result in an error. To switch accounts, log out of your IdP or use your browser’s Incognito/Private mode.
Set up SAML SSO
For detailed step-by-step guides for the most popular IdPs, refer to one of the following:- Google Workspace SAML SSO
- Microsoft Entra SAML SSO
- Okta SAML SSO
- OneLogin SAML SSO
- Ping Identity SAML SSO
Enable SSO in Sevalla
When you set up SAML SSO, you can navigate away from the SSO setup at any stage to store your progress and return later. In Sevalla, go to your Company settings > Single sign-on, and click Enable.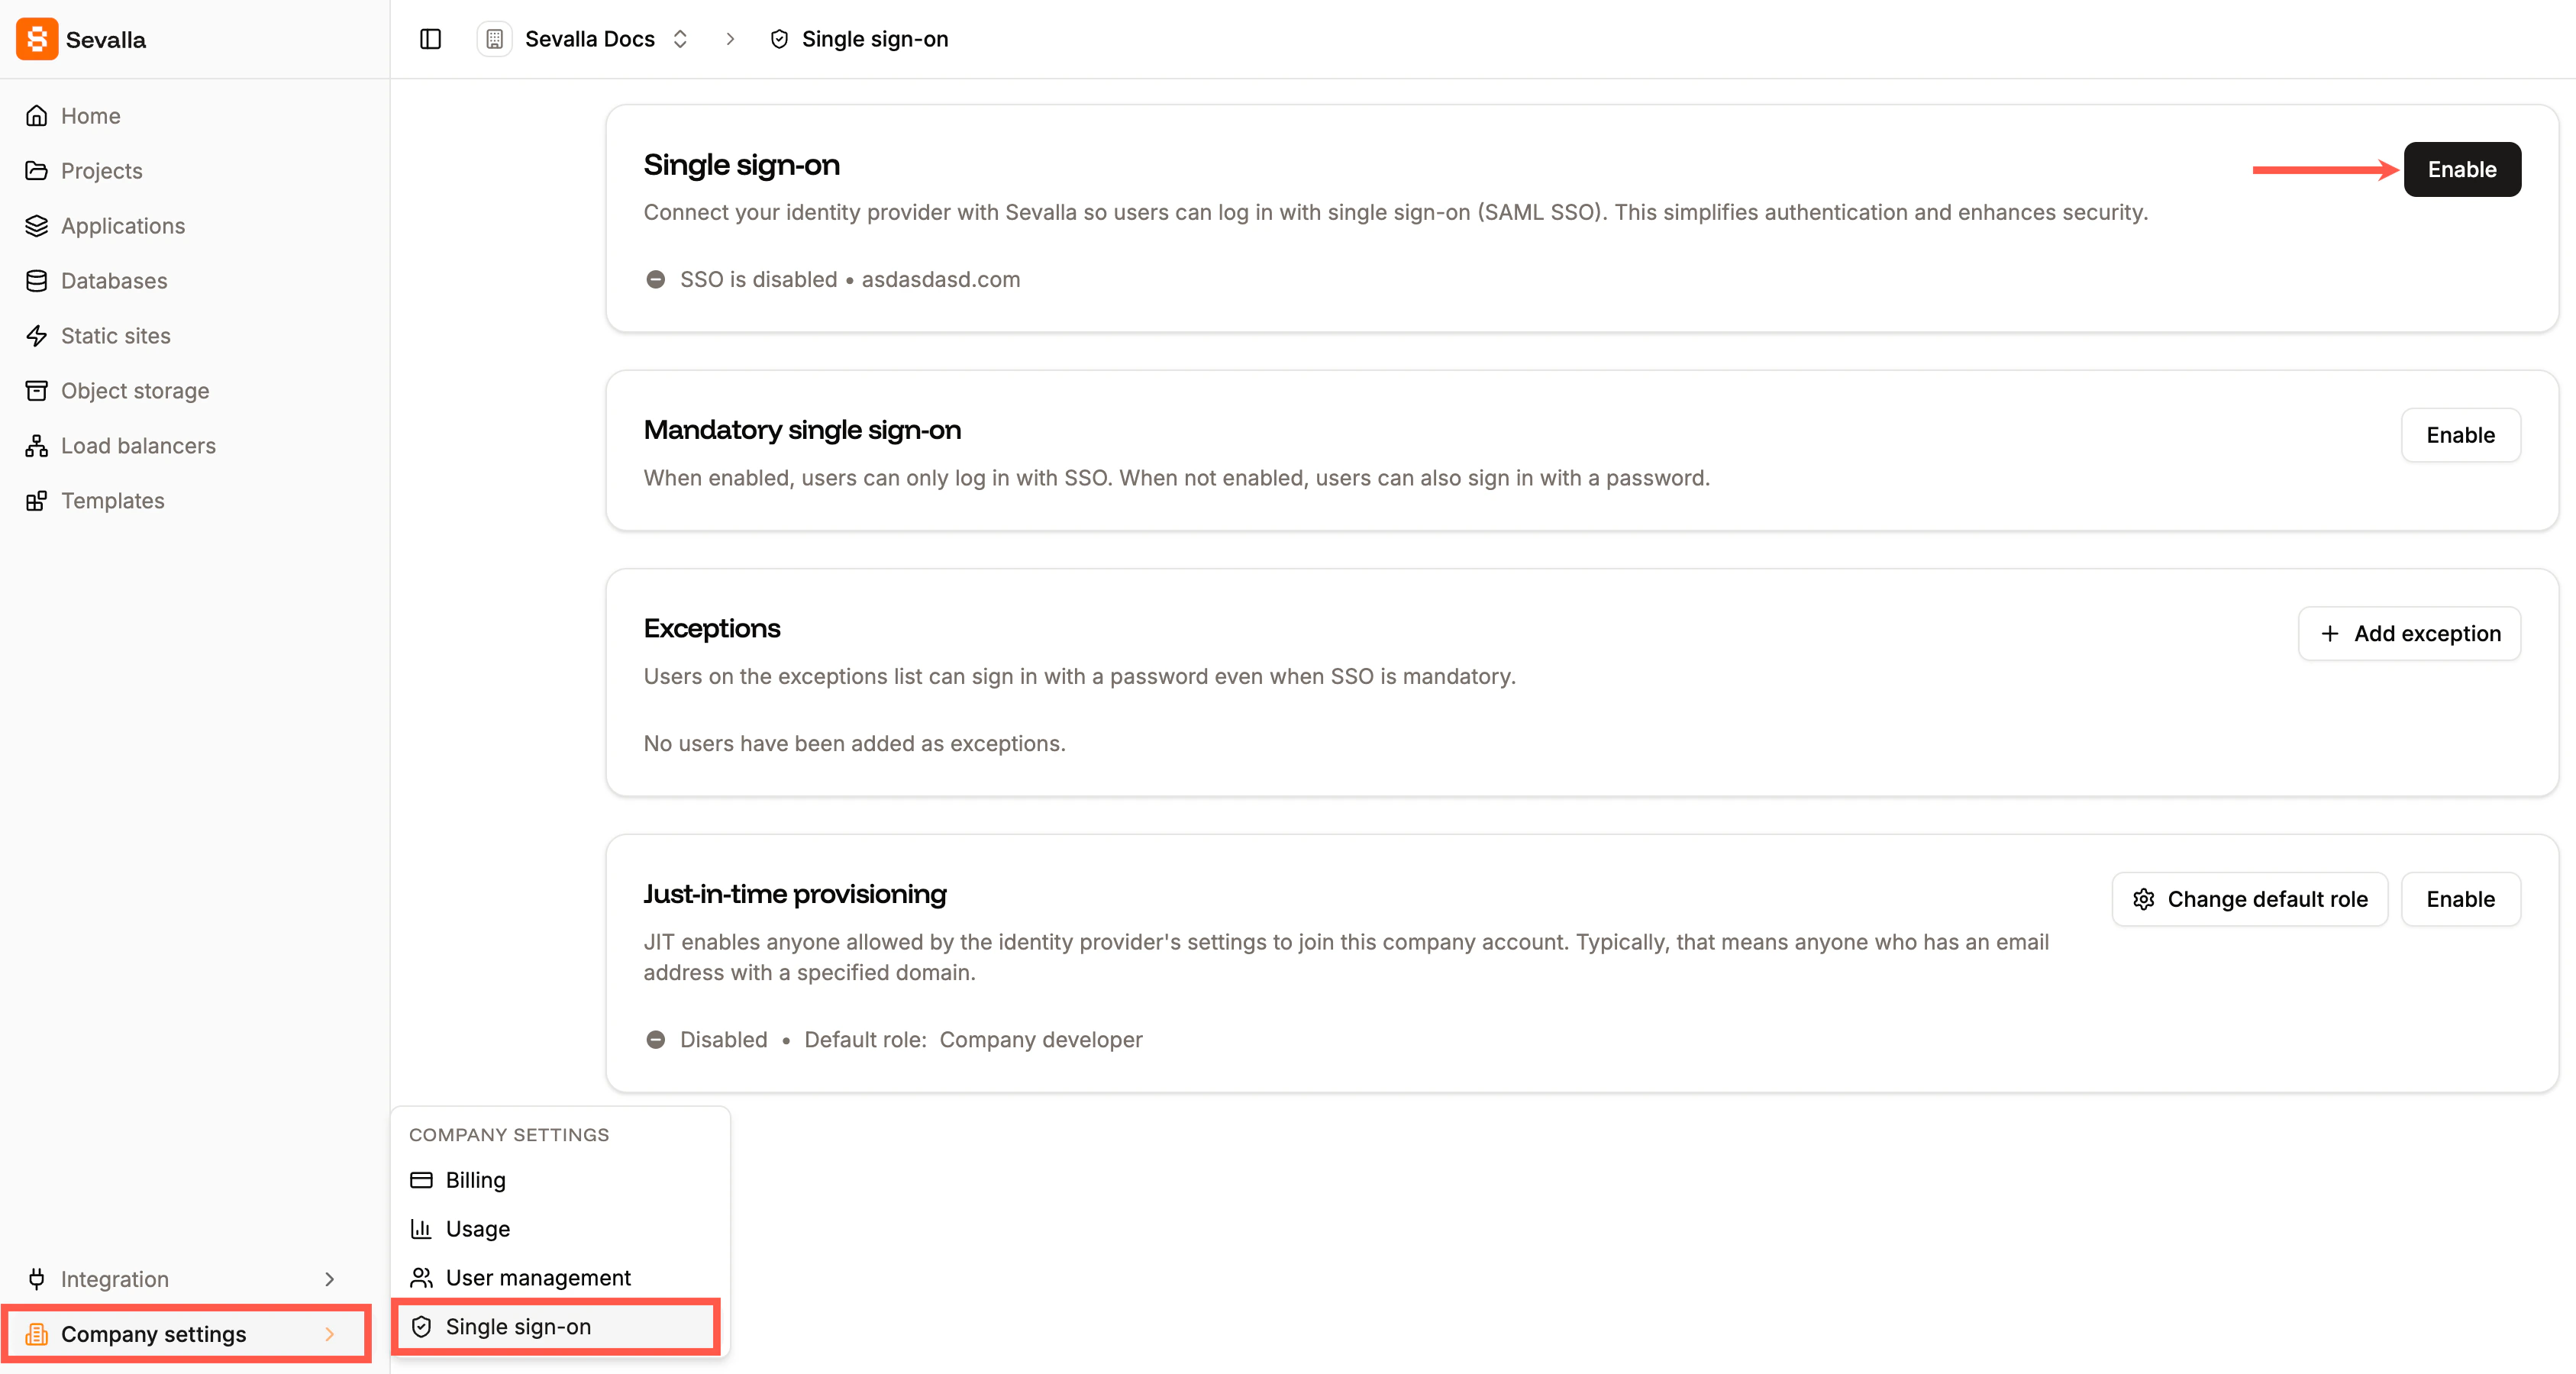
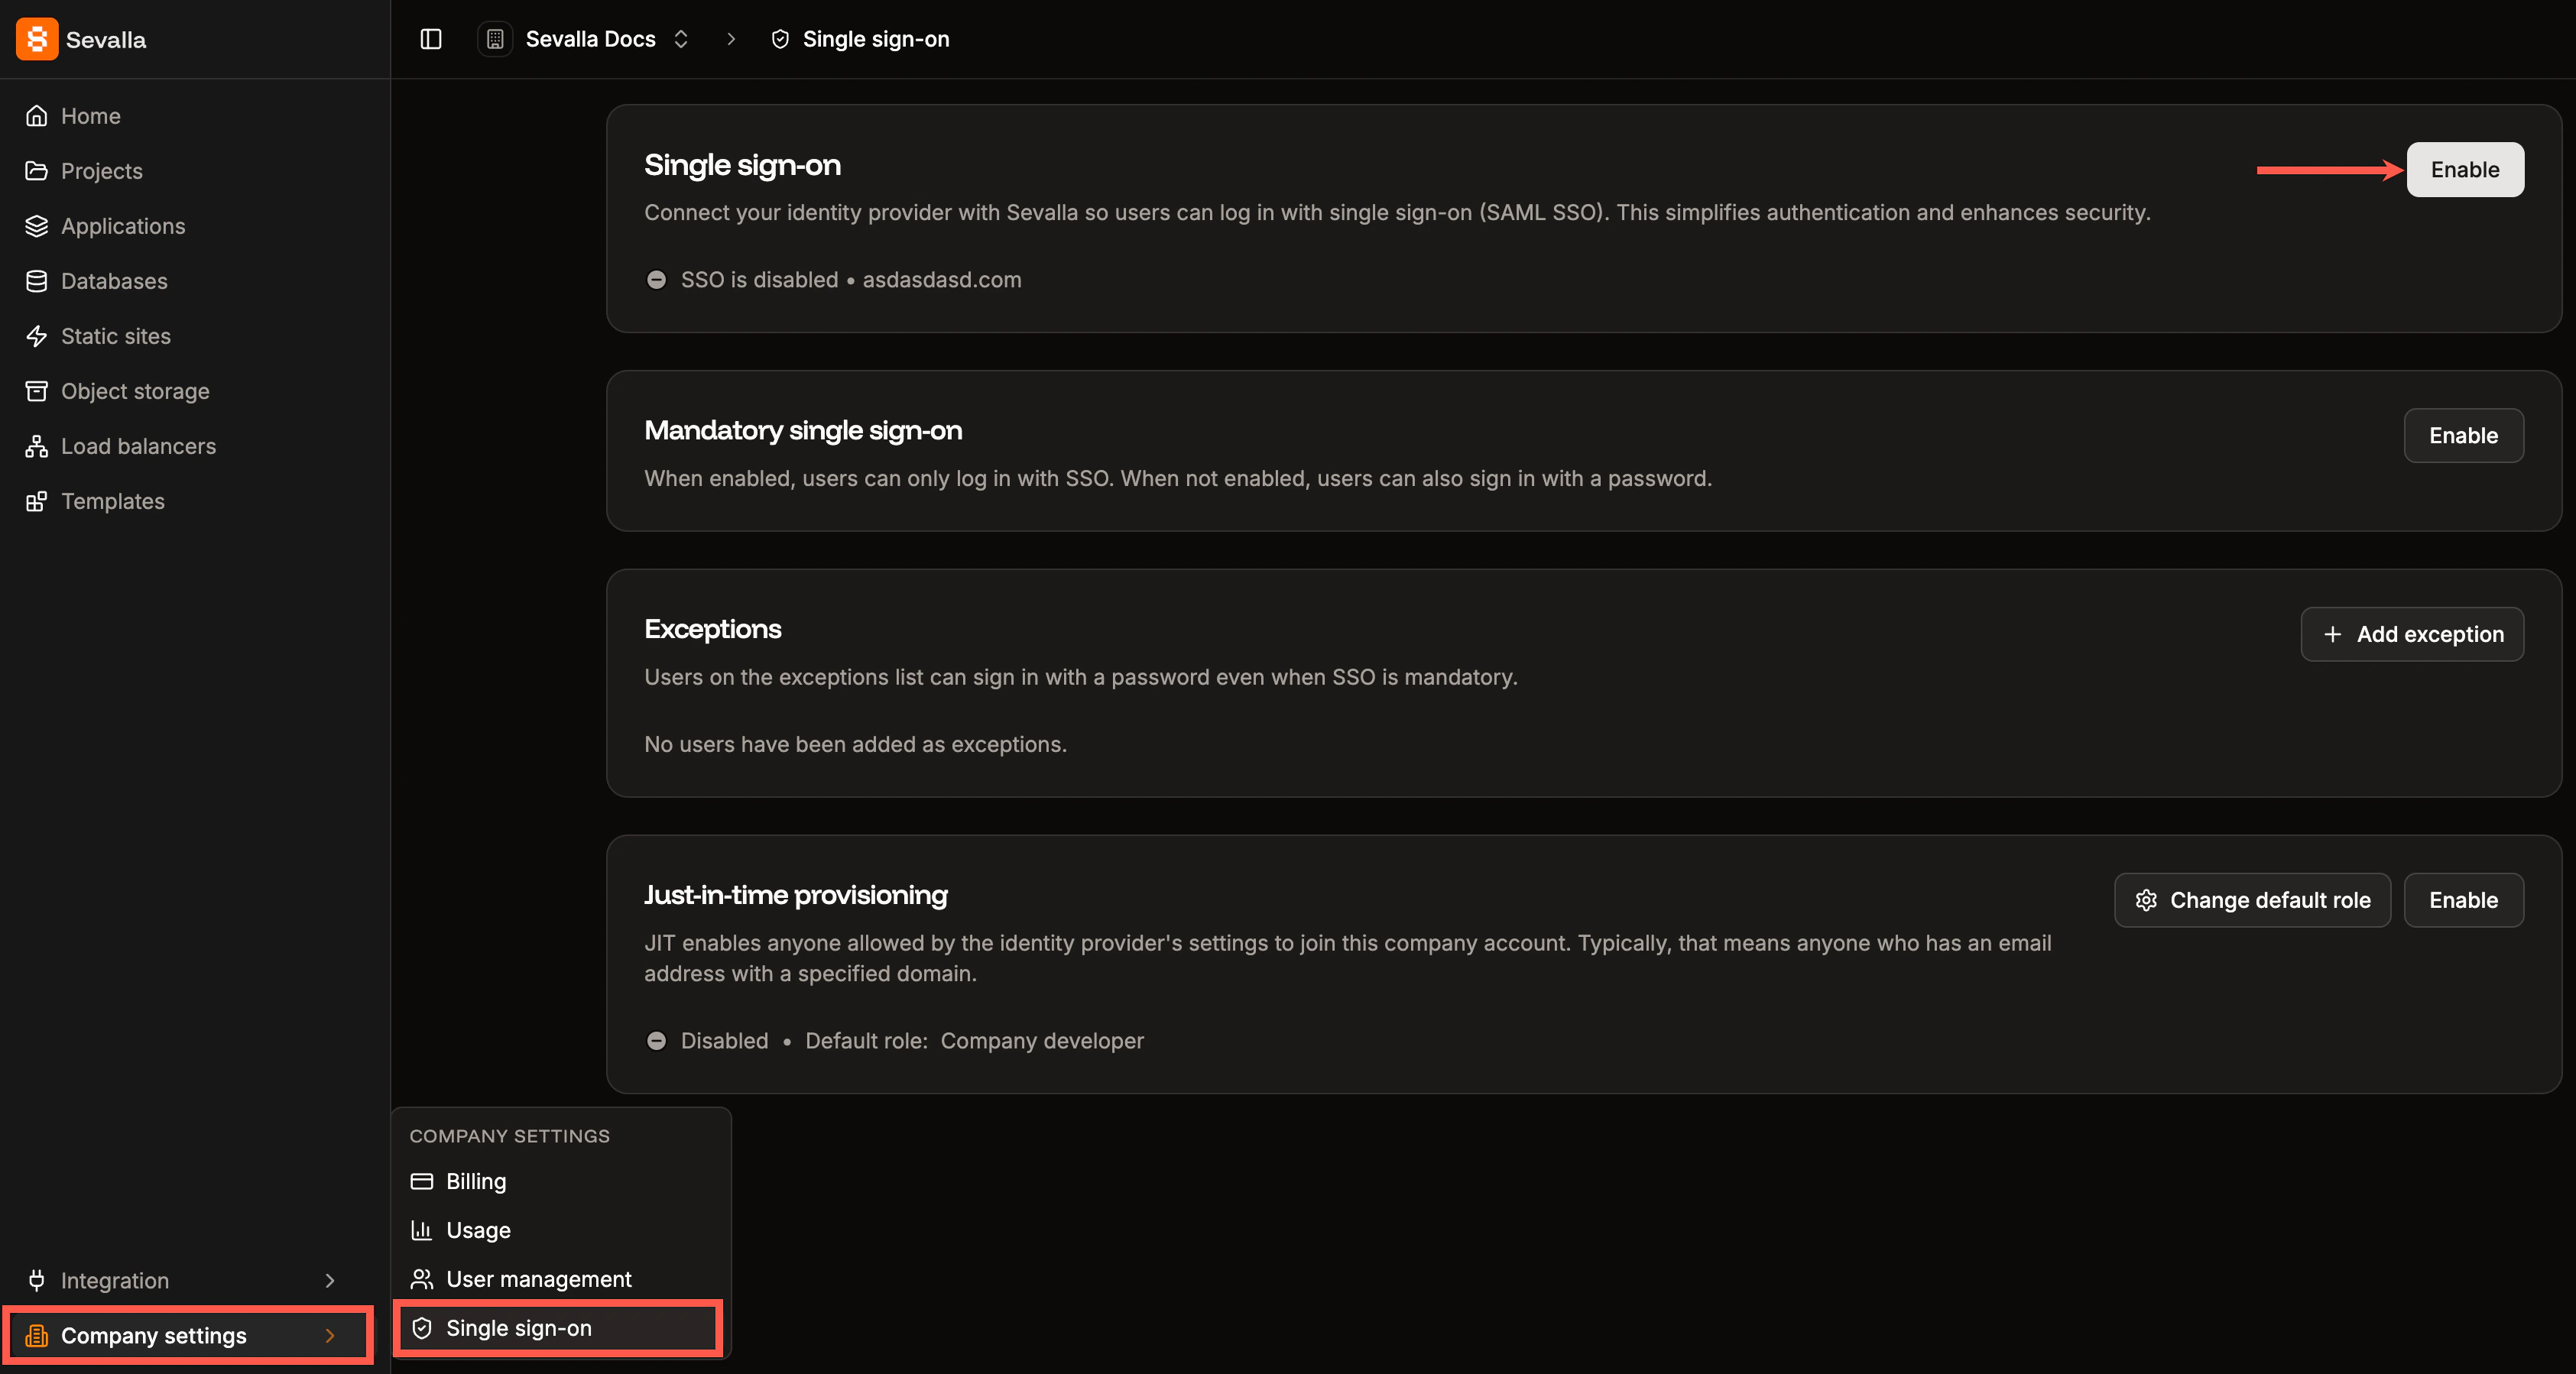
Enable SSO in Sevalla.
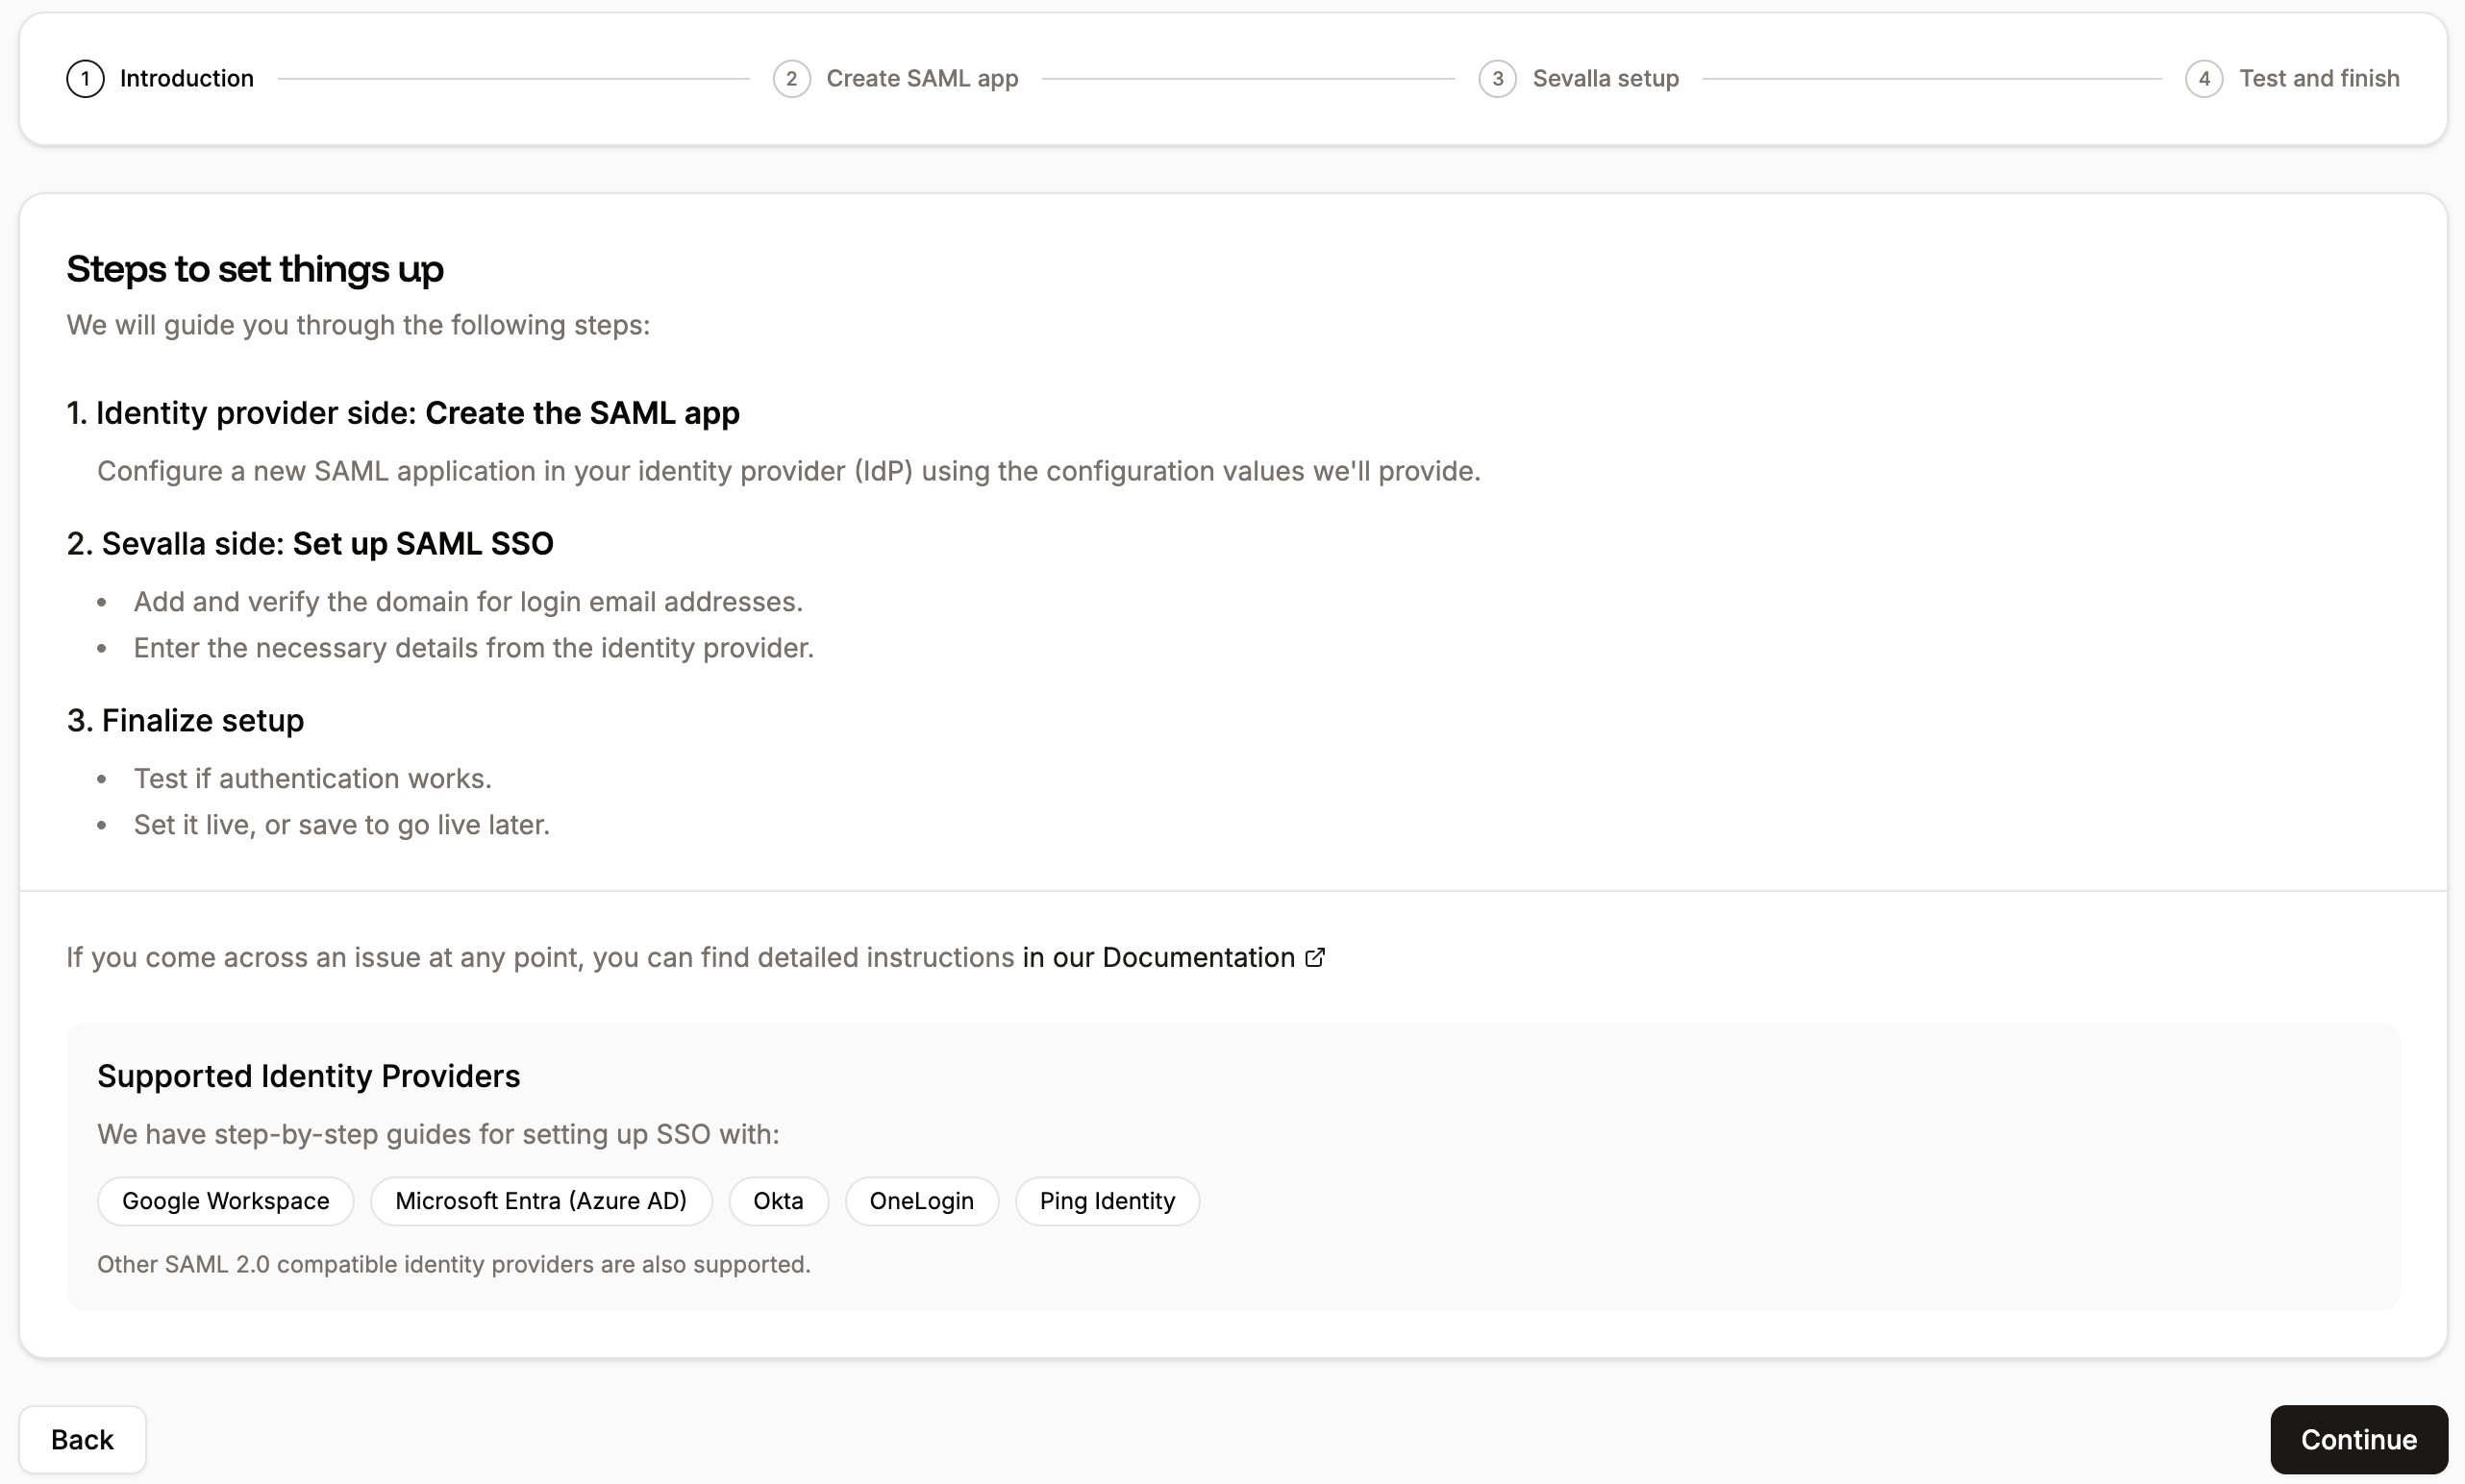
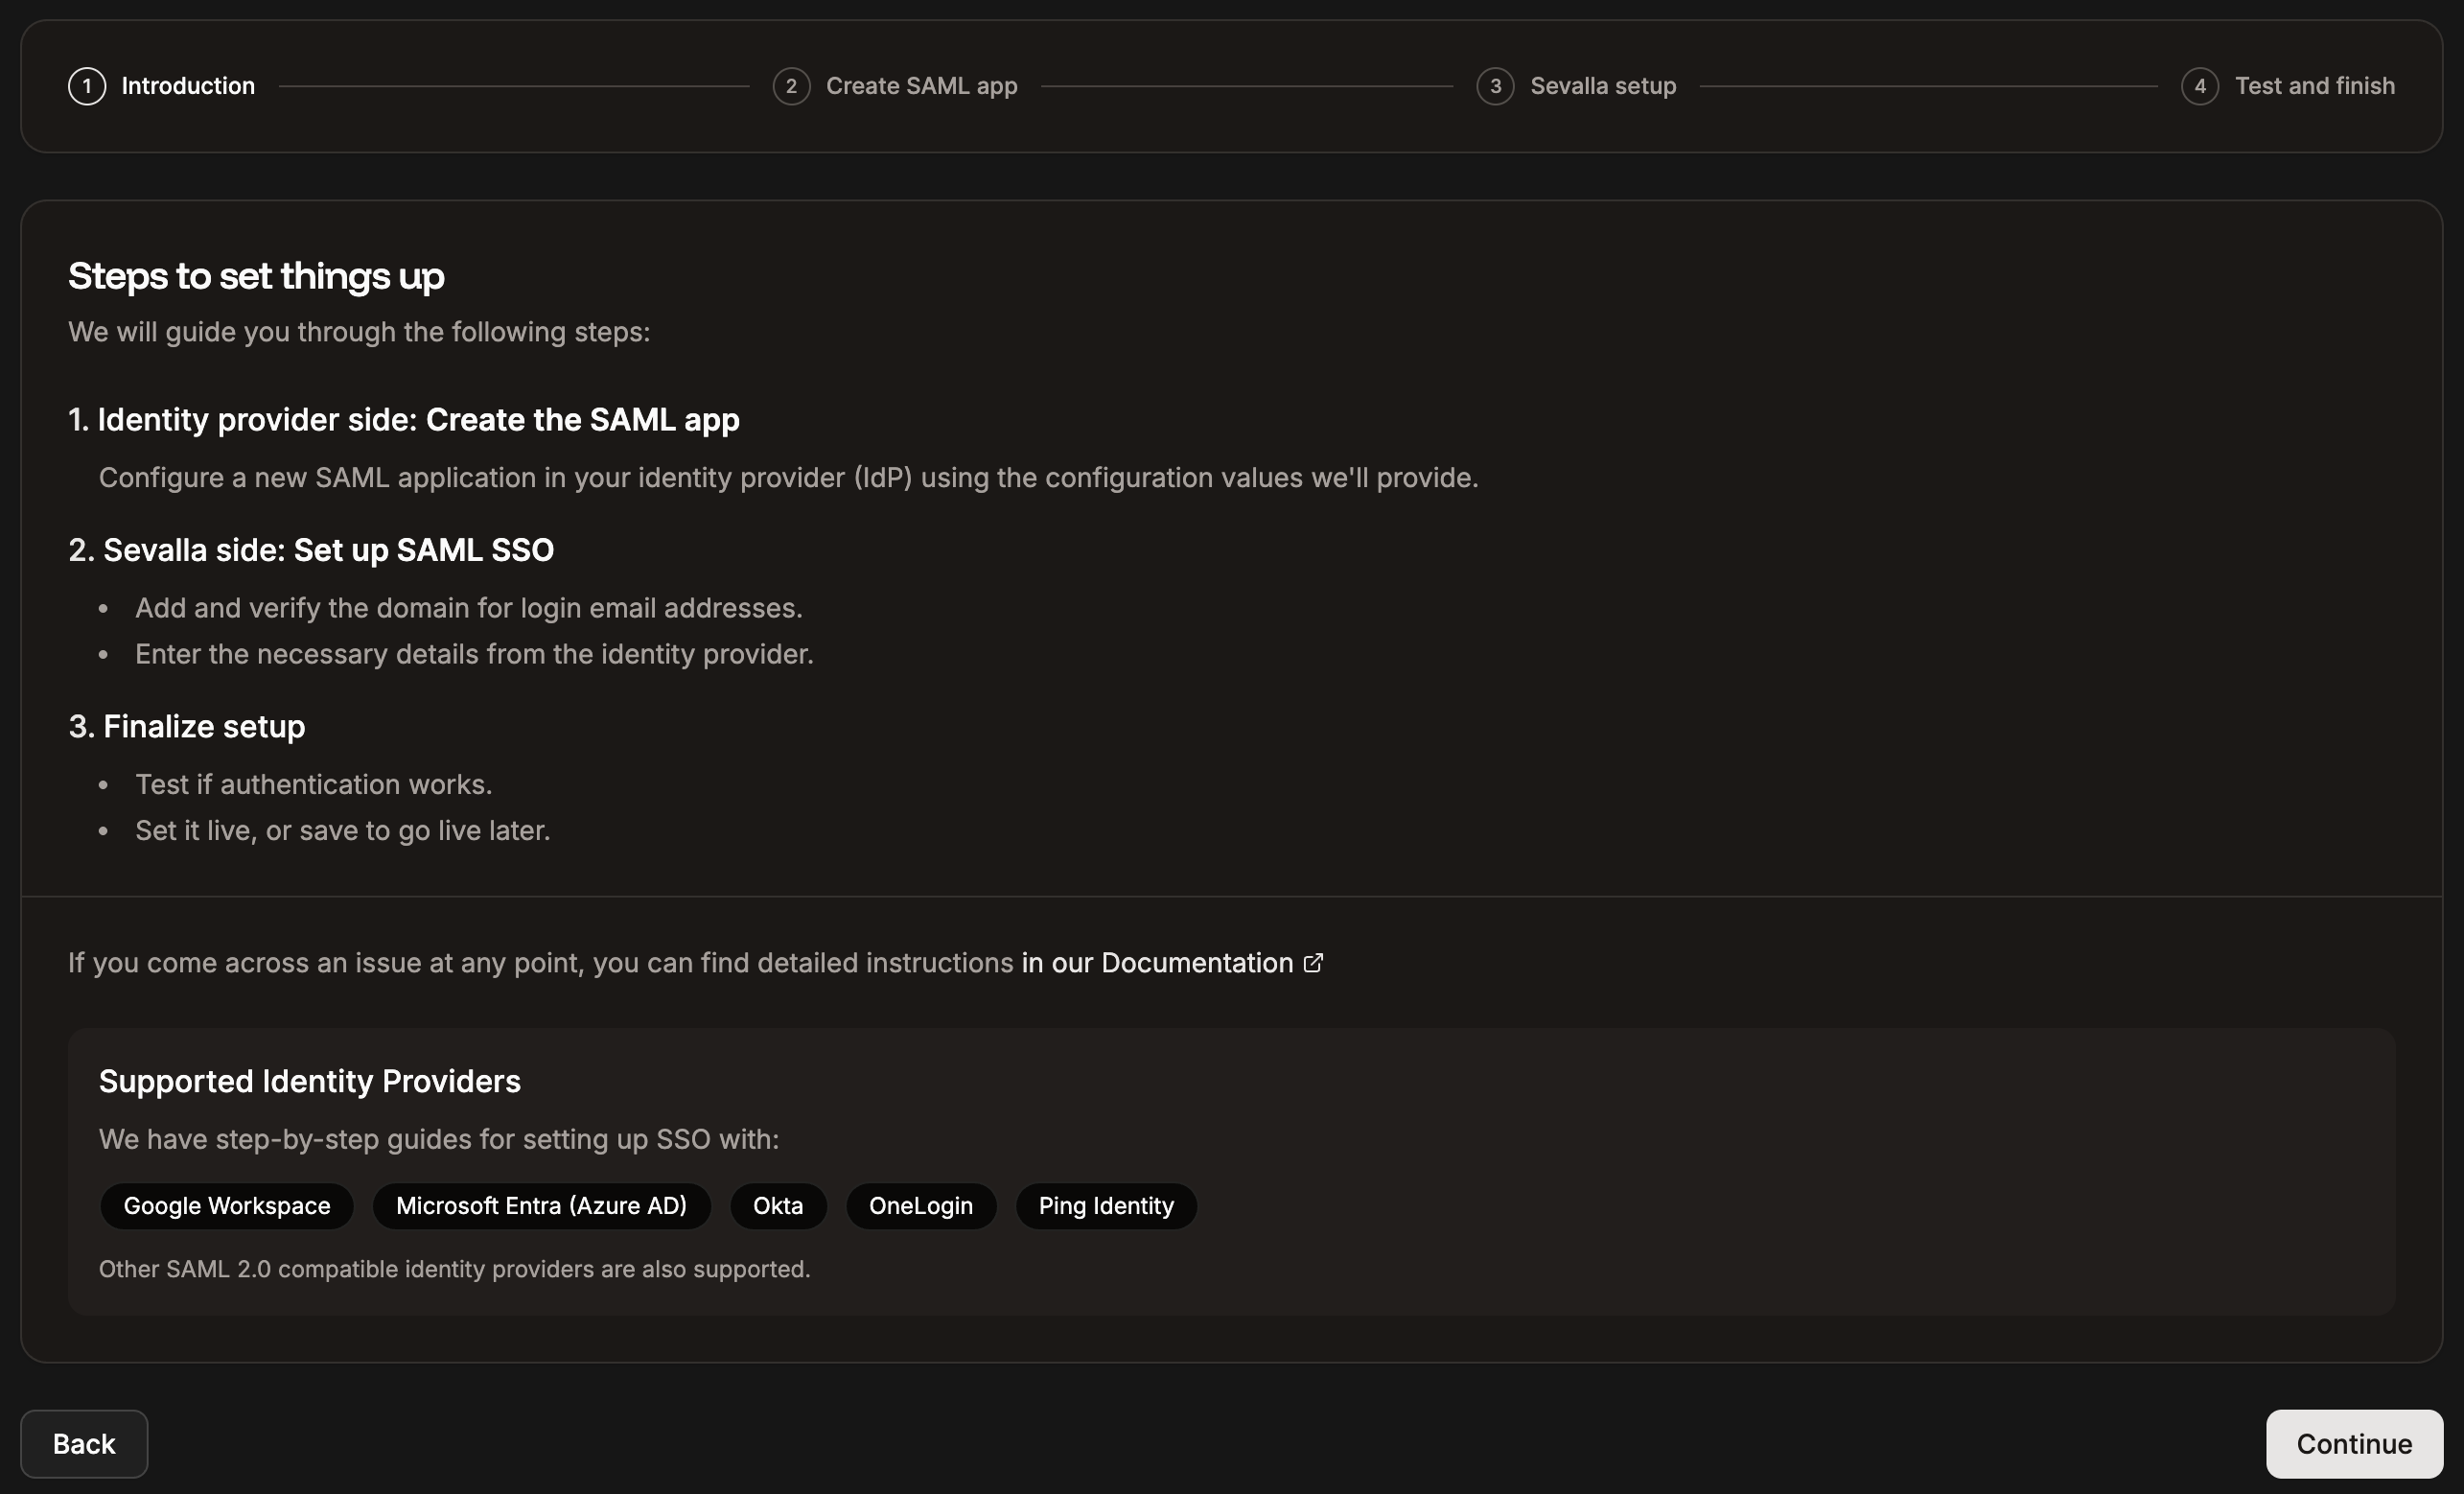
Introduction to the steps required to set up SSO.
Set up the app integration in your IdP
Use the information provided within Create SAML app to set up a SAML app within your identity provider, and then click Continue.- App name: Copy and paste this into the Application Name field in your IdP.
- App description: Copy and paste this into the Application Description field in your IdP. This field is typically optional.
- App icon: Click Download to get the Sevalla icon, then upload it to your IdP application.
- SSO/ACS URL: This is the Sevalla endpoint your IdP redirects to after authentication. It processes the SAML response, verifies it, and establishes the user’s session in Sevalla. Copy and paste this into the SSO/ACS/Recipient/Single sign-on URL field in your IdP.
- Entity ID: Sevalla’s unique identifier within your IdP, used to recognize Sevalla as the service provider. Copy and paste this into the Entity ID/Audience URI/Audience field in your IdP.
- Start URL: The web address for Sevalla’s SSO access portal. This is the entry point users visit to log in using SSO, triggering the SAML authentication request to the IdP. Copy and paste this into the Start URL/Login URL field in your IdP.
- Signed Response: A signed response provides secure digital verification, allowing Sevalla to confirm a user’s identity and grant access without requiring an additional login.
- Name ID format: Defines how Sevalla identifies users. This must be set to an email address format in the IdP.
- Required attributes: The attributes Sevalla requires from your IdP to complete the login process.
As Sevalla is a Kinsta product, we use
my.kinsta.com in the SSO/ACS URL, Entity ID, and Start URL. This is a normal part of the Sevalla experience.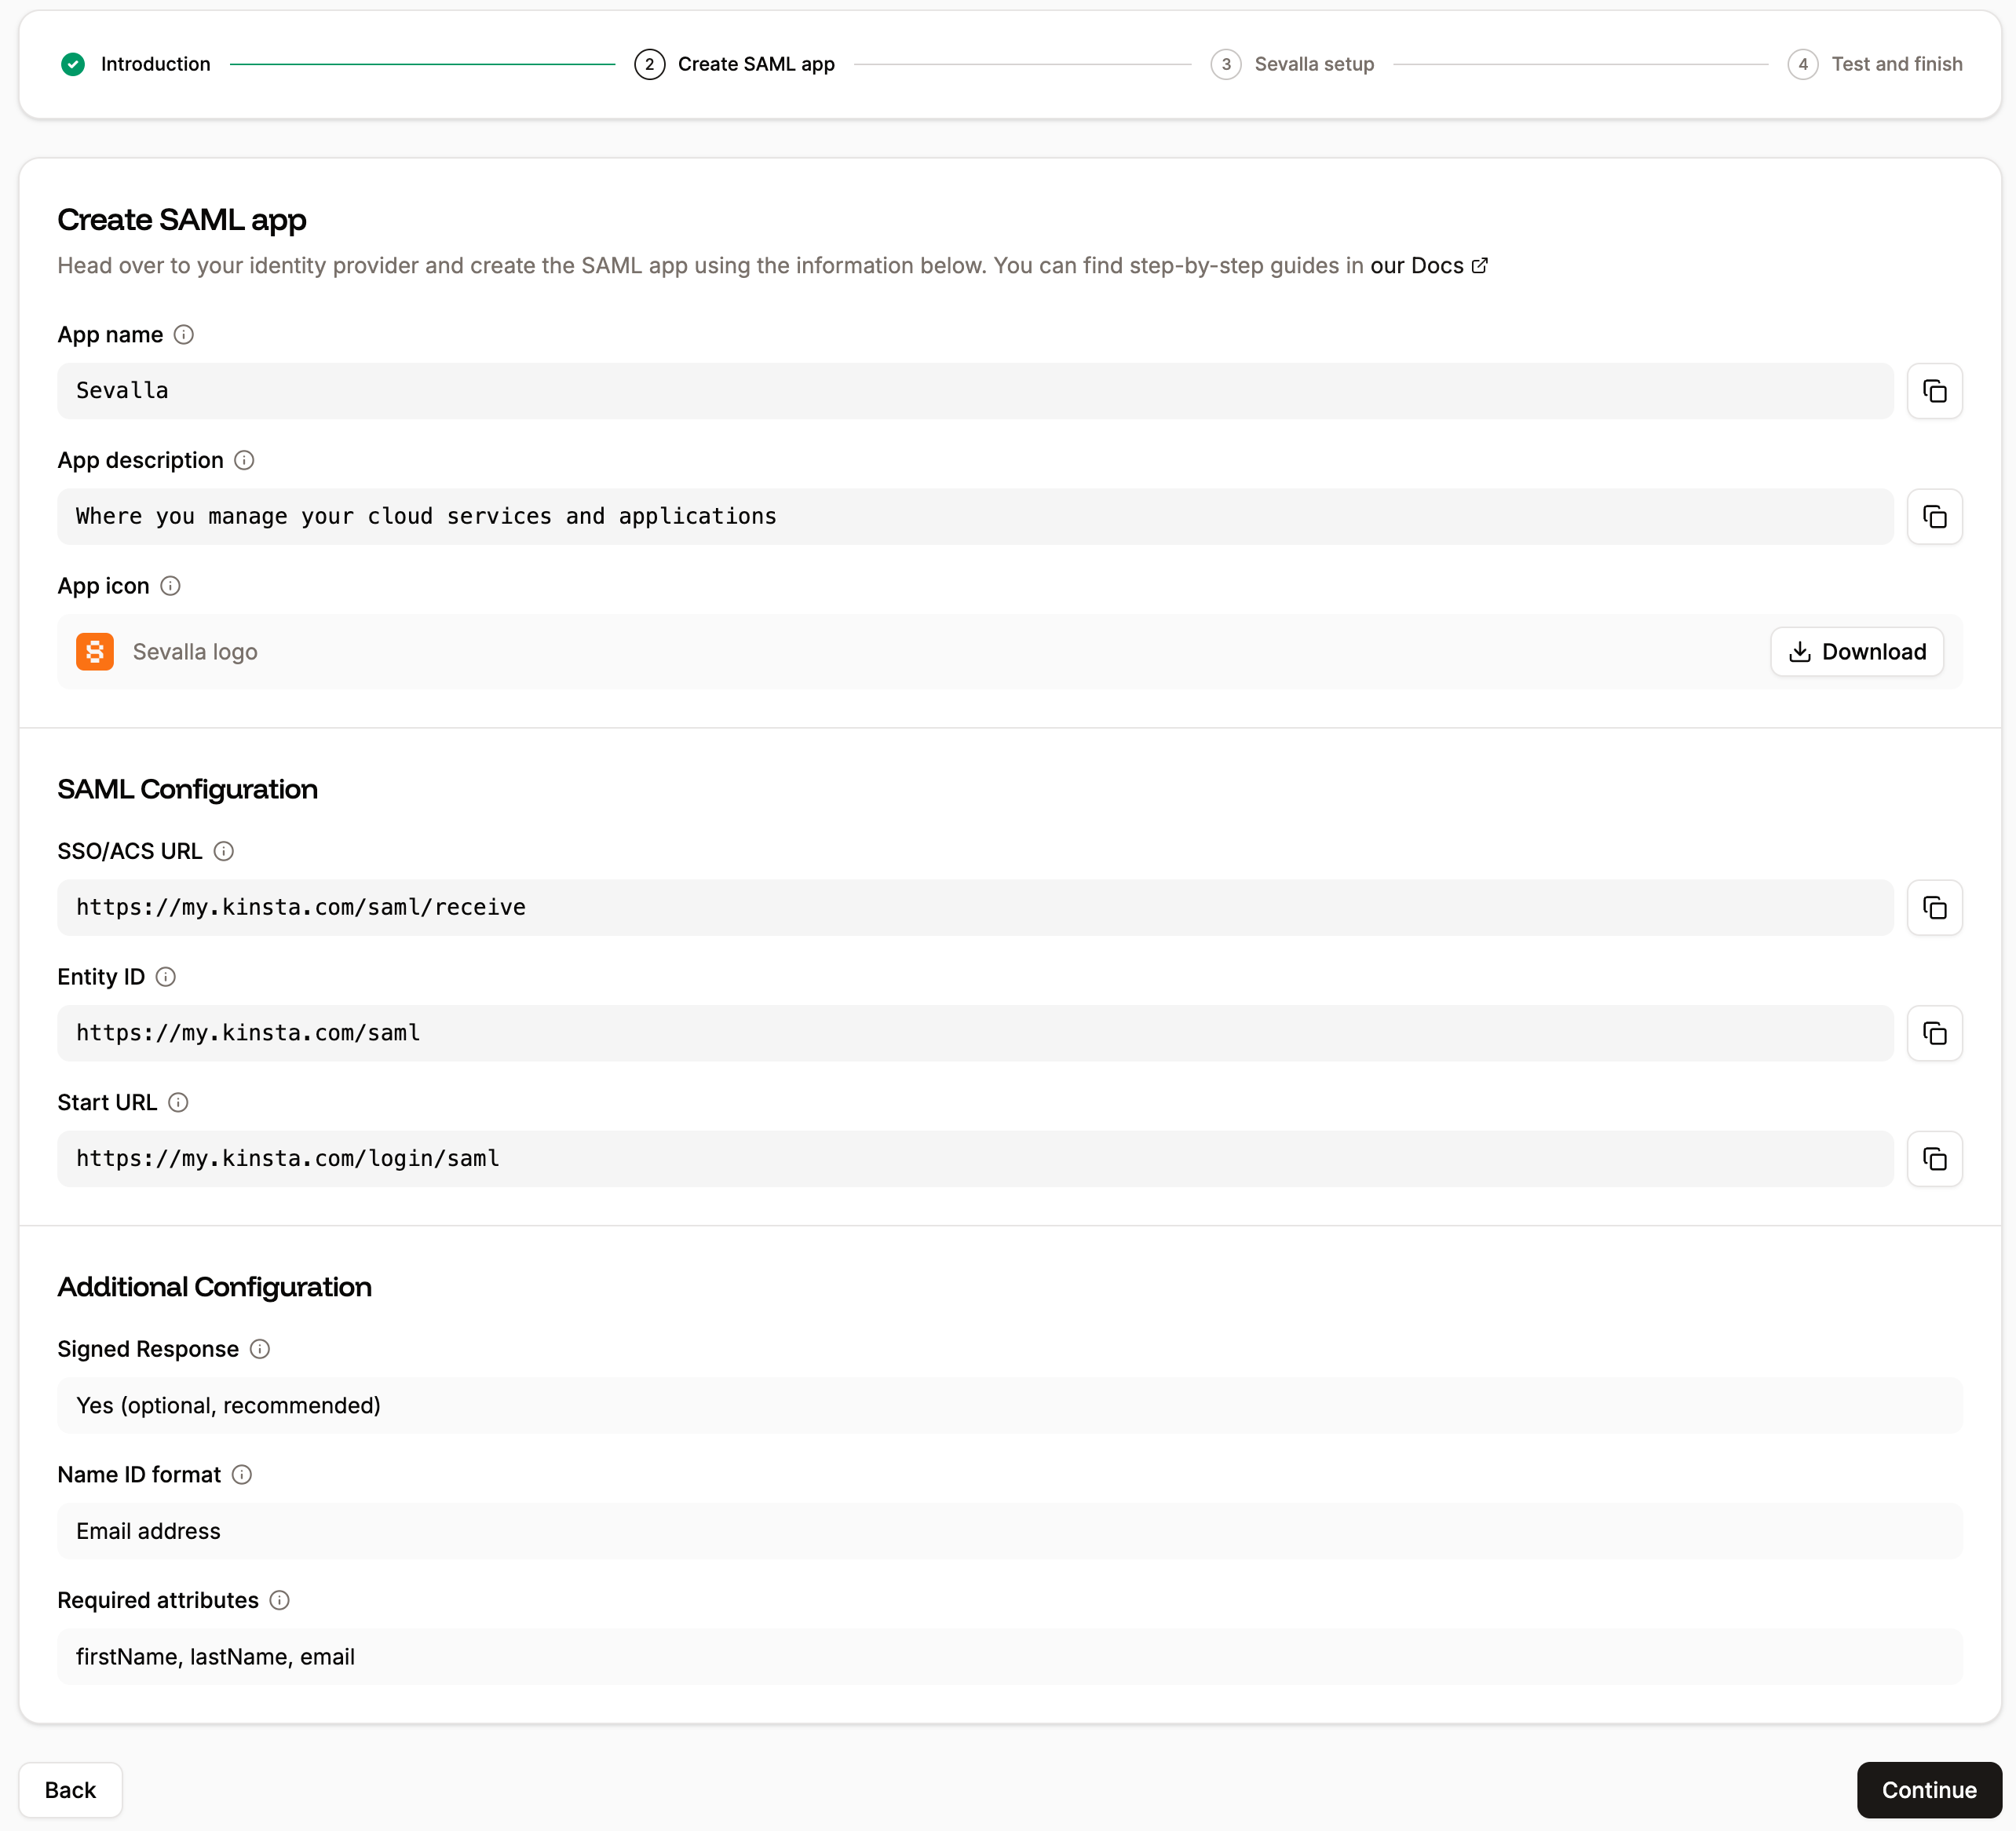
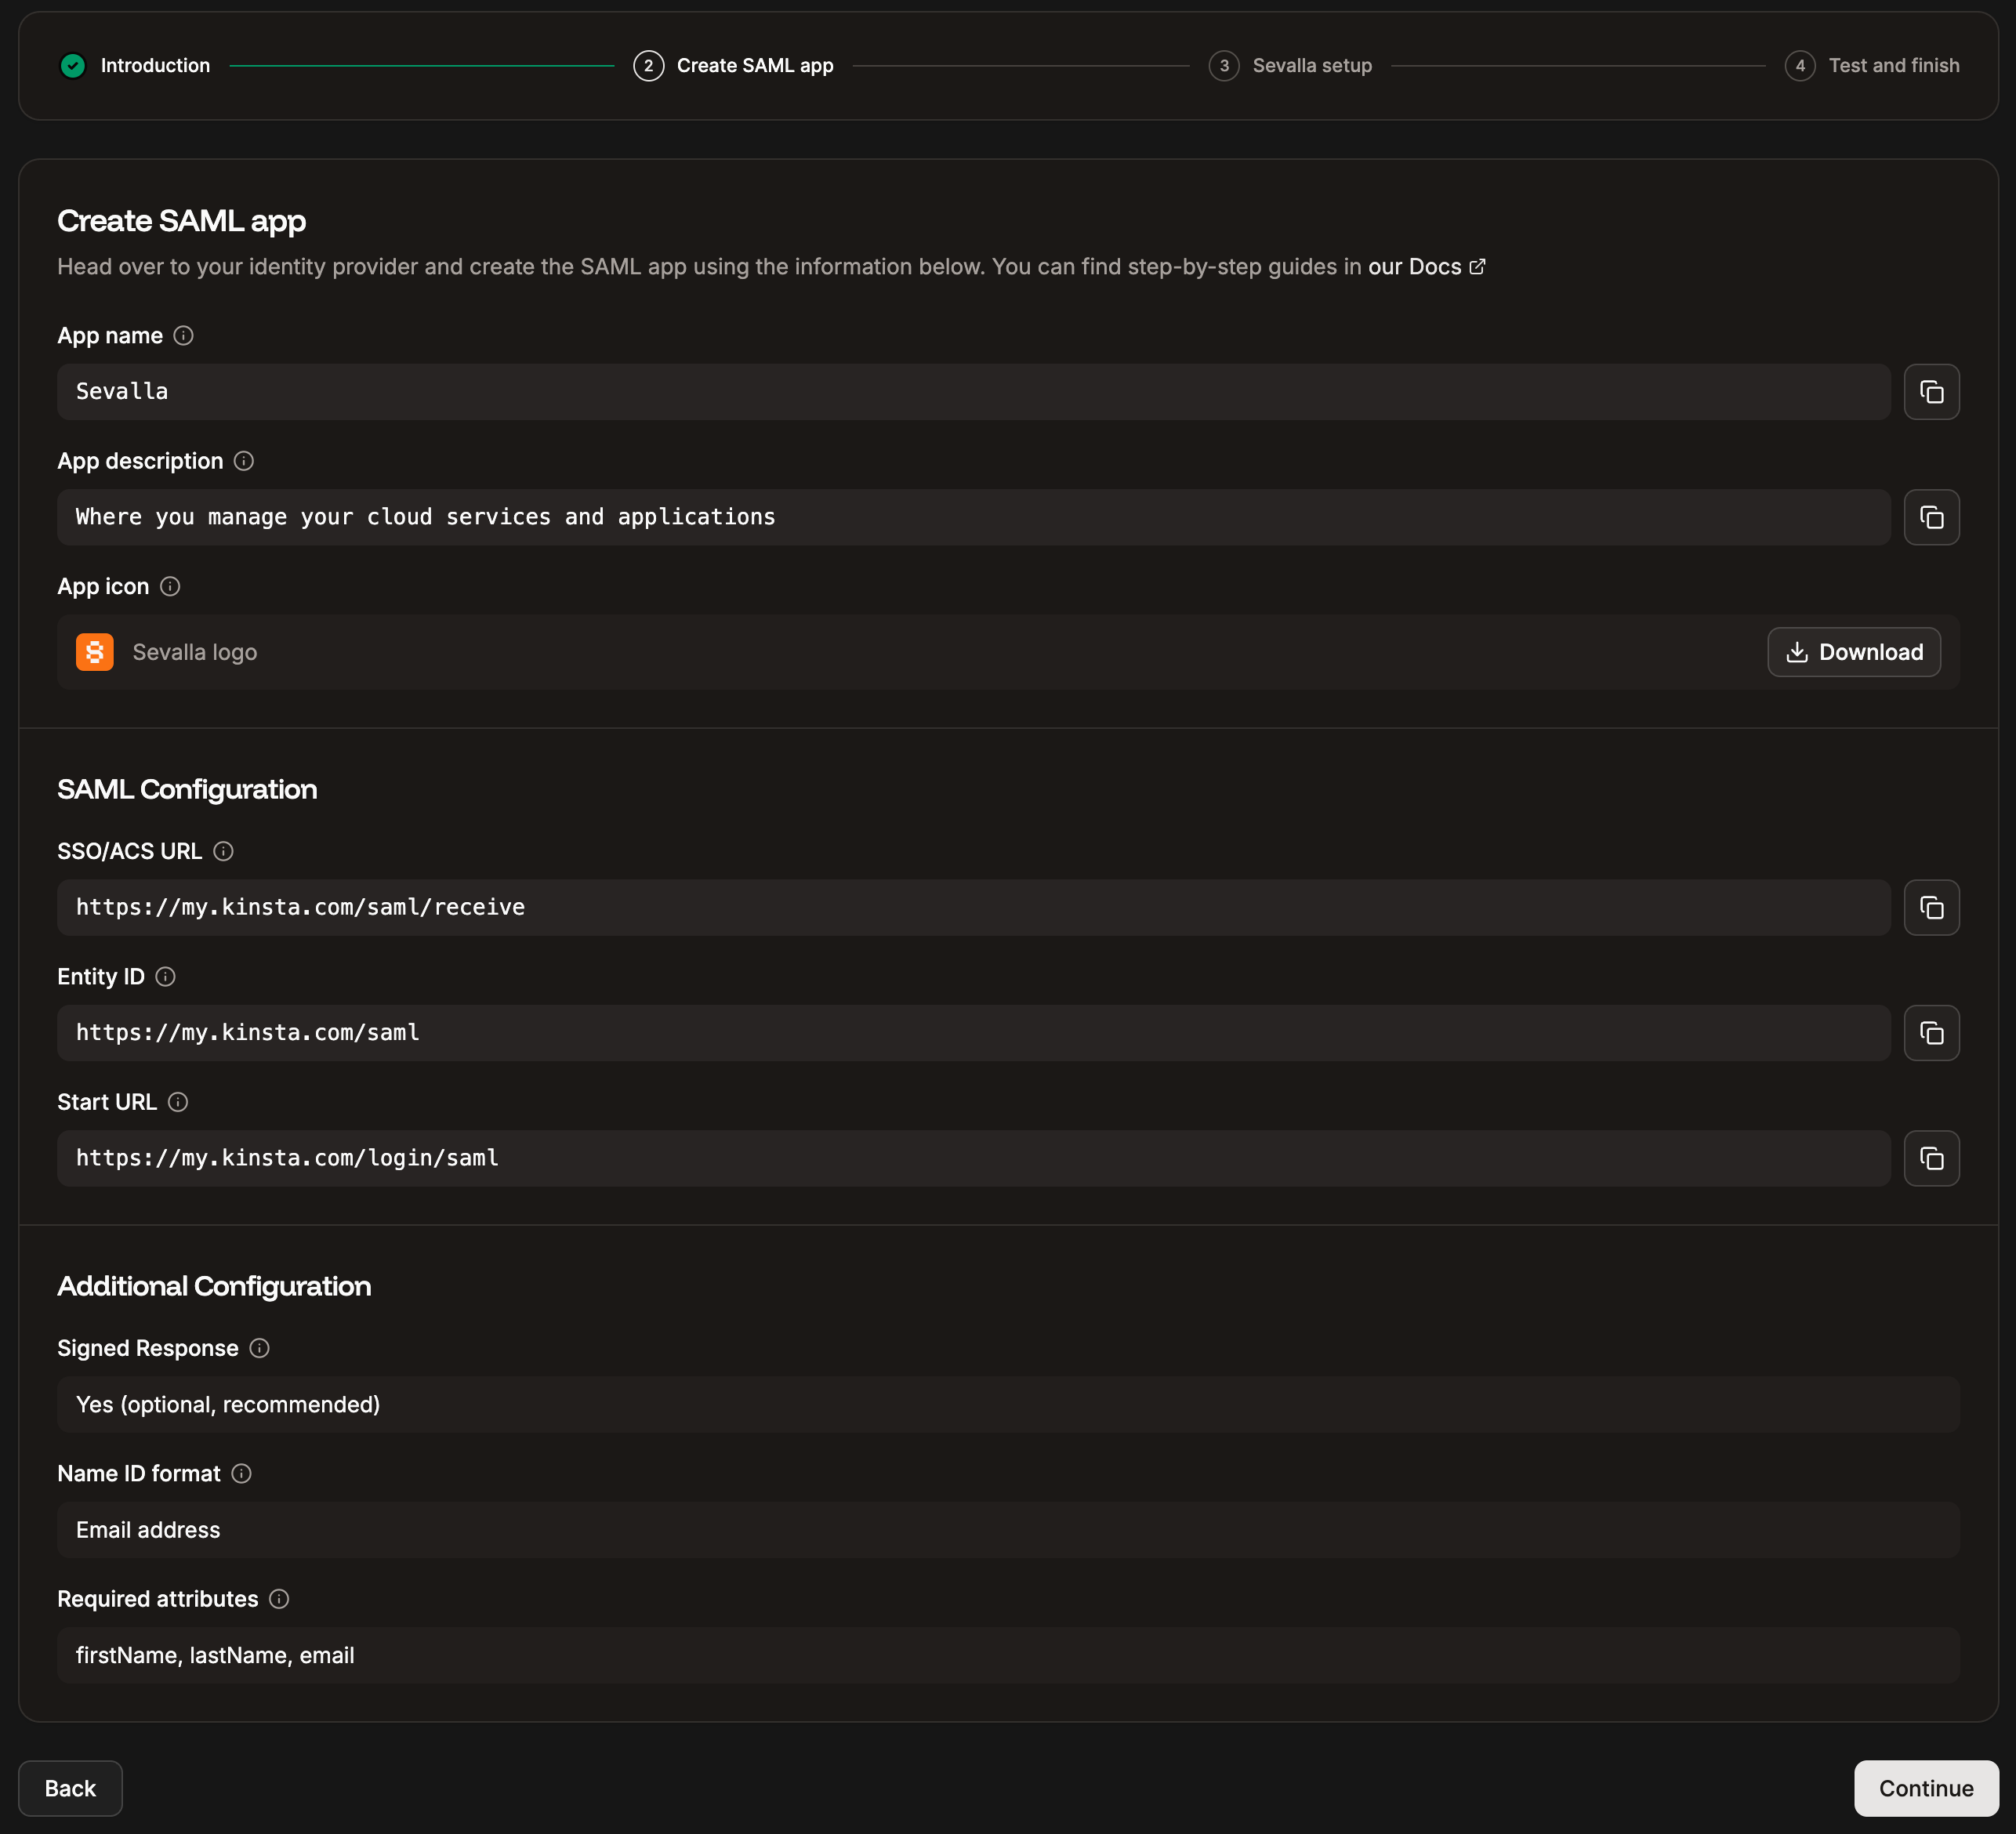
Information to create the SAML app at your IdP.
Sevalla setup
Email domain
In the Domain name, enter the email domain users will use to sign in using SAML SSO, and click Add domain. Only Sevalla accounts with an email address matching the verified domain can authenticate via SAML. For example, if SAML is enabled forexample.com, only users with an @example.com email address will be able to sign in for that company.
Each email address can only be linked to one SAML configuration in Sevalla. This means a domain (e.g.,
example.com) can be associated with only one company at a time. Similarly, each Sevalla user can use SAML authentication for a single company only.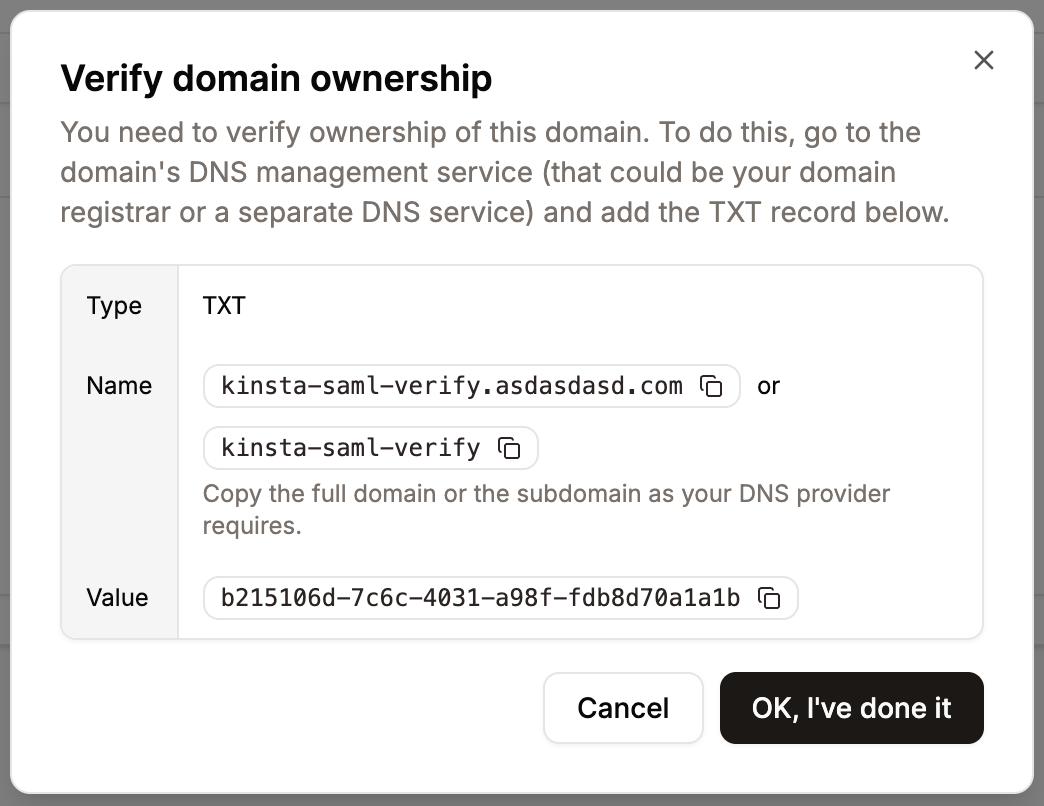
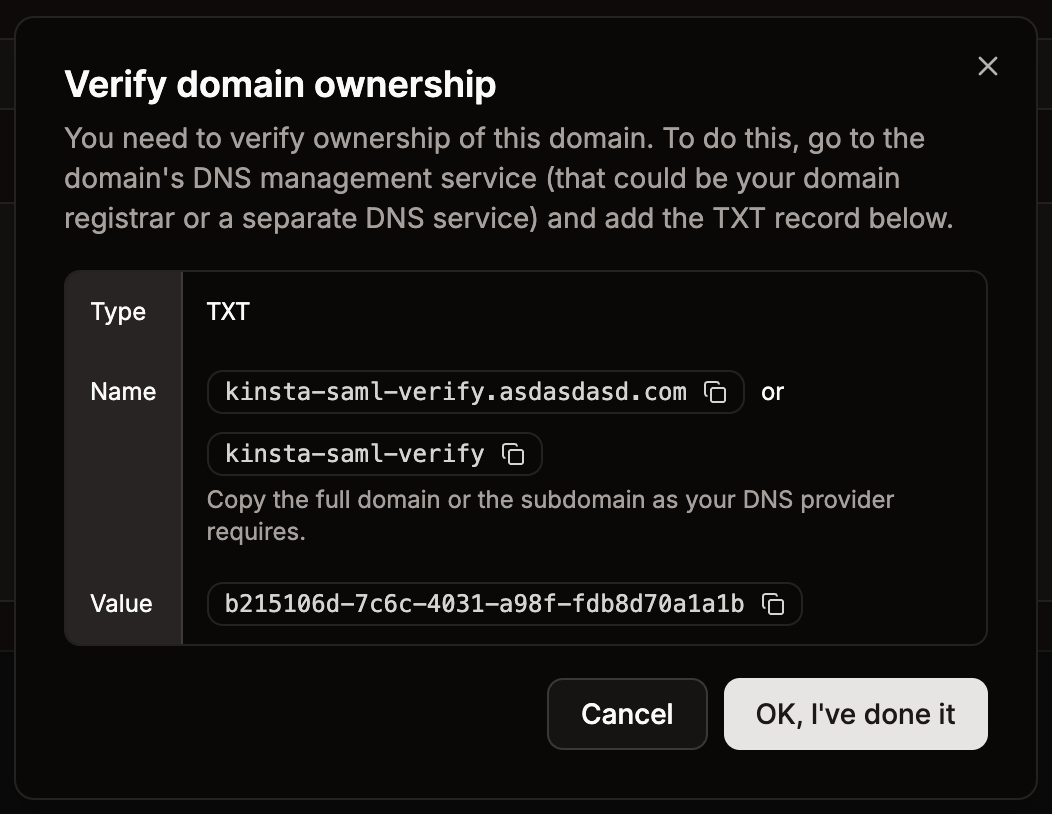
Add the TXT record to your DNS to verify ownership.
Set up Sevalla SAML
When the domain has been verified, use the information provided from your IdP to complete the SSO URL, Entity ID, and Public certificate, and then click Continue.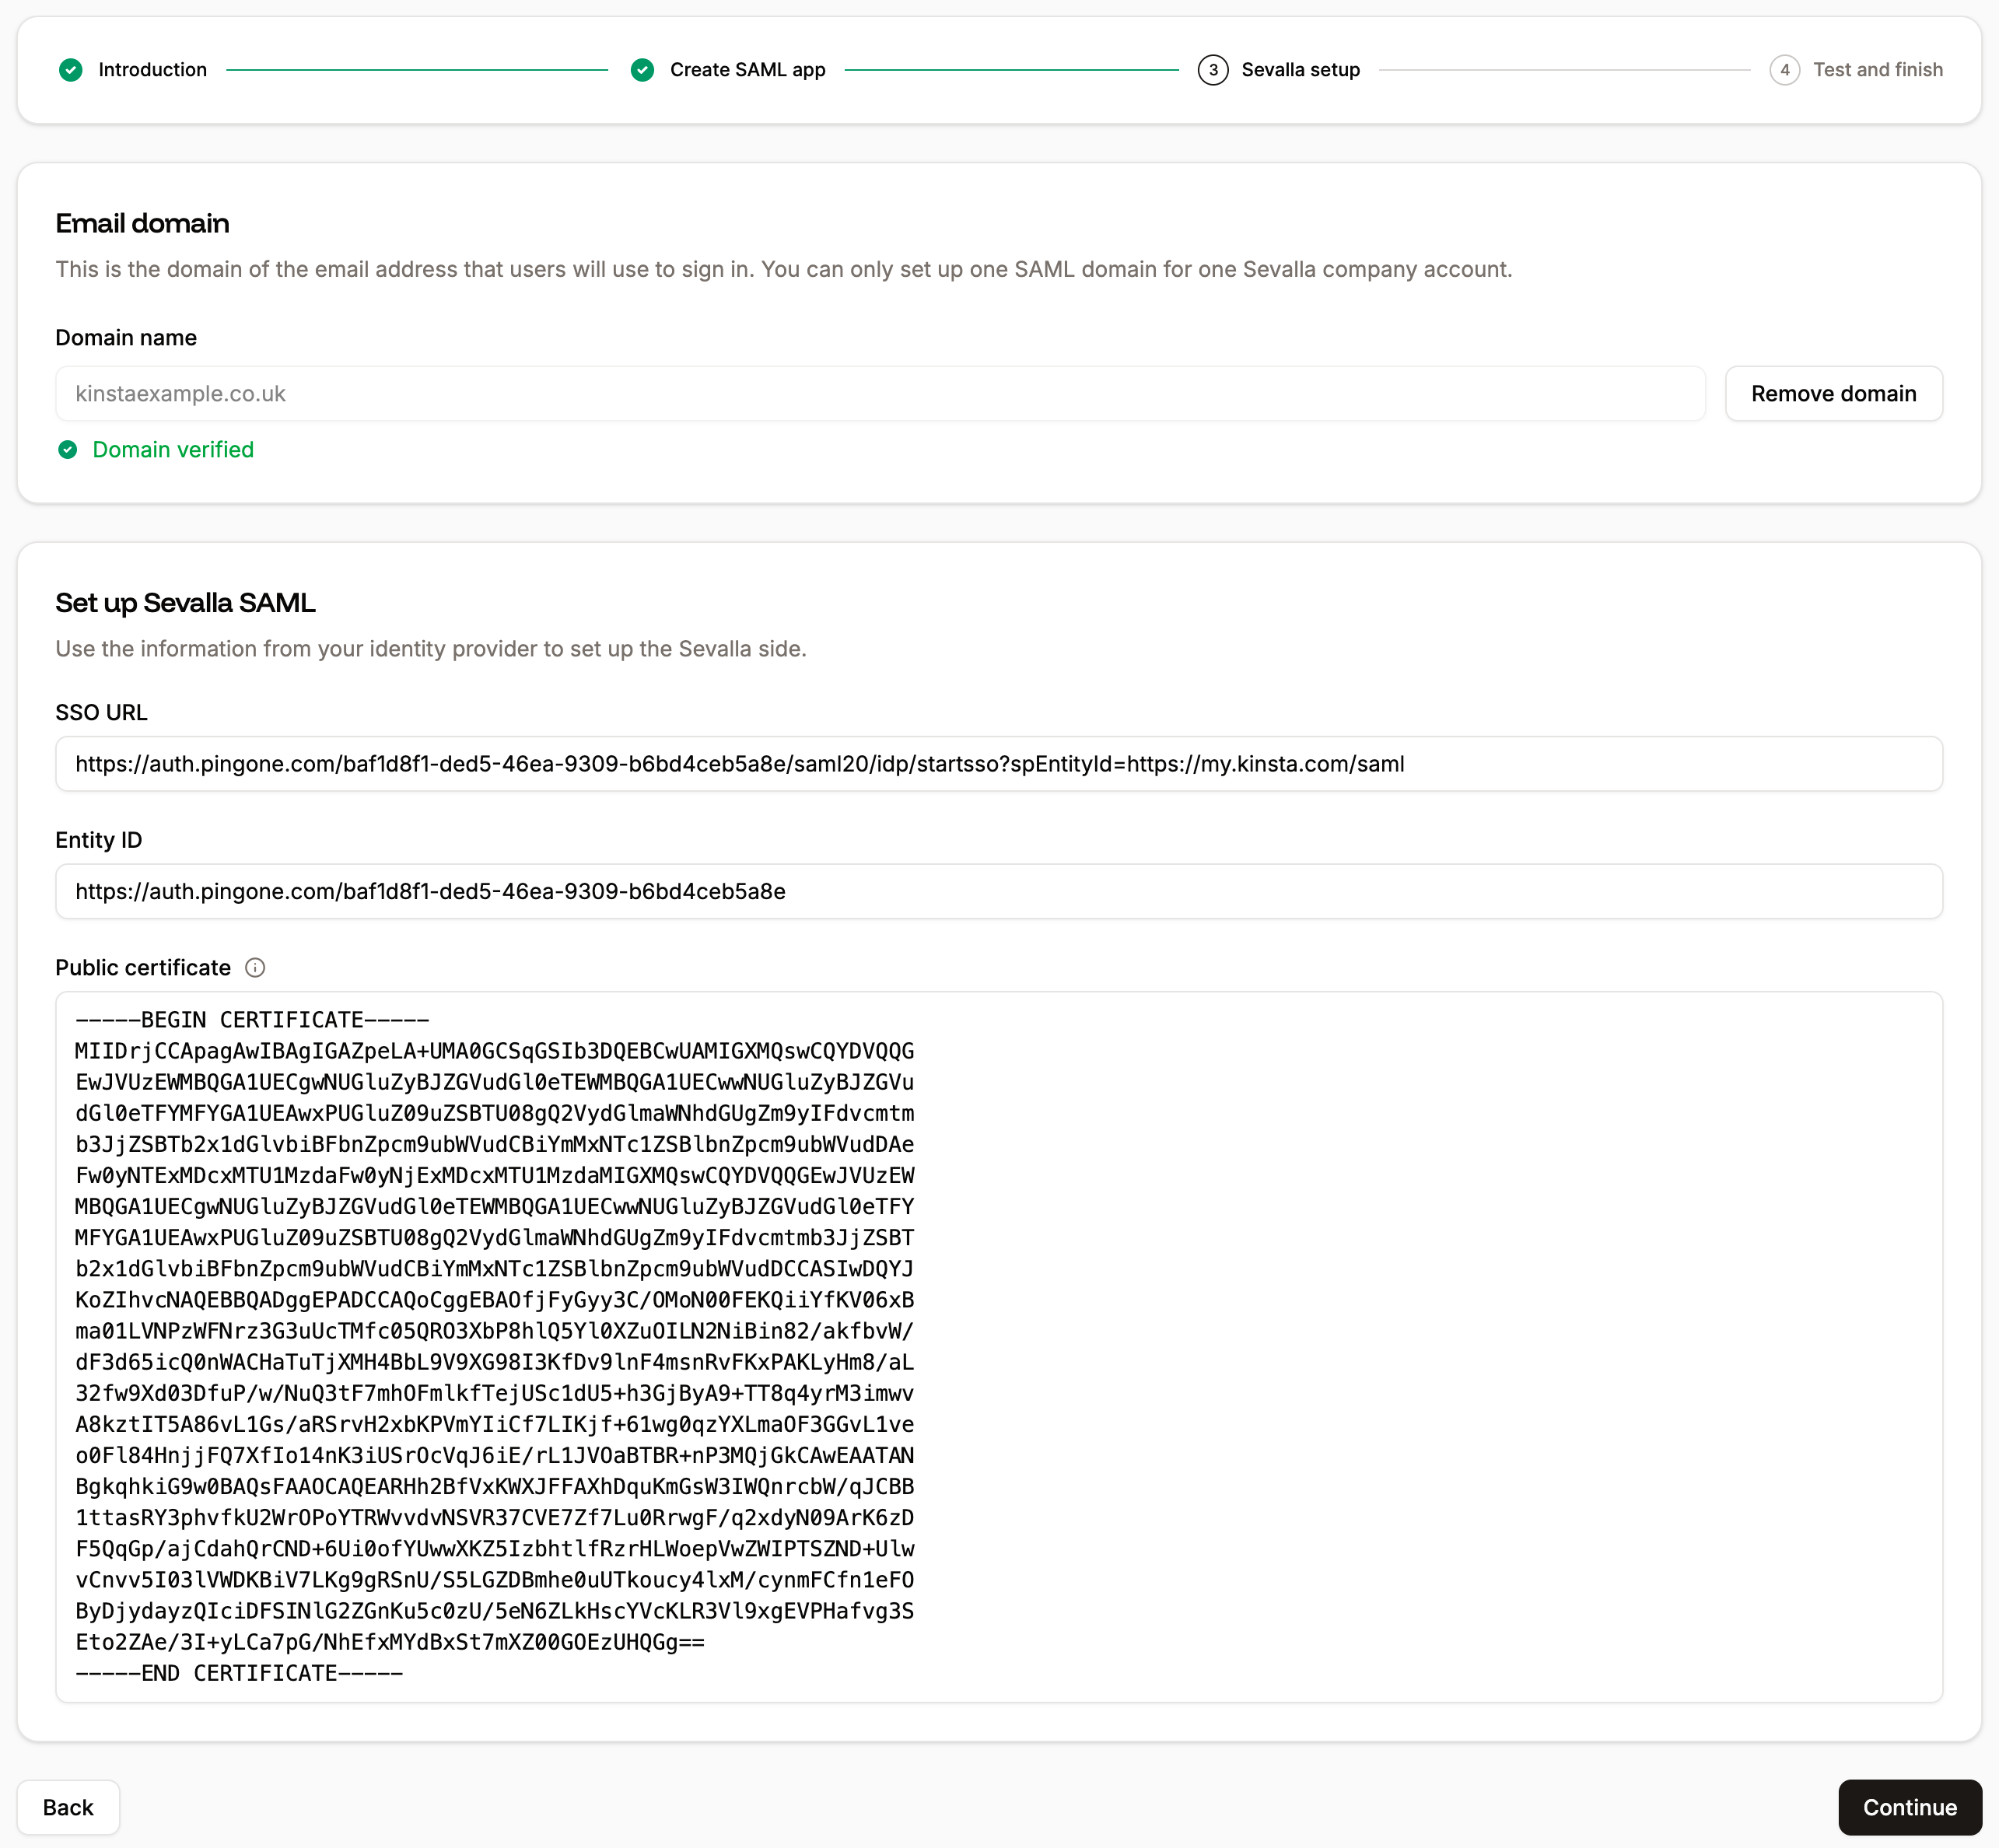
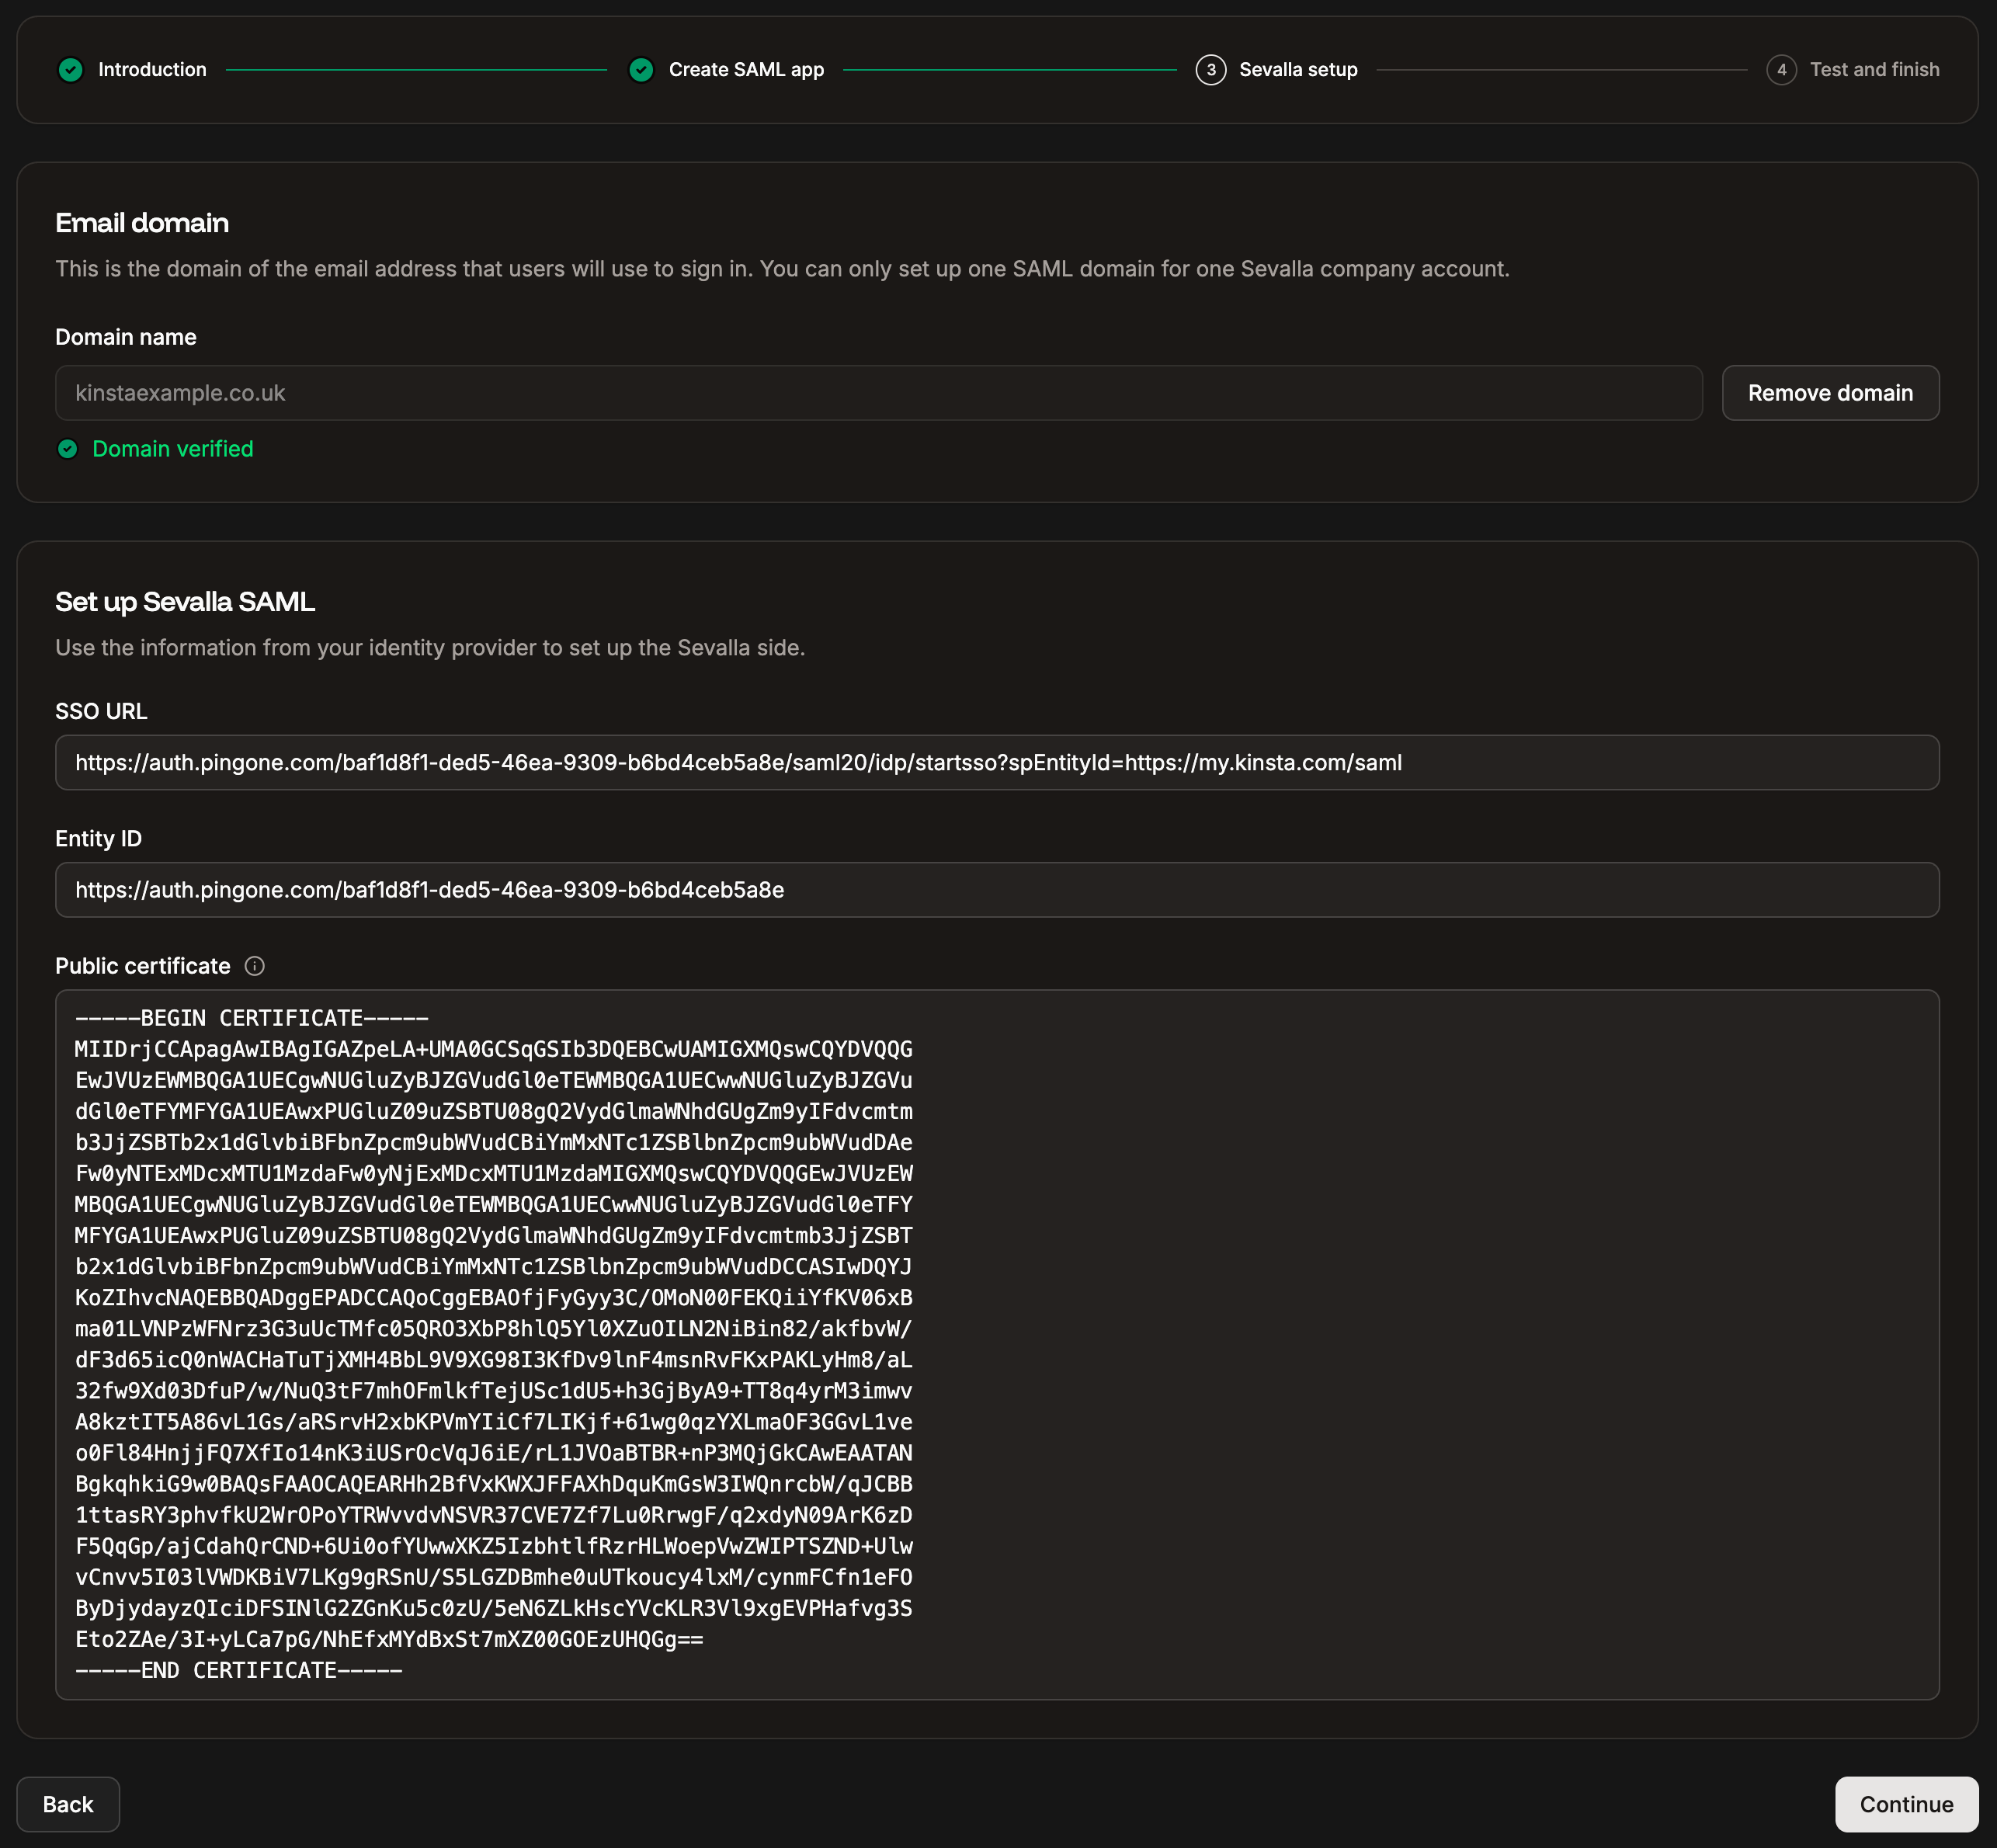
Use your IdP details to set up SSO within Sevalla.
Test the authentication in Sevalla
To check everything is set up correctly, click Test authentication. A notification appears if the test was successful or if the test fails. If the test fails, click Back and check your SAML settings within your IdP and within Sevalla. If the test is successful and you want to enable SAML, click Save and set SSO live.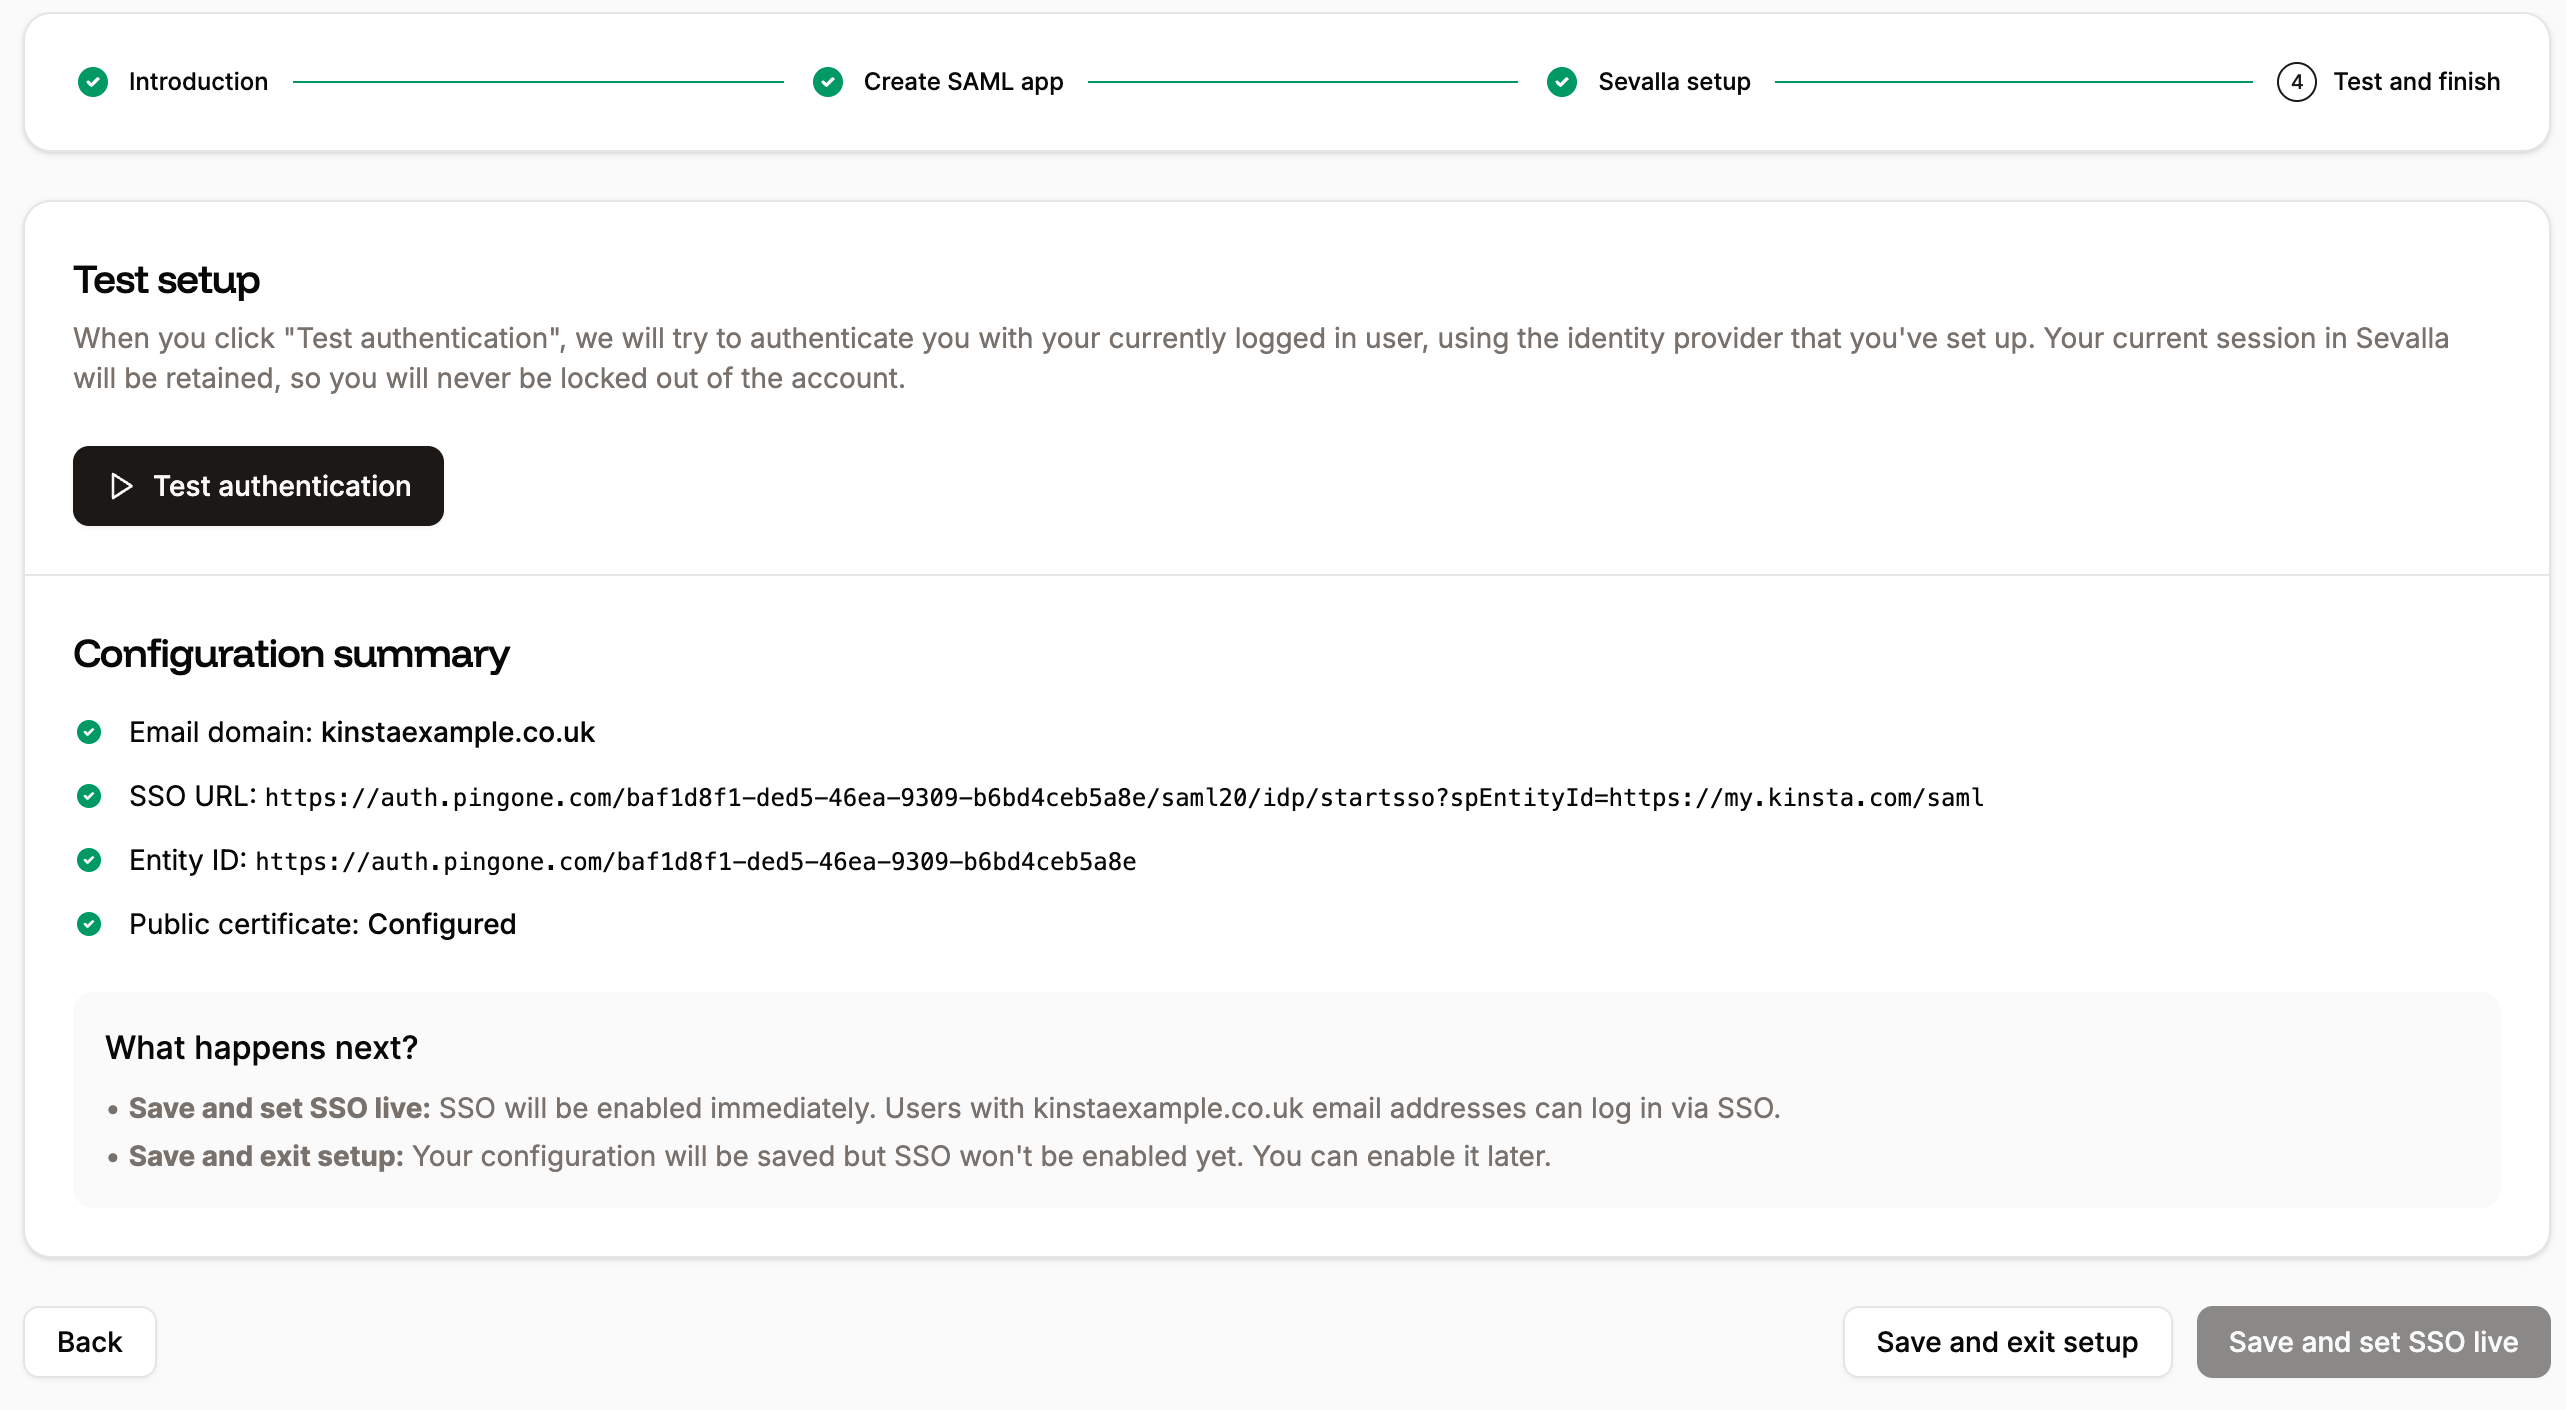

Test your SSO setup and set SSO live.
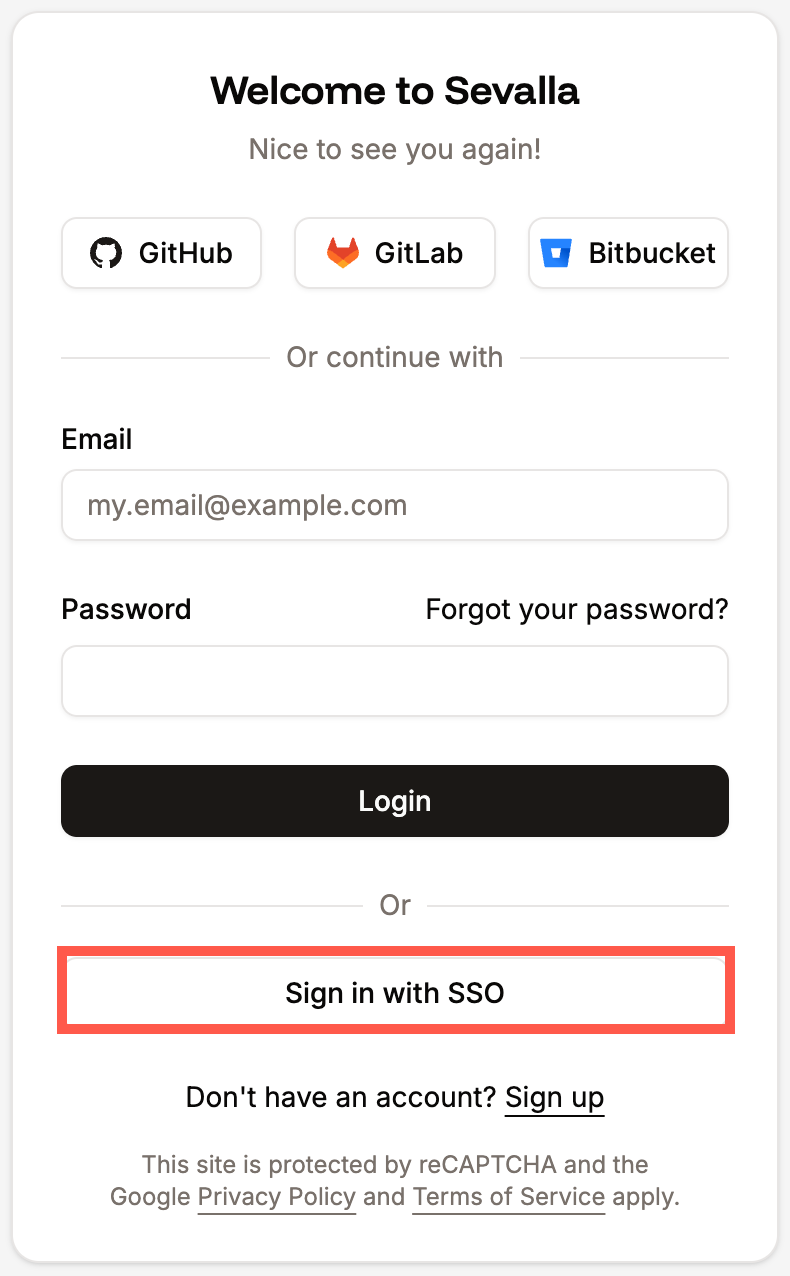
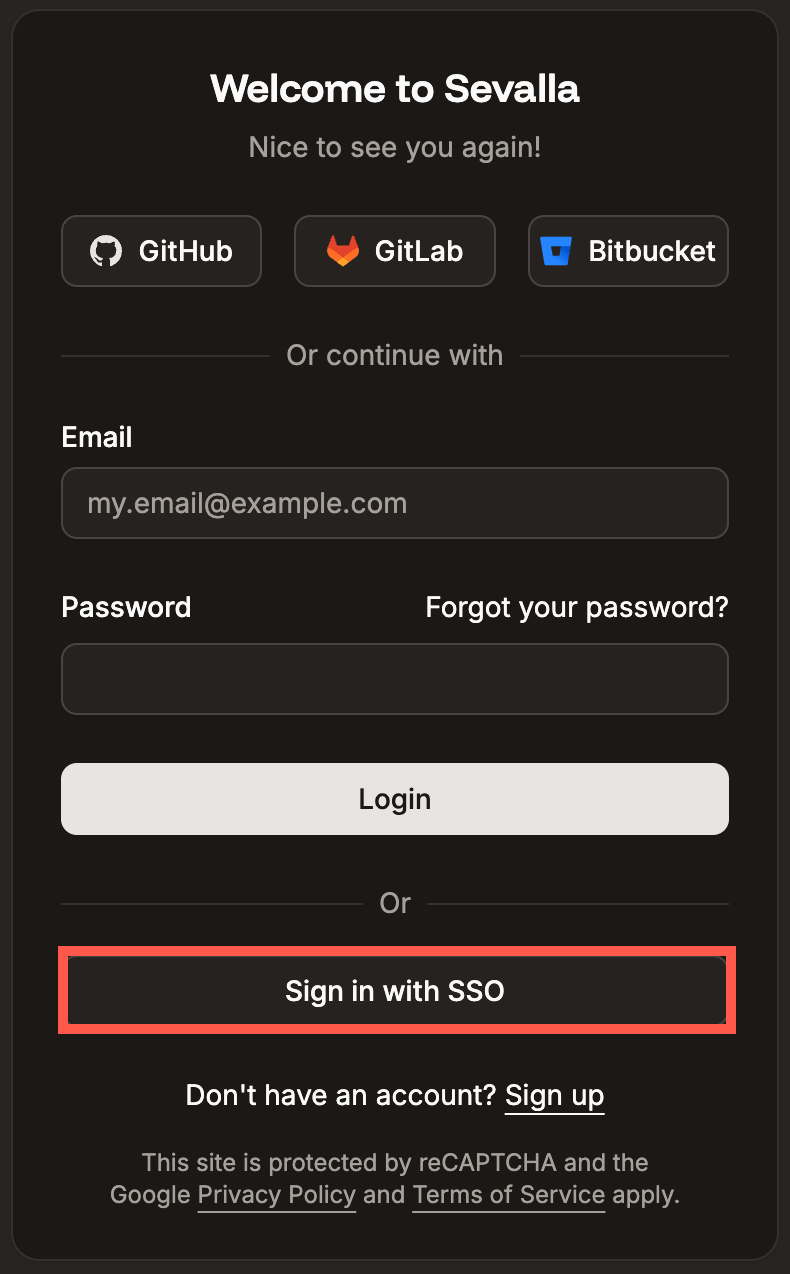
Sign in to Sevalla with SAML SSO.
Mandatory single sign-on
To require all users to log in with SSO, enable mandatory SSO. With this setting, all users are prompted to sign in via the identity provider (IdP) rather than their Sevalla credentials. If a user has already authenticated with SAML elsewhere, they’ll automatically be logged in. If a user switches companies to a company that does not have SSO enabled, they must enter their Sevalla credentials. You can also add Exceptions to allow specific users to log in with a password even when mandatory SSO is enabled. This is useful for 3rd parties that need to access your company but don’t have an email address in your domain, such as developers. If mandatory SSO is enabled but SAML is not enabled, users will be required to log in with their Sevalla credentials.

Enable mandatory SSO for all users.
Exceptions
If mandatory SSO is enabled, you can add specific users to an exceptions list, allowing them to log in with their Sevalla credentials instead of SSO. This is useful for 3rd parties that need to access your company but don’t have an email address in your domain, such as developers.

Users who can still sign on with a password when mandatory SSO is enabled.
Add a user to exceptions
To add a user to the exceptions list, click Add exception. Select the user from the list and click Add.
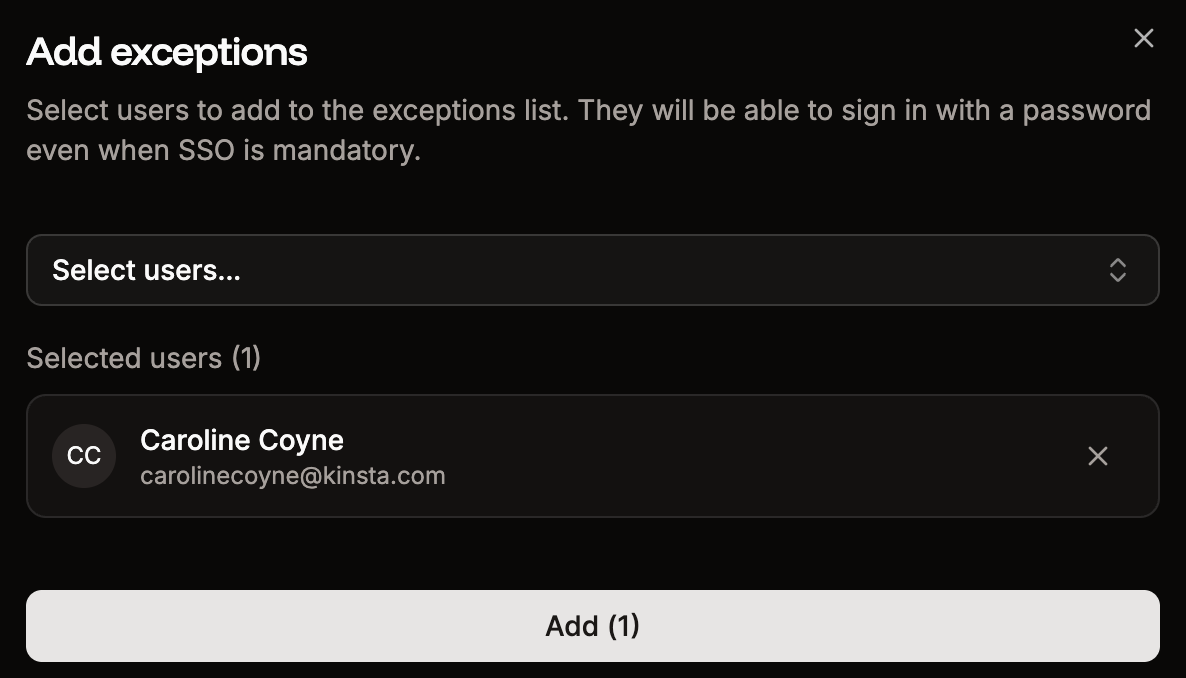
Add a user to the exceptions list.
Remove a user from exceptions
To remove a user from the exceptions list, click the trash can icon next to the user, then click Continue.

Remove a user from exceptions.
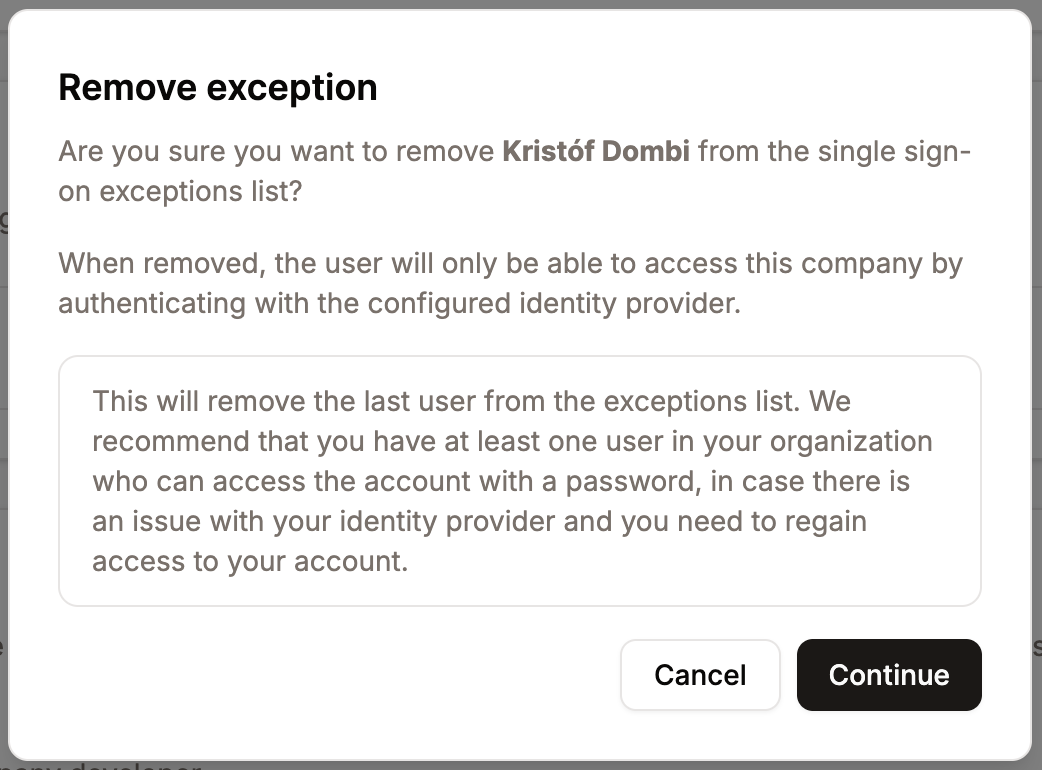
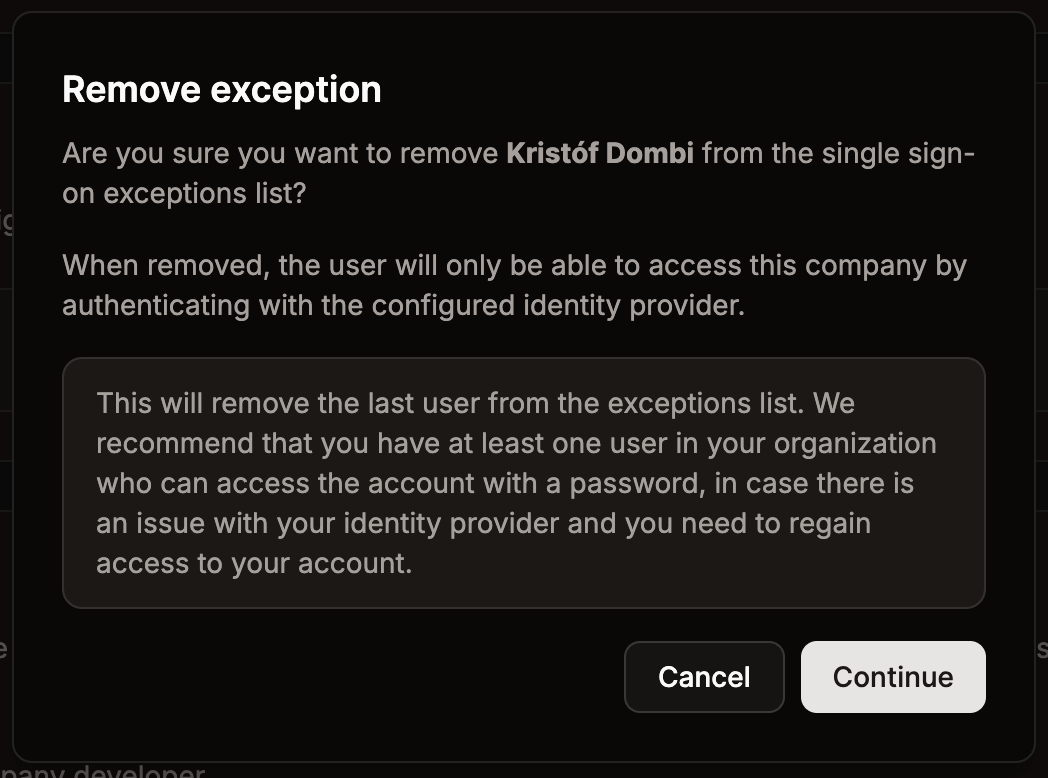
Warning message when you remove the last user from the SSO exceptions.
Just-in-time provisioning
Just-in-time (JIT) provisioning allows users authorized by your IdP to access your Sevalla company without requiring an invitation. In most cases, this means anyone with an email address on your domain. When a user signs in to Sevalla, they are directed through IdP SSO and do not need to create a separate Sevalla account. By default, users provisioned through JIT are assigned the Company Developer role. You can adjust each user’s access level after they join, or update the default role to define the access level new JIT-provisioned users receive upon joining.Change default role
When JIT provisioning is enabled, users are assigned the Company Developer by default. To change their default access level, click Change default role.

Change the default access level for JIT provisioning.
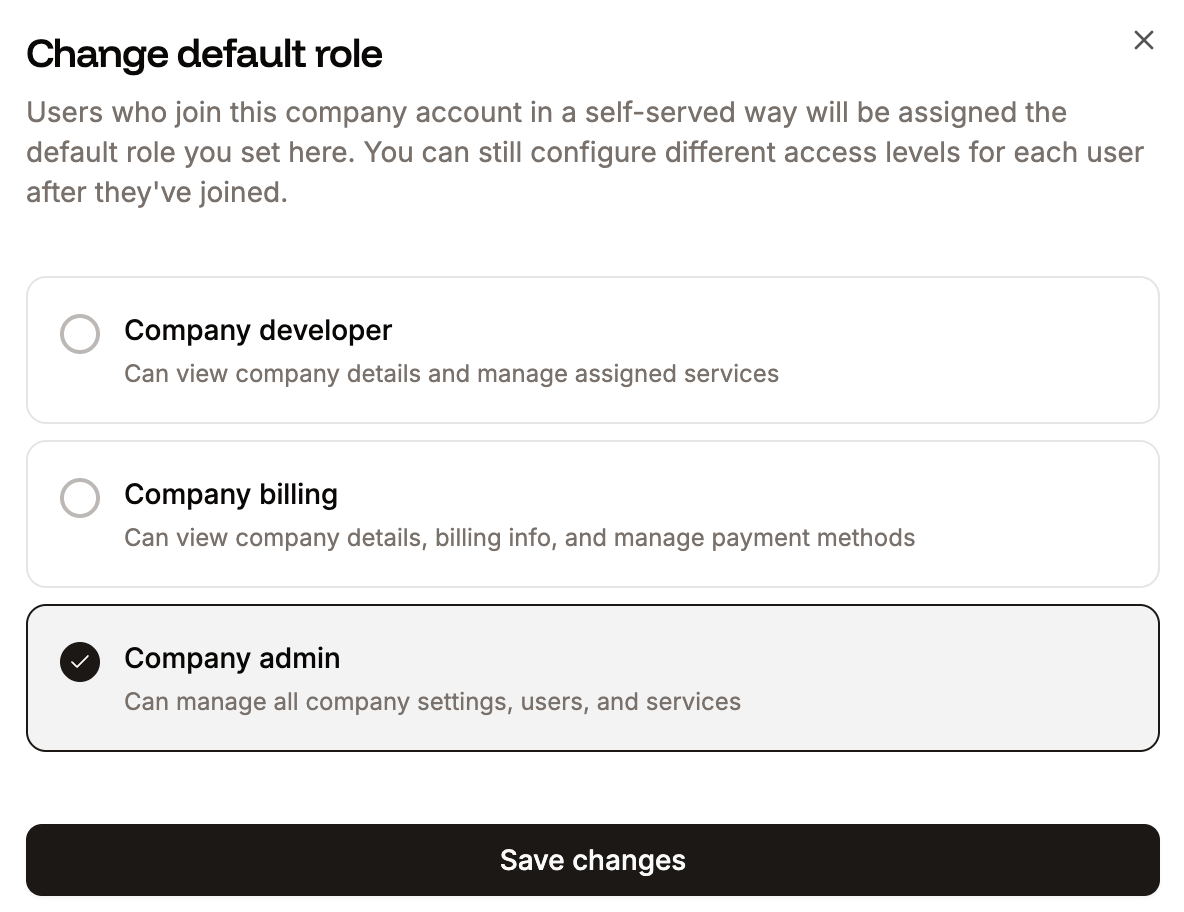
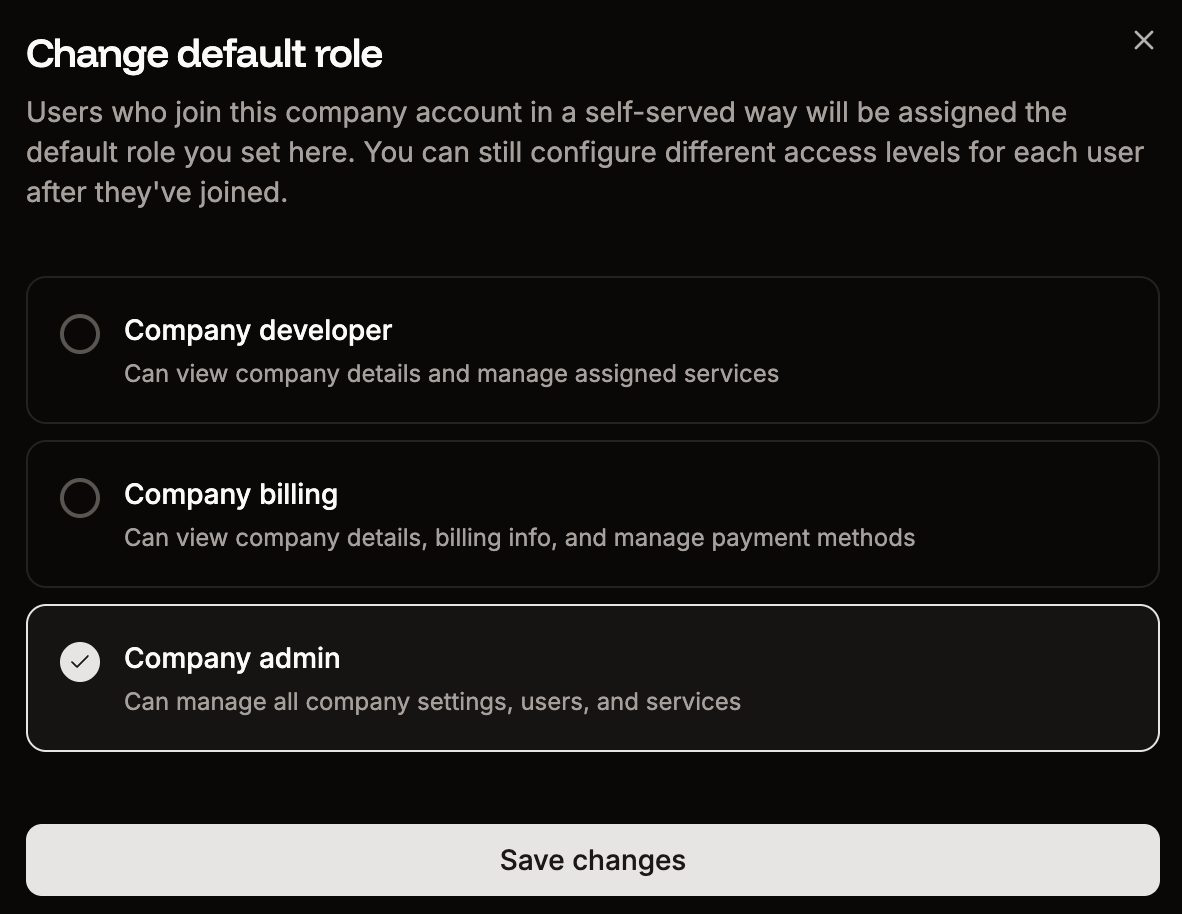
Set the default role for users who sign in via JIT provisioning.
Enable JIT provisioning
Once you have set the default role, to enable JIT provisioning, click Enable, and then click Continue.
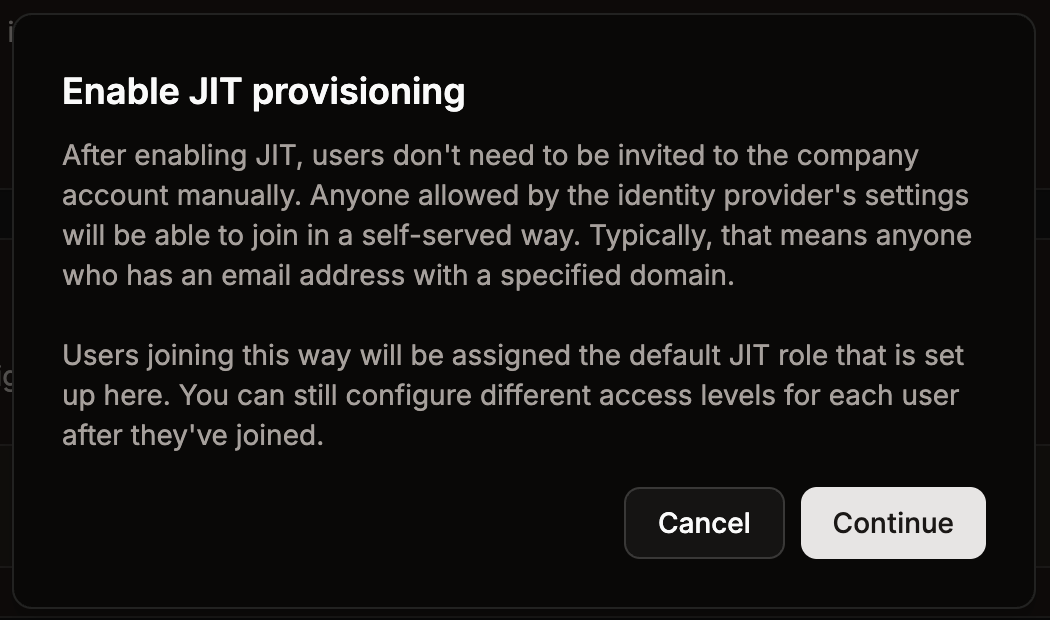
Enable JIT provisioning in Sevalla.
Disable JIT provisioning
To disable JIT provisioning, click Disable, and then click Continue. If you disable JIT provisioning and SSO, users created through JIT will be prompted to set a password the next time they log in to Sevalla.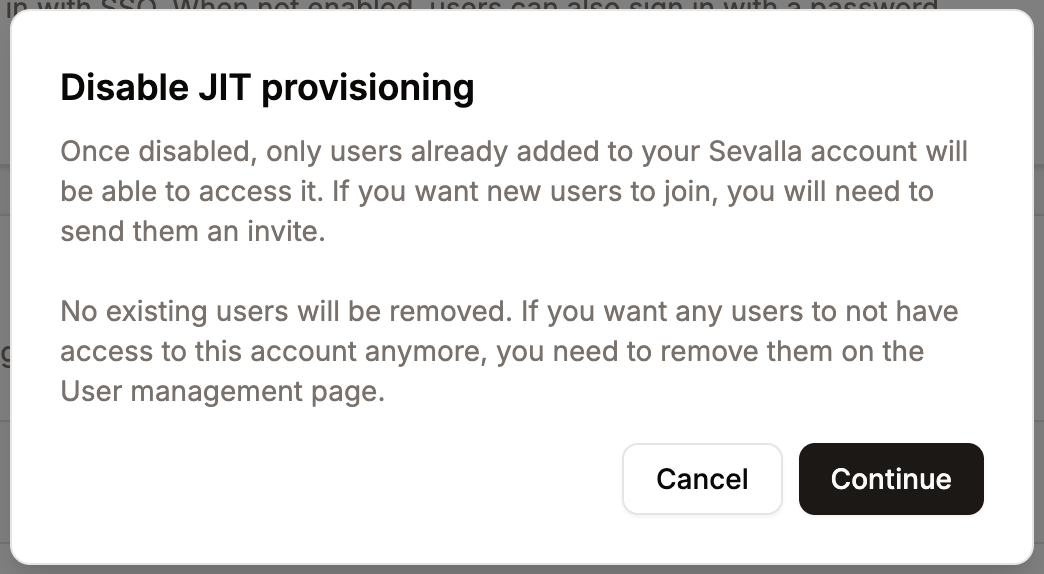
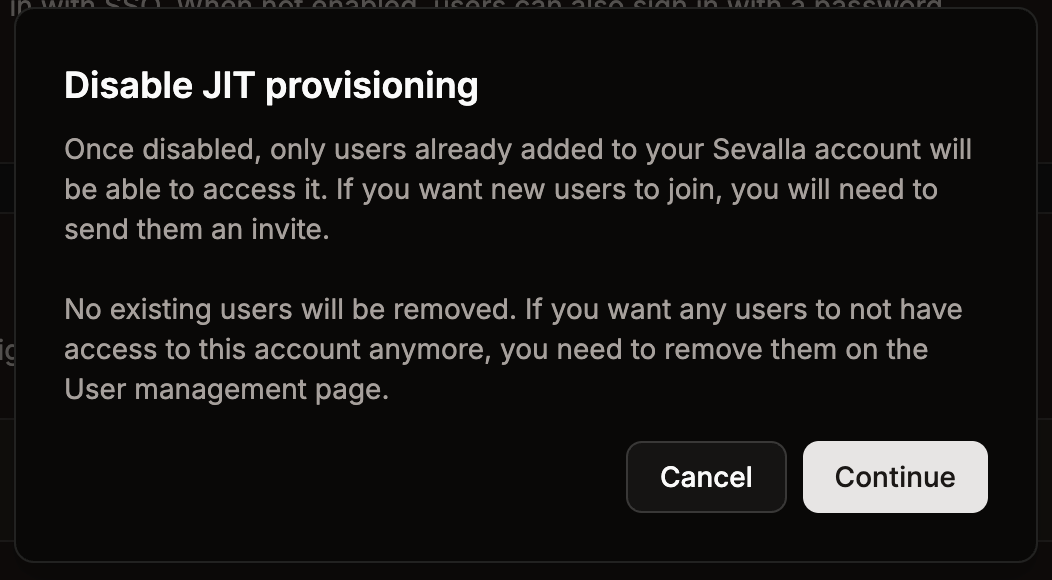
Disable JIT provisioning in Sevalla.
Removing users
To fully revoke access, users must be removed from both Sevalla and your identity provider (IdP).- If SSO and JIT provisioning are enabled, removing a user from Sevalla alone will not block access. The user can still sign in through your IdP.
- If you remove a user only from your IdP and mandatory SSO is not enabled, the user can still log in with their Sevalla credentials.