

django.tasks) for defining and enqueuing tasks, but Django doesn’t run them: its built-in backends are for development and testing only. Celery provides both the queue and the worker.
Before you begin
- A Django project deployed on Sevalla, as in Deploy Django.
Create a Redis database
1
Create the database
In the sidebar, click Databases, then click Create database. Under Database, choose Redis, or Valkey: the code in this guide works with both. Enter
storefront-redis as the Display name, choose the same Data center as the application and a Size, then click Create database.2
Connect it to the application
In the sidebar, click Applications, then click the application. Click the Networking tab. Under Connected services, click Add internal connection. Choose
storefront-redis as the Service, turn on Add environment variables to the application, and click Add internal connection. Sevalla adds REDIS_HOST, REDIS_PORT, REDIS_PASSWORD and REDIS_URL. See Connect an application.Add Celery to the project
Install Celery with its Redis support, and updaterequirements.txt:
settings.py:
storefront/celery.py
storefront/__init__.py
storefront/settings.py. Settings that start with CELERY_ configure Celery:
storefront/settings.py
orders app listed in INSTALLED_APPS. Celery finds tasks.py in every installed app:
orders/tasks.py
send_order_confirmation.delay(order.id). Commit and push the changes.
Run the worker on Sevalla
1
Create the background worker
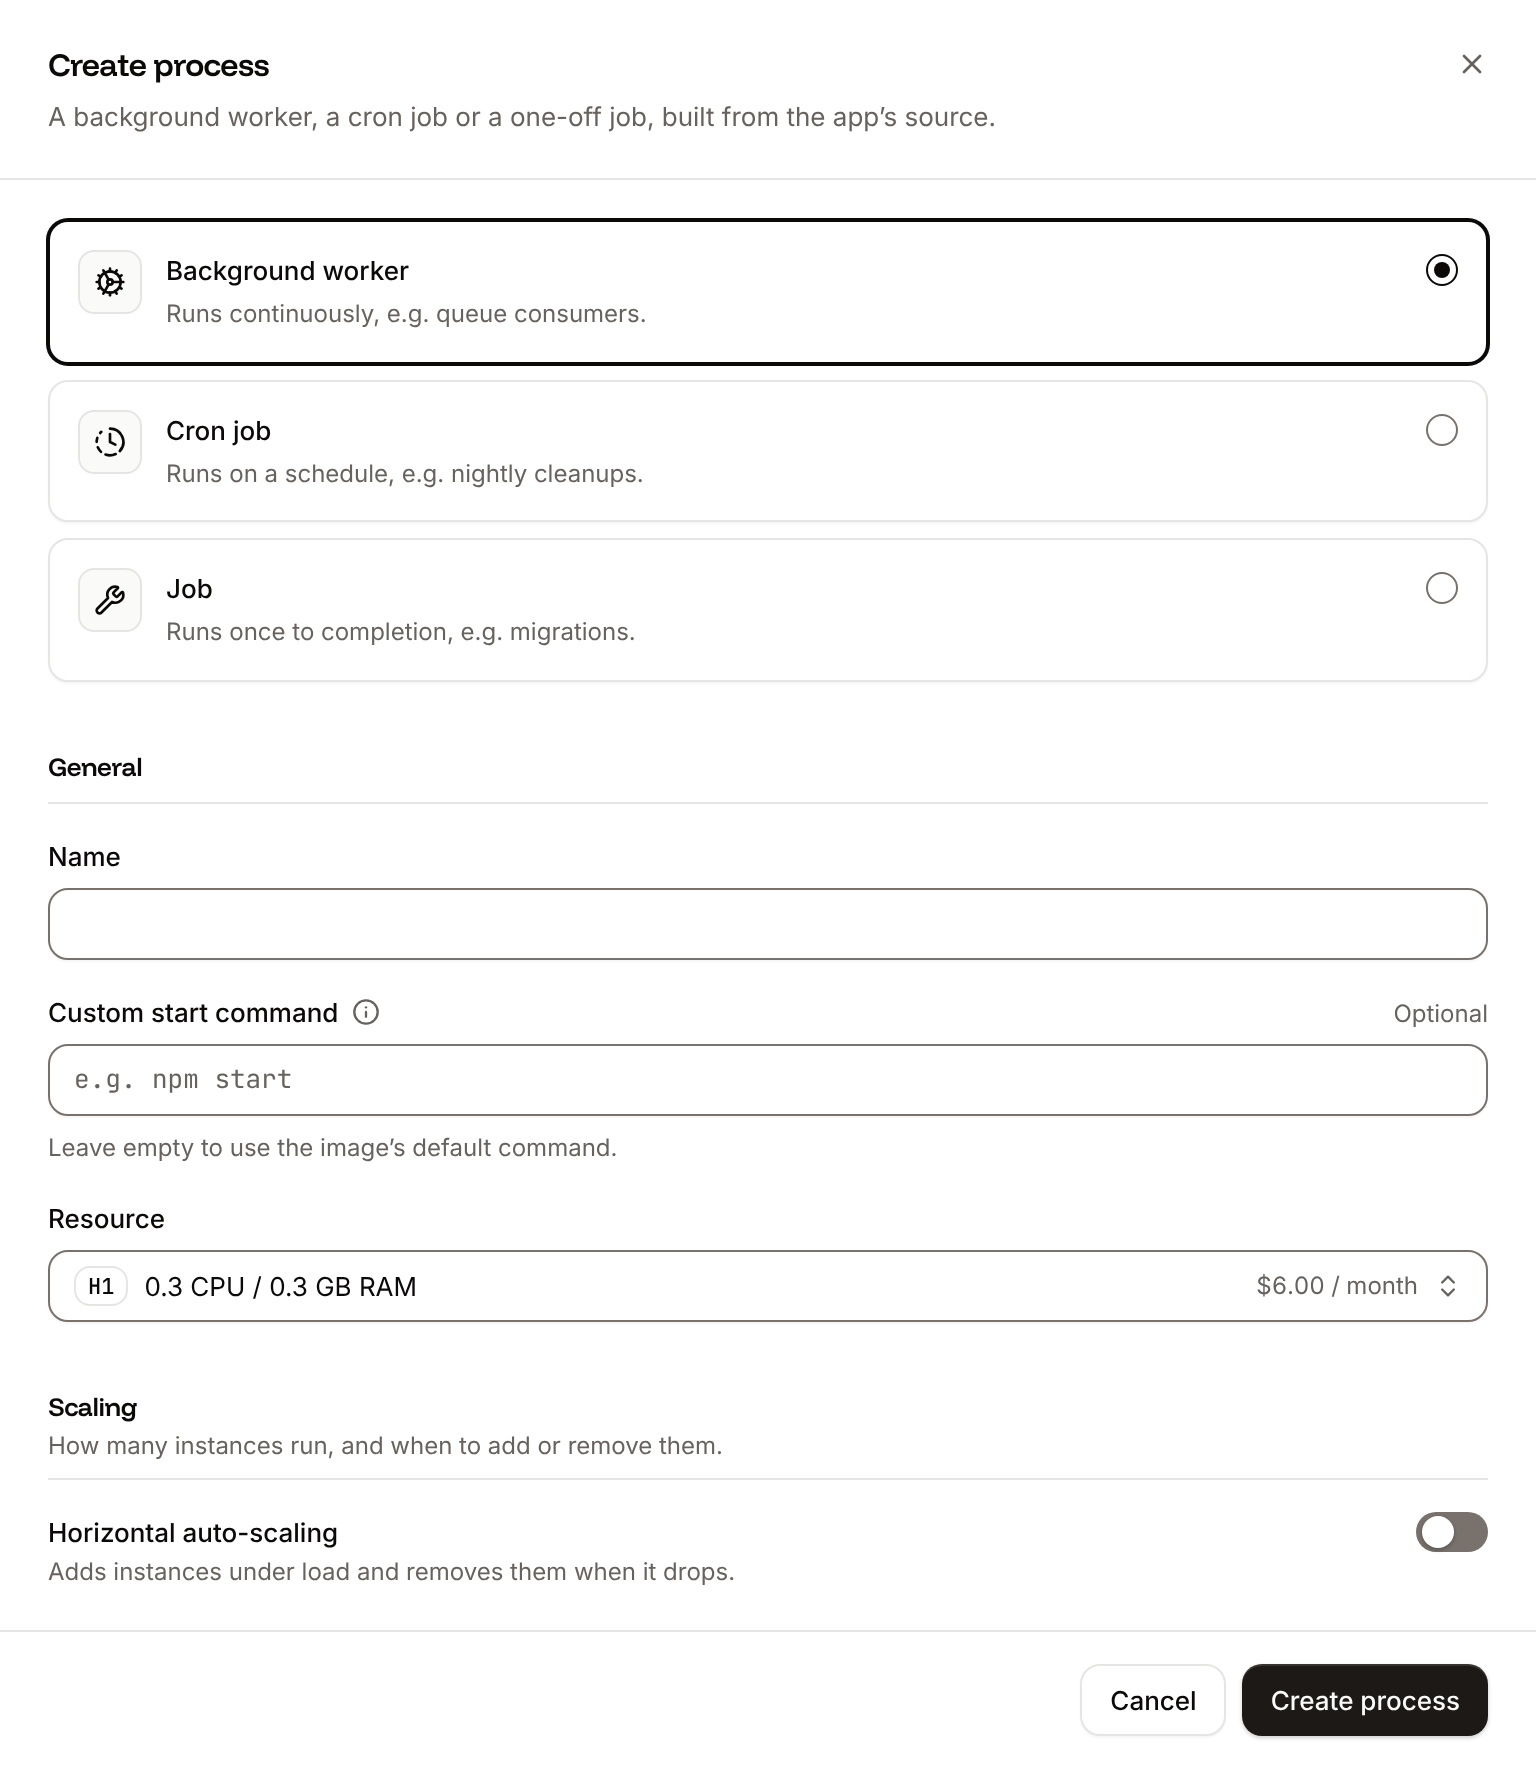
On the application’s Processes tab, click Create process. Choose Background worker, enter Choose a Resource and click Create process.
Celery worker as the Name and this Custom start command:2
Deploy
Click Deploy in the undeployed changes bar at the bottom of the page.
--concurrency to match the size. Without it, Celery starts one worker process per CPU of the machine it runs on, which can be more than the process’s memory holds. Two processes fit in H1 (0.3 GB of memory). To process more tasks at once, add instances in the process’s Scaling section, or choose a larger size and raise --concurrency. See Scaling.
Run tasks on a schedule
Run scheduled work as a cron job: Sevalla starts a new instance at each scheduled time, runs the command, and stops it. Put the work in a management command, then create the process:1
Create the cron job
On the application’s Processes tab, click Create process. Choose Cron job, enter
Clear sessions as the Name, python manage.py clearsessions as the Custom start command, and 0 3 * * * as the Schedule (every day at 03:00 UTC). Click Create process.2
Deploy
Click Deploy in the undeployed changes bar at the bottom of the page.
celery -A storefront beat --loglevel INFO, and keep that process at 1 instance: each beat instance sends every scheduled task.
Verify
-
Click the Web terminal tab, choose the Web process, and queue a task:
-
Click the Logs tab and look at the worker’s runtime logs. They show
Task orders.tasks.send_order_confirmation[...] received, the lineSending the confirmation for order 42, andTask orders.tasks.send_order_confirmation[...] succeeded.
Celery worker process shows Running. If it shows Crashed, the logs show why, for example Error 111 connecting when REDIS_URL is missing or wrong.