

How Heroku maps to Sevalla
Before you begin
- The Heroku CLI, signed in to the account that owns the app.
- The app’s code in a repository on GitHub, GitLab or Bitbucket. Sevalla doesn’t deploy from Heroku’s Git remote. See Git providers.
- A Sevalla company with a payment method.
- The PostgreSQL client tools, at the same major version as Heroku Postgres or newer, if the app uses Heroku Postgres. See Import and export PostgreSQL.
- A maintenance window: the Heroku app is in maintenance mode while you copy the data.
Take stock of the Heroku app
Collect what you’ll recreate, with your app’s name in place ofstorefront:
apps:infoshows the region and the stack. Heroku’susregion runs in northern Virginia andeuin Ireland; the closest Sevalla locations are Ashburn, USA and London, UK. See Locations.addonslists what becomes a database, a bucket or a third-party service. Services that connect through config vars, such as email or error tracking, keep working when you copy their variables.pg:infoshows the PostgreSQL version (PG Version). Create the Sevalla database with the same version or a newer one.heroku.envholds every config var asKEY=value. It contains secrets: don’t commit it.- Keep your
Procfileat hand: each line becomes a process.
Create the databases
1
Create the PostgreSQL database
In the sidebar, click Databases, then click Create database. Under Database, choose PostgreSQL and a version at least as new as Heroku’s. Enter
orders-db as the Display name, choose the Data center the application will use and a Size with room for the data, then click Create database.2
Create the Redis database
If the app uses Heroku Key-Value Store, create a second database the same way: choose Redis, enter
storefront-redis as the Display name, and choose the same Data center. See Create a database.Create the application
1
Create it from the repository
In the sidebar, click Applications, then click Create > Application. Under Source, click Private repository, then choose the Git provider, the Repository and the Branch. Under Location, choose the same Data center as the databases, choose a Size, and click Create application. The application opens on its Overview tab with the status Not deployed yet: creating an application doesn’t deploy it. See Create an application.
2
Keep Heroku's buildpacks, if you want
Sevalla builds with Nixpacks by default, which detects most languages without configuration. To build the way Heroku does, click the Settings tab, then click Update build strategy under Build strategy. Choose Buildpacks, set the Pack builder to
heroku/builder:24, and click Update build strategy. See Buildpacks.Connect the databases
1
Connect PostgreSQL
Click the Networking tab. Under Connected services, click Add internal connection. Choose
orders-db as the Service and turn on Add environment variables to the application. Change the key DB_URL to DATABASE_URL, the name your code already reads, and click Add internal connection.2
Connect Redis
Add an internal connection to
storefront-redis the same way. Its URL is already called REDIS_URL.postgres://, like Heroku’s. The Redis URL starts with redis://, where Heroku Key-Value Store’s starts with rediss:// (TLS): if your code passes TLS options for it, such as ssl_cert_reqs=None with redis-py, remove them. See Connect an application.
Add the config vars
1
Clean up the exported file
In
heroku.env, delete DATABASE_URL, REDIS_URL and the other variables that Heroku add-ons set, such as HEROKU_POSTGRESQL_* or REDIS_TLS_URL: the internal connections replace them. Update any value that contains the Heroku domain, such as allowed hosts, to the application’s sevalla.app domain under its name in the page header.2
Import the file
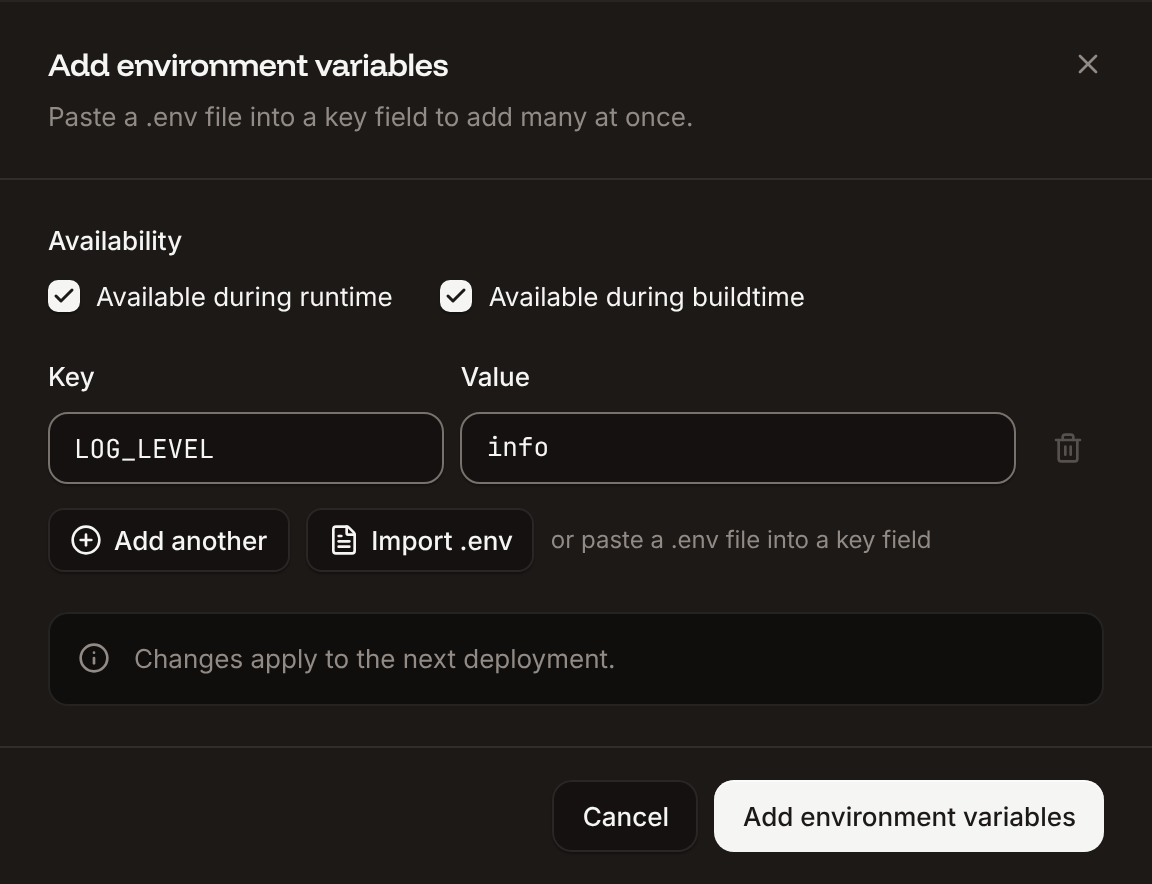
Click the Environment variables tab, then click Add environment variables. Click Import .env and choose
heroku.env, or paste its contents into a key field. Keep Available during runtime and Available during buildtime selected, and click Add environment variables.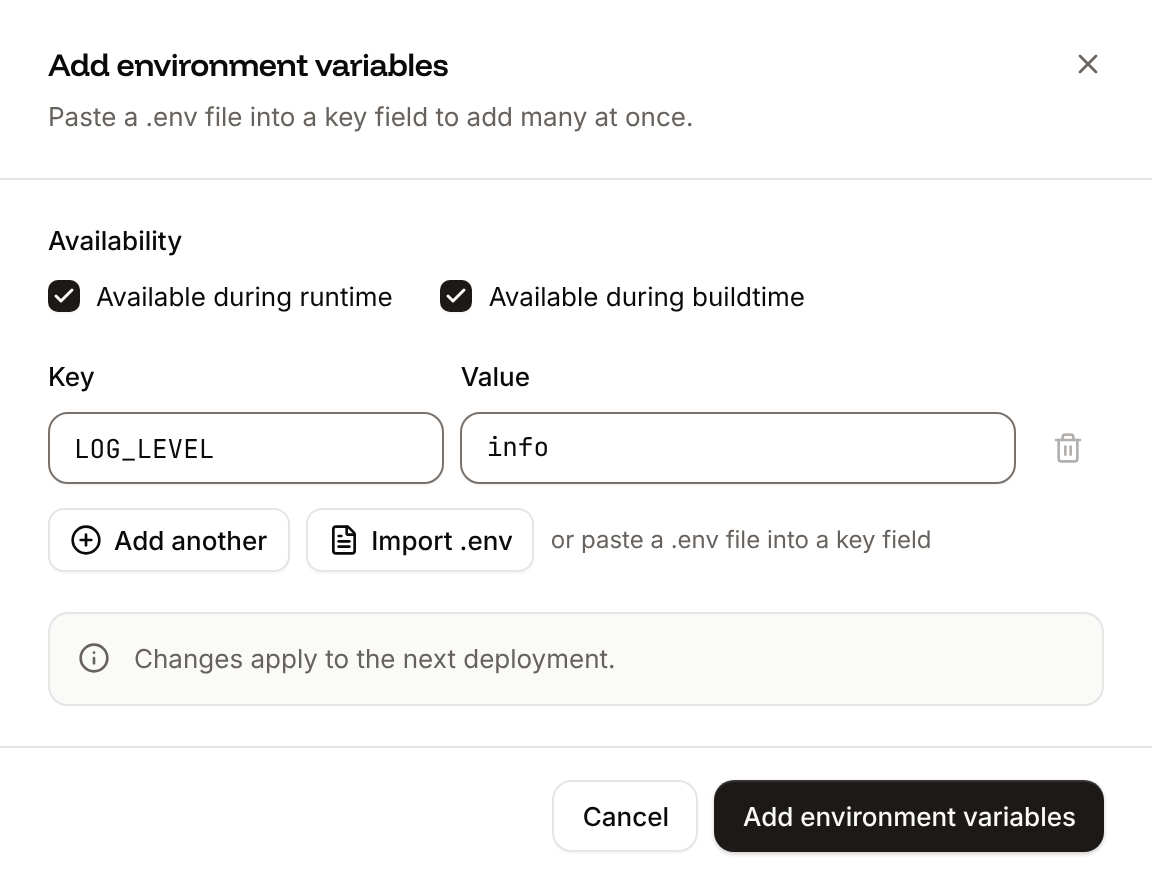
PORT: Sevalla sets it to the web process’s port. See Environment variables.
Recreate the Procfile processes
1
Create each process
On the Processes tab, click Create process. Choose Background worker, Cron job or Job, enter a Name and the Custom start command, set the Start policy (jobs) or the Schedule (cron jobs), choose a Resource, and click Create process. Repeat for each entry.
2
Remove the release line
Delete the
release line from the Procfile and push the change. Nixpacks runs a release entry as a step of the build, not before each deployment; the job runs it at the right time instead.$PORT keep working: Sevalla sets PORT like Heroku does. See Processes.
Copy the PostgreSQL data
1
Stop writes on Heroku
Turn on maintenance mode, which answers visitors with Heroku’s maintenance page, and stop the workers:
2
Download a backup
latest.dump, a custom-format archive.3
Open the Sevalla database to your computer
In the sidebar, click Databases, then click
orders-db. Click the Networking tab, click Enable under External connection, then click Enable in the dialog. Copy the External hostname, External port and password. See Enable the external connection.4
Restore the backup
Restore
latest.dump with pg_restore, as in Import a database.sevalla.app domain. For the real cutover, empty the database first, for example with pg_restore’s --clean --if-exists options, so the restore doesn’t collide with the rehearsal’s tables.
Copy the Redis data
Skip this when Redis holds only caches or jobs you can lose: the application refills it. Heroku Key-Value Store doesn’t document an export, so copy the keys withDUMP and RESTORE:
1
Open the Redis database to your computer
Enable the external connection of the Sevalla Redis database, as for PostgreSQL, and copy its External connection URL.
2
Copy the keys
Save this script, then run it with both URLs:
copy_redis.py
0, the one in both URLs, and keeps each key’s expiry. If RESTORE fails with DUMP payload version or checksum are wrong, the Sevalla database runs an older version than Heroku’s: create it with a newer version. See Import and export Redis.
Deploy and verify
1
Deploy
On the application’s Overview tab, click Deploy now under Recent deployments, check the Branch, and click Deploy.
2
Check the deployment
On the Deployments tab, wait for the status Deployed. The build log shows each job’s result, such as
Migrate has been successful.3
Test the application
Click the domain under the application’s name and test the critical paths: sign-in, a write to the database, a background task. On the Processes tab, the web process and the background workers show Running.
4
Turn on auto-deploy
To deploy every push to the branch automatically, click the Settings tab, then click Update auto-deploy in the Auto-deploy section. Turn on Auto-deploy and click Update auto-deploy. See Deployments.
Move the custom domains
1
Add each domain
On the application’s Domains tab, click Add custom domain, enter the domain in Domain name, for example
shop.example.com, and click Add custom domain.2
Verify it
Add the ownership and certificate records that Sevalla shows at your DNS provider. Heroku keeps serving the domain meanwhile. When the domain’s status changes to Pointing, its certificate is ready. See Verify the domain.
3
Point it at Sevalla
Replace the record that points at Heroku (a
CNAME to a herokudns.com target) with the pointing record that Sevalla shows. The status changes to Active when Sevalla sees it. See Point the domain.ALLOWED_HOSTS, then deploy.
Shut down the Heroku app
When the domains are Active and traffic reaches Sevalla:- Disable the external connections you opened: on each database’s Networking tab, click Disable under External connection, then click Disable in the dialog.
- Keep
latest.dumpuntil you no longer need it. - Stop the Heroku app with
heroku ps:scale web=0 --app storefront, and delete it withheroku apps:destroy --app storefrontonce you’re sure. Deleting a Heroku app deletes its add-ons and their data.