

Choose a connection
Use an internal connection whenever the client is a Sevalla application in the same location: it’s faster and never leaves the private network. Use the external connection for everything else.
Find the connection details
The database’s Overview tab has a Connection card. Switch between Internal and External to see the Host, Port, Database, User, Password and URL (Redis and Valkey have no database or user). Click the eye icon to reveal a secret and the copy icon to copy a value. Under Connect from code, the card shows examples for the CLI, Node.js, Python and PHP that read the connection from the environment variables an internal connection adds. The Networking tab shows the same hostnames, ports and URLs under External connection and Internal connection.
The internal hostname is built from the database’s permanent name (
orders-db-k3j4h in the table). The URL percent-encodes special characters in the password. Valkey URLs start with valkey://; for a client that accepts only redis:// URLs, change the scheme: the protocol is the same.
Connect an application
An internal connection opens the private network between an application and the database, and can add the connection details to the application’s environment variables. The application must be in the same location as the database. You can also start from the application’s Networking tab; see Internal connections.1
Open the database's networking
In the sidebar, click Databases, then click the database. Click the Networking tab.
2
Add the connection
Under Private networking, in Connected applications, click Add internal connection.
3
Pick the application
Choose the Application. Applications that are already connected, suspended or in another location are listed but can’t be chosen.
4
Add the environment variables
Turn on Add environment variables to the application. Keep Available during runtime and Available during buildtime checked, or clear the one you don’t need. Rename a key if your application expects another name, or click Add another to add a variable.
5
Save
Click Add internal connection.
6
Deploy the application
Deploy the application so its processes get the new variables. See Deployments.
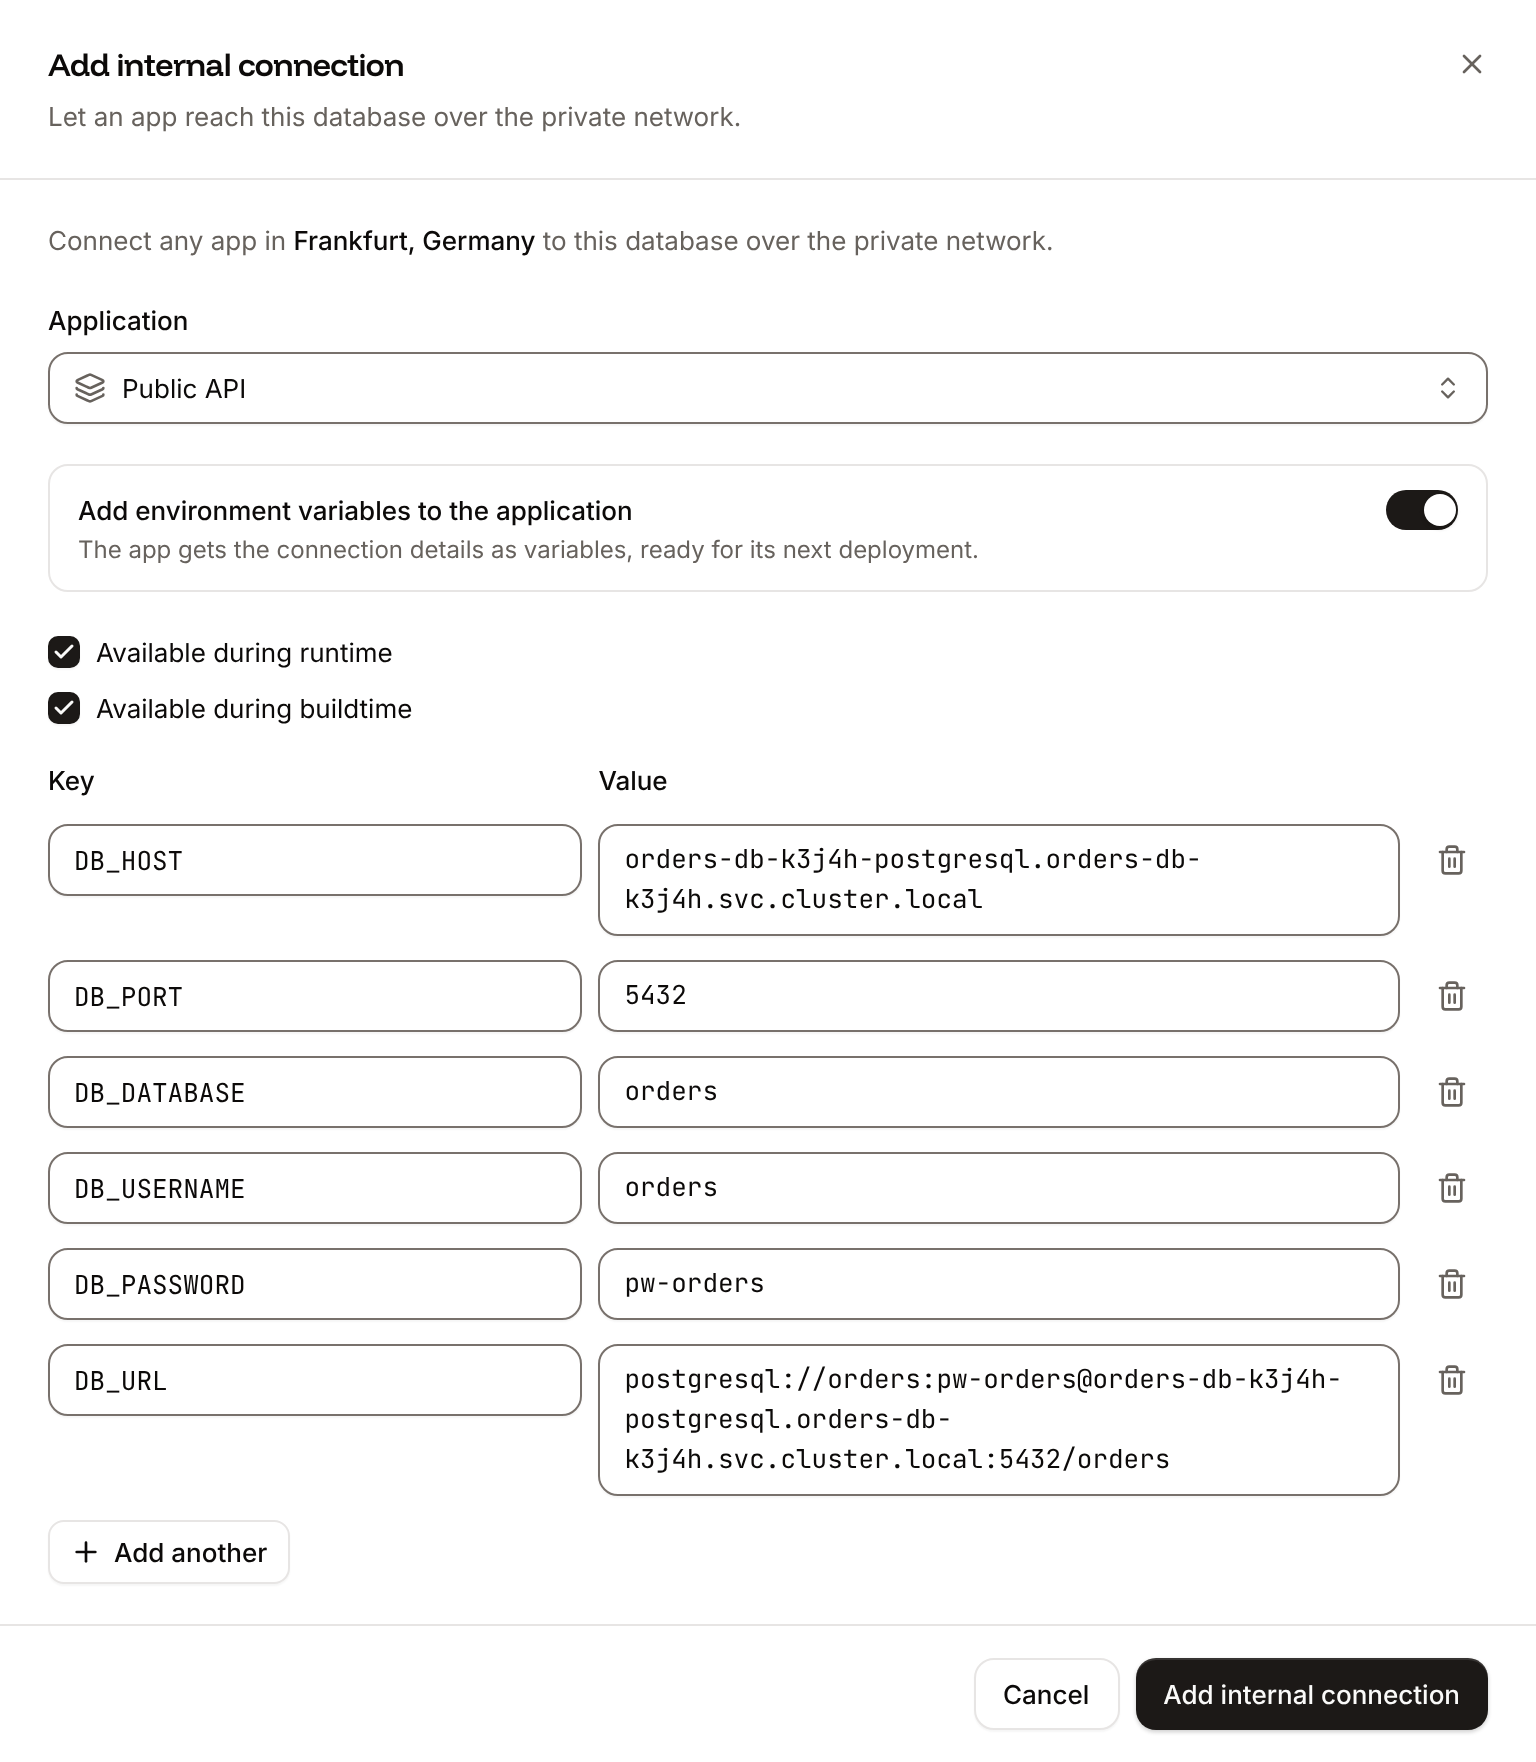
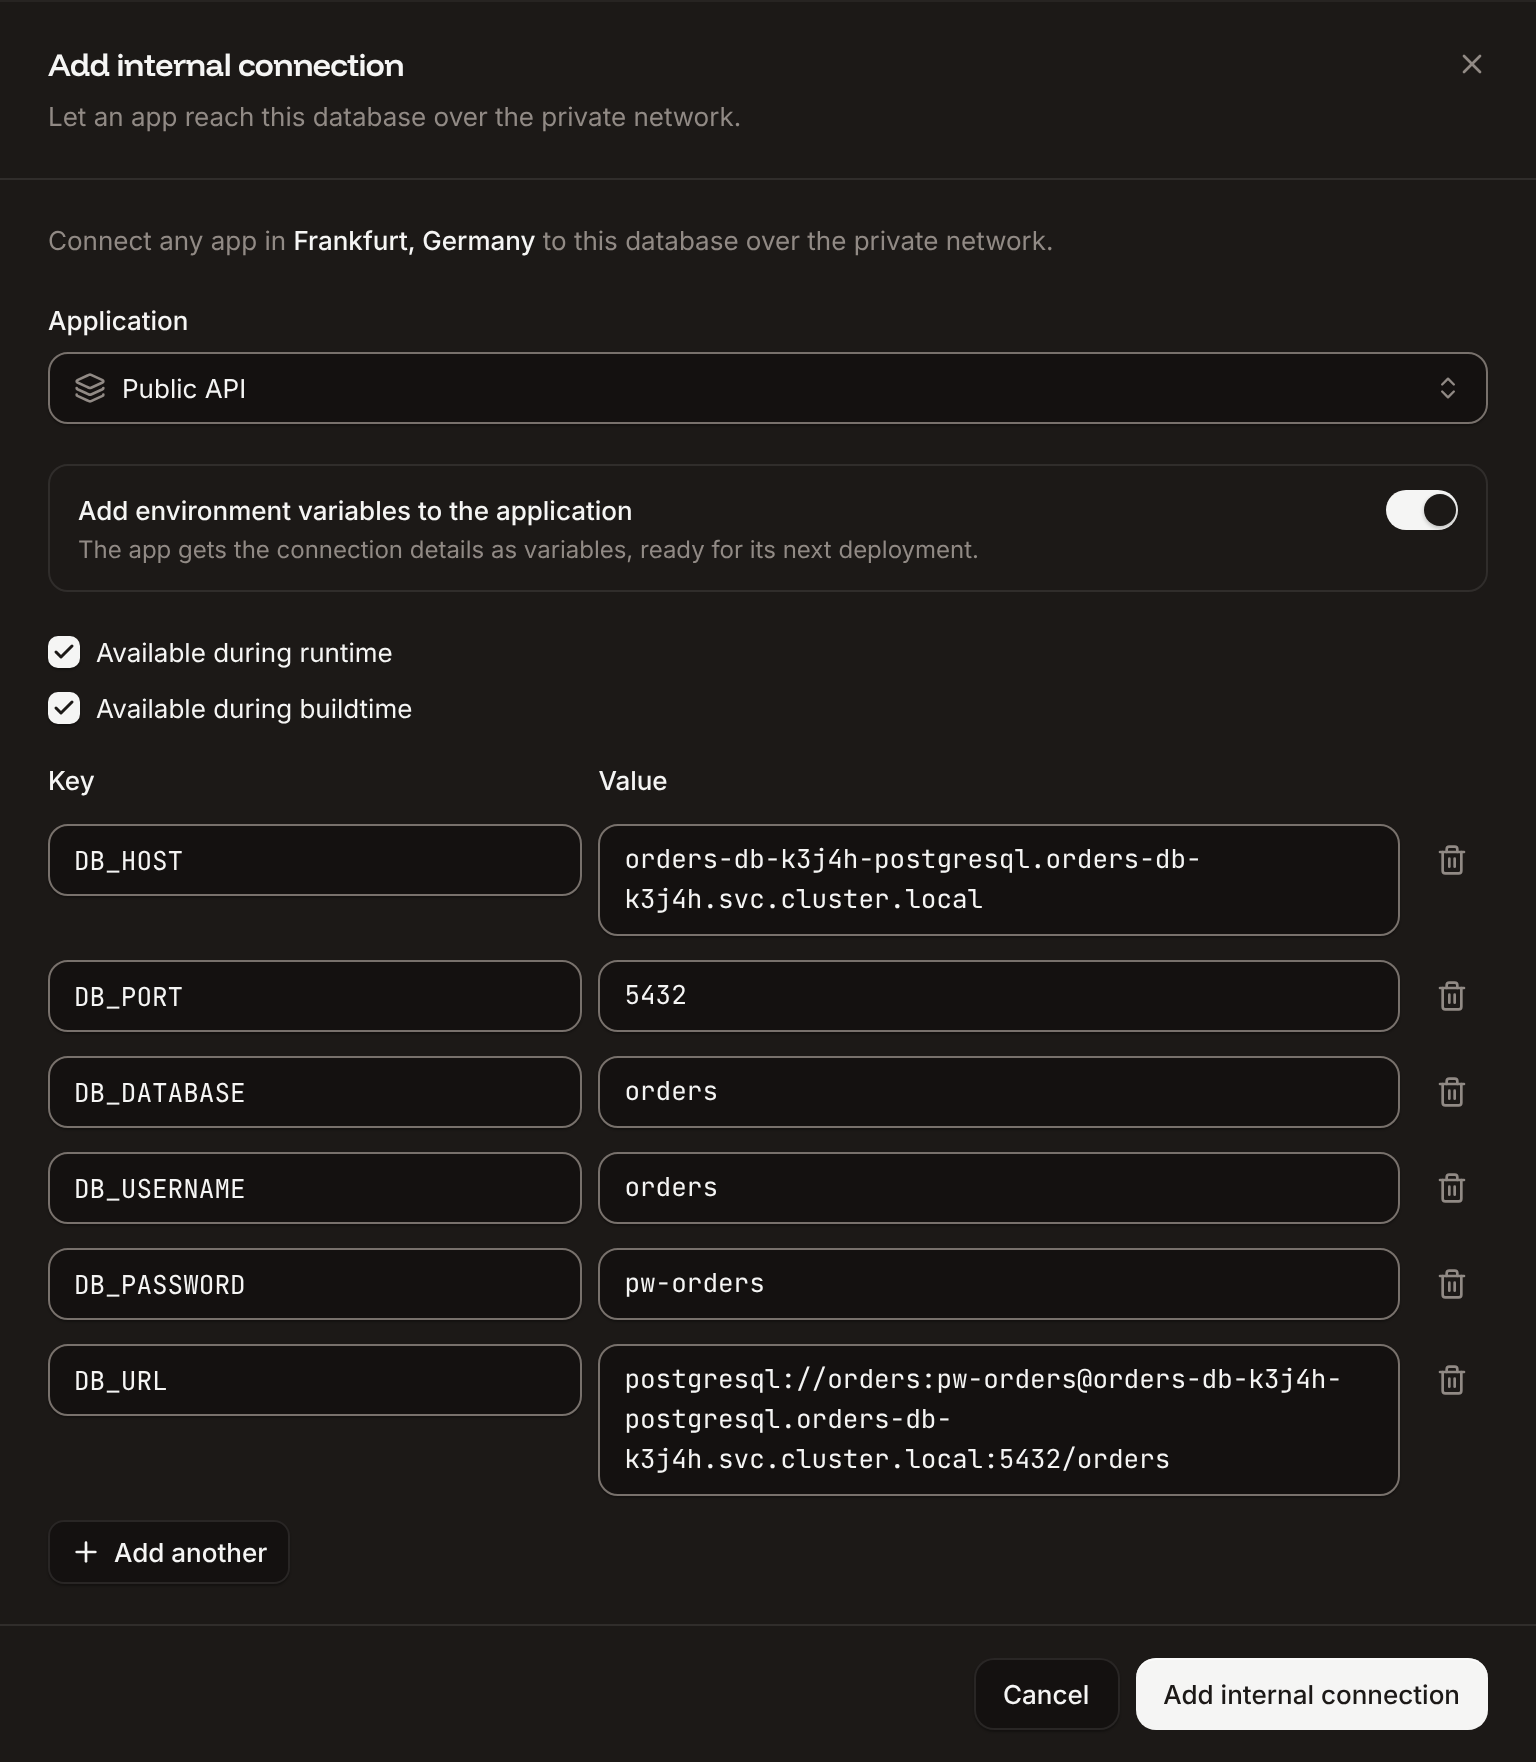
Environment variables an internal connection adds
- The variables are off unless you turn on Add environment variables to the application.
- For an application deployed from a Docker image, the variables are available at runtime only (images aren’t built).
- The form stops you with
This key already exists on the applicationif the application already has a variable with that key,Duplicate keyif two rows share a key, andSelect at least one optionif neither runtime nor buildtime is checked. - The variables are copies: they don’t change when the database changes. After you change the password, update
DB_PASSWORDandDB_URL(orREDIS_PASSWORDandREDIS_URL) on each application yourself. See Environment variables.
Disconnect an application
On the database’s Networking tab, under Connected applications, click the trash icon next to the application, then click Disconnect. The application can no longer reach the database over the private network. Its environment variables stay as they are; delete them on the application’s Environment variables tab if it no longer needs them.Enable the external connection
The external connection gives the database a public hostname and port. It’s off for a new database.1
Open the database's networking
In the sidebar, click Databases, then click the database. Click the Networking tab.
2
Enable it
Under Public networking, in External connection, click Enable, then click Enable in the dialog.
- The external hostname starts with the database’s permanent name, for example
orders-db-k3j4h.ext.sevalla.app, and the port is assigned by Sevalla. Copy both from the dashboard; don’t guess them. - Anyone with the hostname, port, user and password can connect. Limit who can reach it with IP restrictions.
- Turning the external connection off and on again keeps the same hostname and port.
- Suspending the database turns the external connection off. Activating the database doesn’t turn it back on: enable it again.
Databases that had their external connection on before the move to the current endpoints also had a legacy hostname of the form
<cluster>.proxy.sevalla.app, with a port from 30000 to 30999. Those legacy hostnames and ports were disabled on Oct 15, 2026, and connections to them fail. If a client still uses one, switch it to the hostname and port the dashboard shows now. When the Overview or Networking tab shows Your external connection details have changed, Show legacy details lists the old ones for reference. See OCI migration.Restrict access by IP address
IP restrictions allow or block clients of the external connection by IP address or CIDR block. They don’t affect internal connections or the database studio.1
Open the IP restrictions
On the database’s Networking tab, under IP restrictions, click Update IP restrictions.
2
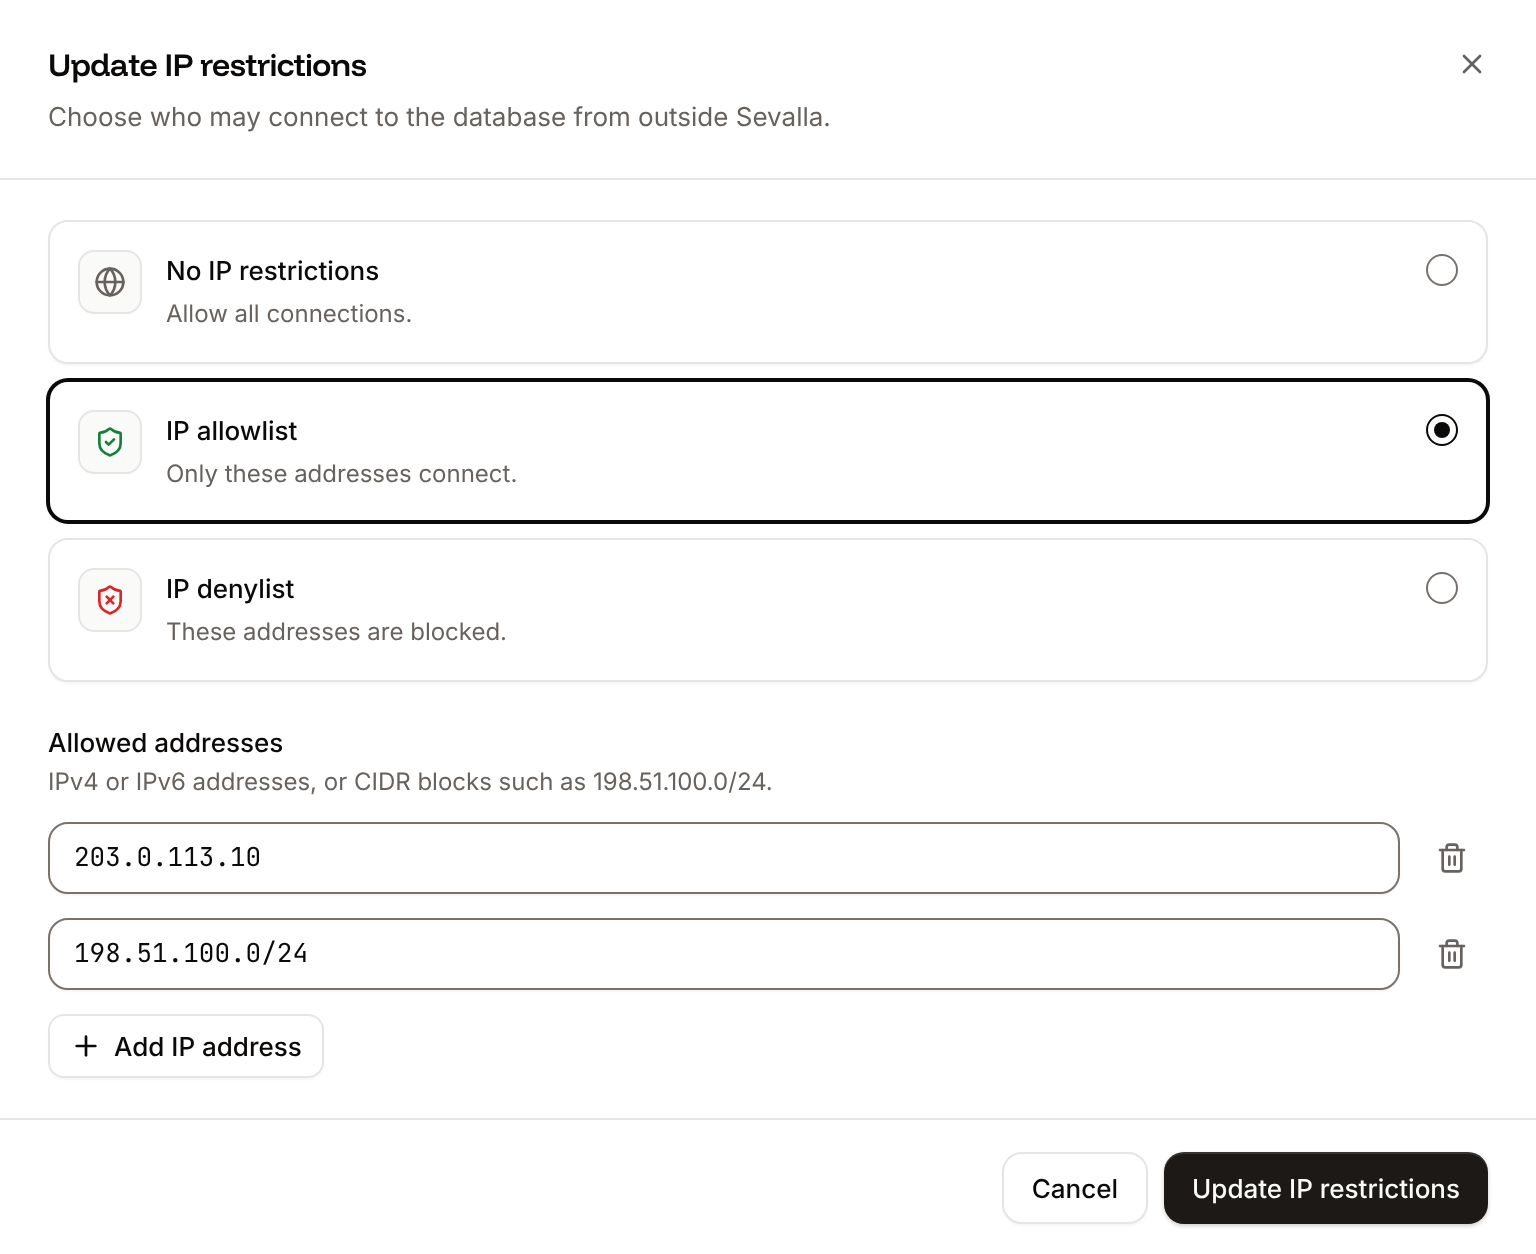
Choose the restriction
Click IP allowlist to let only the listed addresses connect, or IP denylist to block them. No IP restrictions lets every address connect.
3
Enter the addresses
Enter an address or CIDR block, for example
203.0.113.10 or 198.51.100.0/24. Click Add IP address for each further entry.4
Save
Click Update IP restrictions.
- Entries are IPv4 addresses in dotted four-part form, IPv6 addresses, or CIDR blocks of either.
- Use public addresses. Private, loopback and link-local addresses (such as
10.0.0.5,127.0.0.1or169.254.169.254) are rejected withInvalid IP address. - To reach the database from a Sevalla application in another location, allow that application’s egress IP addresses. See Networking.
Connect from the command line
With the external connection on, connect with the engine’s own client and the values from the External tab. Replace the hostname, port, user and database in these examples with yours; each client asks for the password.<password> with the database password. REDISCLI_AUTH keeps it out of the client’s arguments (and avoids the warning -a prints); valkey-cli 7.2 and 8.1 read only this variable, 9.0 also reads VALKEYCLI_AUTH.
Connect with TablePlus
TablePlus works with every engine Sevalla offers. Any client for your engine works the same way: give it the external hostname, port, user, password and database. The fastest way: with the external connection on, click Open deeplink on the Overview tab’s Connection card (under External) or on the Networking tab. It opens the external connection URL in the application registered for it, such as TablePlus. To add the connection by hand:1
Create a connection
In TablePlus, click Create a new connection, choose the engine, then click Create. For Valkey, choose Redis.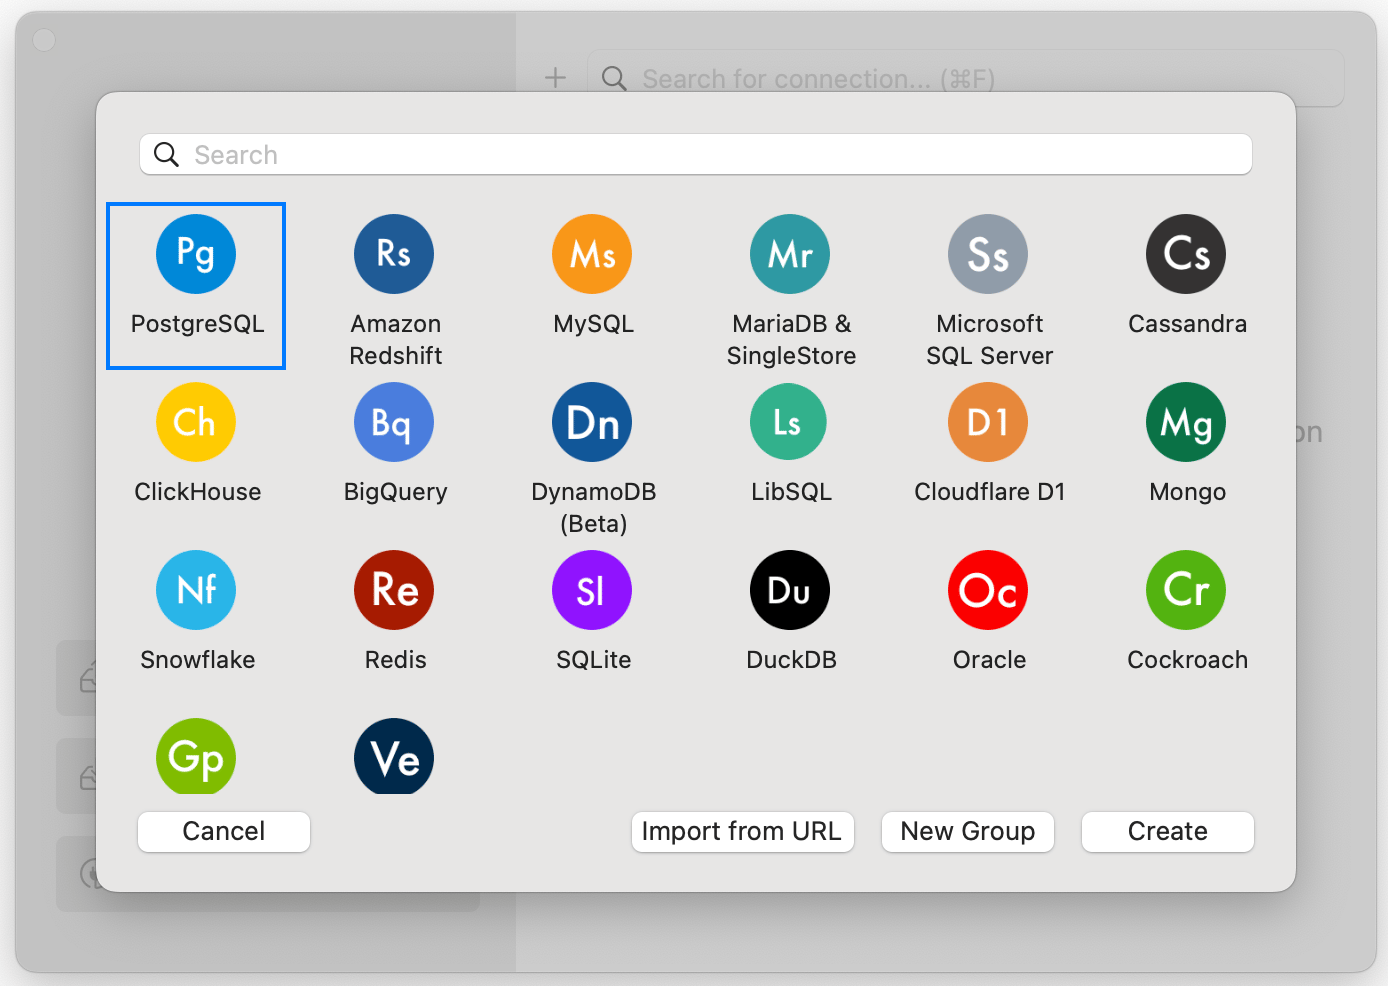
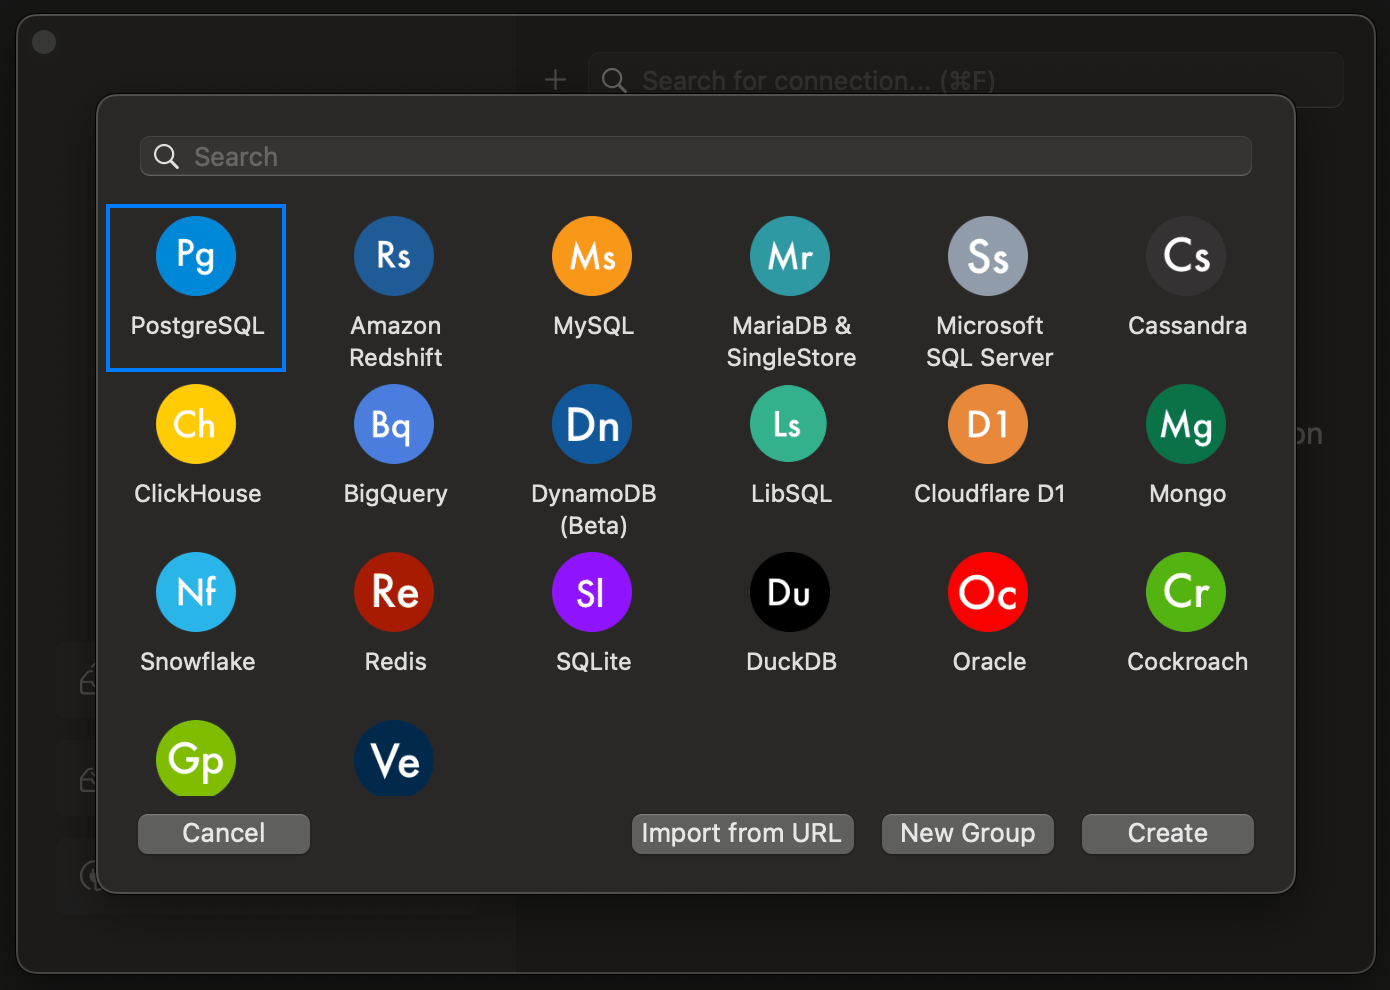
2
Enter the connection details
Copy the values from the database’s External connection details into Host/Socket, Port, User, Password and Database. Redis and Valkey need only the host, port and password.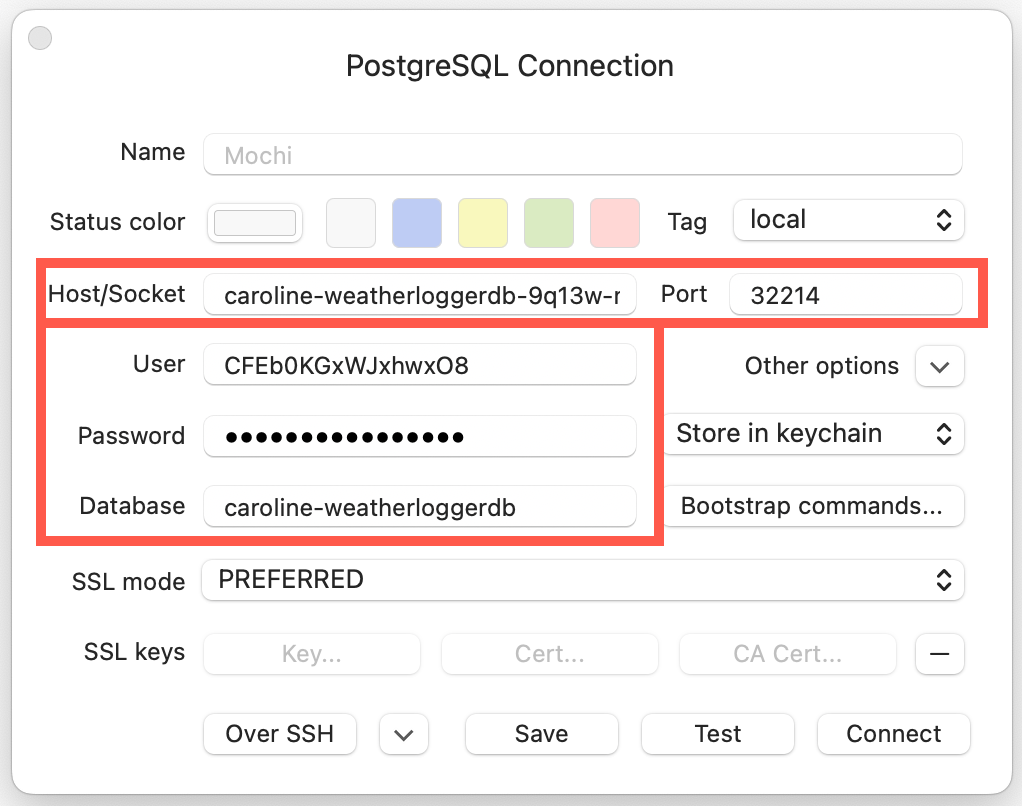
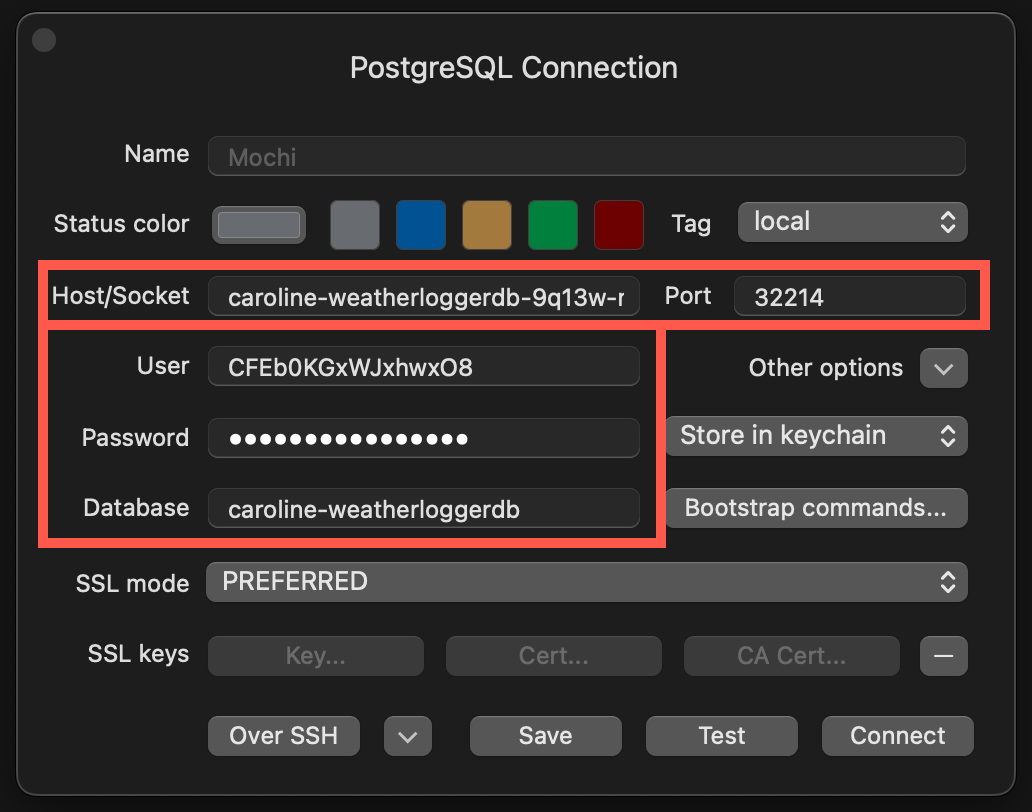
3
Connect
Click Test to check the details, then click Connect.
Change the database password
1
Open the password card
In the sidebar, click Databases, then click the database. On the Overview tab, in the Password card, click Change password.
2
Enter the new password
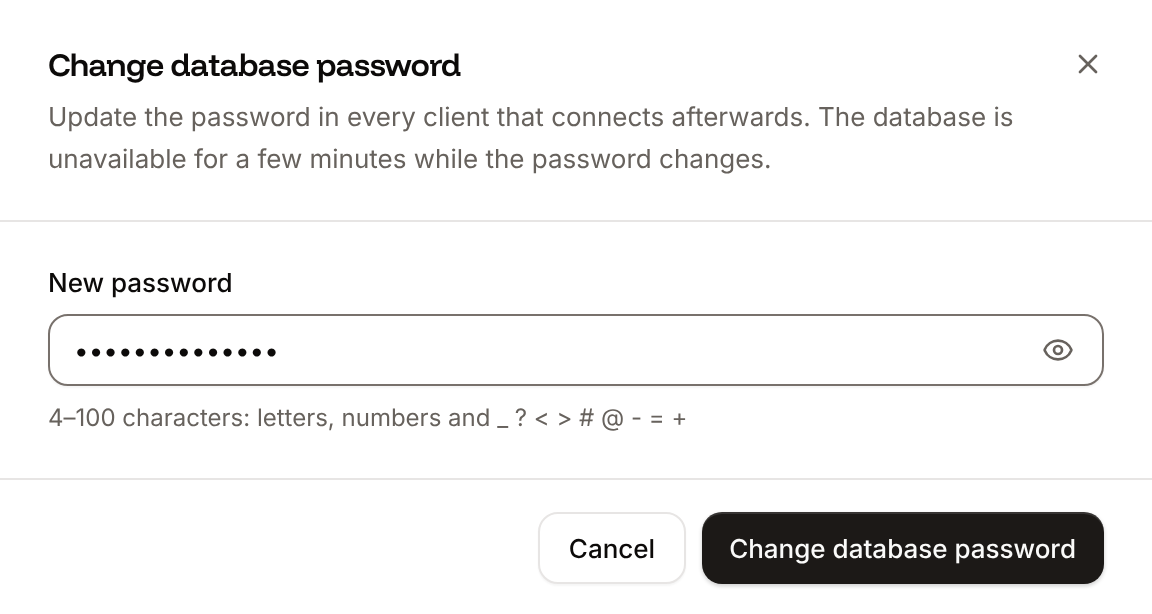
Enter the New password: 4 to 100 characters, letters, numbers and
_ ? < > # @ - = +. It must differ from the current one.3
Save
Click Change database password.
DB_PASSWORD and DB_URL (or REDIS_PASSWORD and REDIS_URL) variables of connected applications, then deploy those applications. You can’t change the password while the database is suspended or while another change is running.
API and CLI
The API’s internal connection endpoint doesn’t add environment variables; set them with the application’s environment variable endpoints.