

How disks work
- One disk per process. Only web processes and background workers can have a disk, one each. Cron jobs and jobs can’t.
- One instance. A process with a disk is limited to 1 instance and can’t autoscale. Adding a disk to a process that runs more instances reduces it to one. Scale it up with a larger instance size instead.
- Downtime on deployments. To move the disk to the new version, Sevalla stops the running instance before it starts the new one, so a process with a disk is unavailable for a few moments during each deployment.
- Mounting hides the folder. The disk replaces whatever the image has at its mount path: a new disk starts empty, and files your build put in that folder aren’t visible.
- Next deployment. Creating, resizing or deleting a disk takes effect with the next deployment.
- Without a disk, each instance has up to 20 GB of ephemeral storage that’s wiped on every restart and deployment. An instance that writes more than that is stopped and restarted.
- Location. A disk stays in the application’s location.
- Cost. Disks are billed per second while their process runs, by size. See Pricing.
Disk sizes
A disk can grow but not shrink. To use a smaller disk, delete it and create a new one, which loses its files.
Create a disk
1
Open the Disks tab
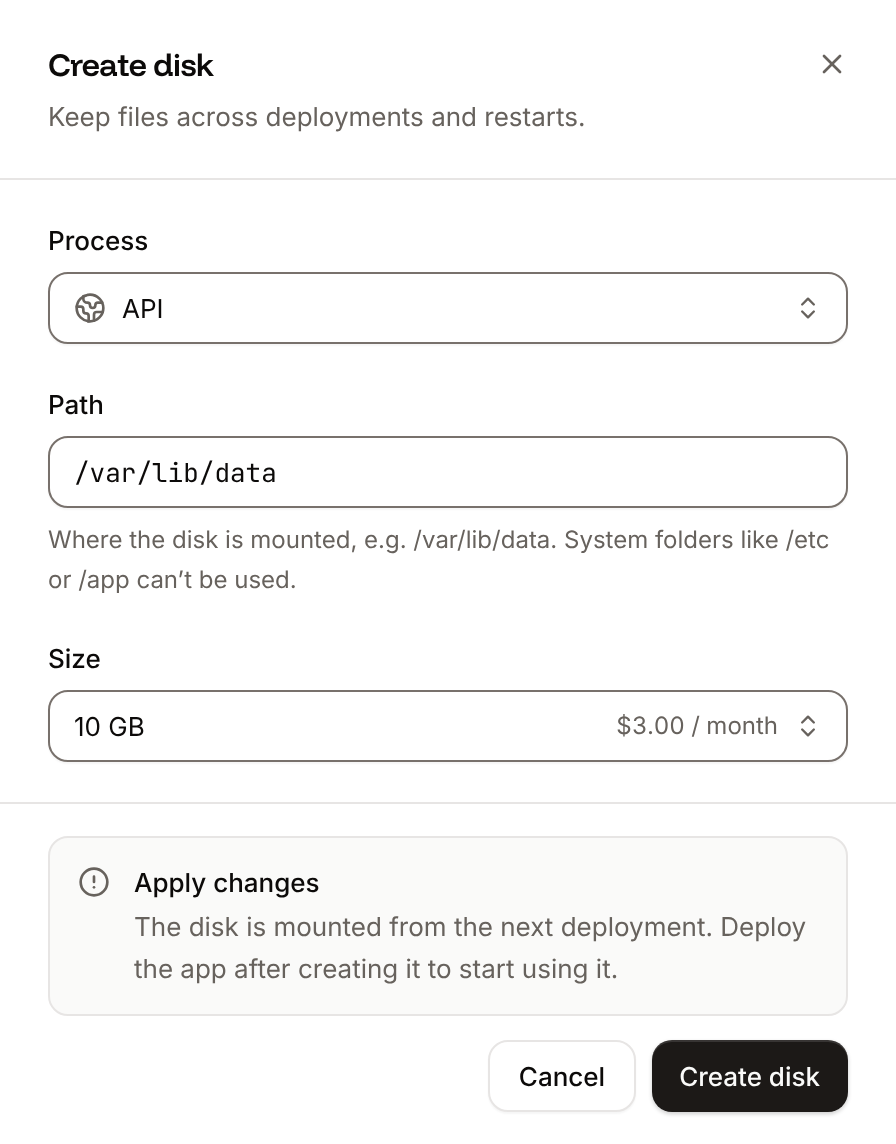
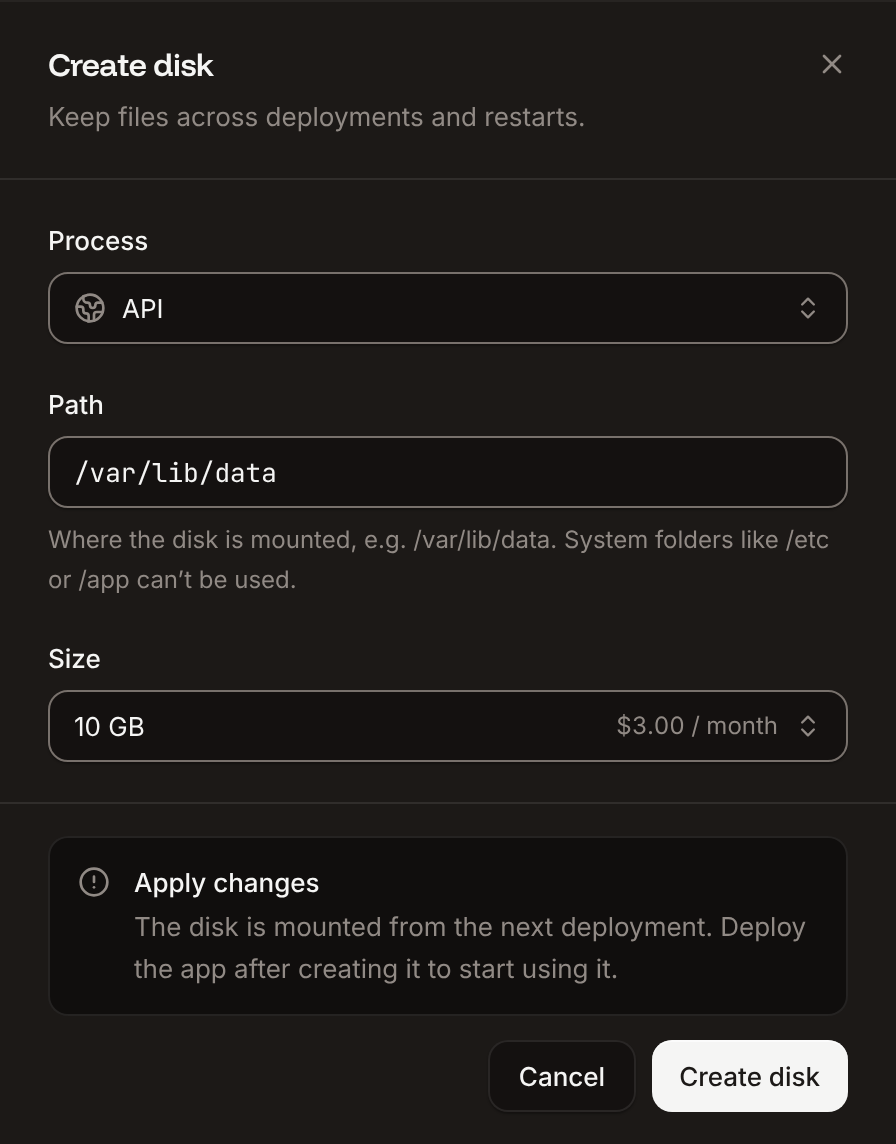
In the sidebar, click Applications, then click the application. Click the Disks tab, then click Create disk.
2
Pick the process
In Process, pick the web process or background worker. Processes that already have a disk, cron jobs and jobs can’t be picked.
3
Set the path and size
Enter the Path to mount the disk at (default
/var/lib/data; see mount path rules), and pick the Size.4
Create and deploy
Click Create disk, then deploy the application. The disk is mounted from that deployment on.
1.2 GB / 10 GB).
Creating a disk needs permission to update the application, and a company with credits or a valid payment method.
Mount path rules
The path is where your application reads and writes the disk’s files.- It starts with
/(or./) and uses only letters, digits,_,-,.and/. - It can’t be the root (
/) or one of these system folders:/app,/etc,/layers,/lib,/mnt,/root,/usr/local,/var,/workspace. Folders inside them are fine:/app/storageand/var/lib/dataare valid. - To keep a folder of your application on the disk, use its full path in the container. With Nixpacks and Railpack your code is in
/app(for example/app/storage/uploads); with Buildpacks it’s in/workspace; with a Dockerfile it’s yourWORKDIR.
Invalid path for a path that breaks these rules.
Update a disk
1
Open the disk
On the application’s Disks tab, click ⋯ on the disk, then click Update disk.
2
Change the path or size
Change the Path or pick a larger Size. A disk stays with its process.
3
Save and deploy
Click Update disk, then deploy the application to apply the change.
Delete a disk
1
Start the deletion
On the application’s Disks tab, click ⋯ on the disk, then click Delete disk.
2
Confirm
Type the process name and click Delete disk.
3
Deploy
Deploy the application. The disk is removed with that deployment, and stays attached and billed until it completes.
Move files to and from a disk
You can’t upload files to a disk from the dashboard. Open the web terminal on the process and pull the files from a URL you control, for example:curl or wget exists in the image first (which curl). To copy files out, push them from the terminal to object storage or another server you control. Keep credentials in environment variables, not in commands you type.
Backups
Sevalla backs up every disk daily and keeps each backup for 7 days. Restoring a backup rolls the whole disk back to the time the backup was taken. To restore one, contact support with the application’s name and the disk’s mount path.Frequently asked questions
Can my application save files to its filesystem?
Can my application save files to its filesystem?
Only to a disk. Everything else an instance writes is lost when it restarts or the application is deployed again. For user uploads in an application that runs more than one instance, use object storage.