

Open the studio
In the sidebar, click Databases, then click the database. Click the SQL studio tab (Redis studio for Redis and Valkey). The studio loads the database’s schema or server details first. If it shows Failed to connect to the database, check that the database’s status is Ready and that it isn’t suspended, then click Try again. PressAlt + F (or click the full-width button) to give the studio the whole window; press Esc to leave. Press Alt + S to hide or show the sidebar.
SQL studio
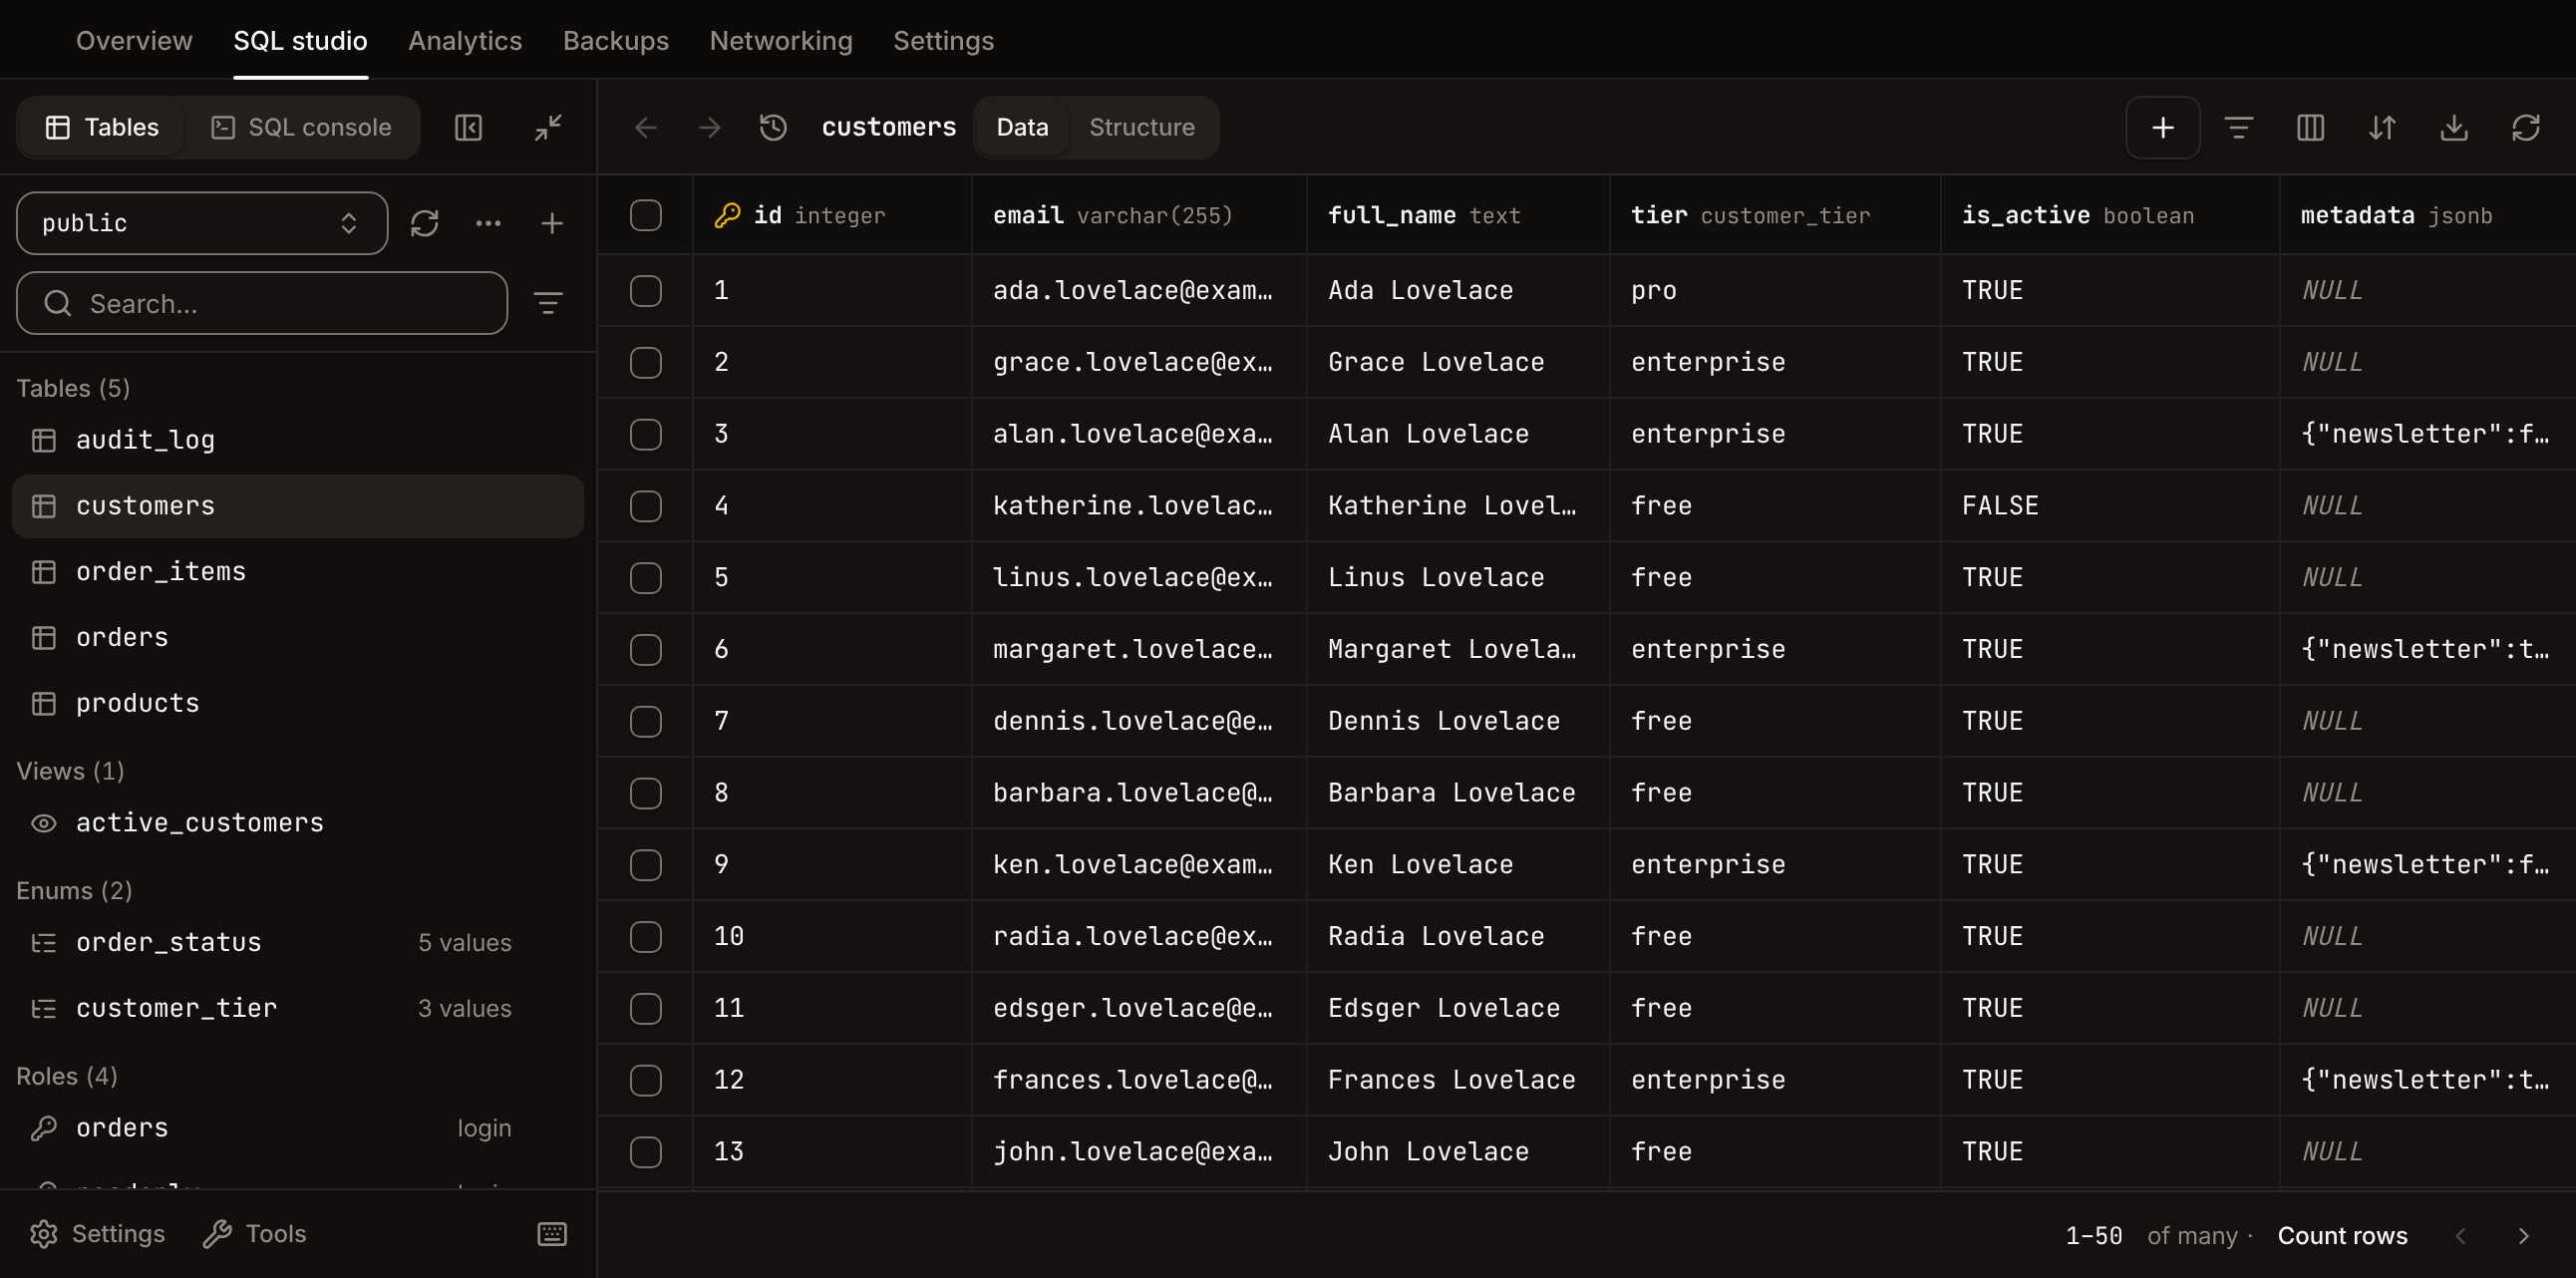
The SQL studio is for PostgreSQL, MySQL and MariaDB. The sidebar switches between Tables and the SQL console.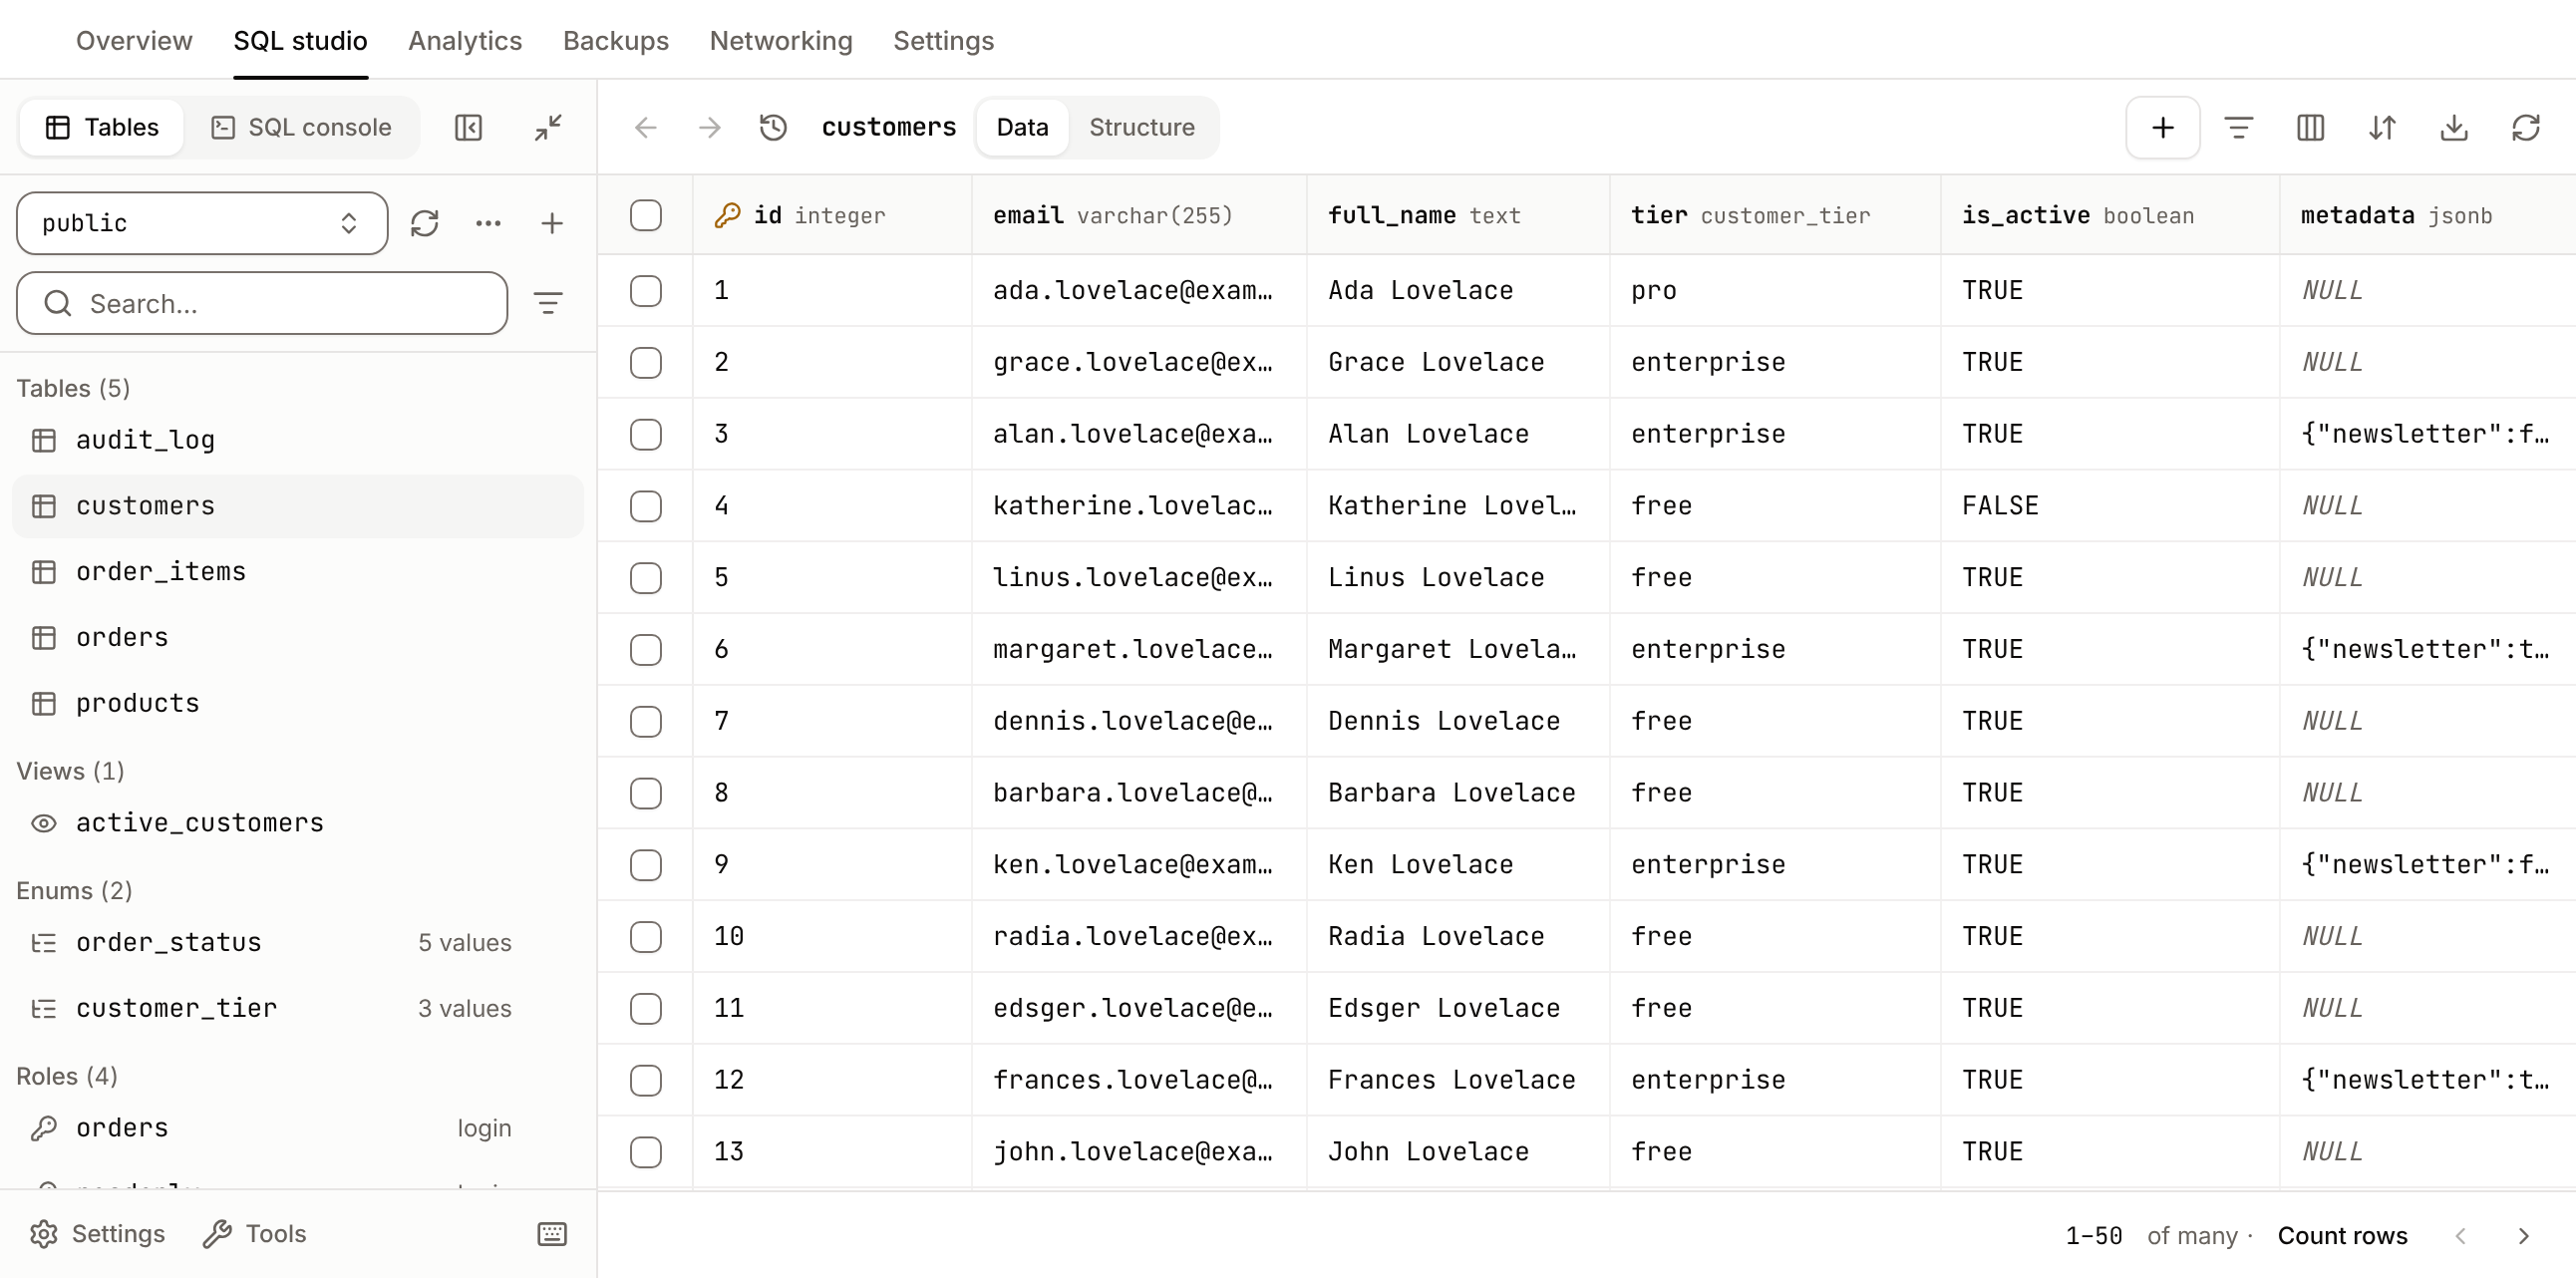
Browse tables
The sidebar lists the tables and views. On PostgreSQL, choose the schema at the top; the sidebar also lists Enums, Roles and Policies.- Type in the search box to find a table. The filter icon shows or hides tables, views and materialized views, and sorts by name or by row count (with Table rows count on in the settings).
- Click a table to open its rows. The menu (…) next to it has Browse data, Browse structure, Alter table (or Alter view), Open in SQL console, Copy name, truncate and drop.
- Select more than one table with their checkboxes to truncate or drop them together. The confirmation shows the SQL and offers Cascade.
- Click the refresh icon (or press
Cmd+R,Ctrl+Ron Windows and Linux) to reload the schema after changing it elsewhere.
Filter and sort rows
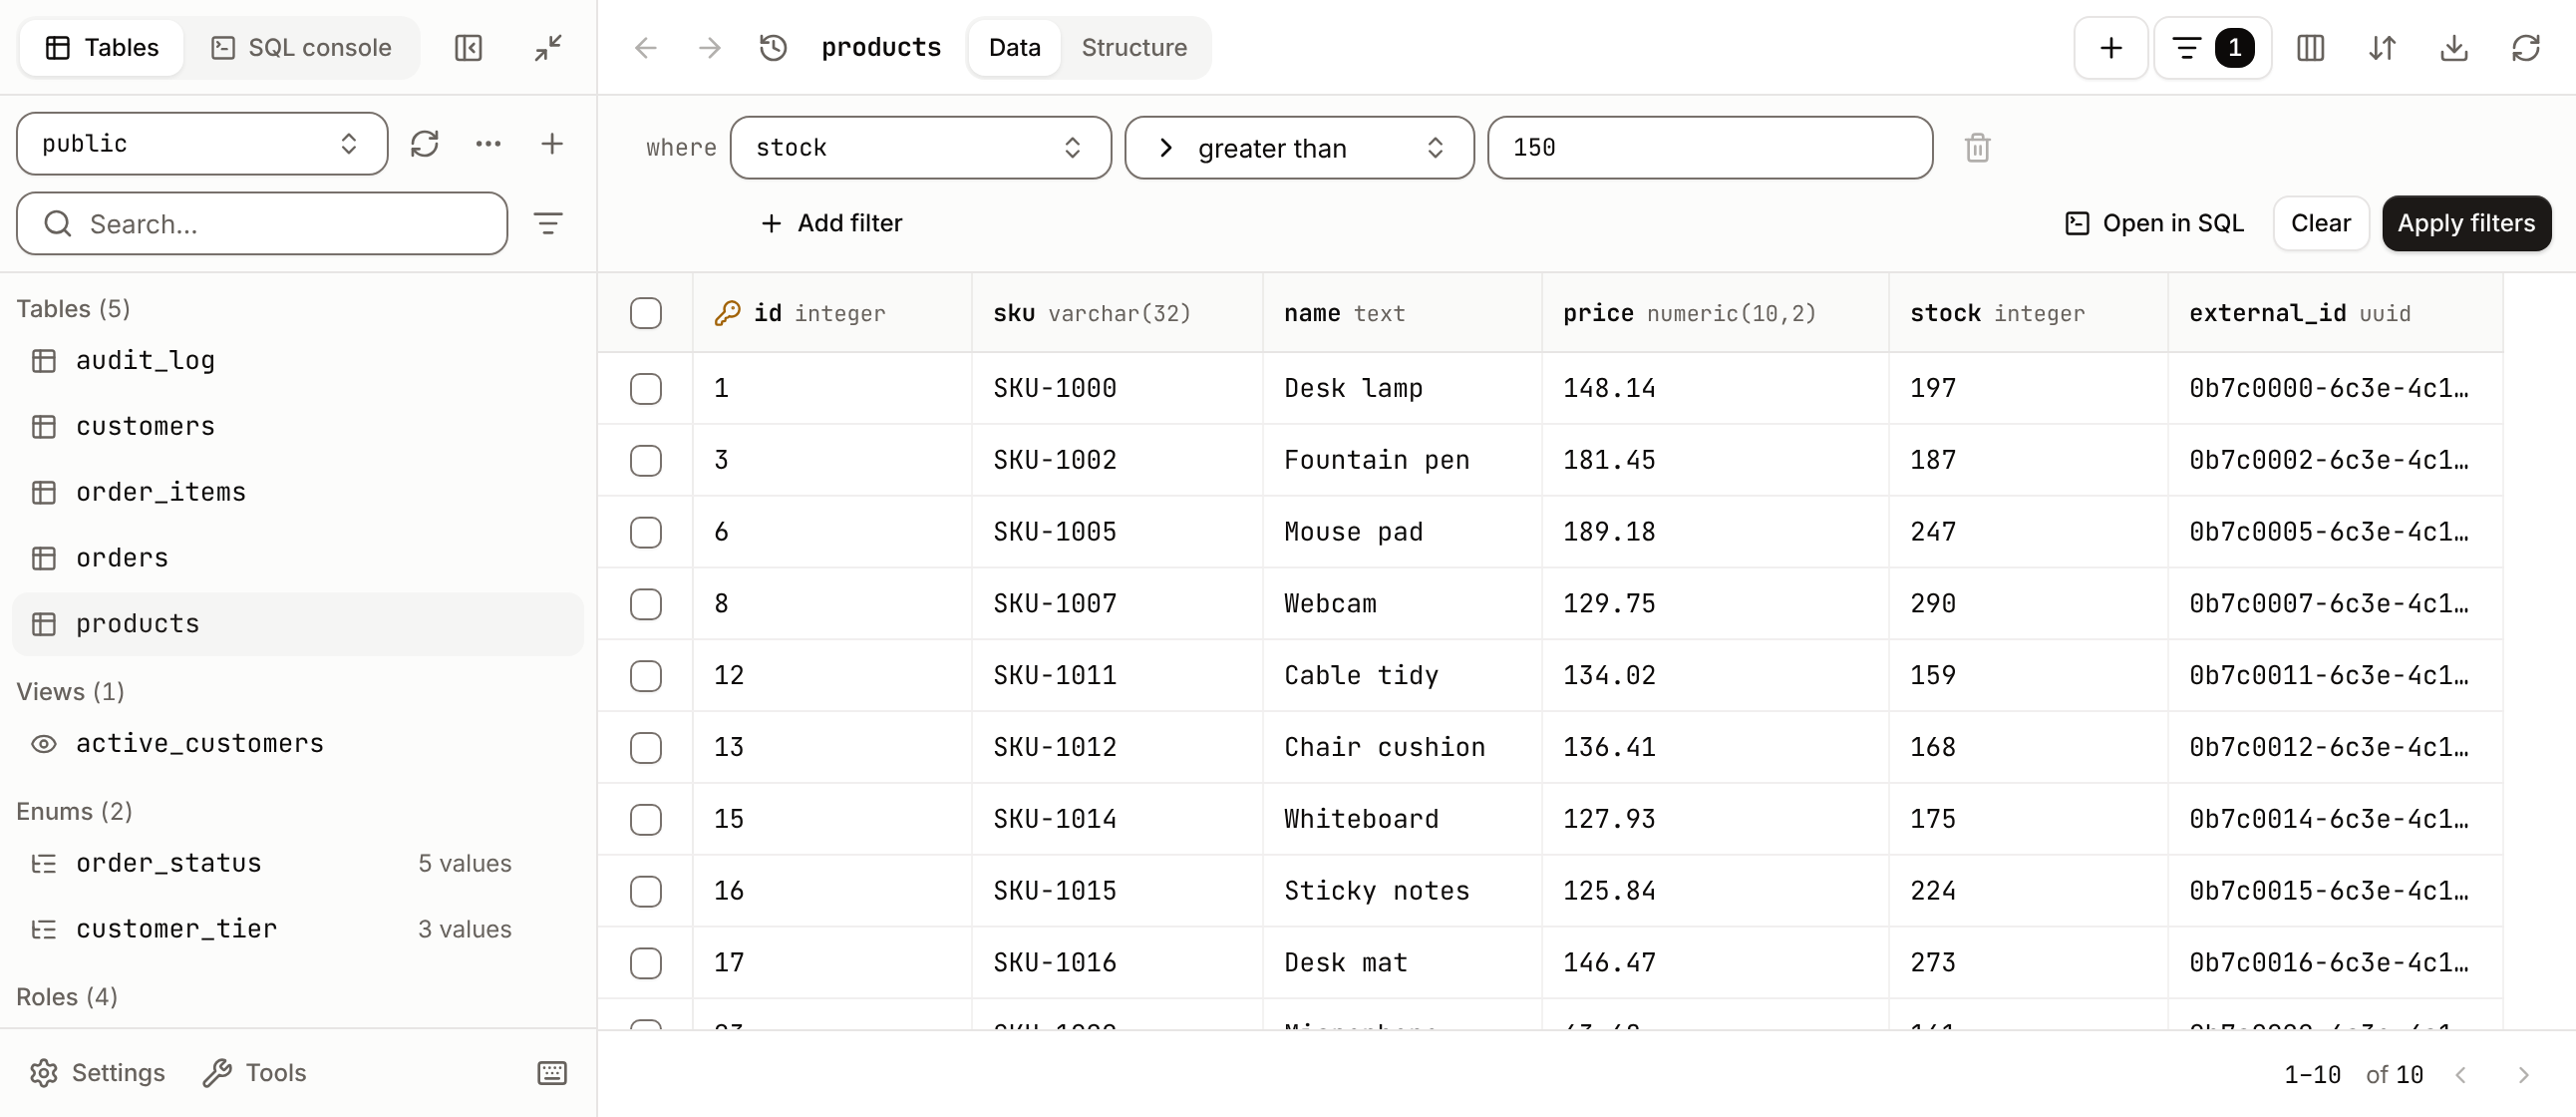
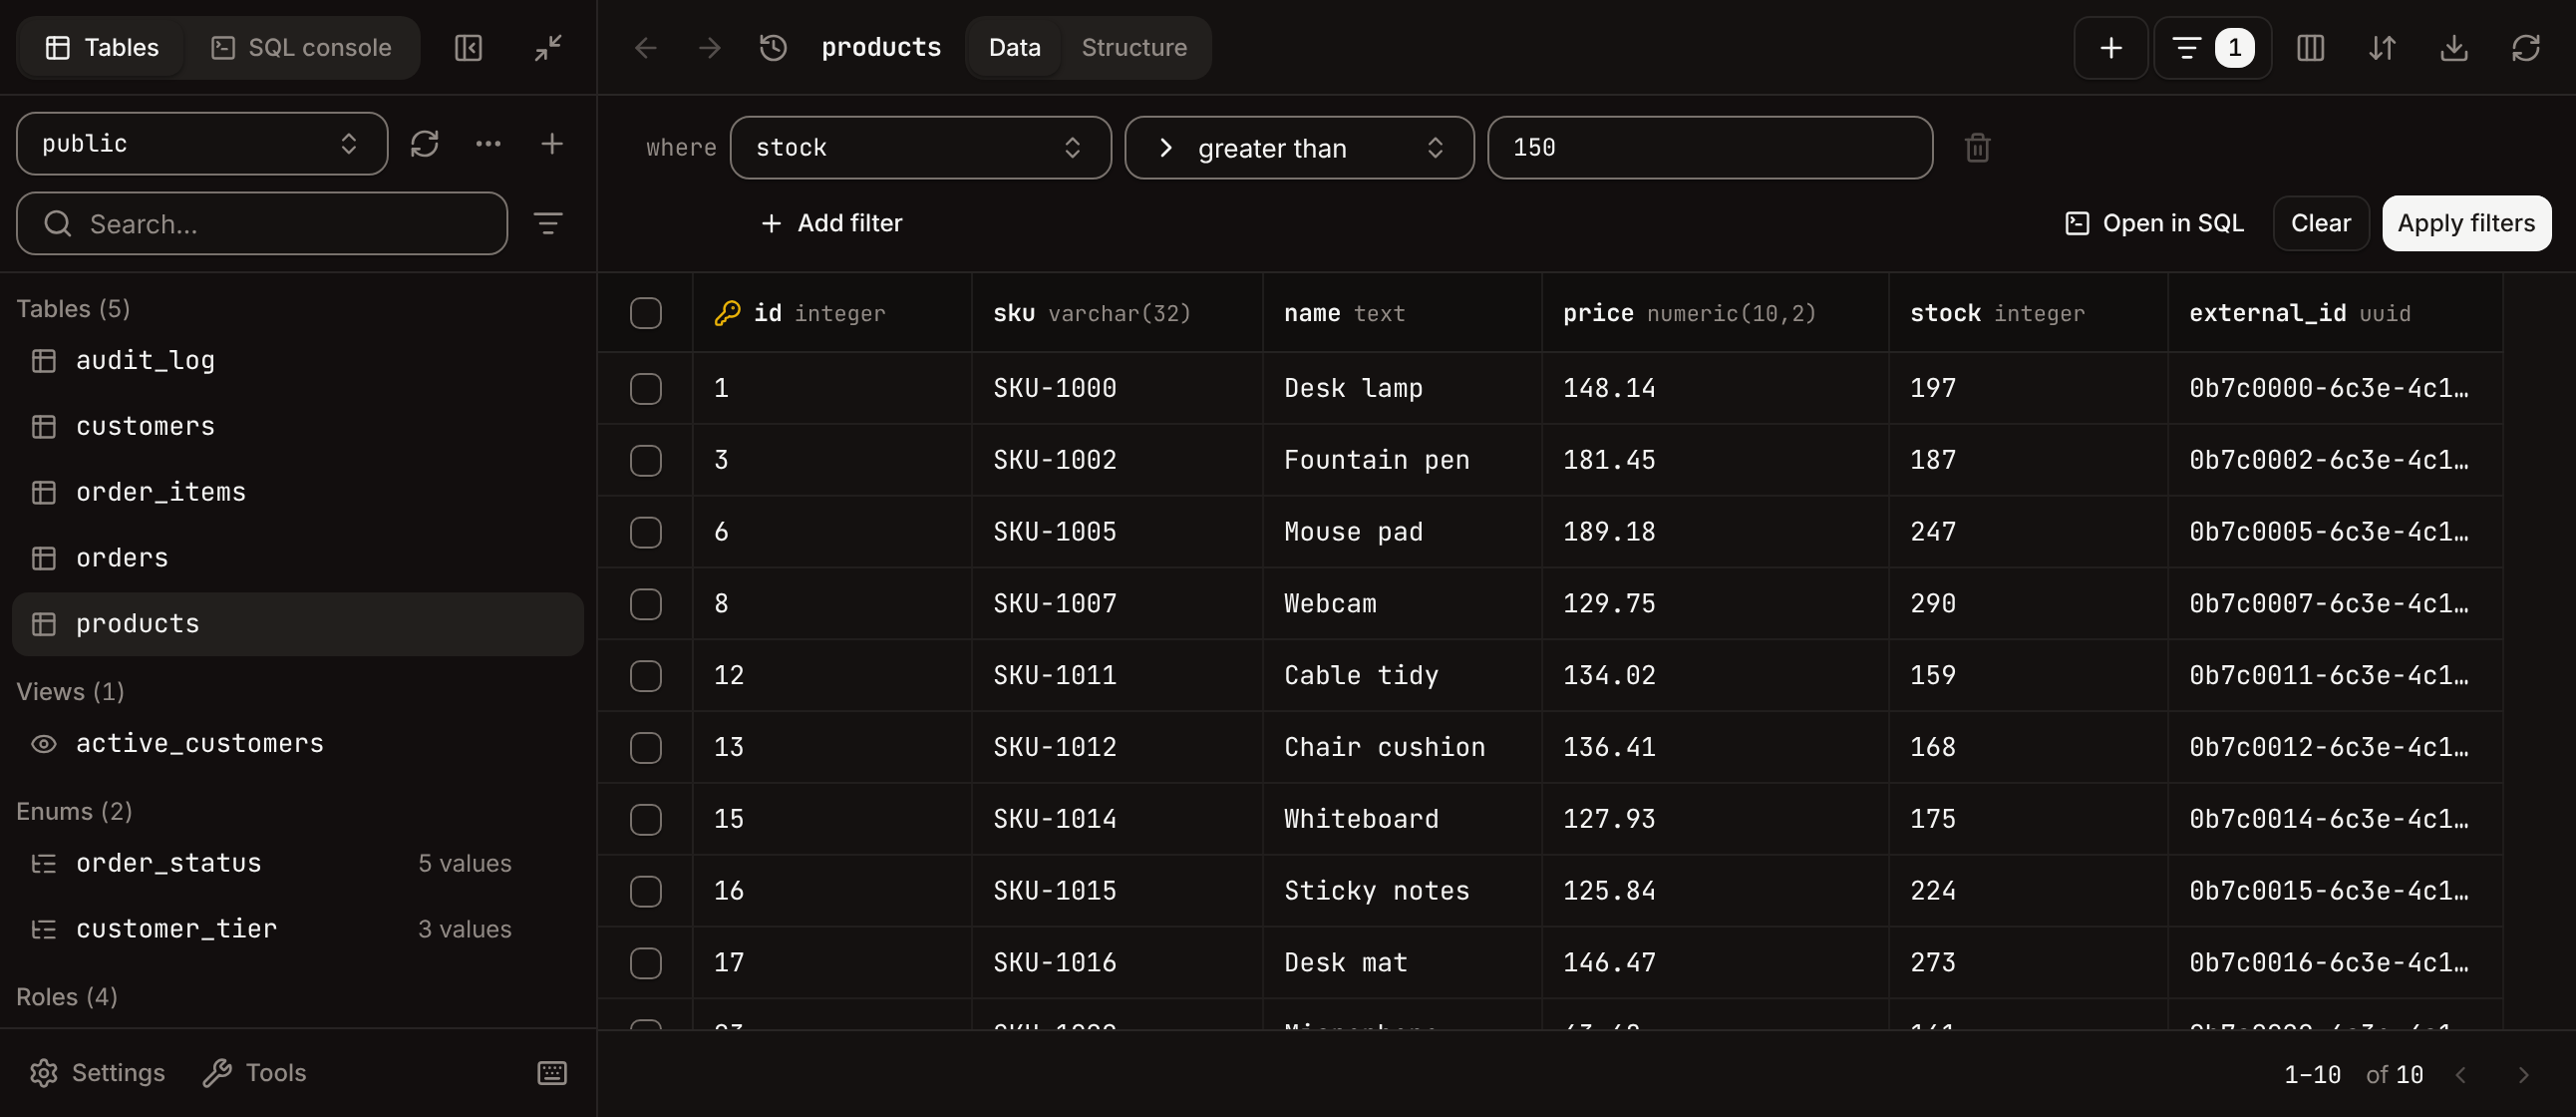
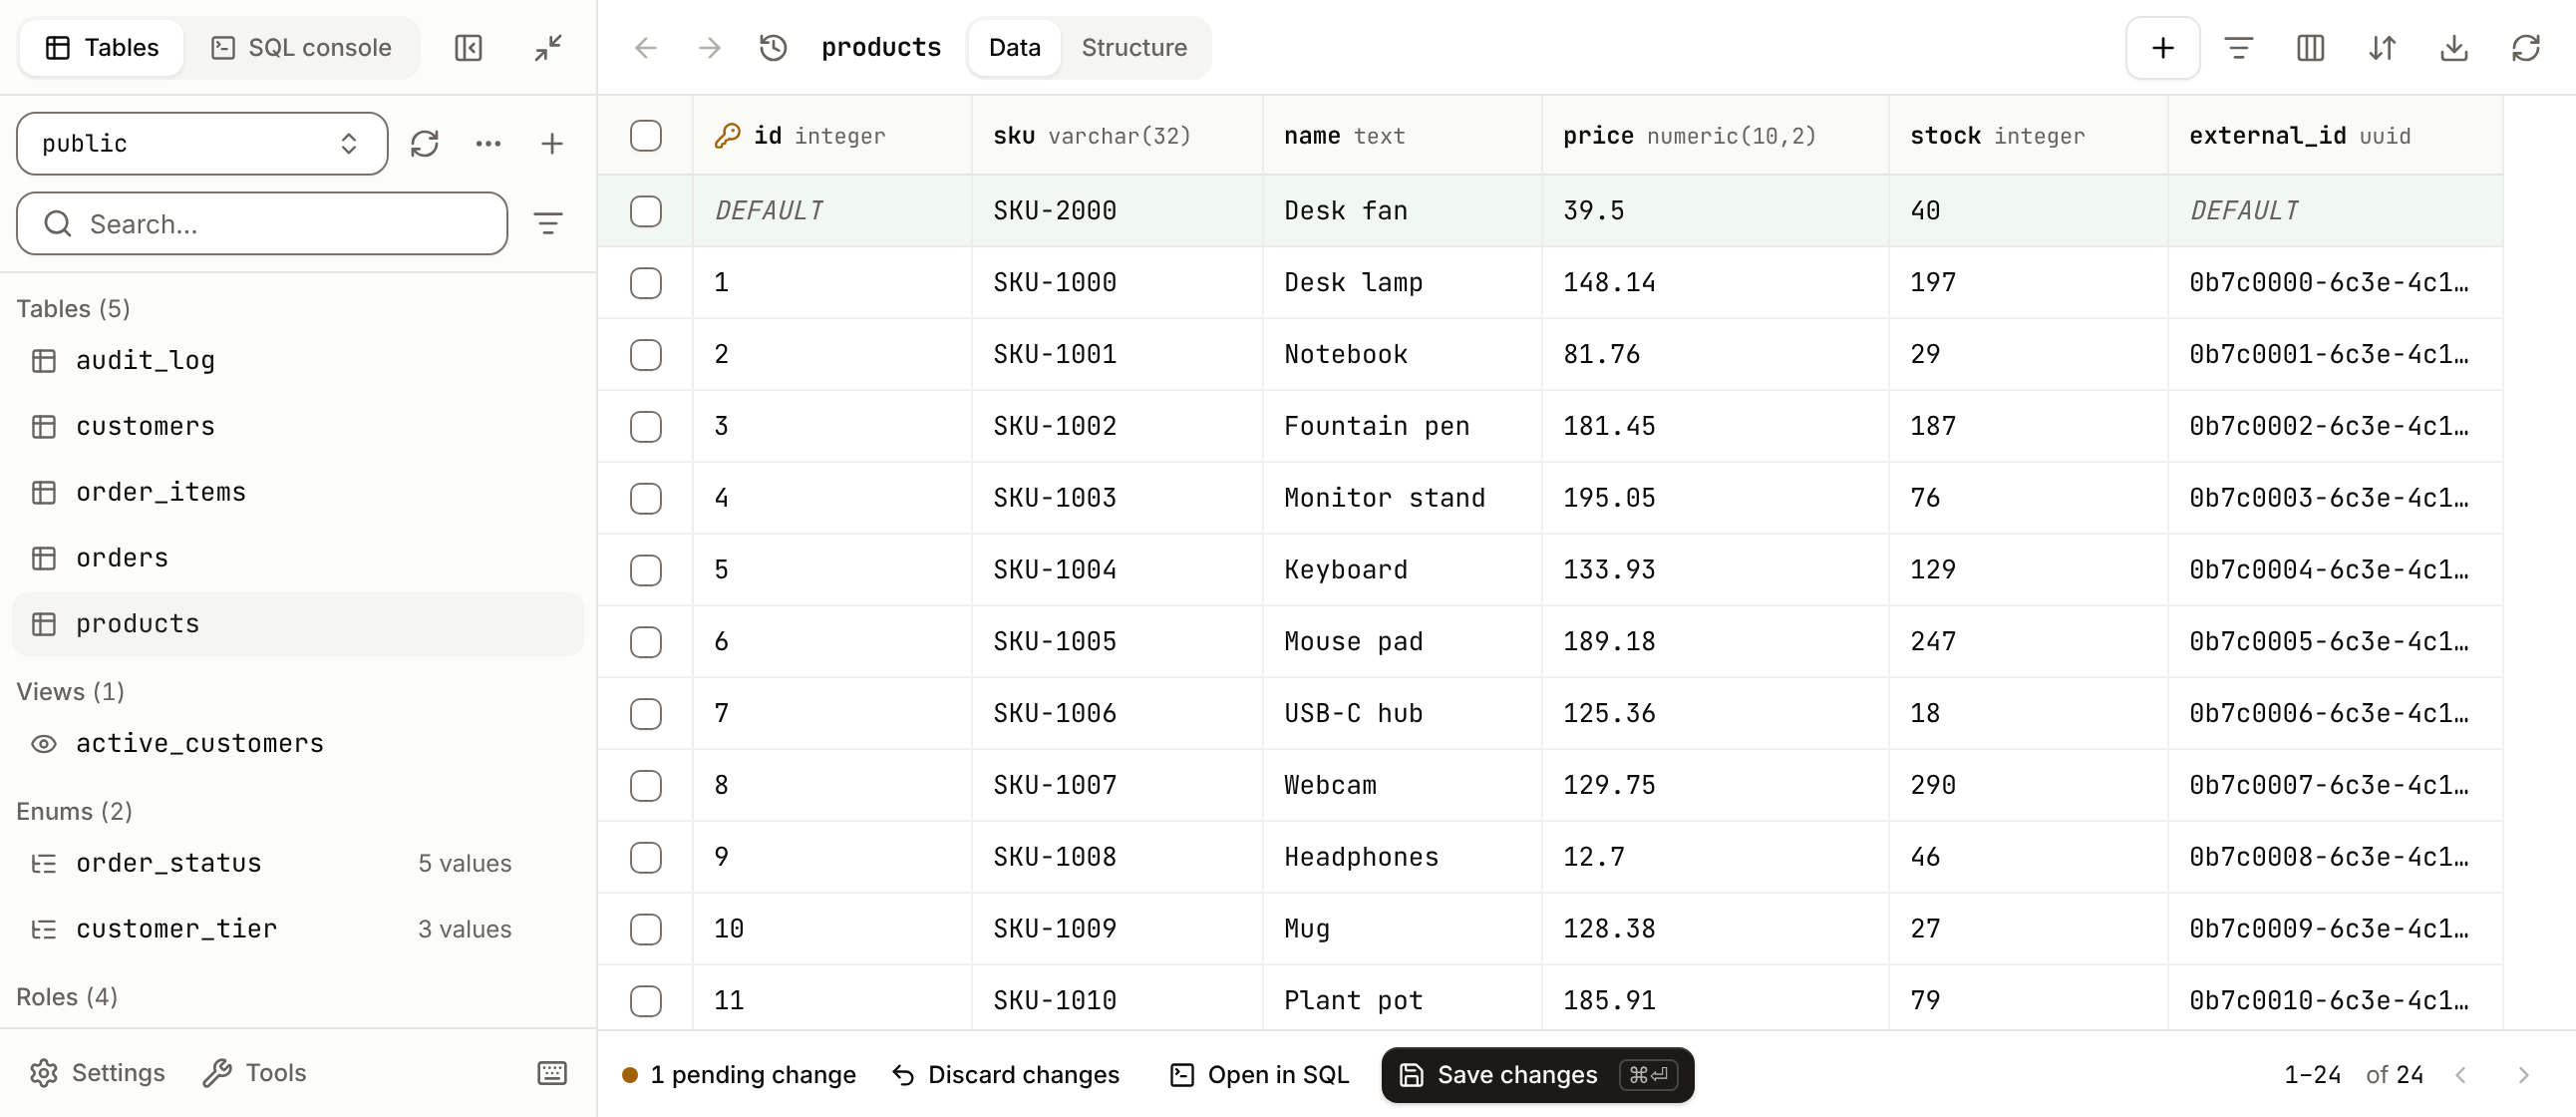
The toolbar above the rows has Filters, Columns, Sort, Export and a refresh button, and switches between Data and Structure.- Filters: click Add filter, pick a column and an operator, enter a value, then click Apply filters. Rows must match every filter. The button shows how many filters apply; Clear removes them, and Open in SQL opens the filtered
SELECTin the console. - Operators:
equals,not equals,greater than,greater or equals,less than,less or equals,like,ilike(PostgreSQL),not like,in,is null,is not null,is emptyandis not empty. The text operators apply to text columns only. - Columns hides, shows and reorders columns. Sort orders the rows by one column, ascending or descending.
- The grid shows 50 rows per page. Click the row range at the bottom to set the Limit (up to 500) and Offset.
Update rows
- To change a value, double-click the cell (or select it and press
Enter), type, then pressEnterorTab. PressEscto cancel. Copy and paste work on selected cells. - To add a row, click Add record. To delete rows, select them and click Delete N records. The expand icon on a row opens it in a side panel.
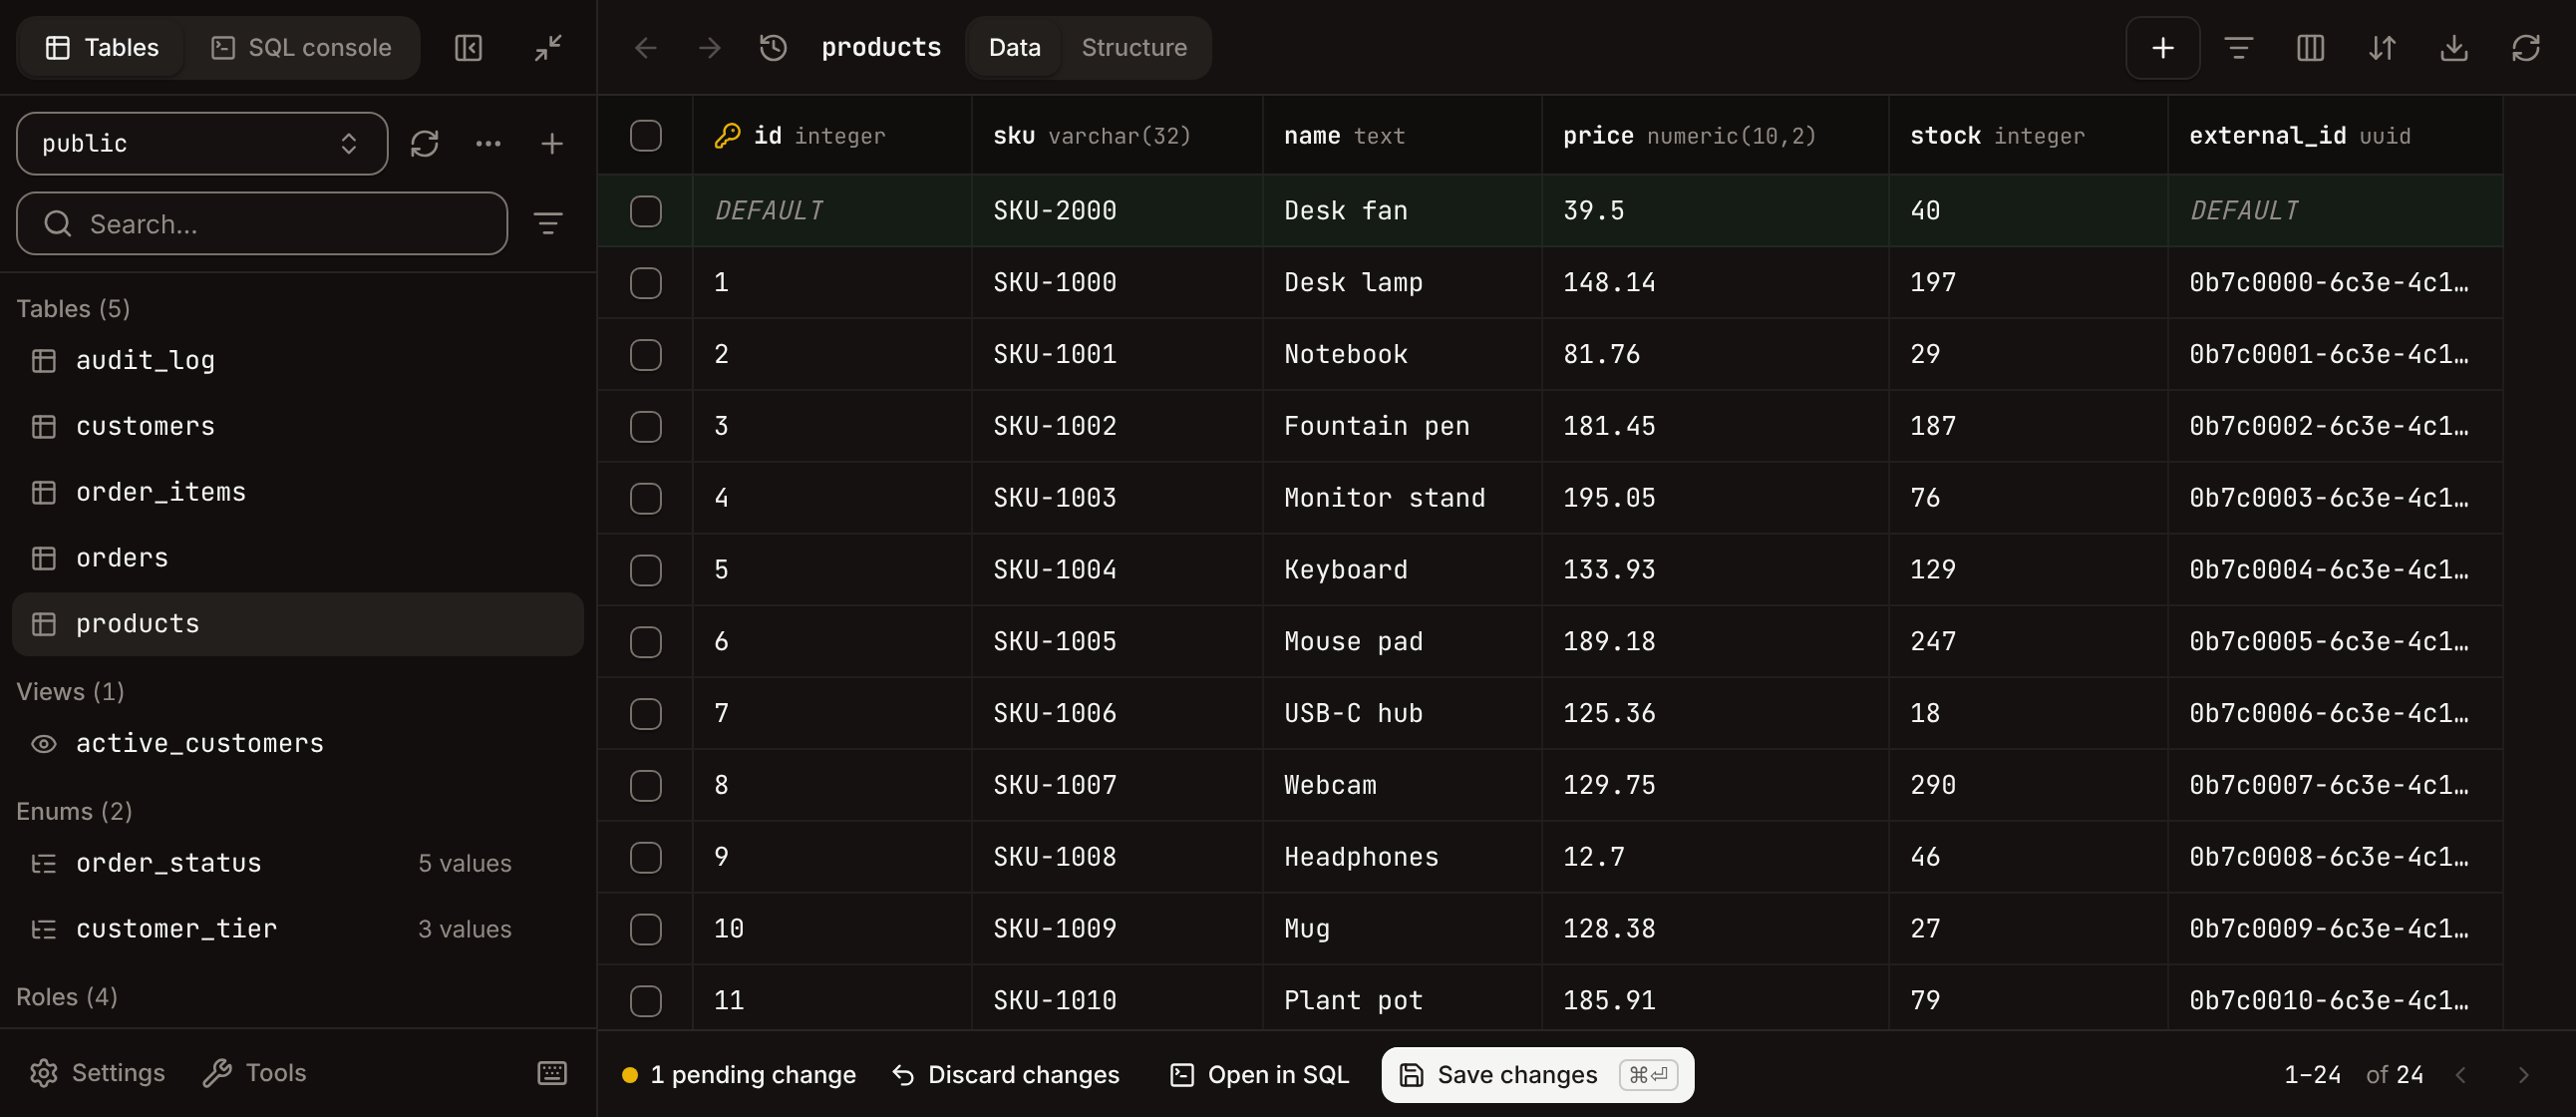
- Edits wait as pending changes. The footer shows the count with Discard changes, Open in SQL (to see the statements) and Save changes (
Cmd+EnterorCmd+S). - On PostgreSQL, Save changes writes every pending change in one transaction: either all of them land or none do, and your edits stay so you can fix the value that failed. On MySQL and MariaDB, changes are saved one statement at a time and the failures are listed.
- A table without a primary key shows Read-only: add a primary key to update or delete rows. You can still add rows.
- In a foreign key cell, click the relation icon (or right-click and choose Show relation) to see the referenced rows below the row.
Run SQL
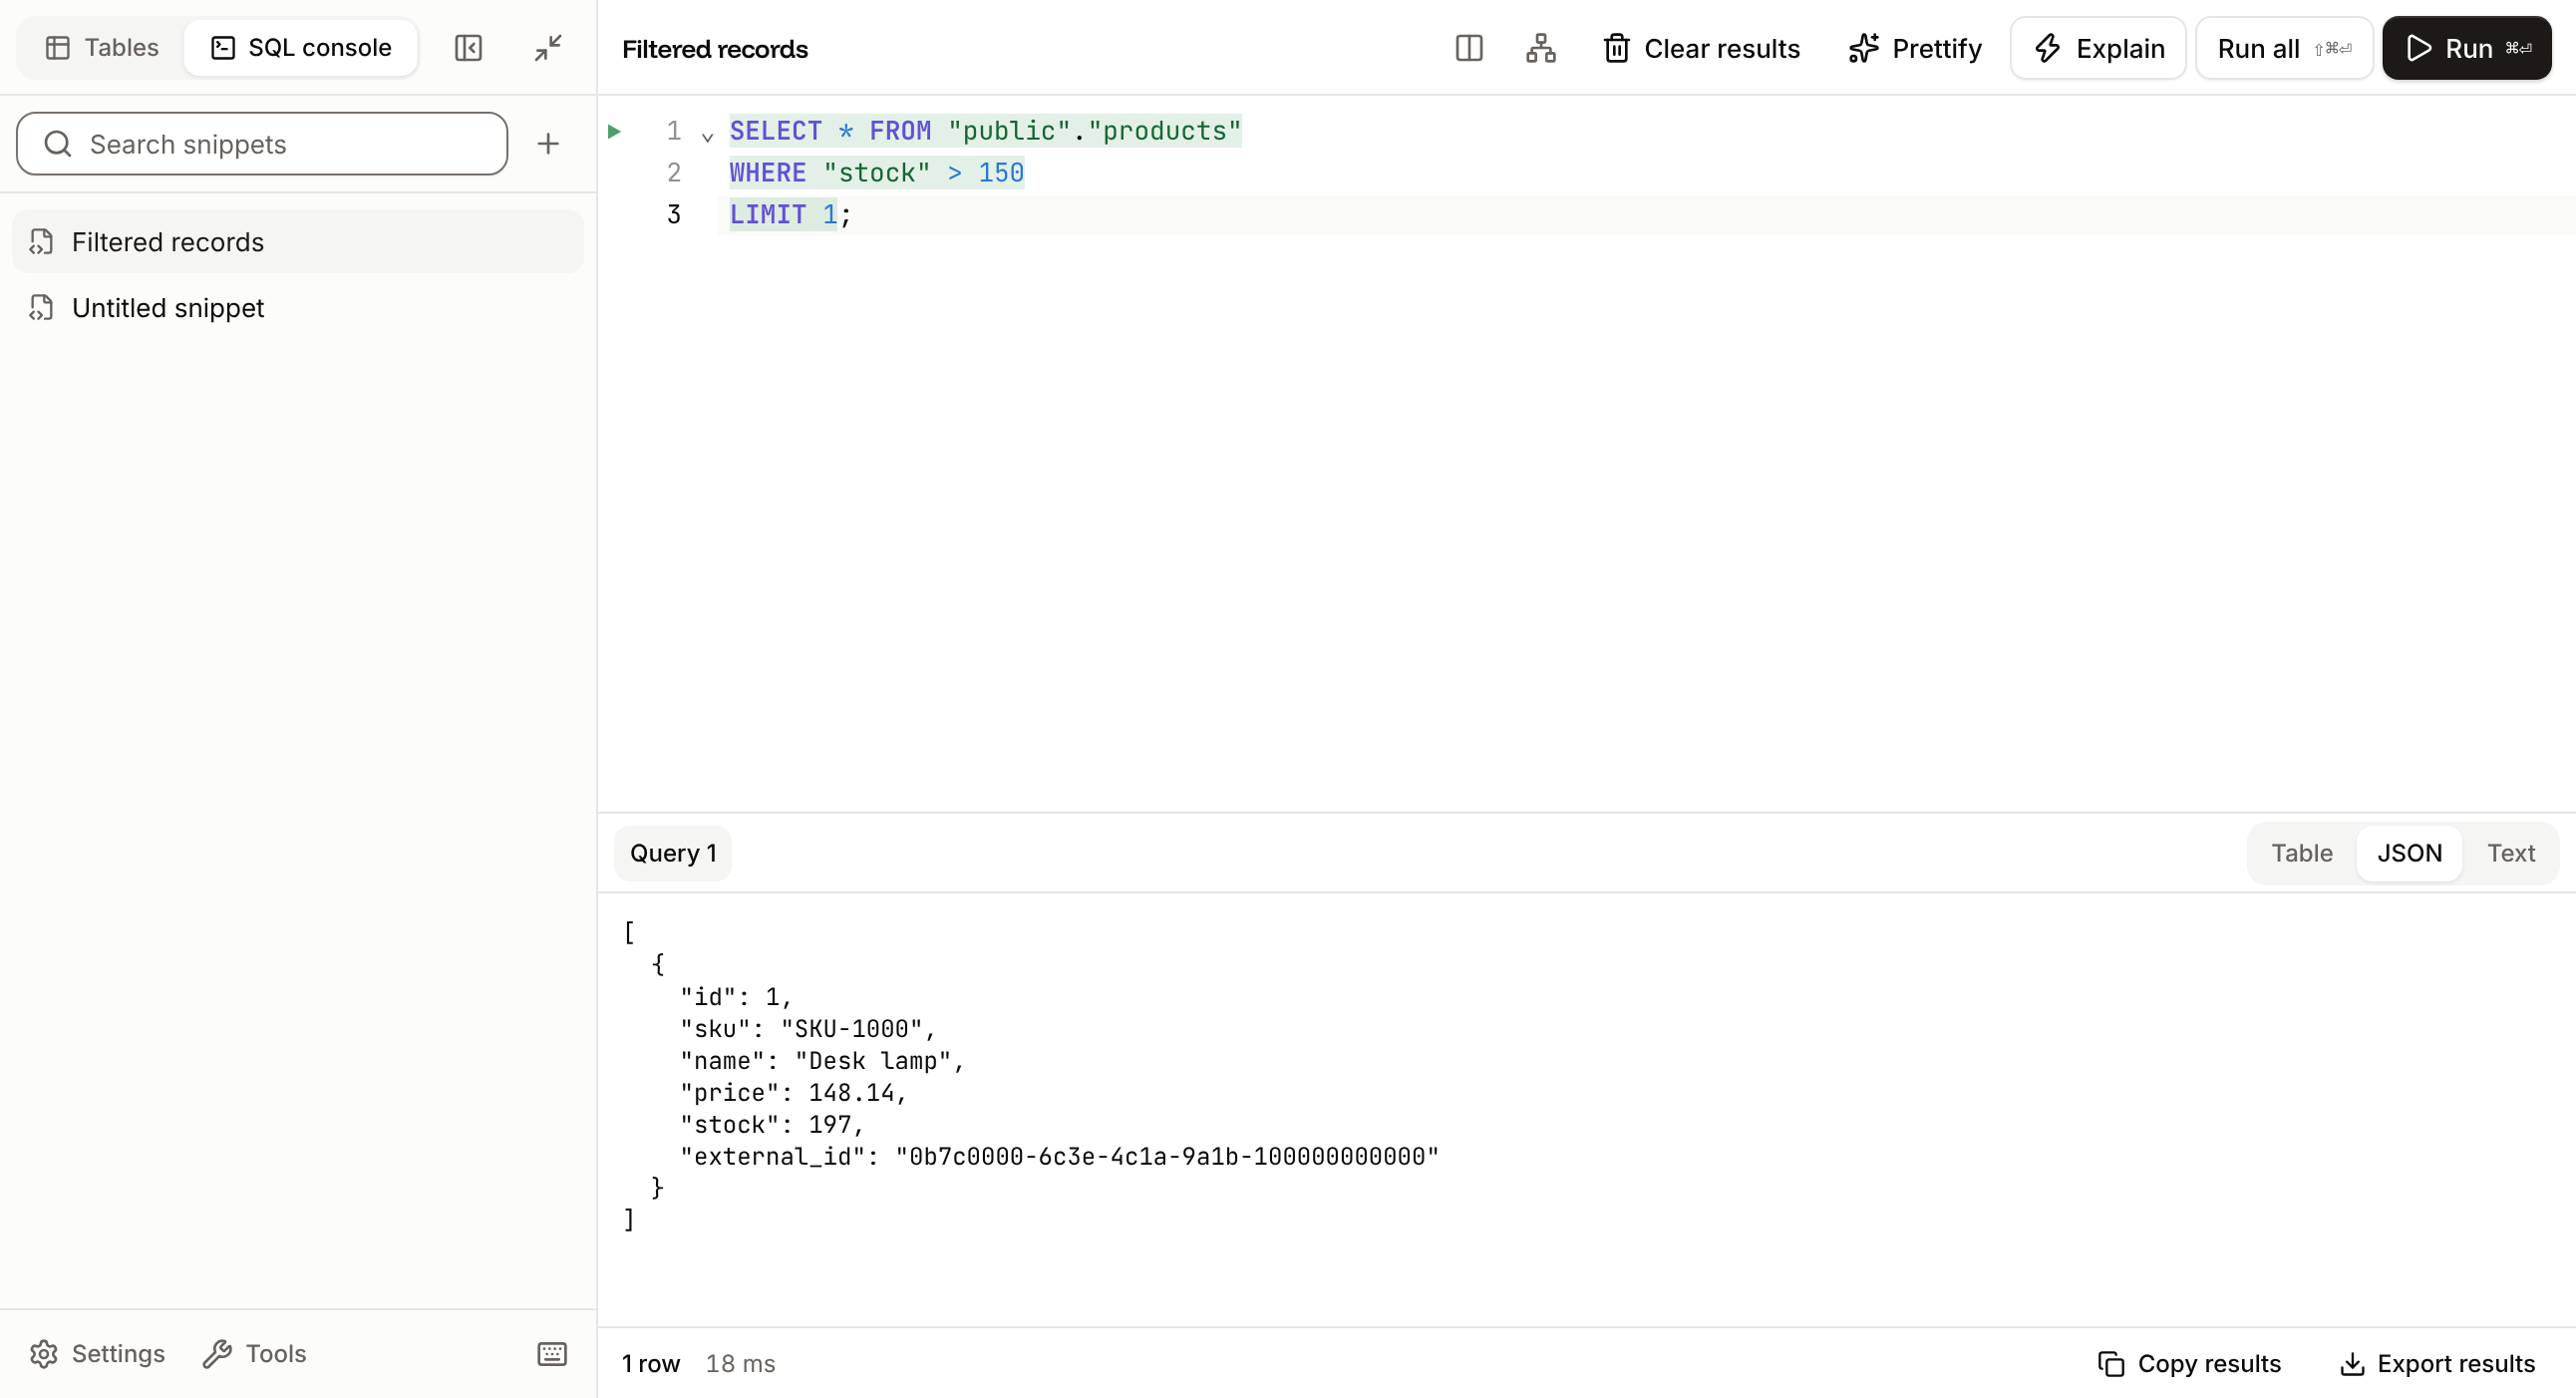
Click SQL console at the top of the sidebar. The sidebar lists your snippets: click the plus icon to Create snippet, Create folder or Import snippets from.sql files.
- Type SQL with autocomplete (
Ctrl+Space). Run (Cmd+Enter) runs the statement at the cursor or the selected statements; Run all (Shift+Cmd+Enter) runs every statement in the editor. Stop cancels a run. - Explain shows the query plan, also as a Chart. Prettify (
Shift+Alt+F) formats the SQL. Clear results empties the results panel. - The schema icon (
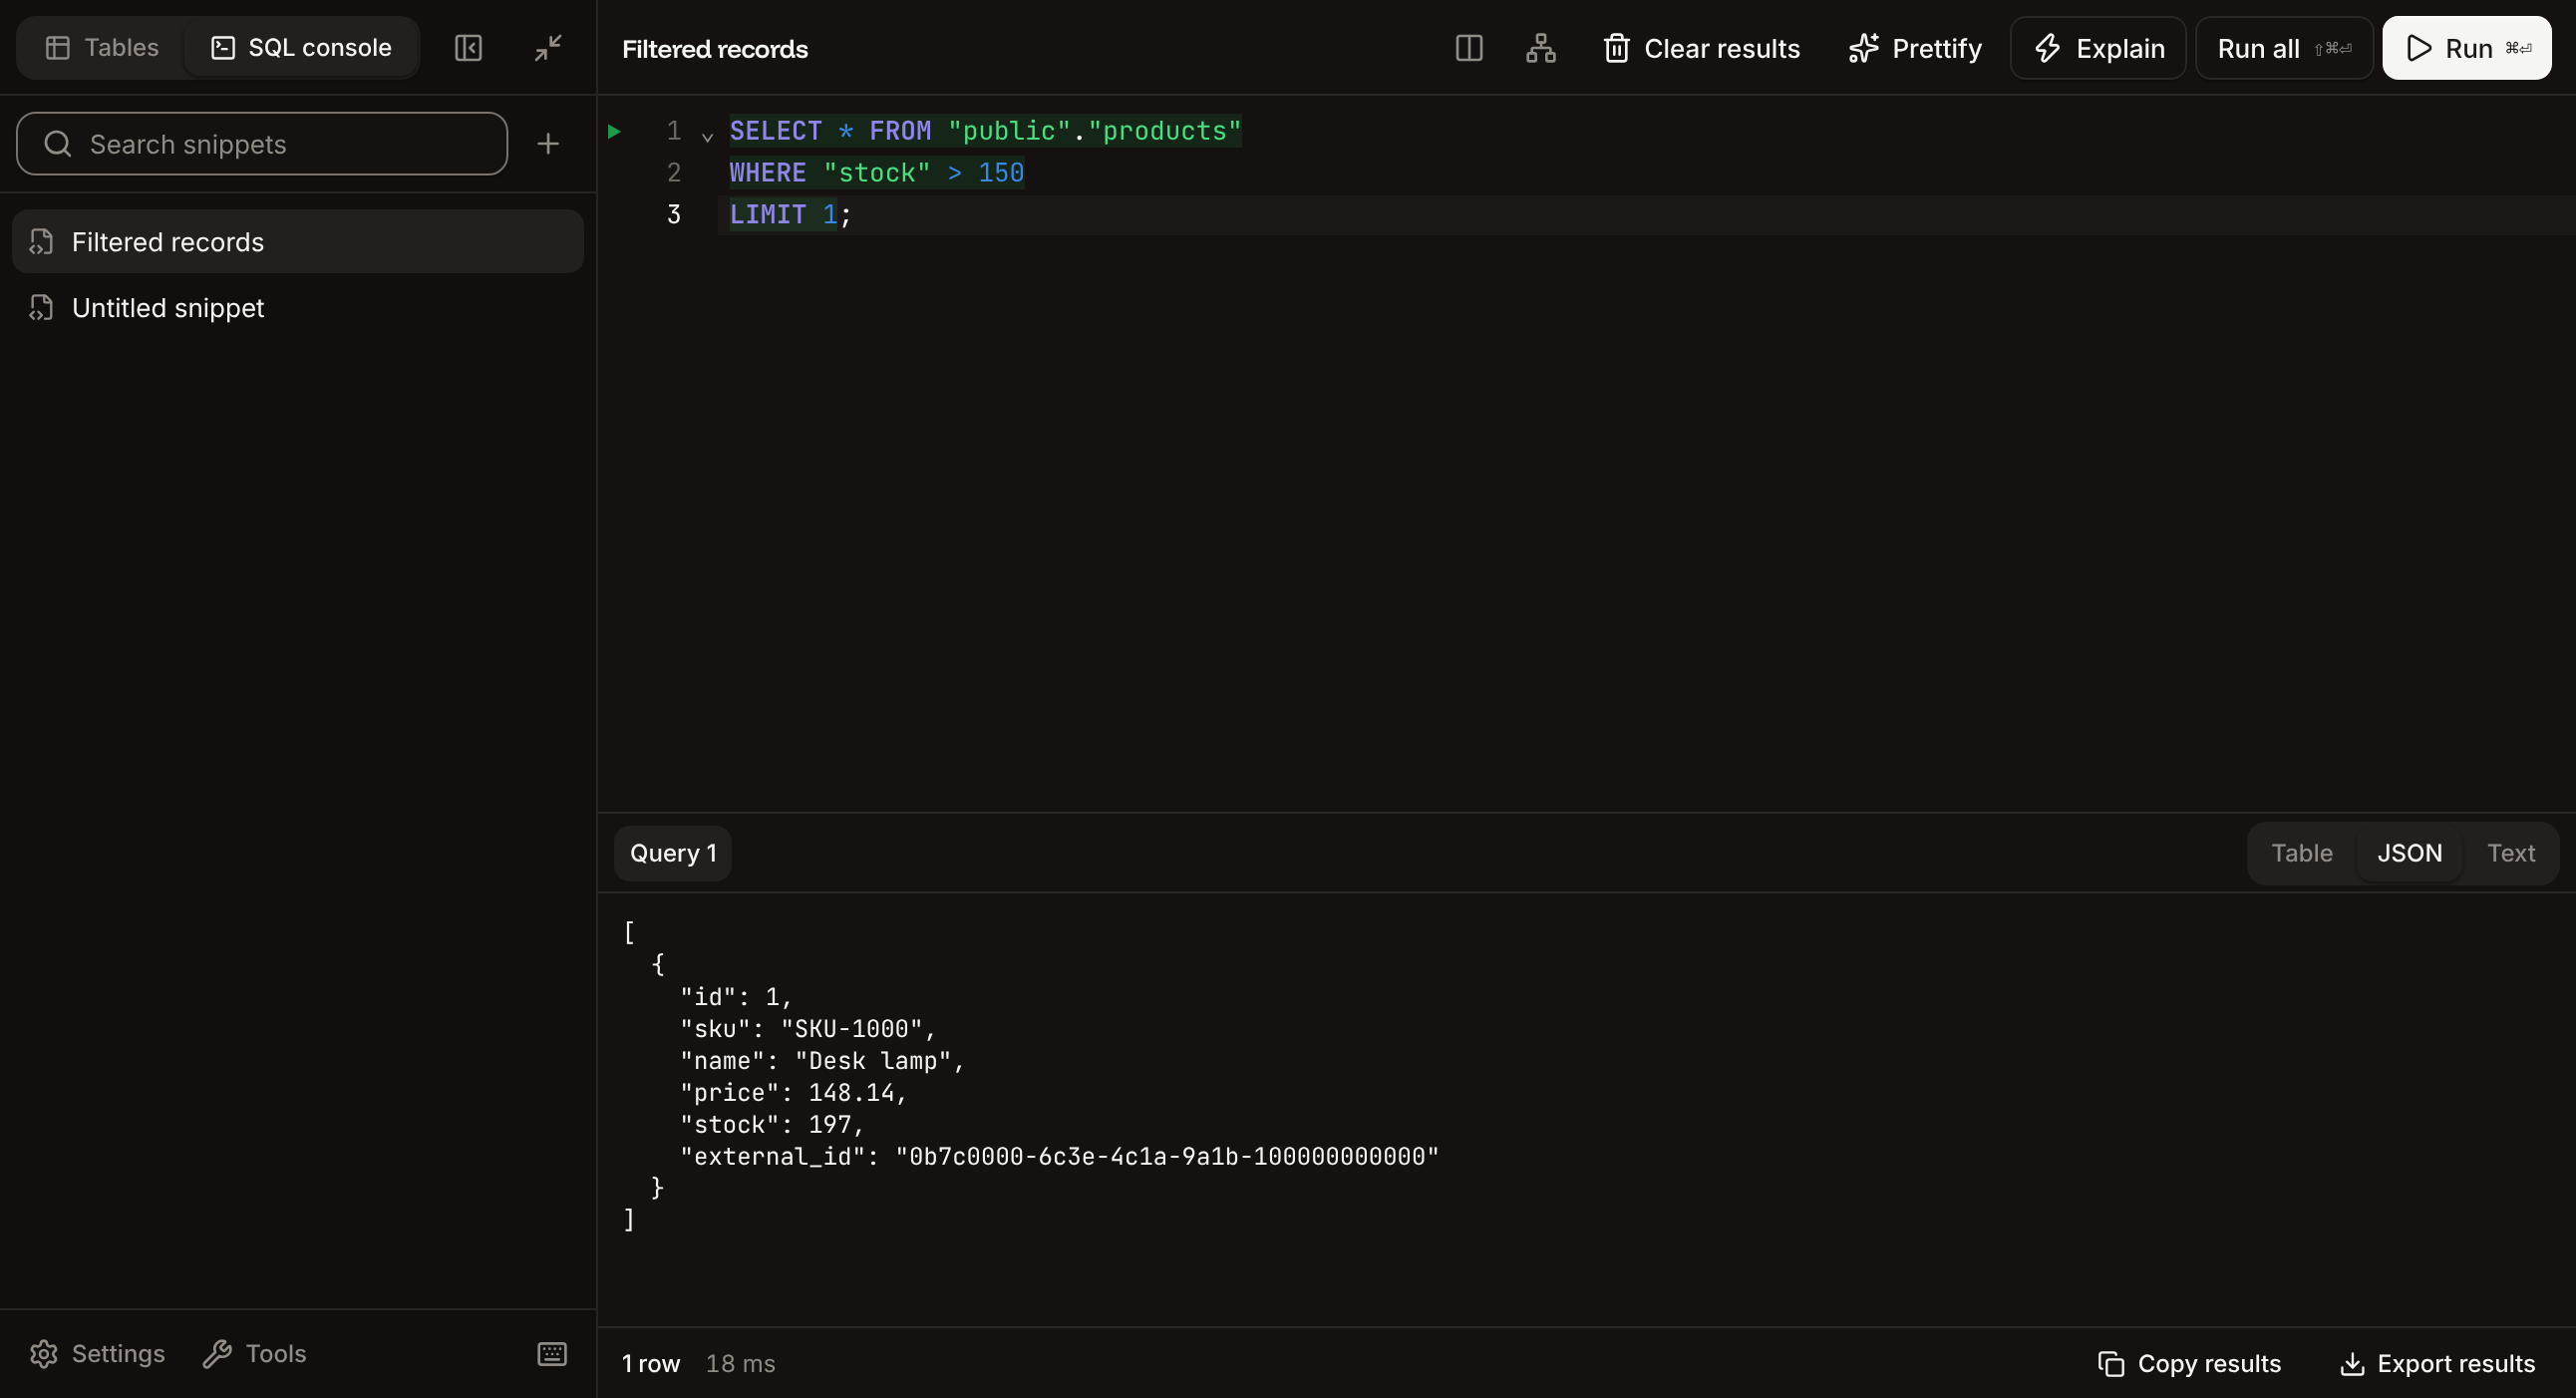
Alt+J) opens the database schema beside the editor; click a table or column to insert its name. - Results show as Table, JSON or Text. Copy results copies them, and Export results saves them as
.json,.csvor.xlsx.
Create tables and views
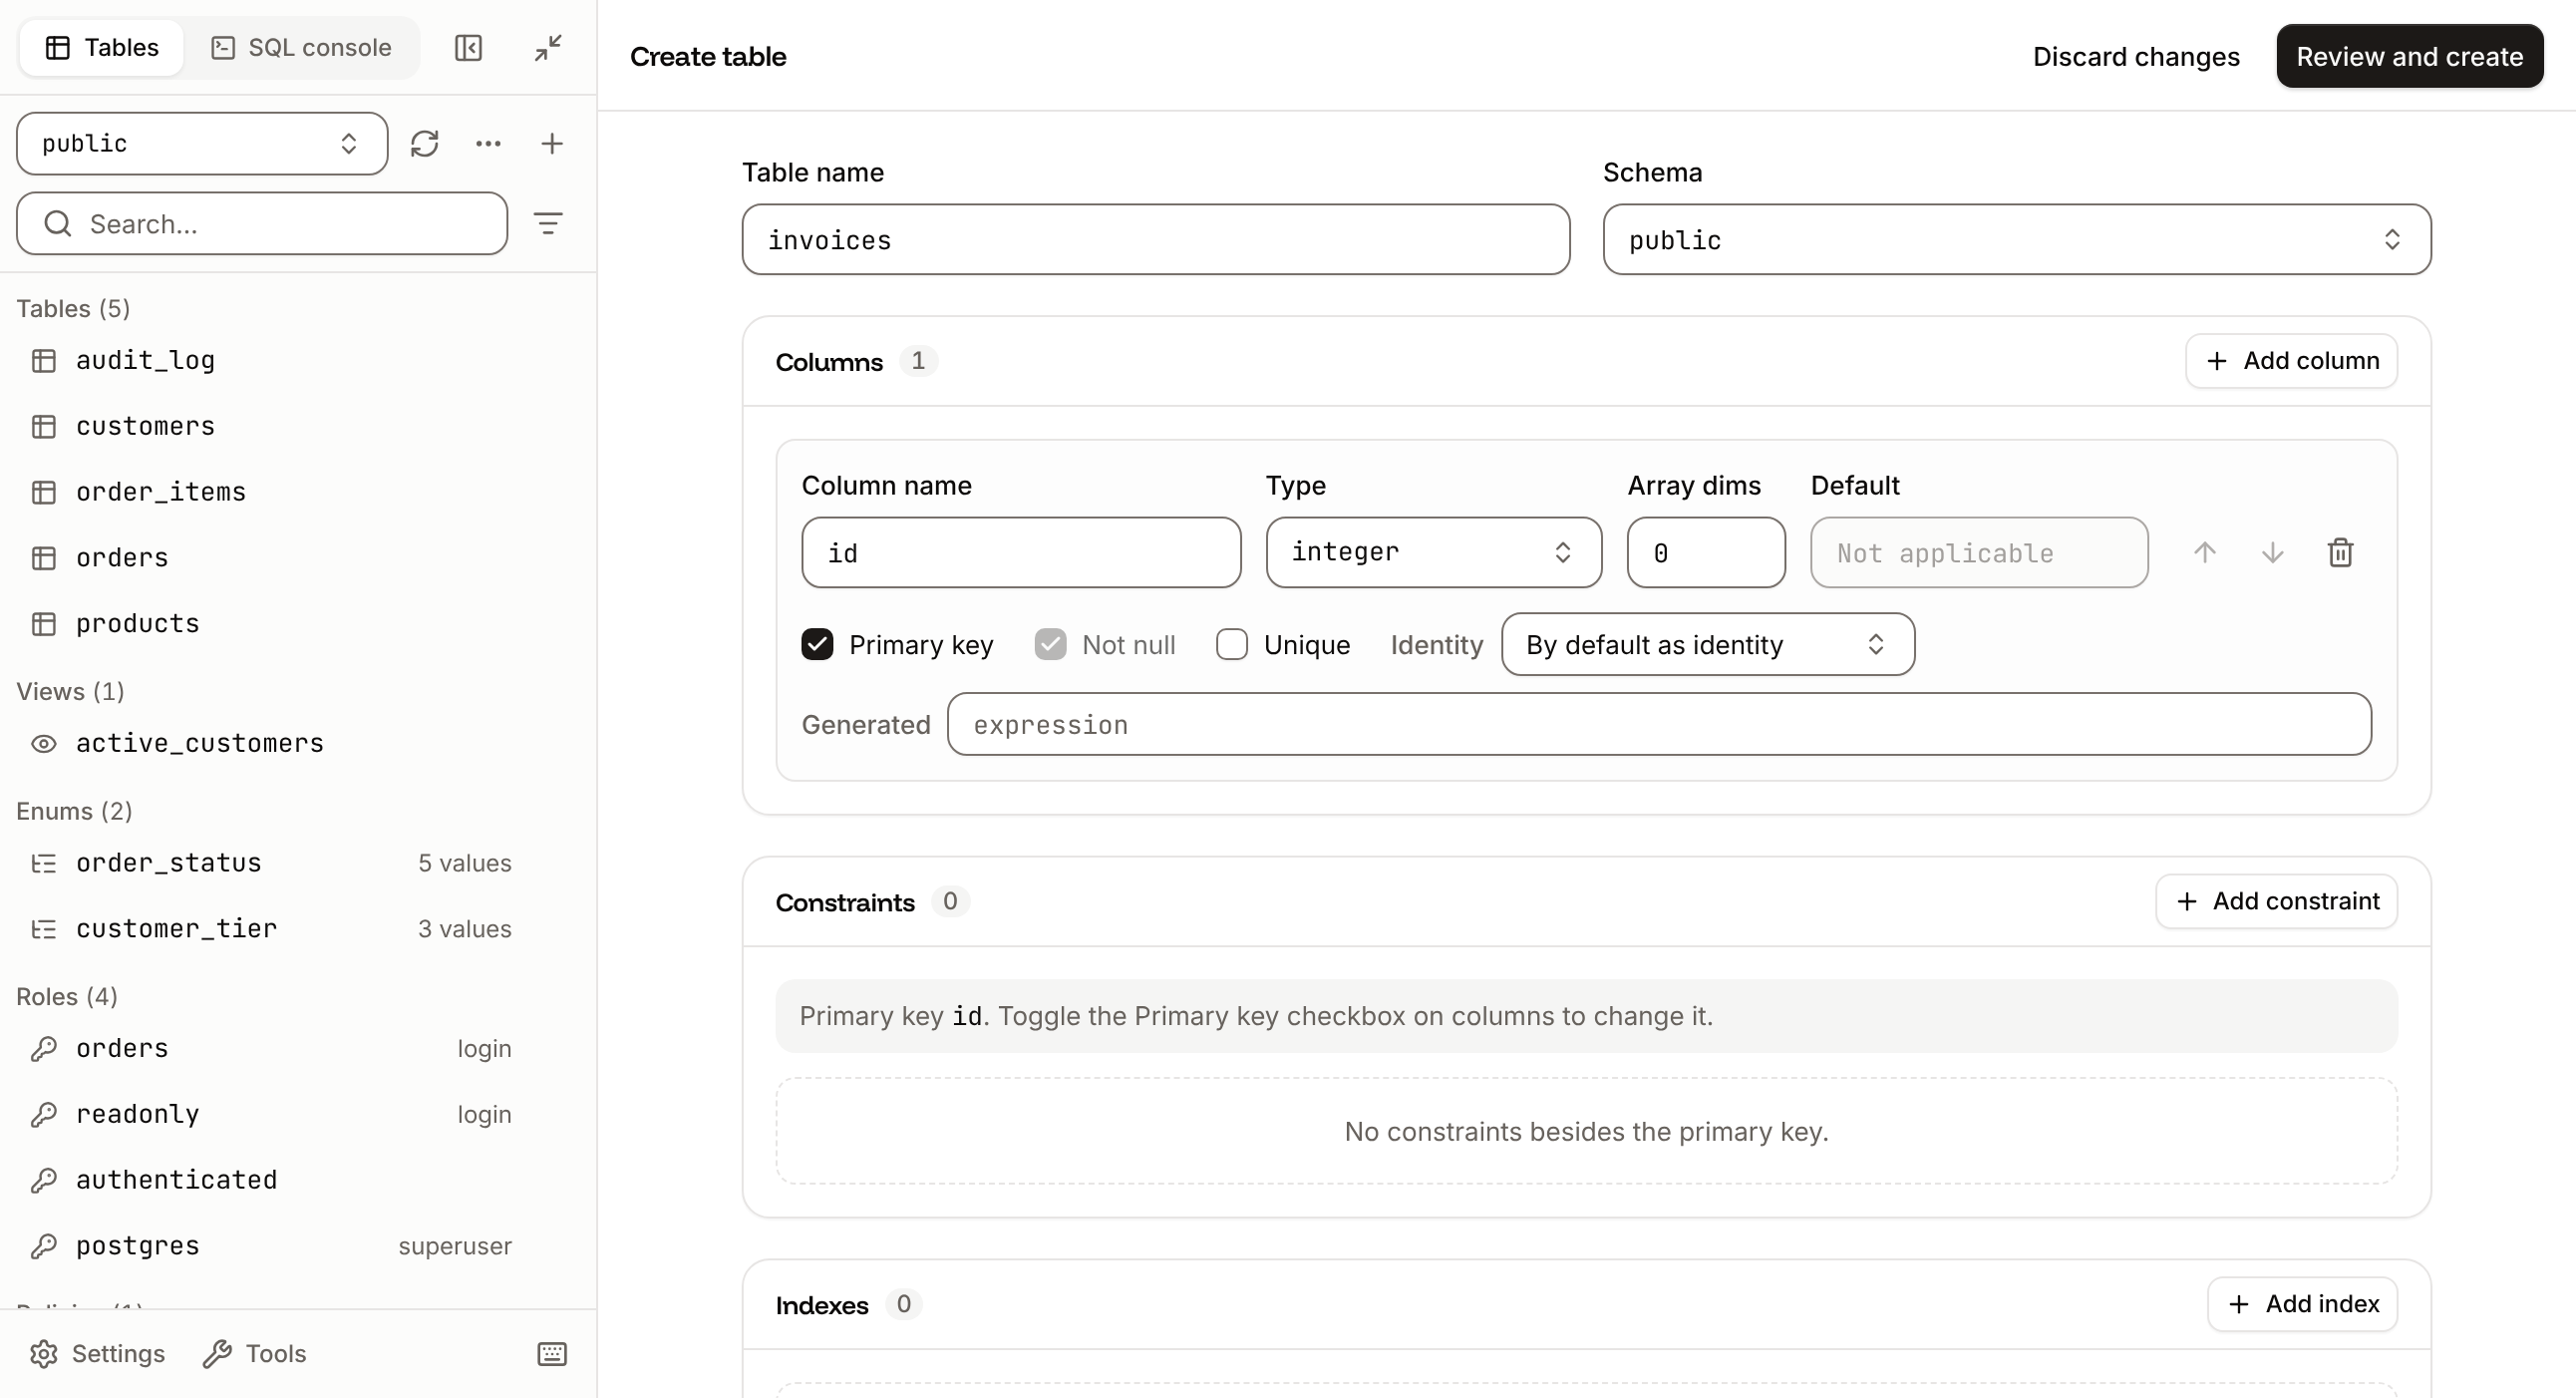
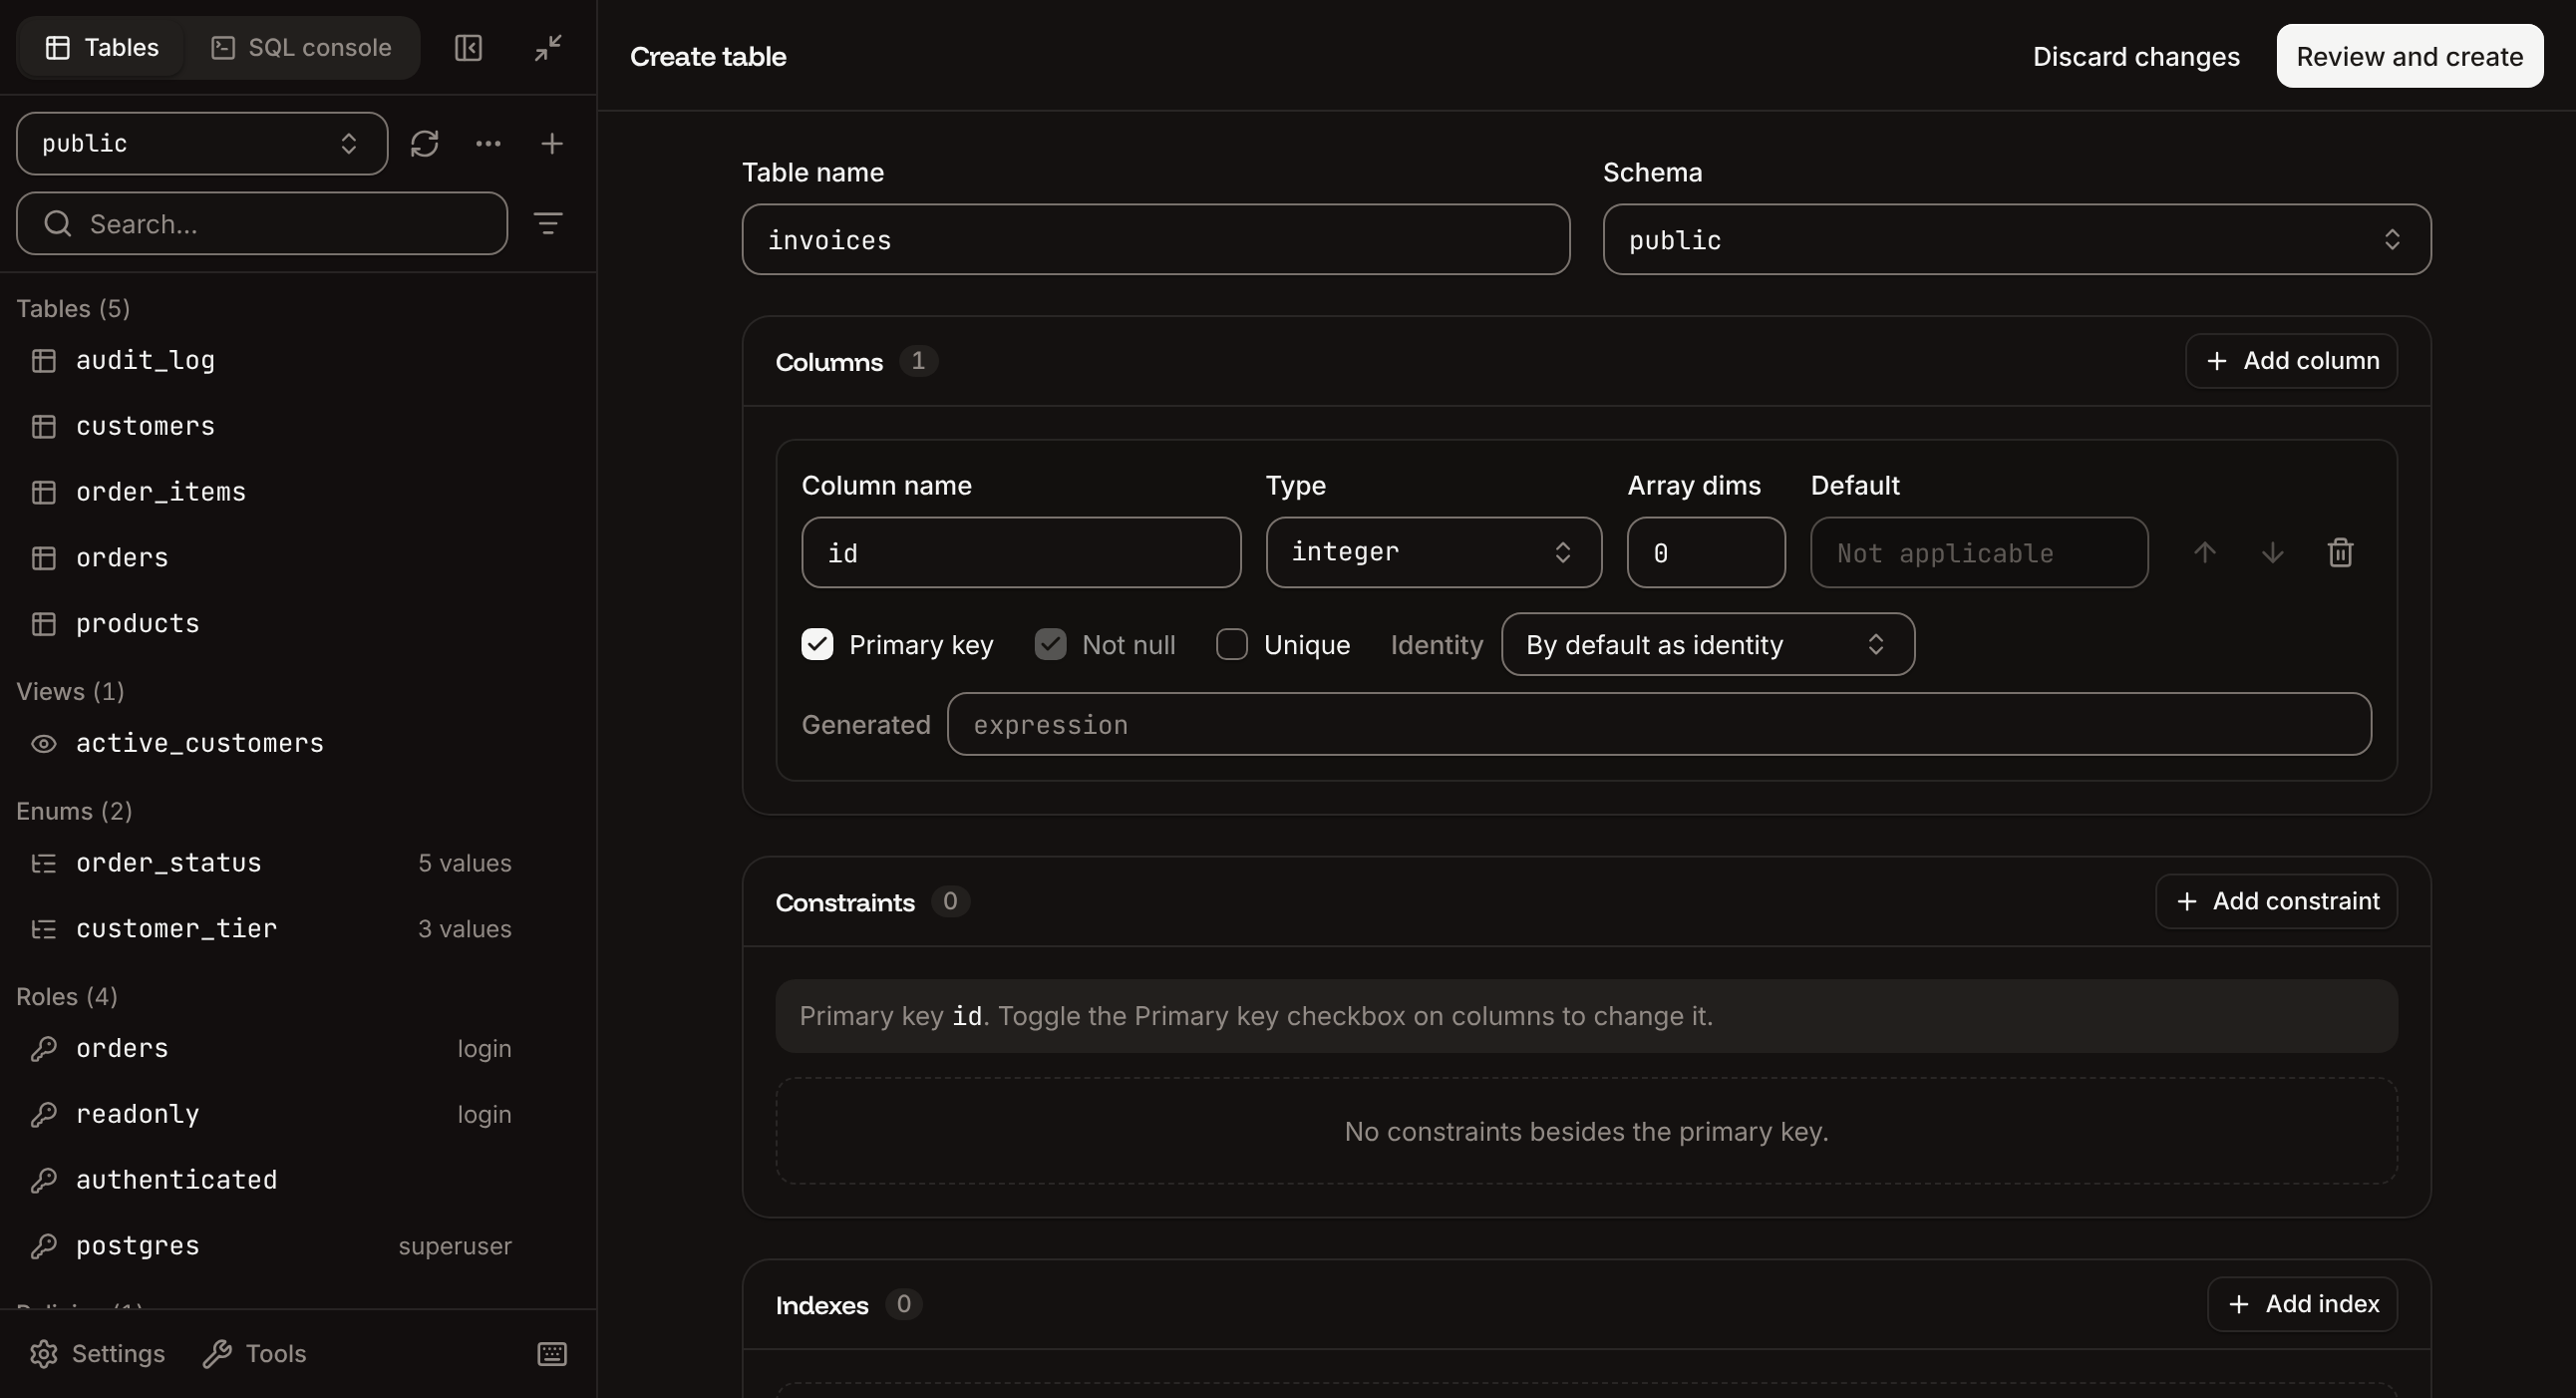
Click the plus icon at the top of the sidebar. It has Create table, Create view, Import CSV and Manage tables, and on PostgreSQL also Create schema, Create enum, Create role and Create policy.- Create table: name the table and add columns (name, type, length or precision, default, generated expression, not null, primary key, identity or auto increment), then constraints (unique, check, foreign keys with on delete and on update rules) and indexes. Click Review and create to see the SQL, then Create table.
- Create view: enter the View name, the Schema, Materialized (PostgreSQL) and the SQL Definition. Create in SQL opens the statement in the console instead. Click Review and create, then Create view.
- To change an existing table or view, choose Alter table or Alter view from its menu. Click Review and commit, then Commit changes.
Import a CSV file
Click the plus icon, then Import CSV, and choose the file. Then choose an action:
Set the Separator, the Quote character and whether the First row contains column names, check the preview and the column types, review the statements, then run them.
Export data
Click Export in the table toolbar. Under All rows, Export all to .json, .csv or .xlsx exports every row that matches the current filters. Under Selected rows, the same formats export only the rows you selected. In the sidebar’s Tools menu, Copy database schema copies the schema’s SQL, and Open database schema shows a diagram of the tables and their relations. For a full copy of the database, use the engine’s dump tool; see Import and export.View the structure of a table
Click Structure in the table toolbar to see the table’s Columns, Constraints, Indexes and the tables that reference it (Referenced by). On PostgreSQL it also shows Row level security and Policies.SQL studio settings
Click Settings at the bottom of the sidebar.Redis studio
The Redis studio is for Redis and Valkey. The sidebar has three pages, Keys, Console and Server, and a Logical database selector (db0, db1 and so on, with each one’s key count).
Browse keys
- The Keys page loads keys page by page with
SCAN, so large keyspaces stay responsive. Scroll to load more; the refresh icon (Cmd+R) rescans. - Filter by pattern, for example
user:*(press/to jump to the filter), and by type: String, Hash, List, Set, Sorted set, Stream or JSON. - Tree view groups key names into folders on the namespace delimiter (
:by default); List view shows a flat list. - Select more than one key with their checkboxes to delete them or set their time to live together.
View and update a key
Click a key to open it. The header shows its type, size, memory and time to live, with Rename key, Duplicate key (on servers with theCOPY command, Redis and Valkey 6.2 and later), Open in console and Delete key in its menu. Click the time to live to set or remove the expiry.
Large collections load page by page.
Add and delete keys
The sidebar’s Tools menu has:- Add key (
Cmd+N): enter the Key name, pick the Type, enter the value (collections need at least one element) and an optional TTL in seconds. - Delete keys by pattern: enter a pattern such as
session:*. Keys are deleted in batches of 200; click Stop to end early. - Copy loaded key names, Export loaded keys to .csv and Export loaded keys to .json, for the keys loaded so far.
Run commands
The Console page runs commands as inredis-cli, one per line, against the selected logical database.
- Run (
Cmd+Enter) runs the current line or the selection; Run all (Shift+Cmd+Enter) runs every line. Command names autocomplete as you type. - The sidebar keeps a searchable history of your commands and a reference of commands by group.
- Protocol switches between RESP3 (maps as objects, doubles as numbers) and RESP2 (flat arrays of strings). Reply format switches between CLI and JSON.
- Destructive commands such as
FLUSHALL,FLUSHDB,DEBUGandSHUTDOWNask Run a destructive command? first; click Run anyway to go ahead. - To work in another logical database, use the selector instead of
SELECT. Commands that keep a connection open, such asSUBSCRIBEandMONITOR, don’t work in the console. - On databases in Google Cloud locations, the
CONFIGcommand is turned off.
Inspect the server
The Server page has four sections:
Turn on Auto refresh to reload the page every 5 seconds.
Redis studio settings
Click Settings at the bottom of the sidebar.Keyboard shortcuts
PressCmd + Shift + ? (Ctrl + Shift + ? on Windows and Linux) to see them in the studio.
In the data grid, the arrow keys move between cells,
Shift and the arrow keys extend the selection, Enter edits a cell, Tab commits and moves on, and Esc cancels. On Windows and Linux, use Ctrl for Cmd.