

How the Bitbucket connection works
Connect Bitbucket
1
Start from a repository picker
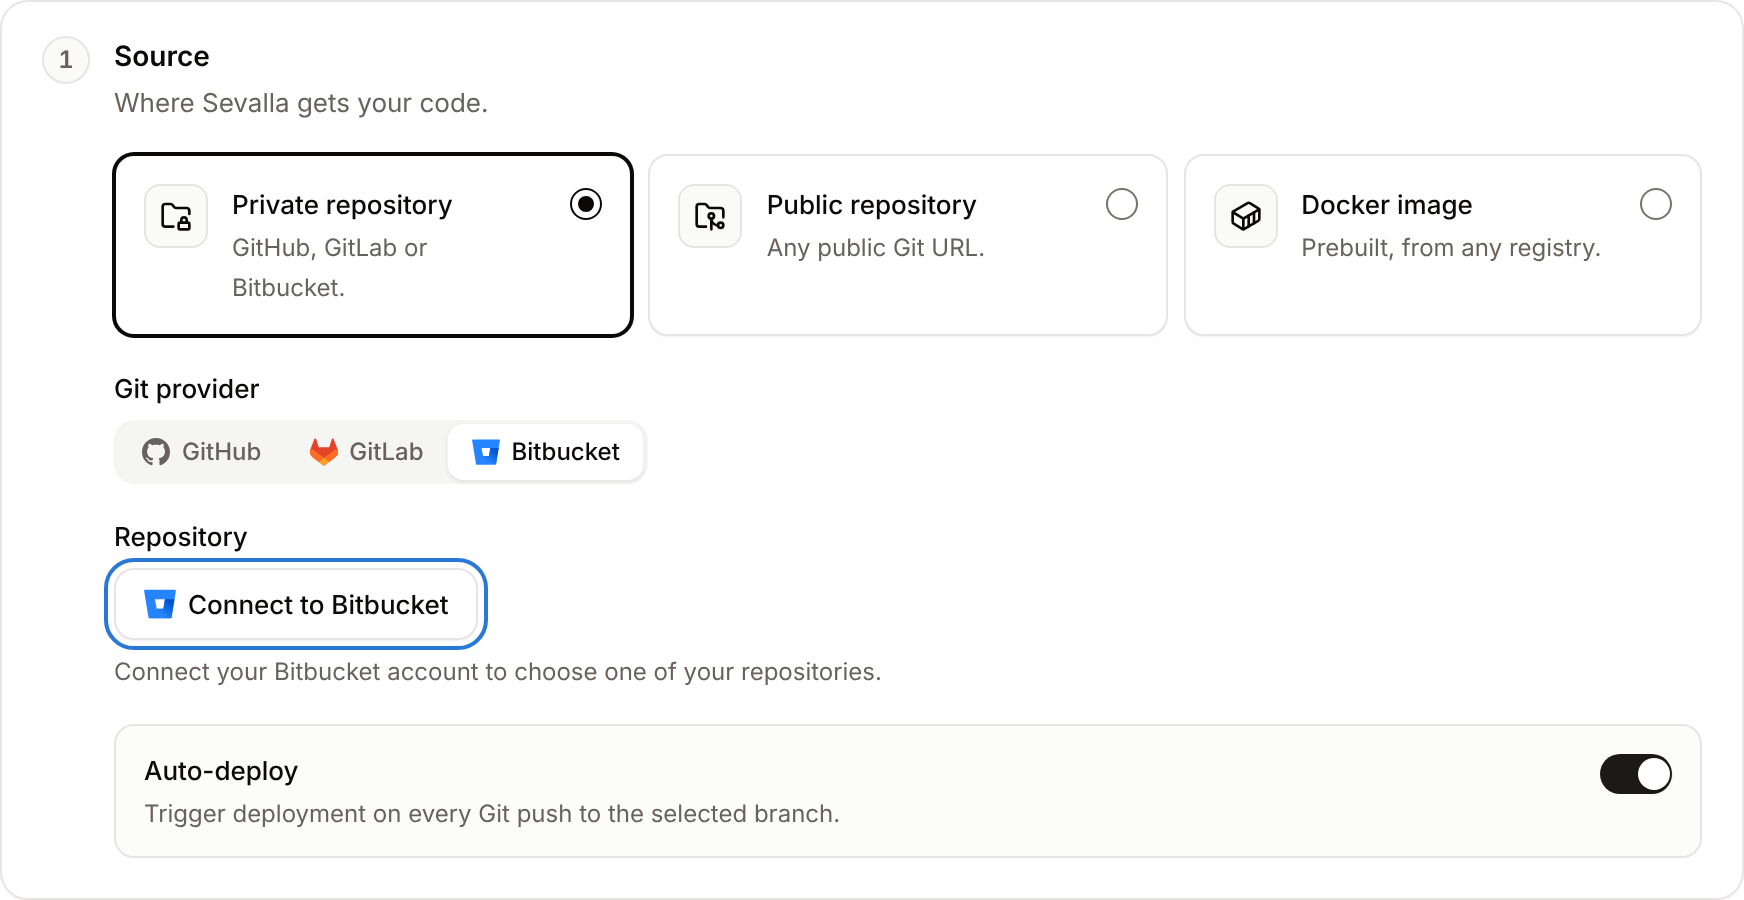
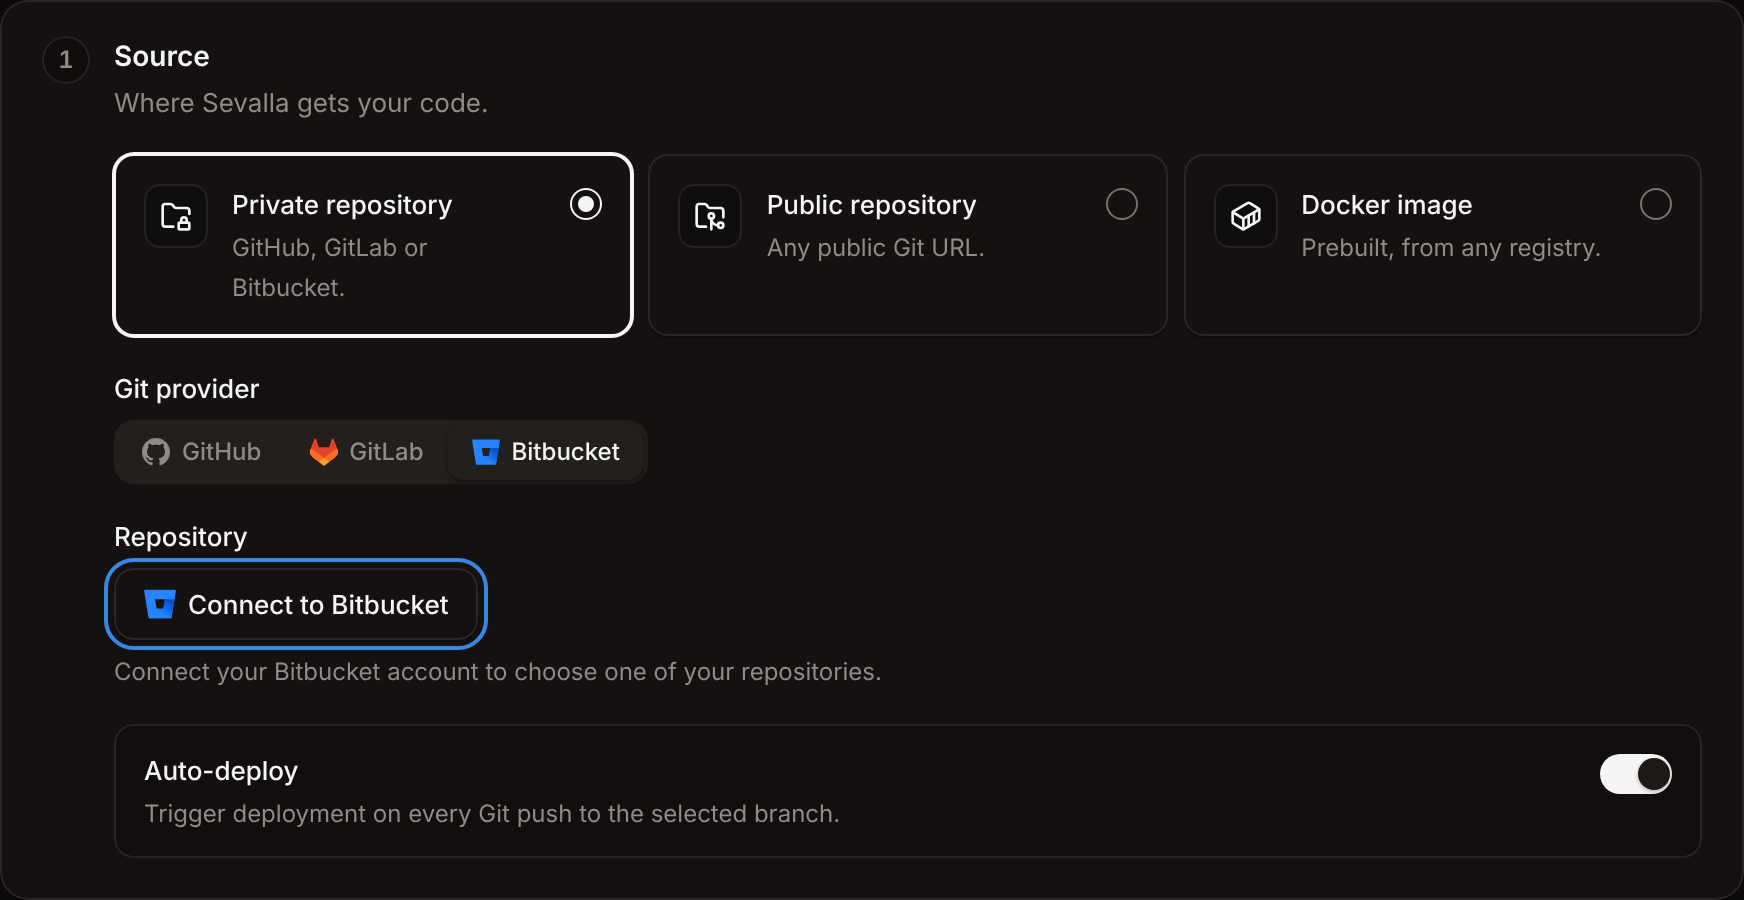
In the sidebar, click Applications, then click Create and Application. Under Source, keep Private repository, pick Bitbucket, then click Connect to Bitbucket. The same button shows when you create a static site or set up preview apps.
2
Grant access on Bitbucket
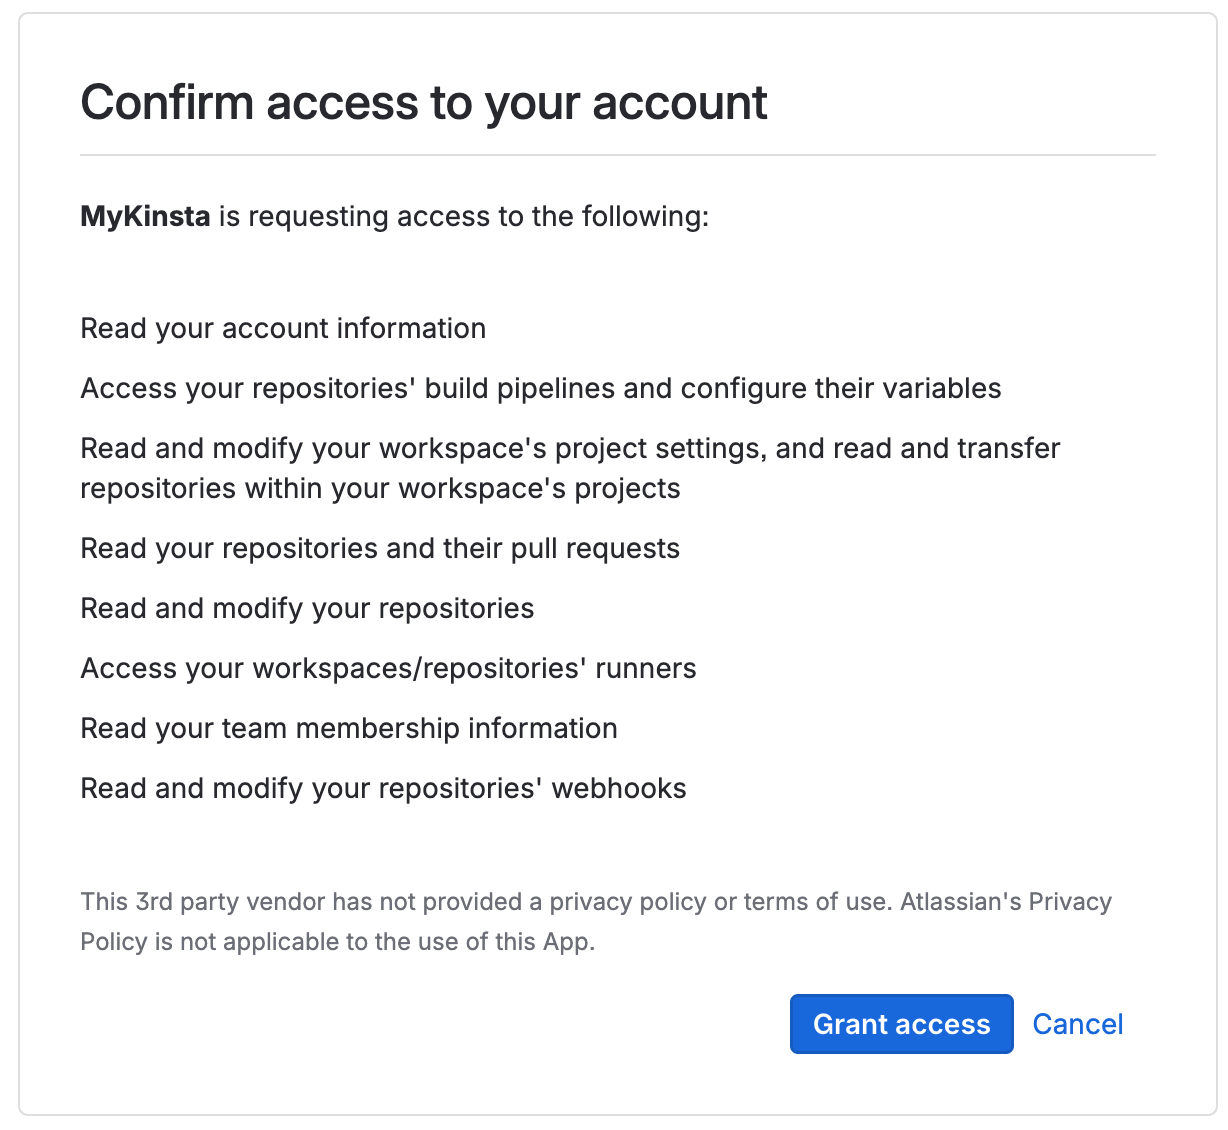
In the new tab, sign in to Bitbucket if needed. On Confirm access to your account, click Grant access.
3
Go back to Sevalla
Return to the Sevalla tab. It picks up the connection on its own; if it doesn’t, click Check again.
Automatic deployments and the webhook
When you turn on automatic deployments for a service, or preview apps for a pipeline, Sevalla adds a webhook to the Bitbucket repository, or updates the one it added earlier. You can see it in the repository’s Repository settings > Webhooks. Don’t delete it: without it, pushes and pull requests don’t reach Sevalla.Bitbucket lets only repository admins add webhooks. At least one Sevalla user with admin permission on the repository must have connected Bitbucket, or the webhook isn’t added and pushes don’t deploy.
Pull request preview apps
The preview app’s status and link are posted as a comment on the pull request. Bitbucket doesn’t get deployment statuses from Sevalla.
Limitations
Bitbucket pushes don’t include the list of changed files, so deploy paths can’t filter them:Disconnect Bitbucket
1
Revoke in Sevalla
In the user menu, click My account. In Git login & repository access, click Revoke on Bitbucket’s Repository access line, then Revoke in the dialog.
2
Revoke on Bitbucket
If Bitbucket’s Login is disabled too, Sevalla opens Bitbucket’s App authorizations page (
https://bitbucket.org/account/settings/app-authorizations/). Click Revoke next to MyKinsta.If a repository is missing
For deployments that fail because a repository isn’t available anymore, see Troubleshoot builds and deployments.