

How preview apps work
When you turn on preview apps, the pipeline gets a preview stage, shown as the Preview column first on the board. You set once what every preview app gets: the repository, location, build strategy, processes, disks, TCP proxies and environment variables. Each preview app is then a regular application built from those settings, with its own Deployments, Logs and other tabs.
Each deployment of a pull request’s preview app updates one comment on the pull request, on GitHub, GitLab and Bitbucket alike: Preview deployments for the preview app, with its status (deploying, ready, failed or cancelled), a Visit preview link once it’s ready, the commit, the deployment ID and the application name. On GitHub, each deployment also shows as a GitHub deployment in the
Preview environment.
Names and addresses
A pull request’s preview app is namedpr-<number>- followed by the pipeline’s name, and a branch preview app branch-<branch>- followed by the pipeline’s name. Sevalla shortens the name to 27 characters and adds a random suffix, and serves the preview app on <name>.sevalla.app. For example, pull request #42 of the pipeline storefront-a1b2c becomes pr-42-storefront-a1b2c-x7k2m.sevalla.app.
Preview apps belong to the pipeline’s project and run in the location of the preview settings.
What preview apps cost
Preview apps are billed like any other application, for as long as they exist: see Pricing. Three settings keep the cost down: hibernation (on by default) scales a preview app to zero when it gets no traffic, Delete stale preview apps automatically deletes forgotten ones, and the smallest instance size is the default for the web process.Before you begin
- A valid payment method. Without one, Sevalla refuses with
No valid payment method found. Add one at https://app.sevalla.com/billing/payment-methods to continue. - A Git account connected to your Sevalla user, with access to the repository the preview apps build from. Preview apps build from GitHub, GitLab or Bitbucket repositories, not from public repository URLs or Docker images.
- Permission to update applications in the pipeline’s project (or company). Creating preview apps also needs permission to create applications.
Enable preview apps
1
Open the settings
In the sidebar, click Applications, then click the pipeline. In the Preview apps card, click Enable preview apps, or open Pipeline actions (⋯) and click Enable preview apps.
2
Choose when preview apps come and go
In Pull requests, select Automatically create preview apps for each pull request to get one per pull request without clicking. Keep Delete stale preview apps automatically selected and pick how many days without a deployment make a preview app stale.
3
Pick the repository
In App settings, pick the Git provider. If your account isn’t connected yet, click Connect to provider and authorize Sevalla in the new tab. Then pick the Repository.
4
Set the build and location
Pick the Location and the Build type, and adjust the build path or Dockerfile fields if your application isn’t at the repository root. See App settings.
5
Set what each preview app runs
In Processes, enter the web process’s Start command and Port, and add a Worker, Job or Cron if the application needs them. Add disks, TCP proxies and environment variables in their sections if needed.
6
Turn them on
Click Enable preview apps.
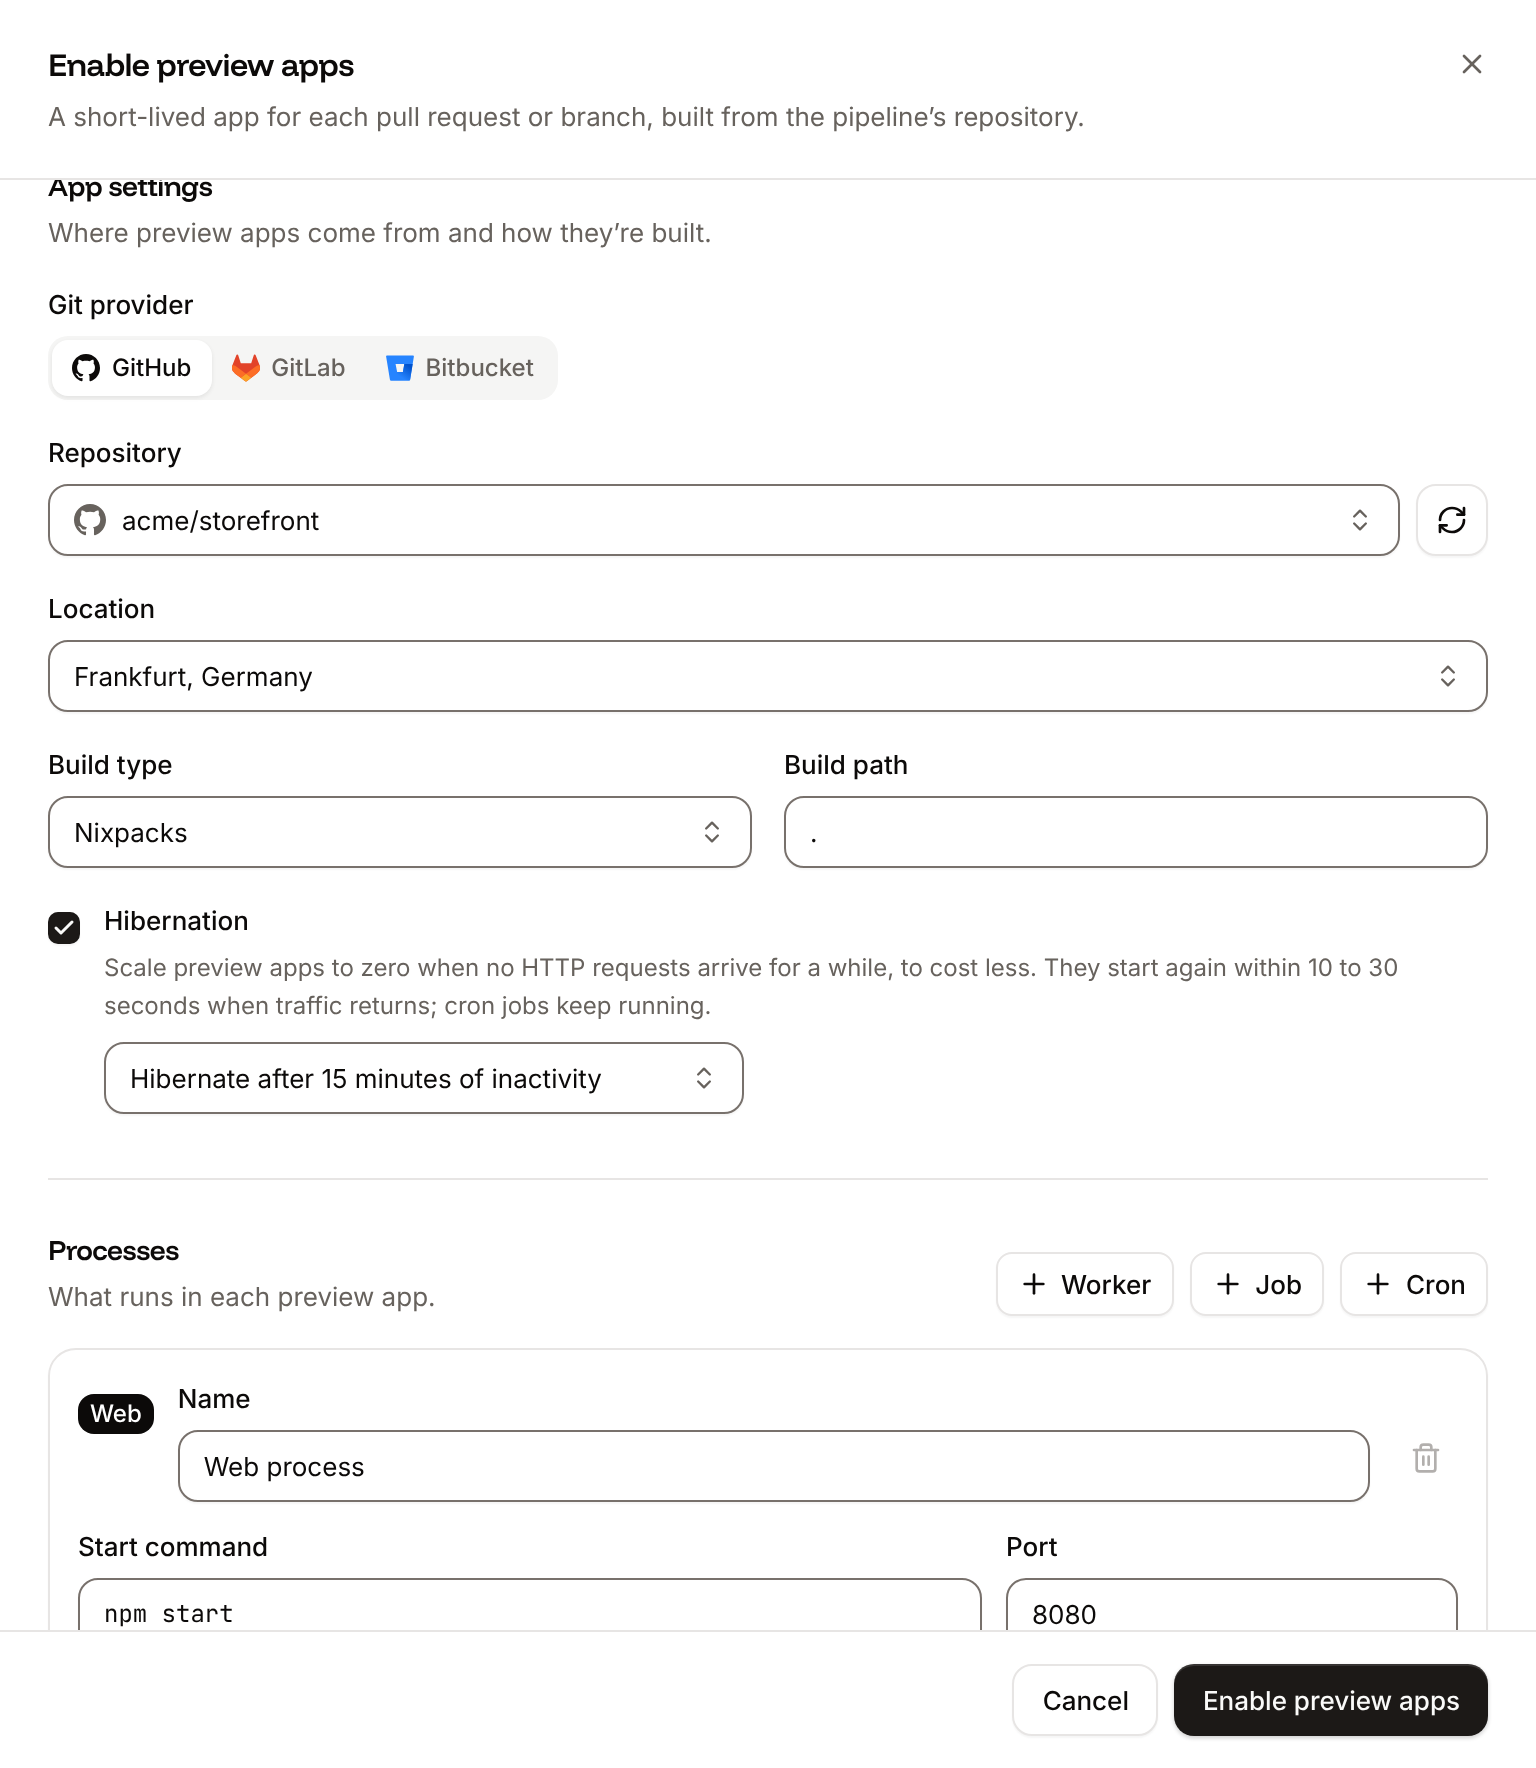
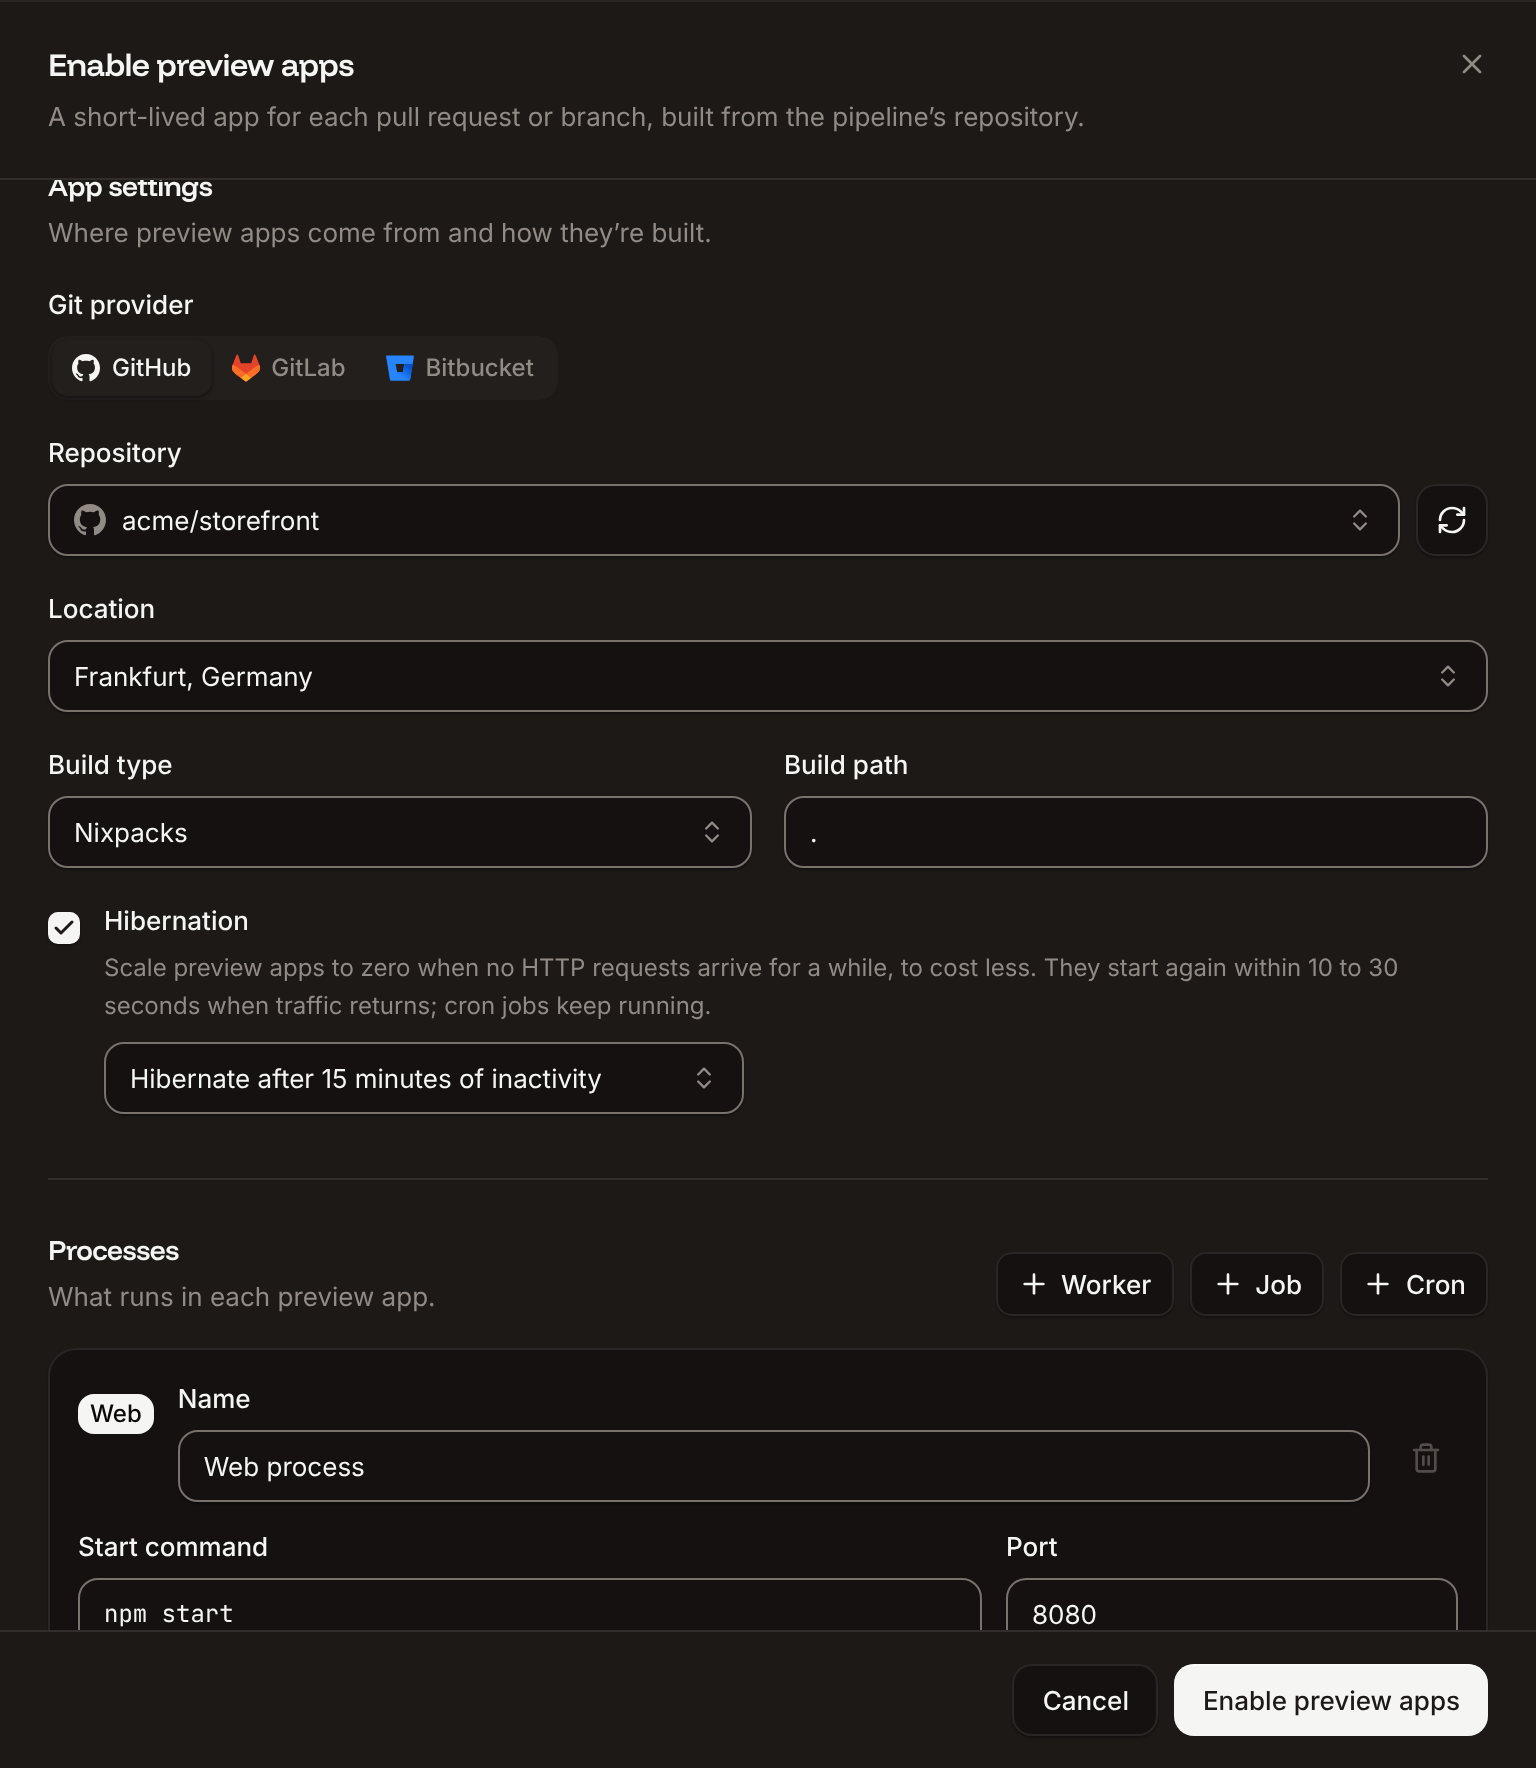
Preview app settings
These settings apply to preview apps created after you save them. Preview apps that already exist keep the configuration they were created with: change one on its own tabs, or delete it and create it again.Pull requests
App settings
Processes
Every preview app has one web process, named Web process by default, which you can’t delete. Worker, Job and Cron add a background worker, job or cron job. Each process runs one instance.Disks
A disk gives a web or worker process persistent storage. For each of these processes, turn on its switch, then set the Mount path (default/var/lib/data) and the Size. See Persistent storage.
TCP proxies
A TCP proxy makes a web or worker process reachable over TCP. Click Add TCP proxy, pick the Process, enter the Port (1 to 65535, default8080), and turn on Public to reach it from the internet; off, it’s private. A preview app can have up to 3 TCP proxies by default. See Networking.
Environment variables
Click Add variable and enter a Key and Value, or click Import .env, or paste the content of a.env file into a key field. Every variable is available when the preview app builds and when it runs. A row with a value needs a key (Key is required); empty rows are dropped. Each preview app gets its own copy, which you can change on its Environment variables tab. See Environment variables.
Update preview app settings
1
Open the settings
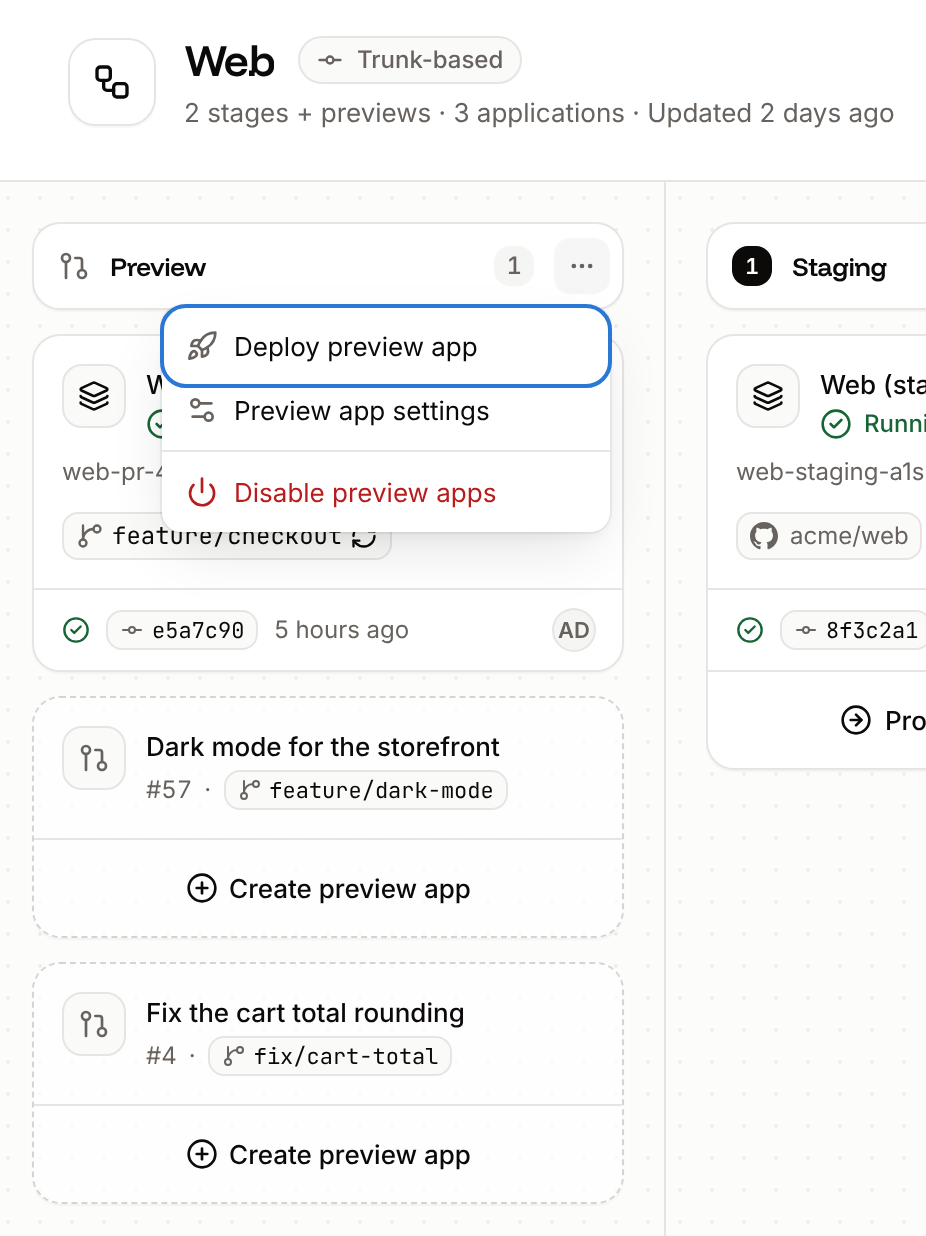
On the pipeline board, open the Preview column’s ⋯ menu, or Pipeline actions (⋯), and click Preview app settings.
2
Change them
Update any section. Changing the repository makes the next preview apps build from the new one.
3
Save
Click Update preview settings.
Create a preview app for a pull request
On the pipeline board, find the pull request’s card in the Preview column and click Create preview app. Use it for pull requests opened before you turned on automatic creation, or when automatic creation is off. The card turns into the preview app’s card, and its first deployment starts. When the deployment finishes, open the preview app from its address on the card, or from Visit preview in the pull request’s comment. Sevalla refuses withPull request <number> not found if the pull request is gone.
Deploy a branch as a preview app
1
Open the Deploy preview app sheet
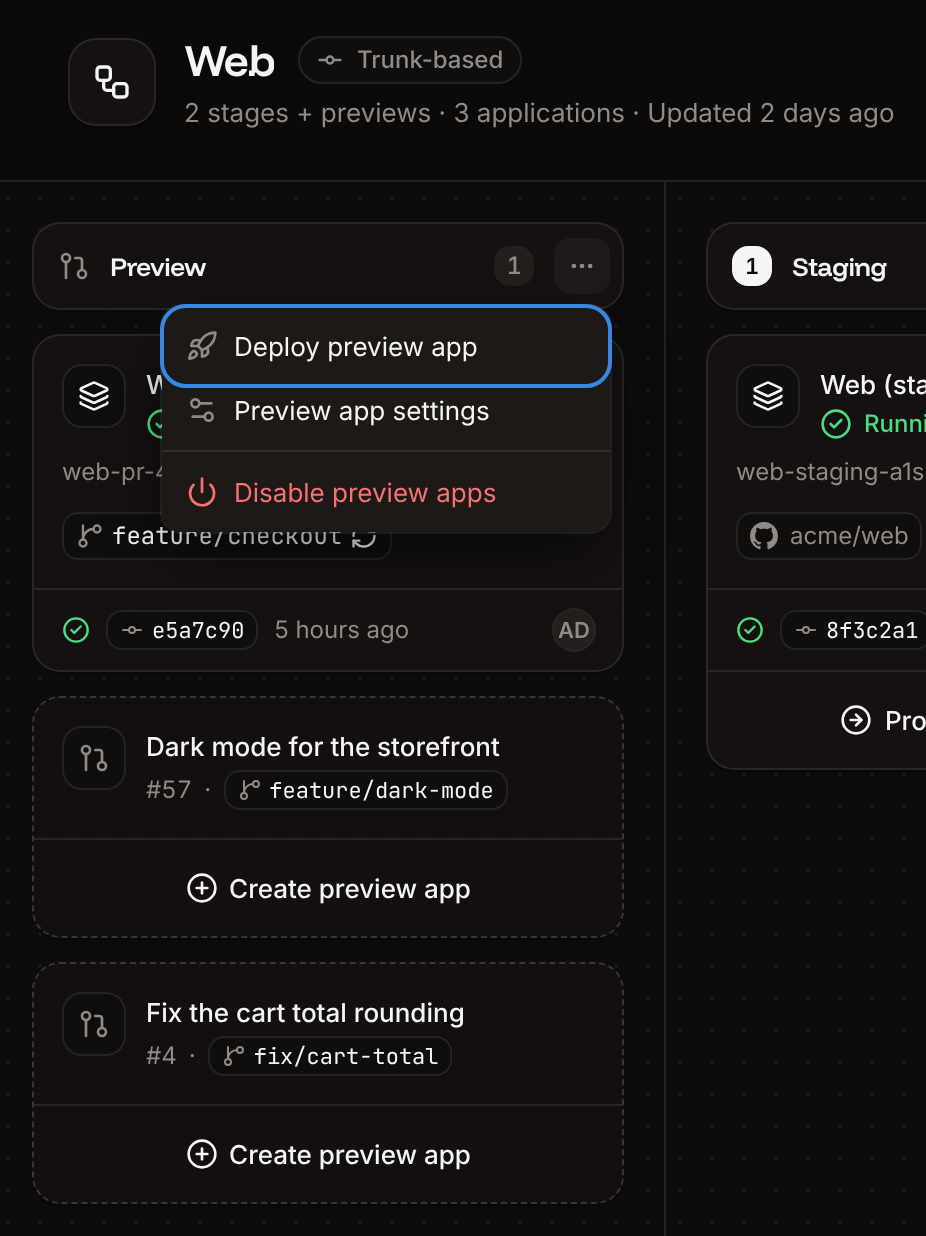
On the pipeline board, open the Preview column’s ⋯ menu and click Deploy preview app.
2
Pick the branch
The Repository is the one in the preview settings. In Branch, pick the branch (
main or master is preselected when it exists). Click the refresh button for branches pushed after the sheet opened.3
Deploy
Click Deploy preview app.
No commit found for branch <branch> when the branch has no commits.
Delete a preview app
Open the preview app from its card in the Preview column and delete it from its Settings tab, as any application. If its pull request is still open, the pull request’s card comes back with Create preview app.Disable preview apps
1
Open the dialog
On the pipeline board, open the Preview column’s ⋯ menu and click Disable preview apps.
2
Confirm
Check the list of preview apps that will be deleted, then click Disable preview apps.
API and CLI
The API and CLI set the repository (
repo_url), automatic creation (auto_create_app) and stale cleanup (delete_stale_apps, stale_app_days, 1 to 365 days). The app settings, processes, disks, TCP proxies and environment variables of preview apps are set in the dashboard only, so enable preview apps in the dashboard first.