

How pipelines work
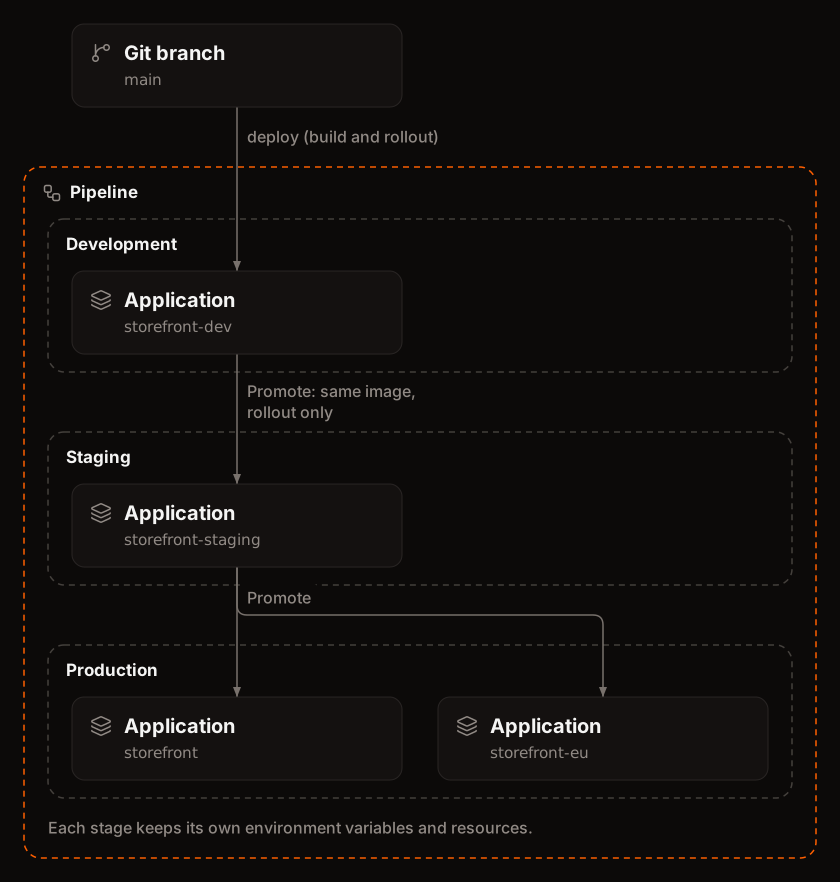
A pipeline holds stages, and each stage holds applications. An application belongs to one pipeline stage at most. Pipelines and stages cost nothing: you pay for the applications in them as for any other application.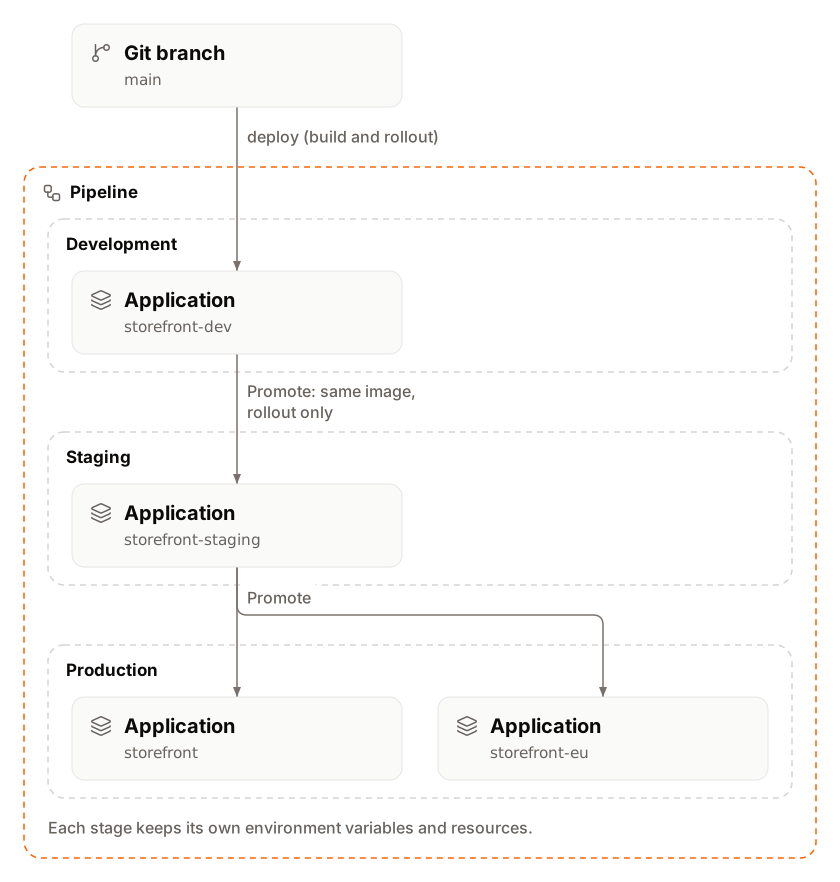
Release strategies
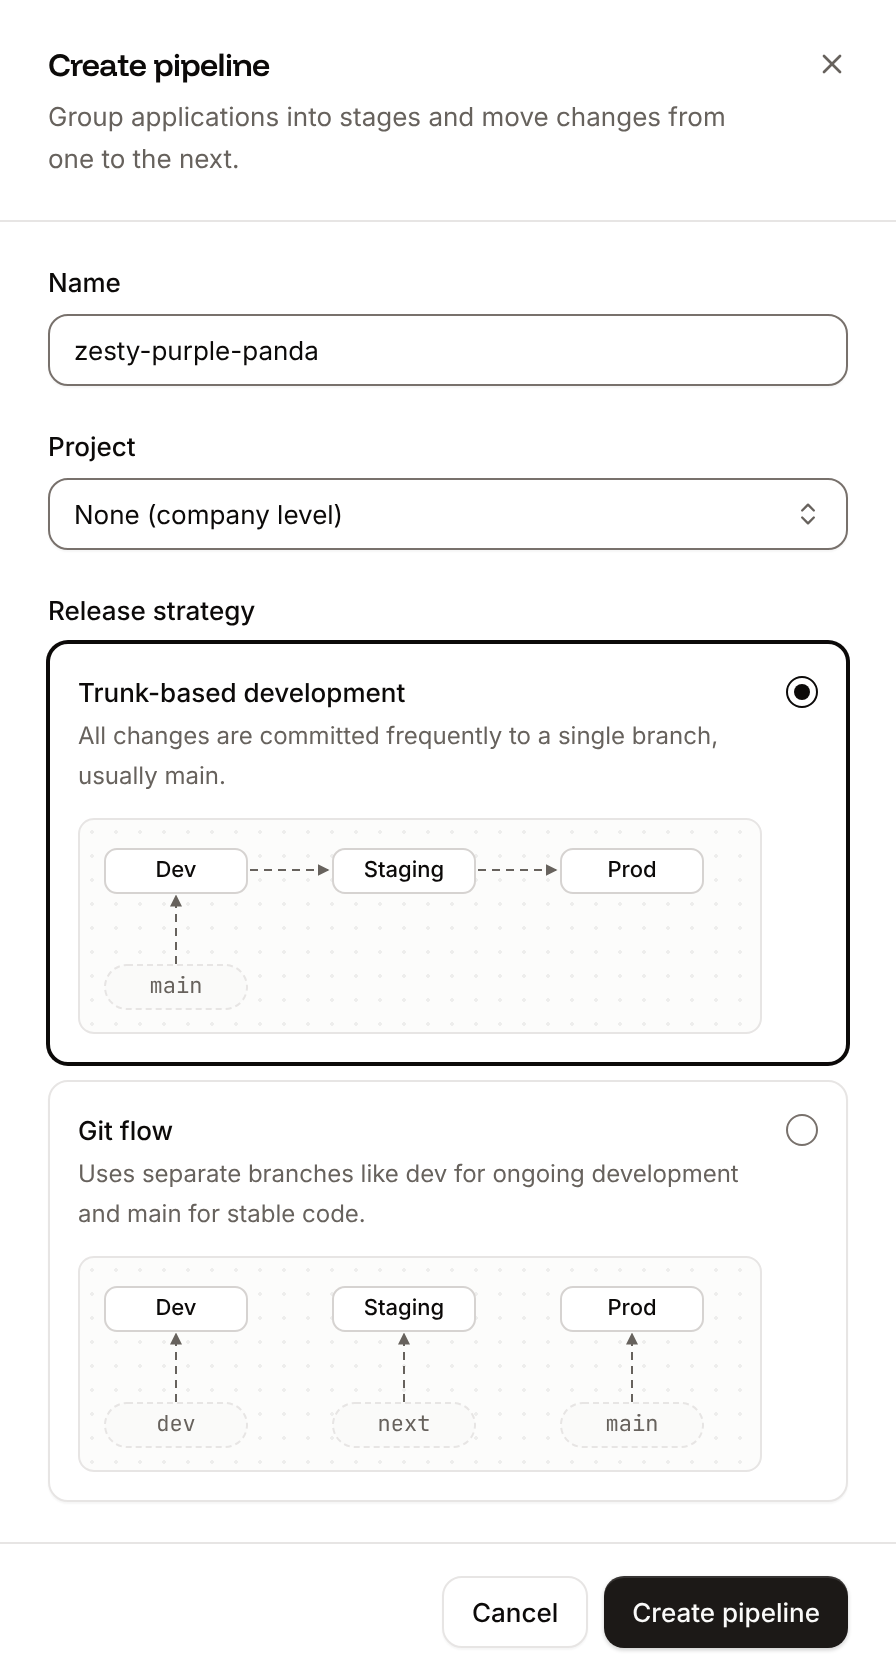
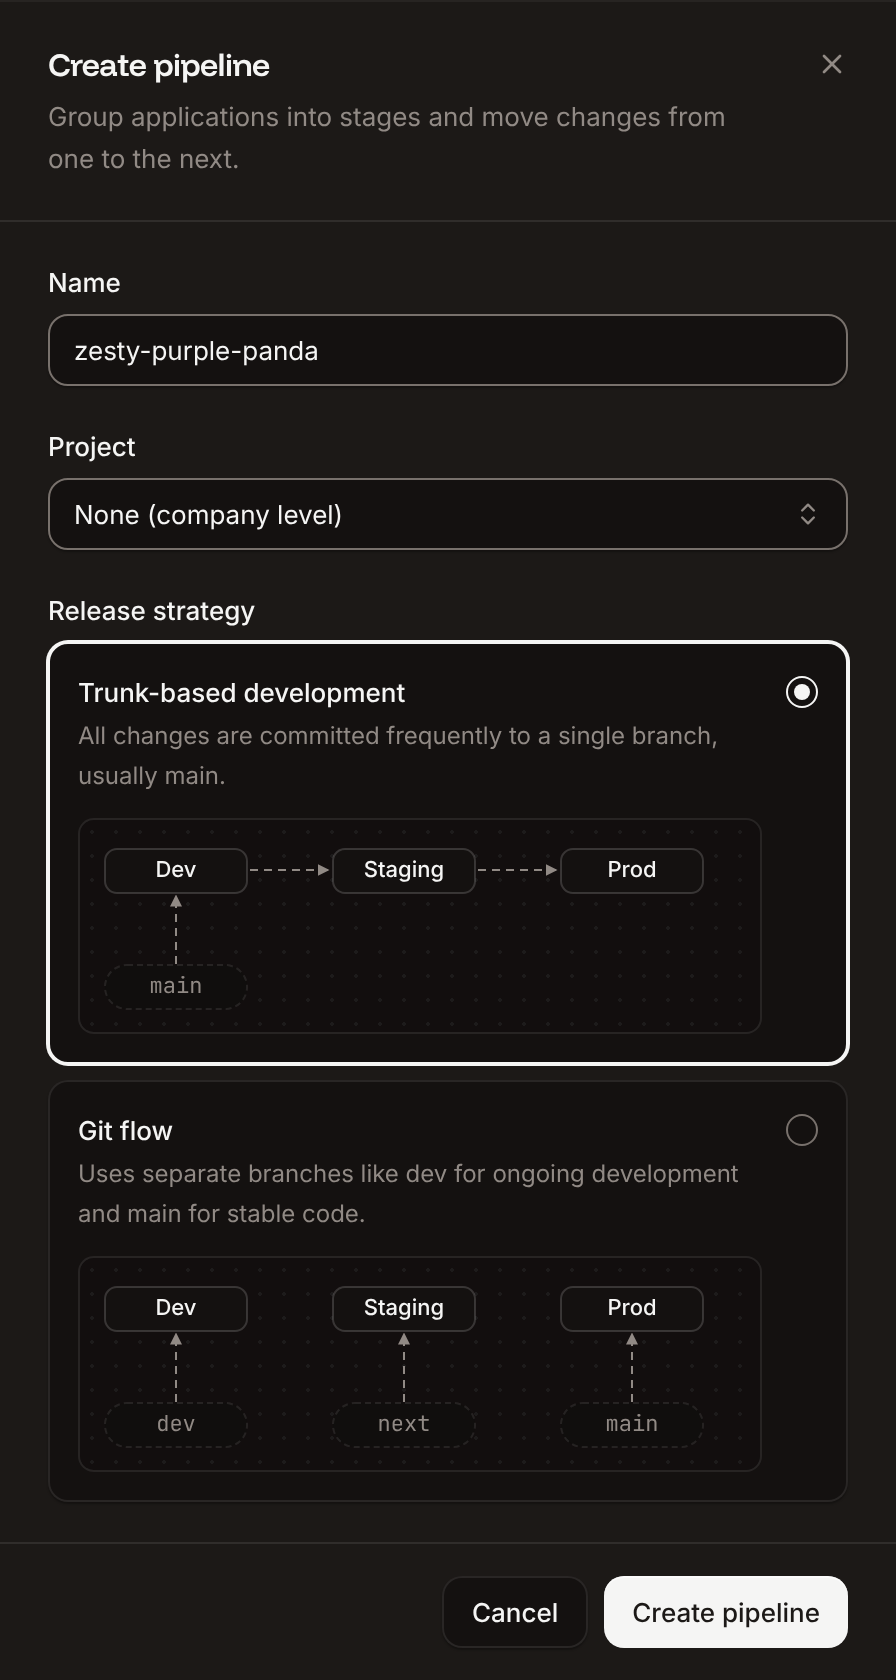
On a Git flow pipeline the board shows where each branch is deployed; Sevalla doesn’t move code between stages. You can switch the release strategy at any time in pipeline settings. Switching changes nothing in the applications: it only shows or hides Promote.
Limits
At a limit, Sevalla refuses with
Pipeline limit reached or Pipeline stage limit reached. To raise a limit, contact support.
Who can do what
Pipelines use the permissions for applications, in the pipeline’s project or, for a pipeline outside projects, in the company. See Users and roles.
Without the permission, the dashboard shows the action disabled with the reason.
Create a pipeline
1
Open the create sheet
In the sidebar, click Applications. Click Create, then click Pipeline. From a project, click Create pipeline on its Services tab instead.
2
Name the pipeline
In Name, keep the generated name (like
brave-olive-tiger) or enter your own, such as storefront.3
Choose a project
In Project, pick a project, or None (company level) to keep the pipeline outside projects. The field shows only when your company has projects. If your role applies to projects only, picking a project is required.
4
Choose the release strategy
Pick Trunk-based development (the default) or Git flow. See Release strategies.
5
Create it
Click Create pipeline.
The pipeline board
The board is the pipeline’s page. To open it, click Applications in the sidebar, then click the pipeline.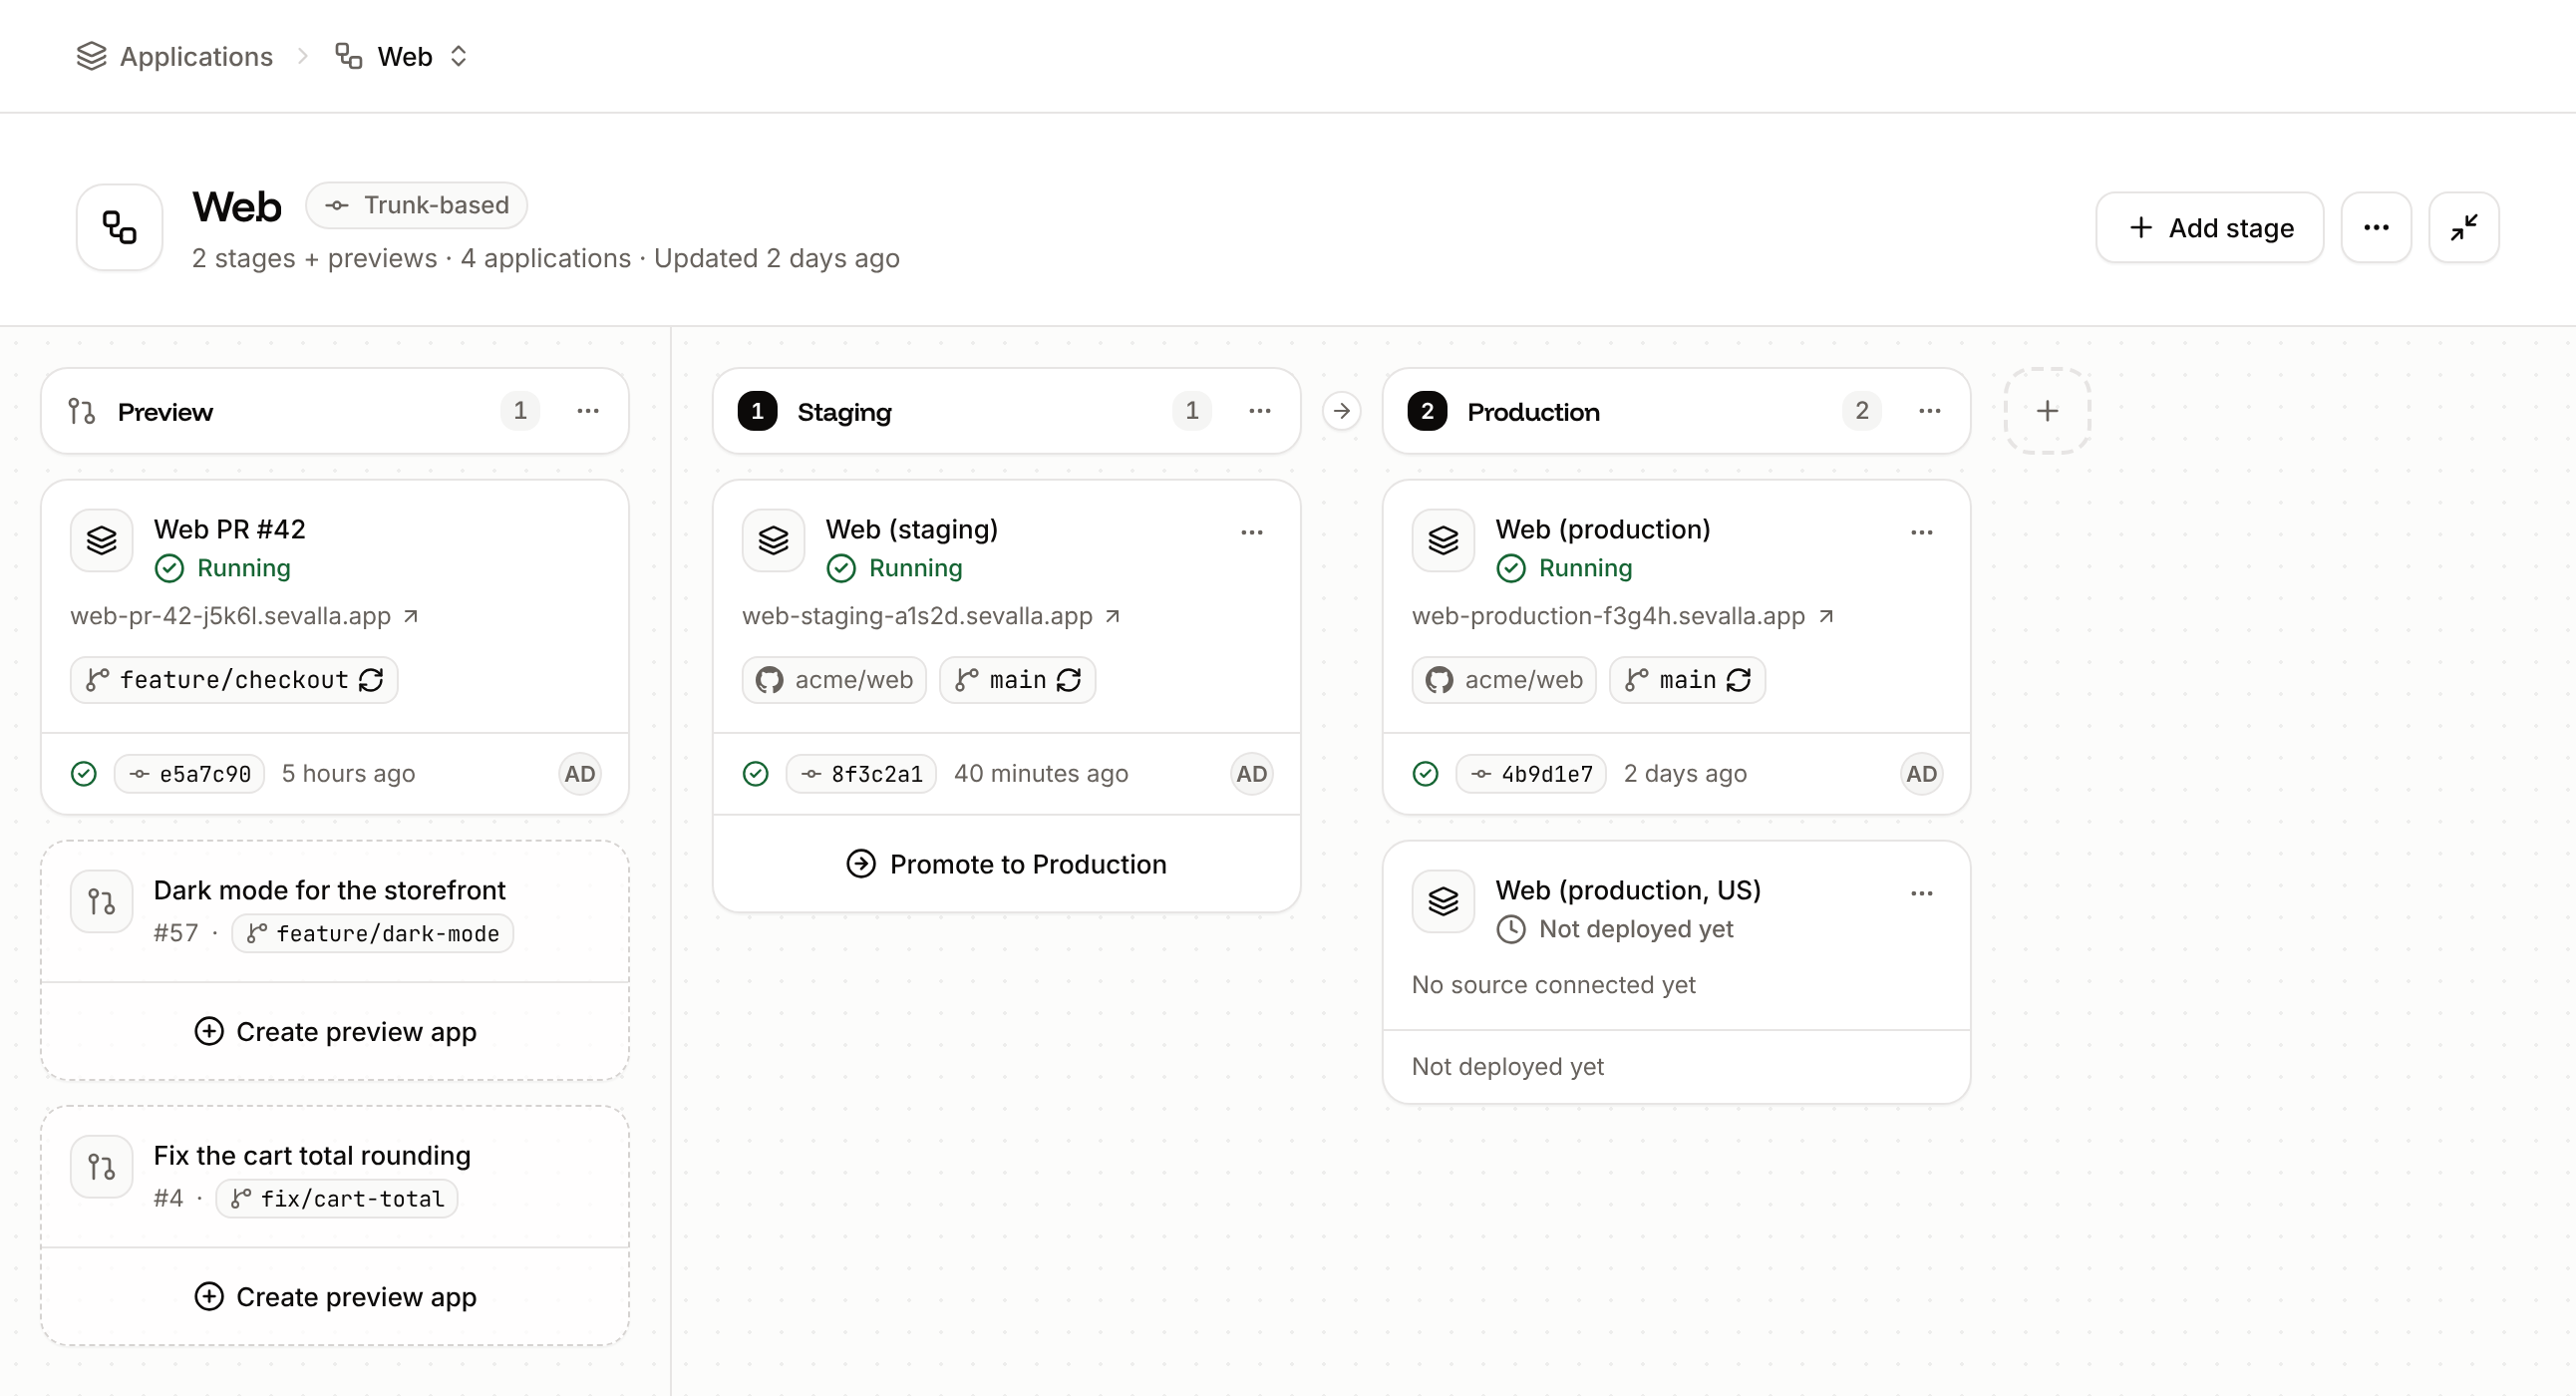
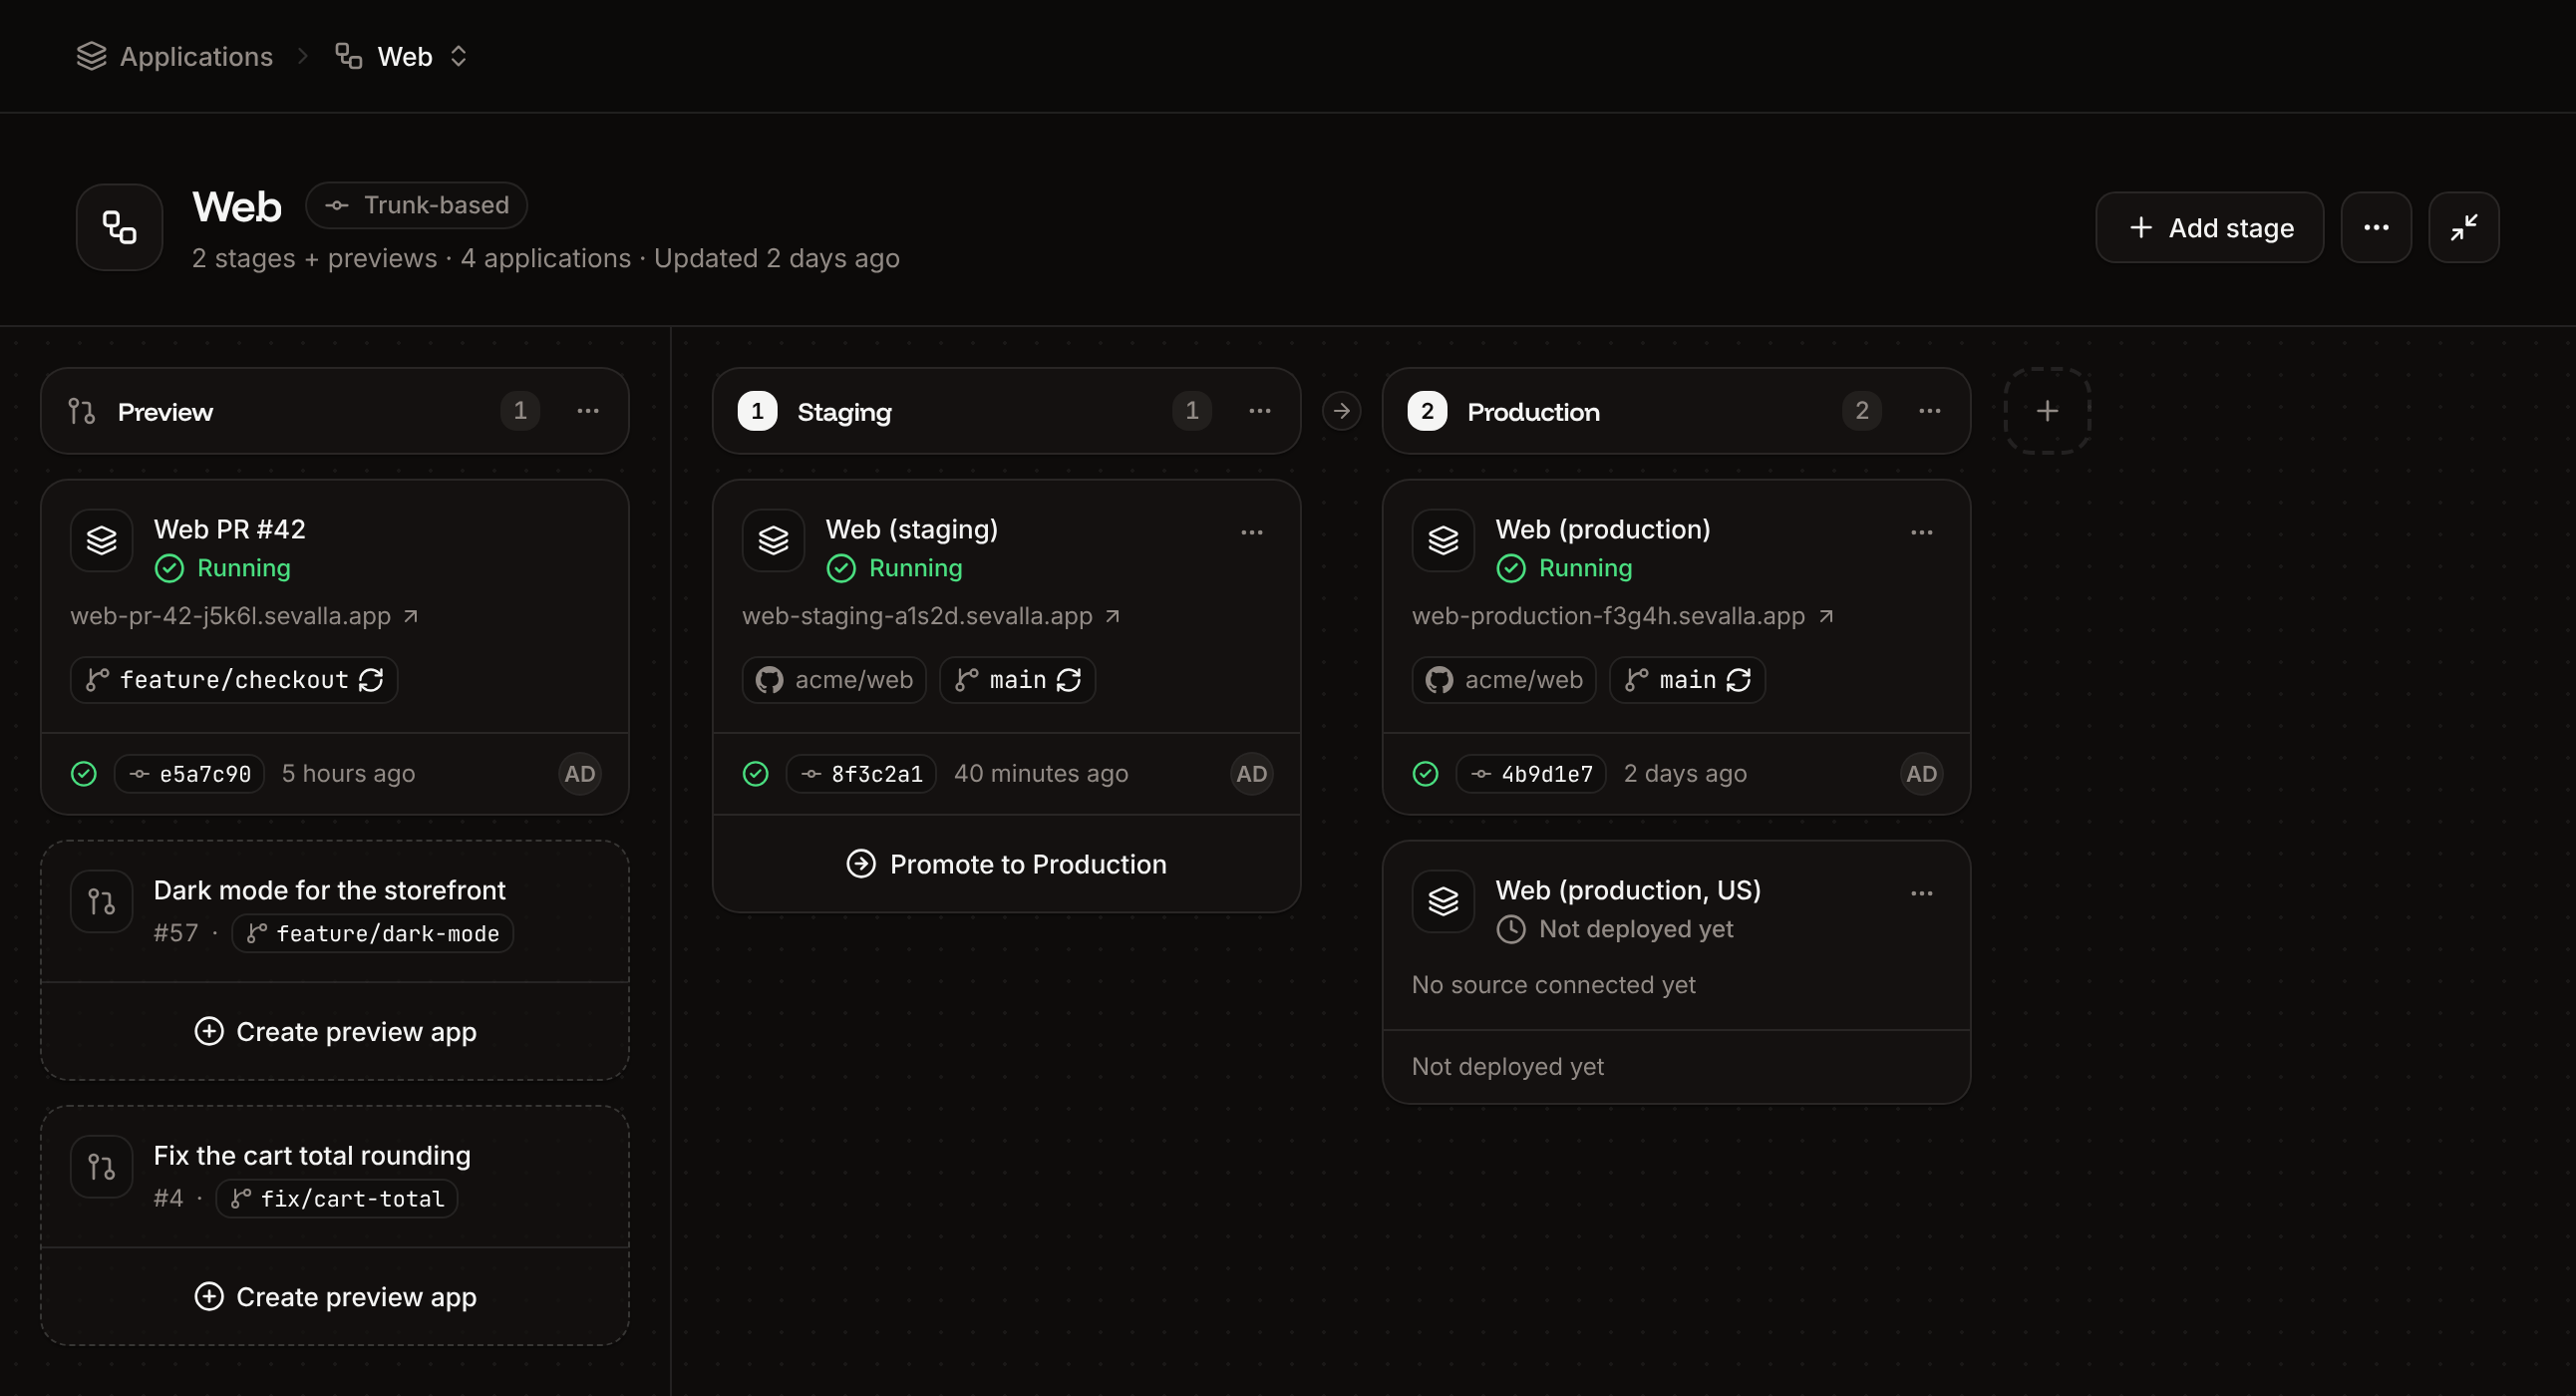
Production). See GitHub.
Add an application to a stage
1
Open the stage's Add app sheet
On the pipeline board, click Add app in an empty stage, or open the stage’s ⋯ menu and click Add app.
2
Choose an existing or a new application
On a trunk-based pipeline, pick Existing app or New app. A Git flow pipeline takes existing applications only.
3
Pick or create the application
For Existing app, pick it in Application. The list holds every application of the company that isn’t in a pipeline yet. For New app, enter a Name and pick a Location (Sevalla preselects the one closest to you).
4
Add it
Click Add app to stage.
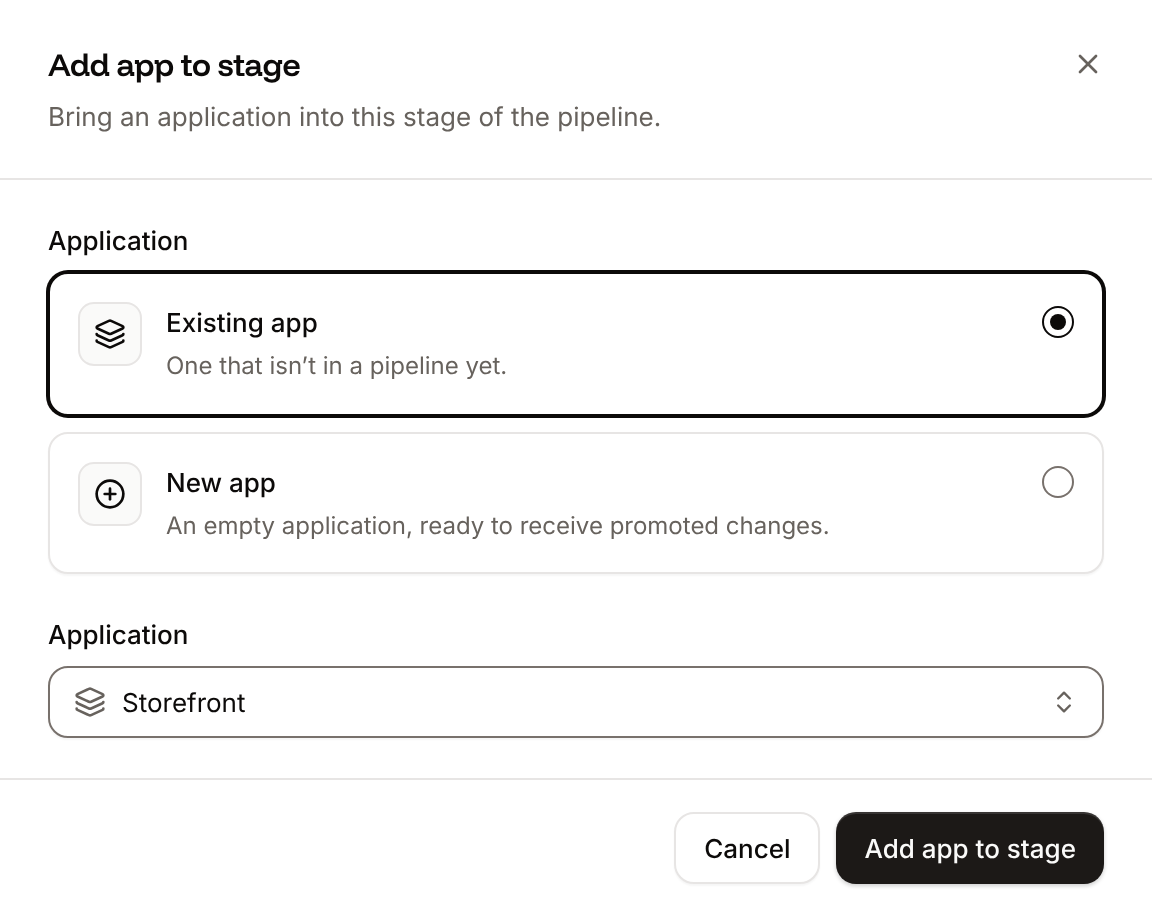
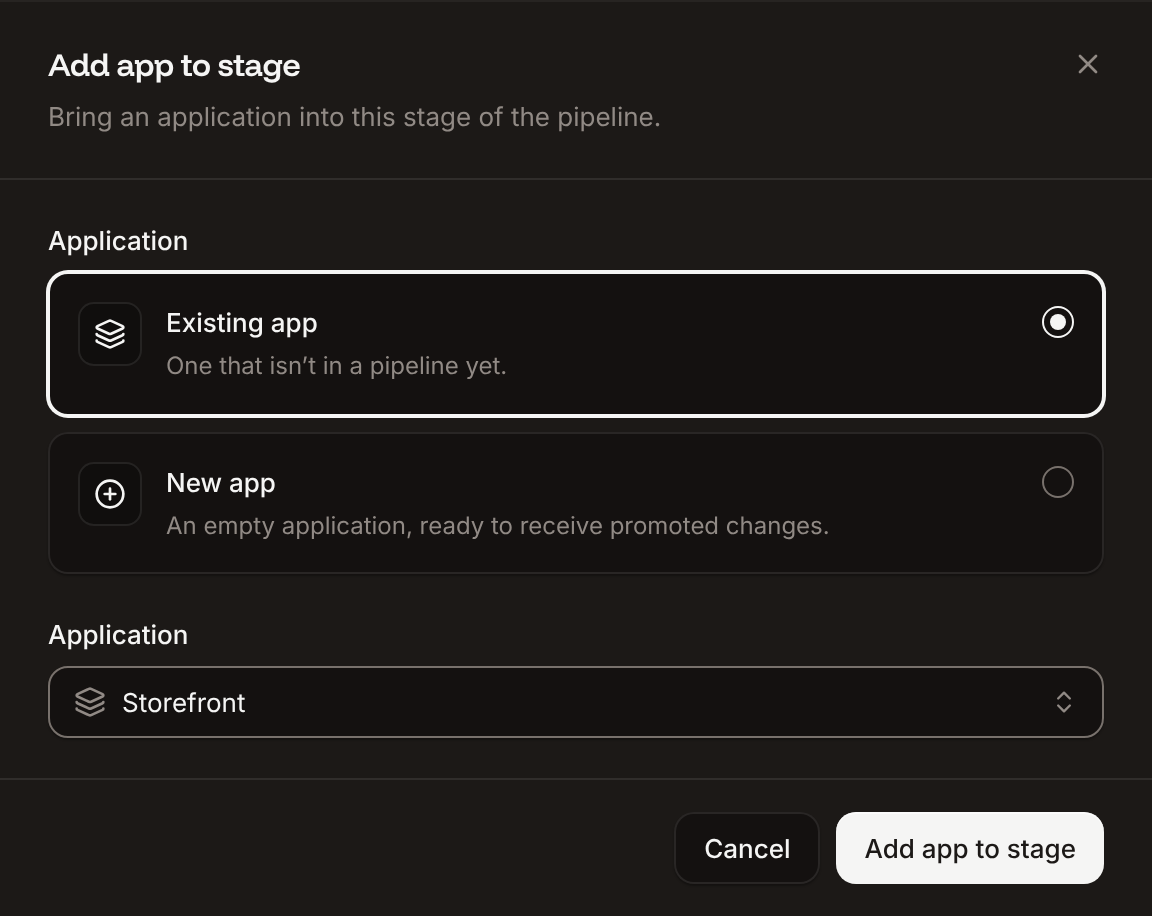
- Existing app: it moves to the pipeline’s project, or out of its project when the pipeline isn’t in one. Its source, settings and deployments don’t change.
- New app: Sevalla creates an empty application with a default web process and no source. It runs nothing until the first promotion reaches it, which also sets its build strategy to the source’s. Its card says No source connected yet.
Add a payment method to create more applications.
On a trunk-based pipeline, put an application that deploys from your repository in the first stage, and add new or existing applications to the later stages. Each application of a later stage can run in its own location with its own environment variables, processes, domains and scaling.
Add a stage
1
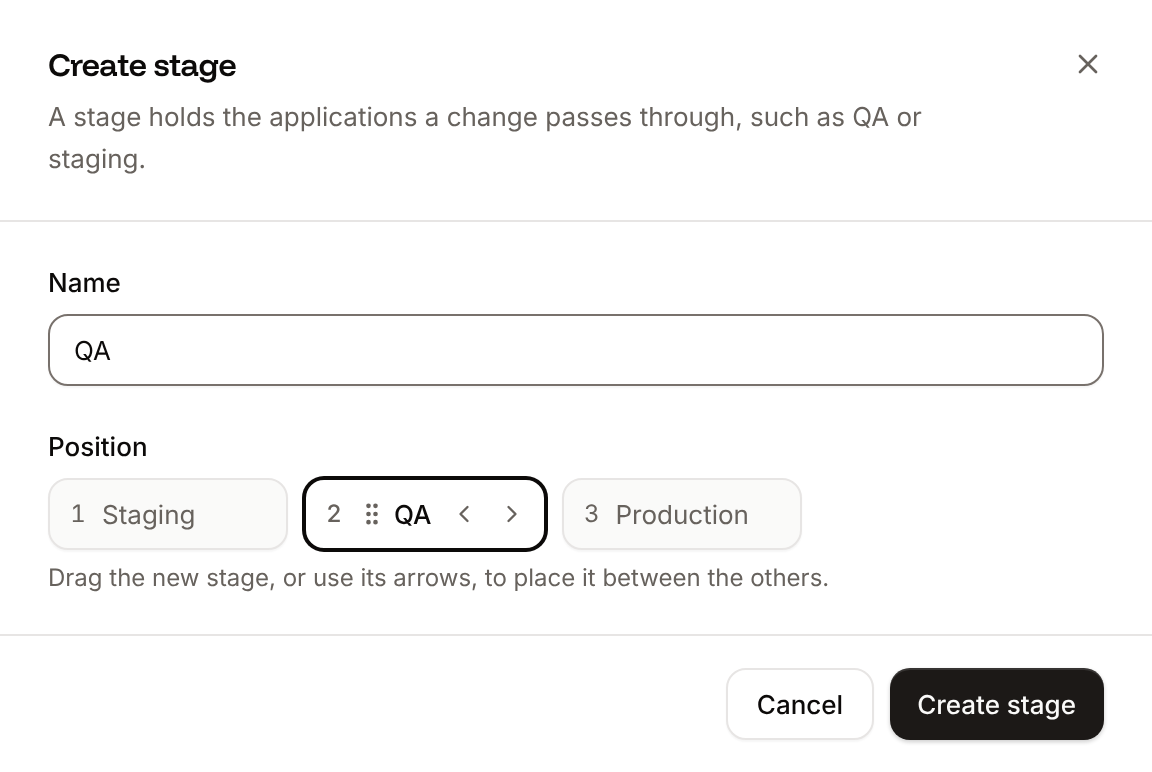
Open the Create stage sheet
On the pipeline board, click Add stage in the header, or the dashed + tile after the last stage.
2
Name the stage
In Name, enter a name such as
QA.3
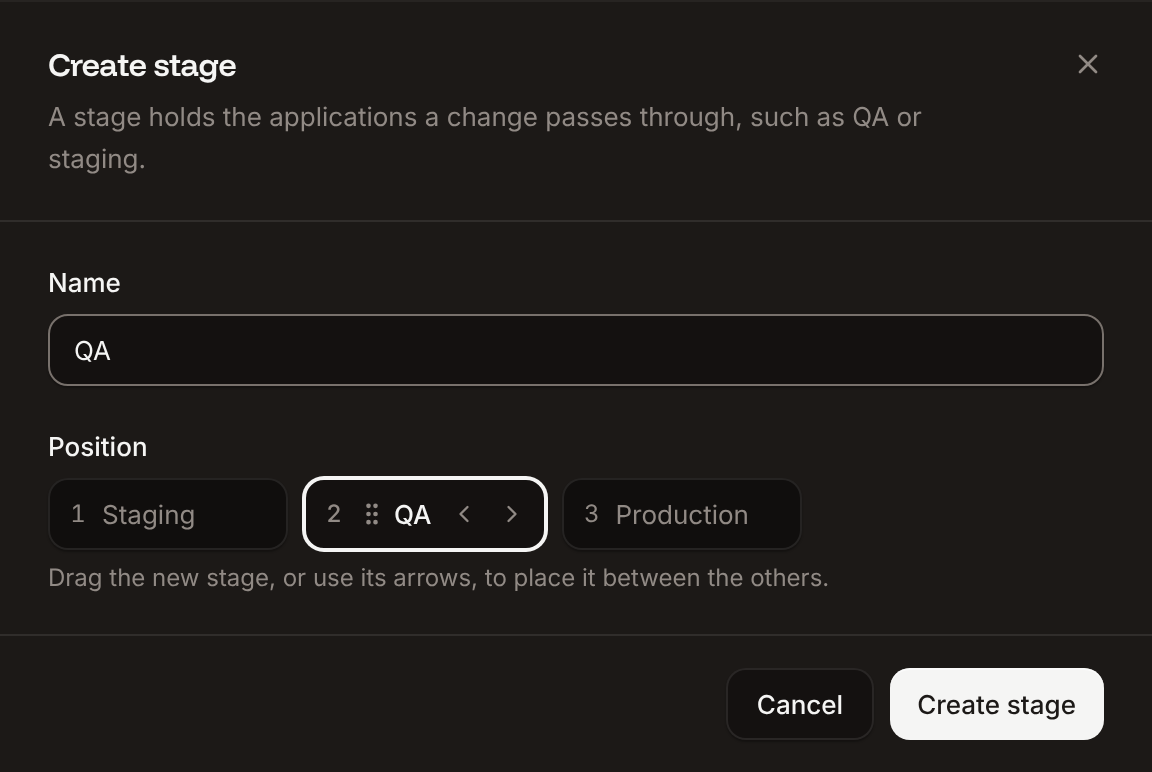
Place the stage
In Position, drag the new stage, or use its arrows, to put it between the others. It goes last unless you move it.
4
Create it
Click Create stage.
Promote changes to the next stage
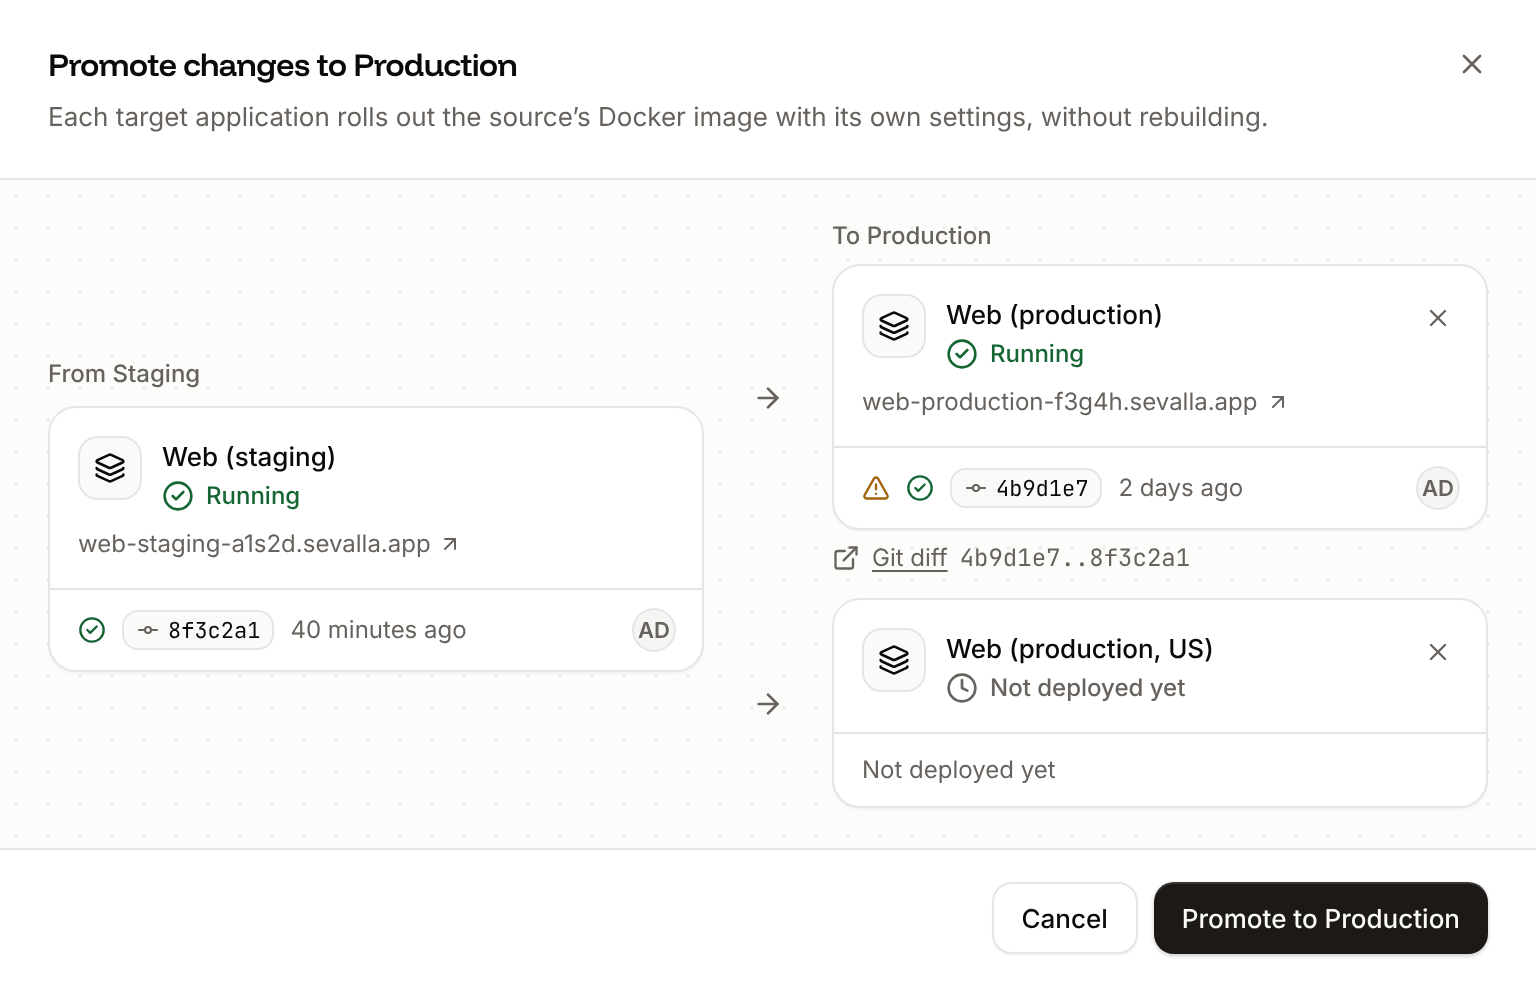
Promoting takes the source application’s last successful deployment and rolls out its Docker image on applications of the next stage. Nothing is rebuilt, so each target runs exactly the build you tested. Promotion is available on trunk-based pipelines, from a stage to the stage right after it.1
Open the Promote sheet
On the pipeline board, click Promote to next stage under the application you tested, for example Promote to Production.
2
Choose the targets
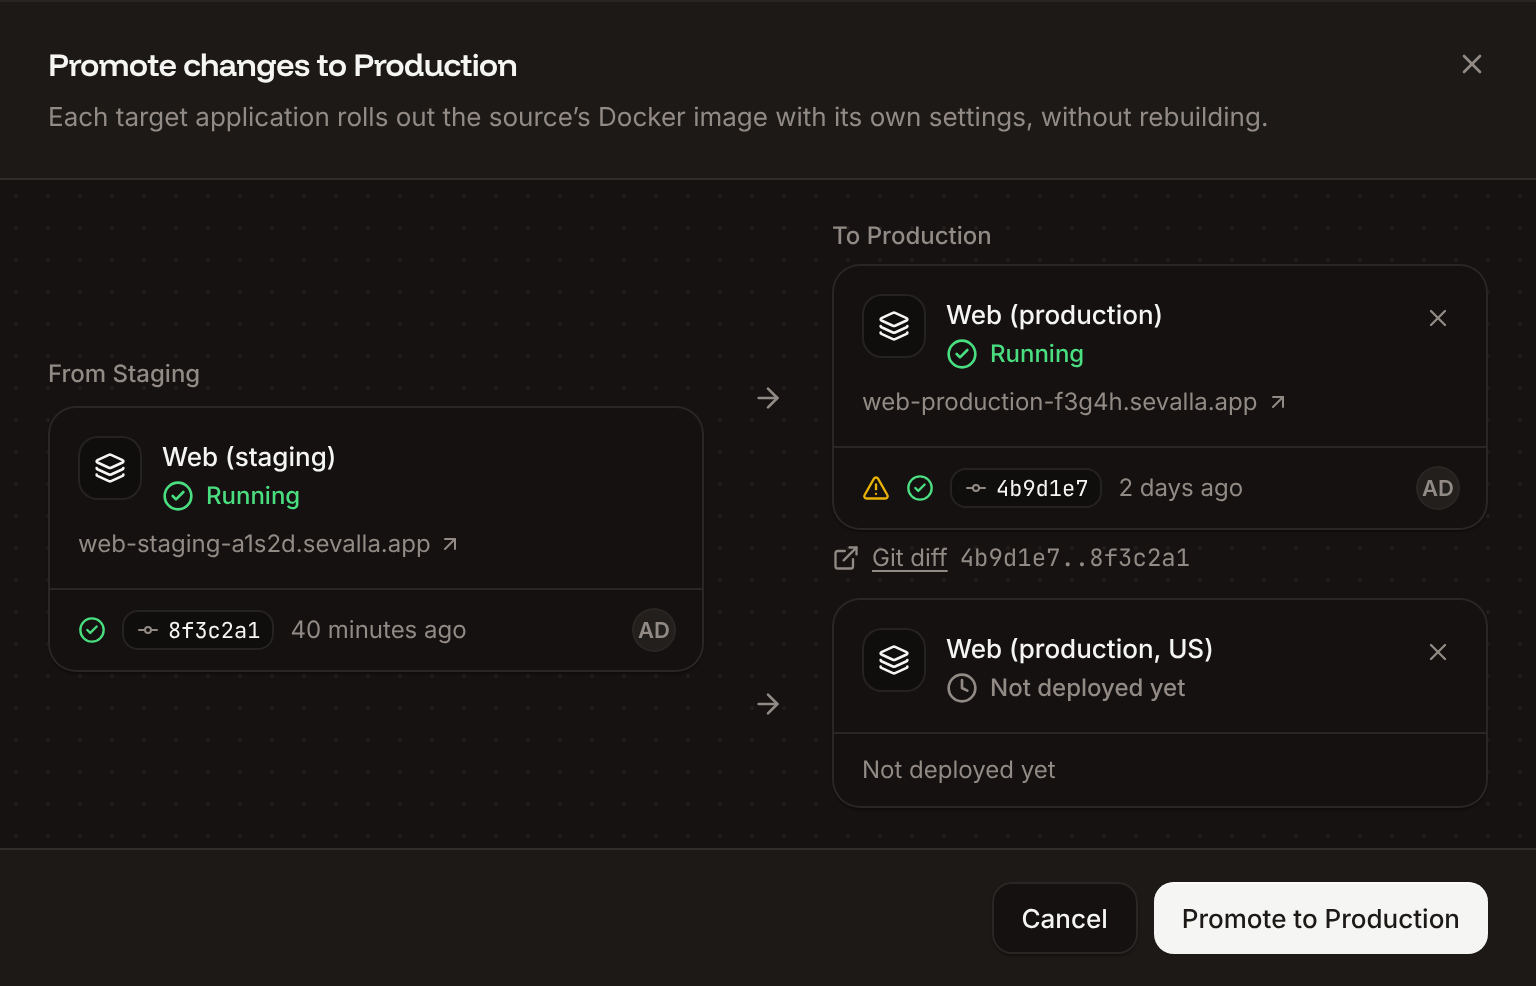
Every application of the next stage is a target. To leave one out, click its ✕ (Don’t promote to application). At least one target stays.
3
Check the warnings and the diff
A warning icon on a target explains a risk: see Promotion warnings. Git diff opens the provider’s comparison between the target’s commit and the source’s.
4
Promote
Click Promote to stage.
When Promote is not available
The button is disabled, with the reason in its tooltip, when:What a promotion copies
The target keeps its own runtime environment variables, processes and resources, disks, domains, networking and location. Values your build step bakes into the image come from the source, because the target doesn’t rebuild: build-time environment variables of the target don’t apply. For a frontend that embeds variables at build time (for example
NEXT_PUBLIC_* in Next.js), set those values the same way in every stage or read them at runtime.
Promotion warnings
Promotion fails with
No successful deployment found for application "<id>" when the source has no successful deployment, and with The promoted image was deployed with a Docker registry credential that no longer exists. Redeploy "<application>" with a valid credential and promote again. when the source deployed a private image whose registry credential was deleted.
Update pipeline settings
1
Open the settings
On the pipeline board, open Pipeline actions (⋯) and click Pipeline settings.
2
Change what you need
Update the Name (
Pipeline name is required when empty), the Release strategy, or the Stage order: drag a stage, or use its arrows. Stage order shows when the pipeline has more than one stage. The preview stage always comes first and isn’t part of the order.3
Save
Click Update pipeline.
Remove an application from a stage
1
Open the application's menu
On the pipeline board, open the ⋯ menu on the application’s card.
2
Remove it
Click Remove from stage, then click Remove app.
Delete a stage
1
Open the stage's menu
On the pipeline board, open the stage’s ⋯ menu.
2
Delete it
Click Delete stage, then click Delete stage in the dialog.
Delete a pipeline
1
Open the delete dialog
On the pipeline board, open Pipeline actions (⋯) and click Delete pipeline.
2
Check what happens to the applications
The dialog lists the applications that stay, detached from the pipeline, and the preview apps that will be deleted.
3
Confirm
Type the pipeline’s name, then click Delete pipeline.
API and CLI
In the API, the release strategies are
trunk (Trunk-based development) and branch (Git flow). Moving a pipeline to another project with the API moves its applications too. To promote from a CI workflow, use the GitHub Action or the API. Preview app operations are on Preview apps.