

POST with a JSON body to your endpoint each time one of the events you pick happens in your company, such as a deployment of an application finishing. Use webhooks to post deploy notifications to chat, start tests after a deployment, or keep another system in sync without polling the API. A company can have up to 10 webhooks, under Tools > Webhooks.
How webhooks work
Before you begin
- You need the Company owner or Company admin role. See users and roles.
- The company needs a valid payment method. Without one, the sheet shows Add a payment method to create a webhook.
- Your endpoint must be a public
http://orhttps://URL. Usehttps://, because the signing secret travels in a header. Endpoints that resolve to private, loopback or link-local addresses are rejected withThe provided endpoint is not allowed.
Create a webhook
1
Open Webhooks
In the sidebar, under Tools, click Webhooks, then click Create webhook.
2
Enter the endpoint
In Endpoint, enter the URL that receives the events, for example
https://hooks.example.com/sevalla. Optionally add a Description.3
Pick the events
Under Allowed events, tick the events to send, or Select all.
4
Create the webhook
Click Create webhook.
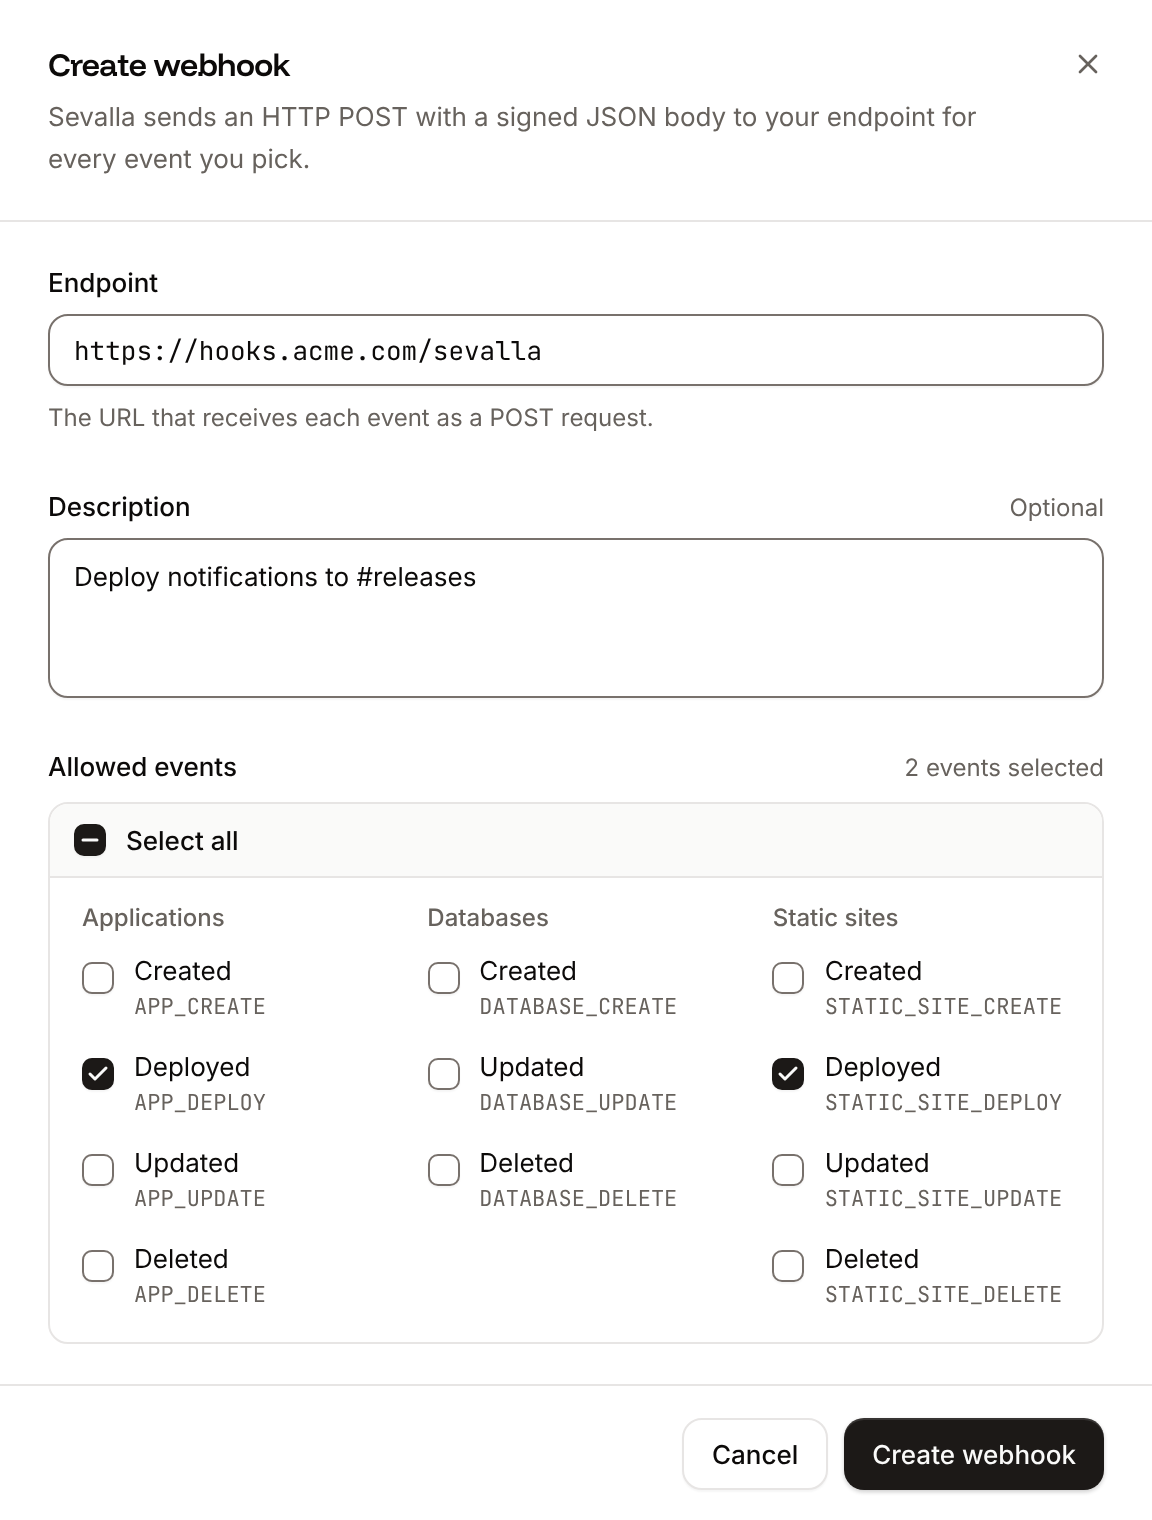
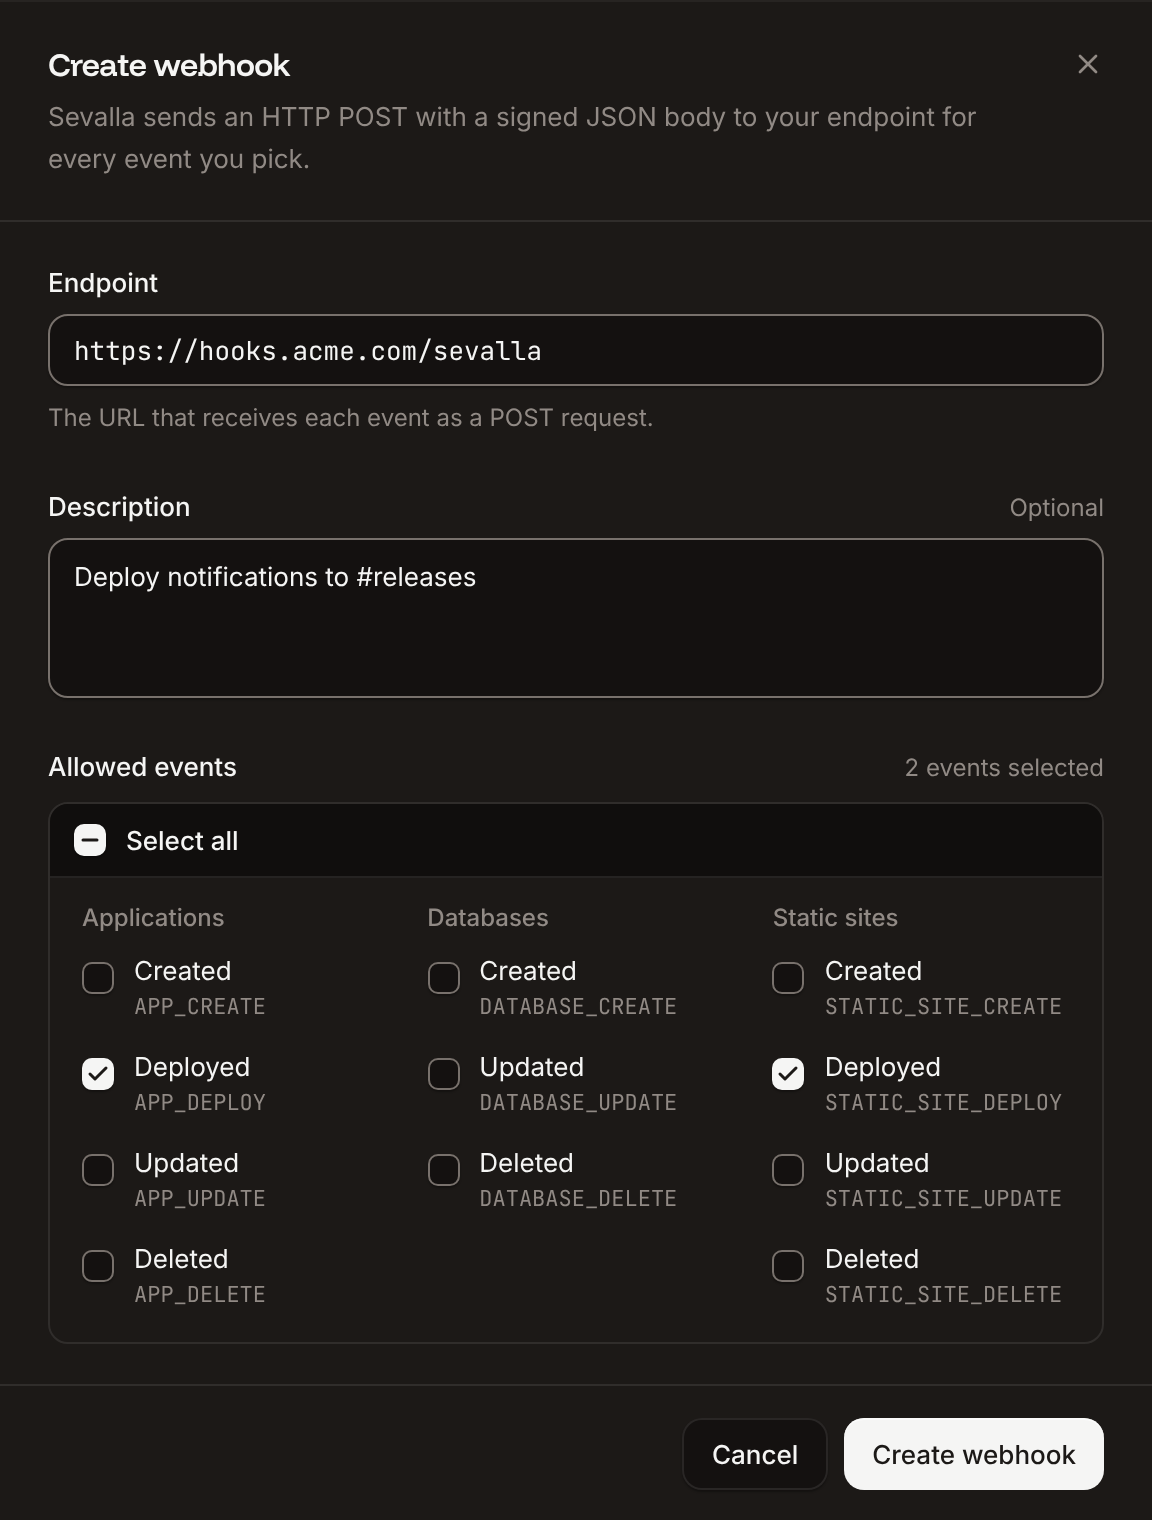
A company that already has 10 webhooks gets
You can only create up to 10 webhooks per company.
Events
You can select the three database events, but Sevalla doesn’t send them yet. A webhook subscribed only to database events receives no deliveries.
is_preview set to true.
Payload
Every request body has the same envelope.data depends on the event type.
string
ID of the webhook that sent the request.
string
ID of the event. The same on every retry, so use it to drop duplicates.
string
ID of this delivery attempt. A new one on every retry.
object
The event’s details.
Verify requests
Thesvl-signature header contains the webhook’s signing secret itself, not a hash of the body. To check that a request comes from Sevalla, compare the header with the secret you stored, in constant time, and reject the request with 401 when it doesn’t match. While a secret rollover is under way, accept both the old and the new secret.
Retries
When a delivery fails, Sevalla retries it. Each retry is a new delivery with a newevent_delivery_id and the same event_id. Retries stop as soon as one delivery succeeds.
Sevalla retries an event only during the 4 days after it happened, so the 10th retry, about 2 days and 8 hours after the event, is the last one. If it fails too, the event isn’t sent again. Retries go to the endpoint the webhook had when the event happened, and they carry the current signing secret. Respond with a
2xx as soon as you’ve checked the signature, and do slow work afterwards, so a slow handler isn’t counted as a failure.
Check deliveries
Click a webhook to open it. Its Overview tab shows the Details and, under Analytics, the last 7 days in 2-hour intervals: Event deliveries (succeeded and failed) and Response time (average). The Webhooks list shows each webhook’s Error rate: the share of its deliveries in the last 7 days that failed. The Event deliveries tab lists every delivery, newest first. Filter by event ID with Filter by ID… or by Status, and click a delivery to see its Type, Status, Attempt date, Endpoint, Event ID, the Request payload, and the Response status code, time and body (up to 10,000 characters).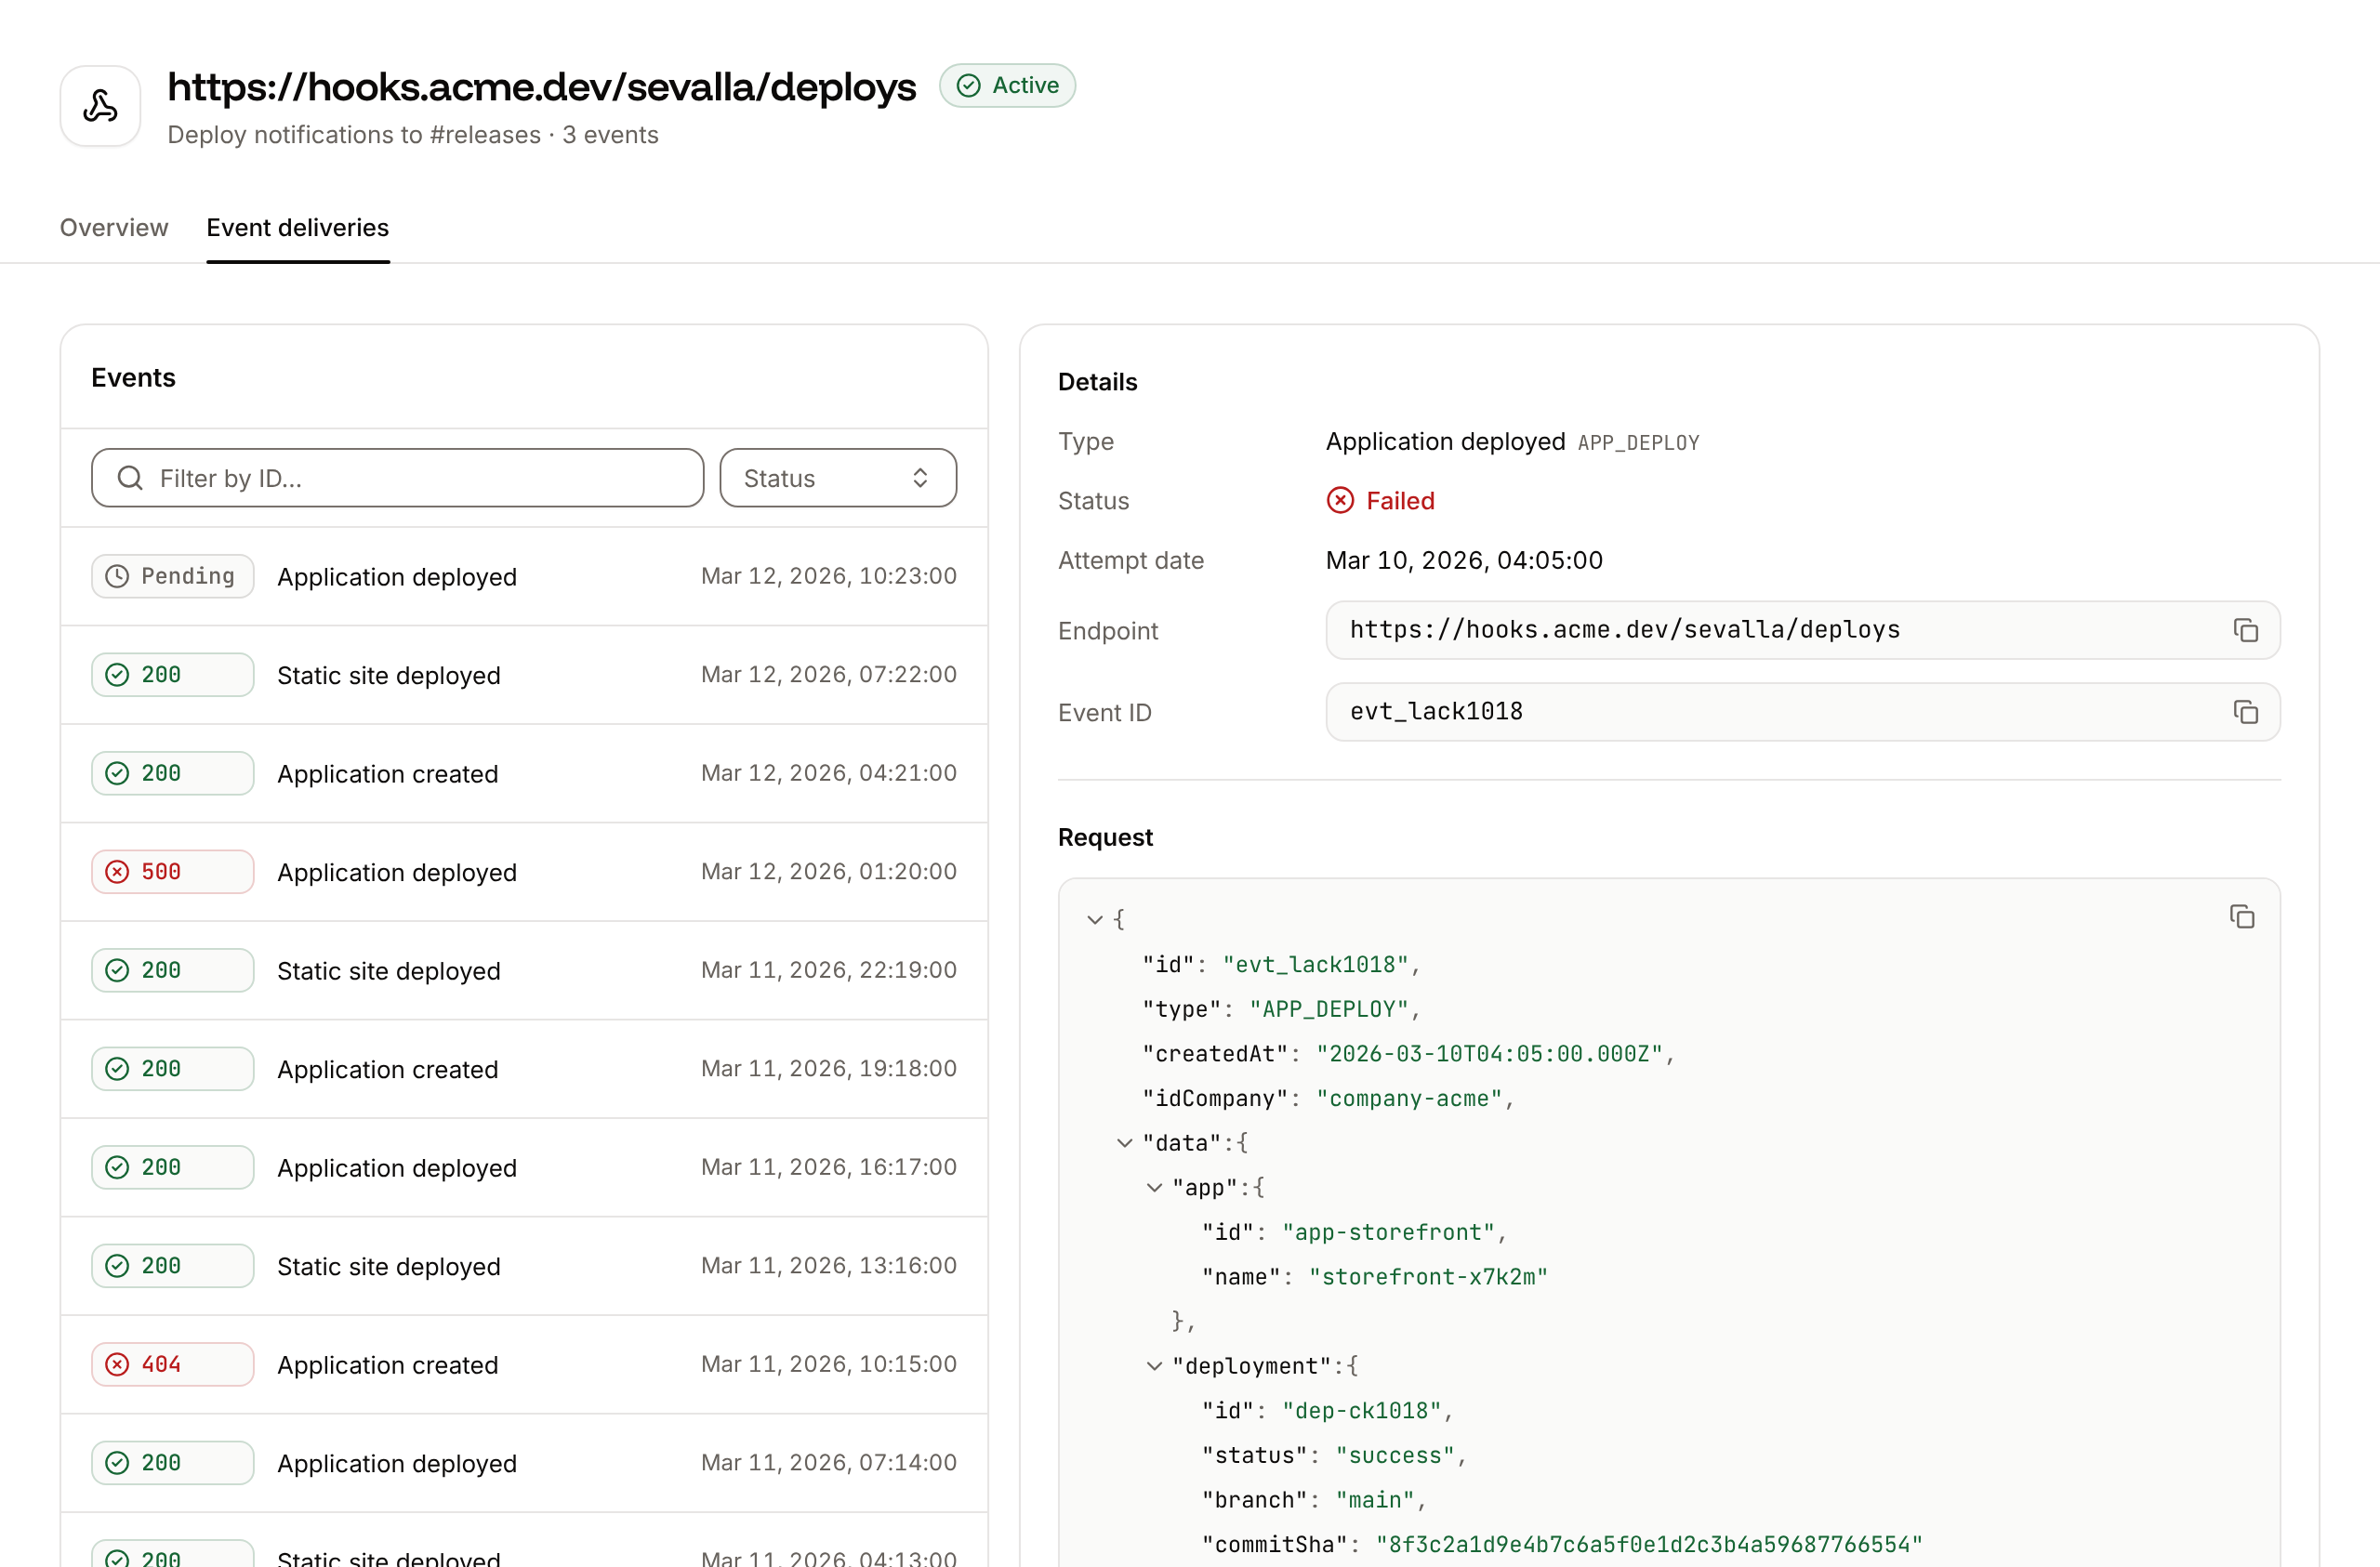
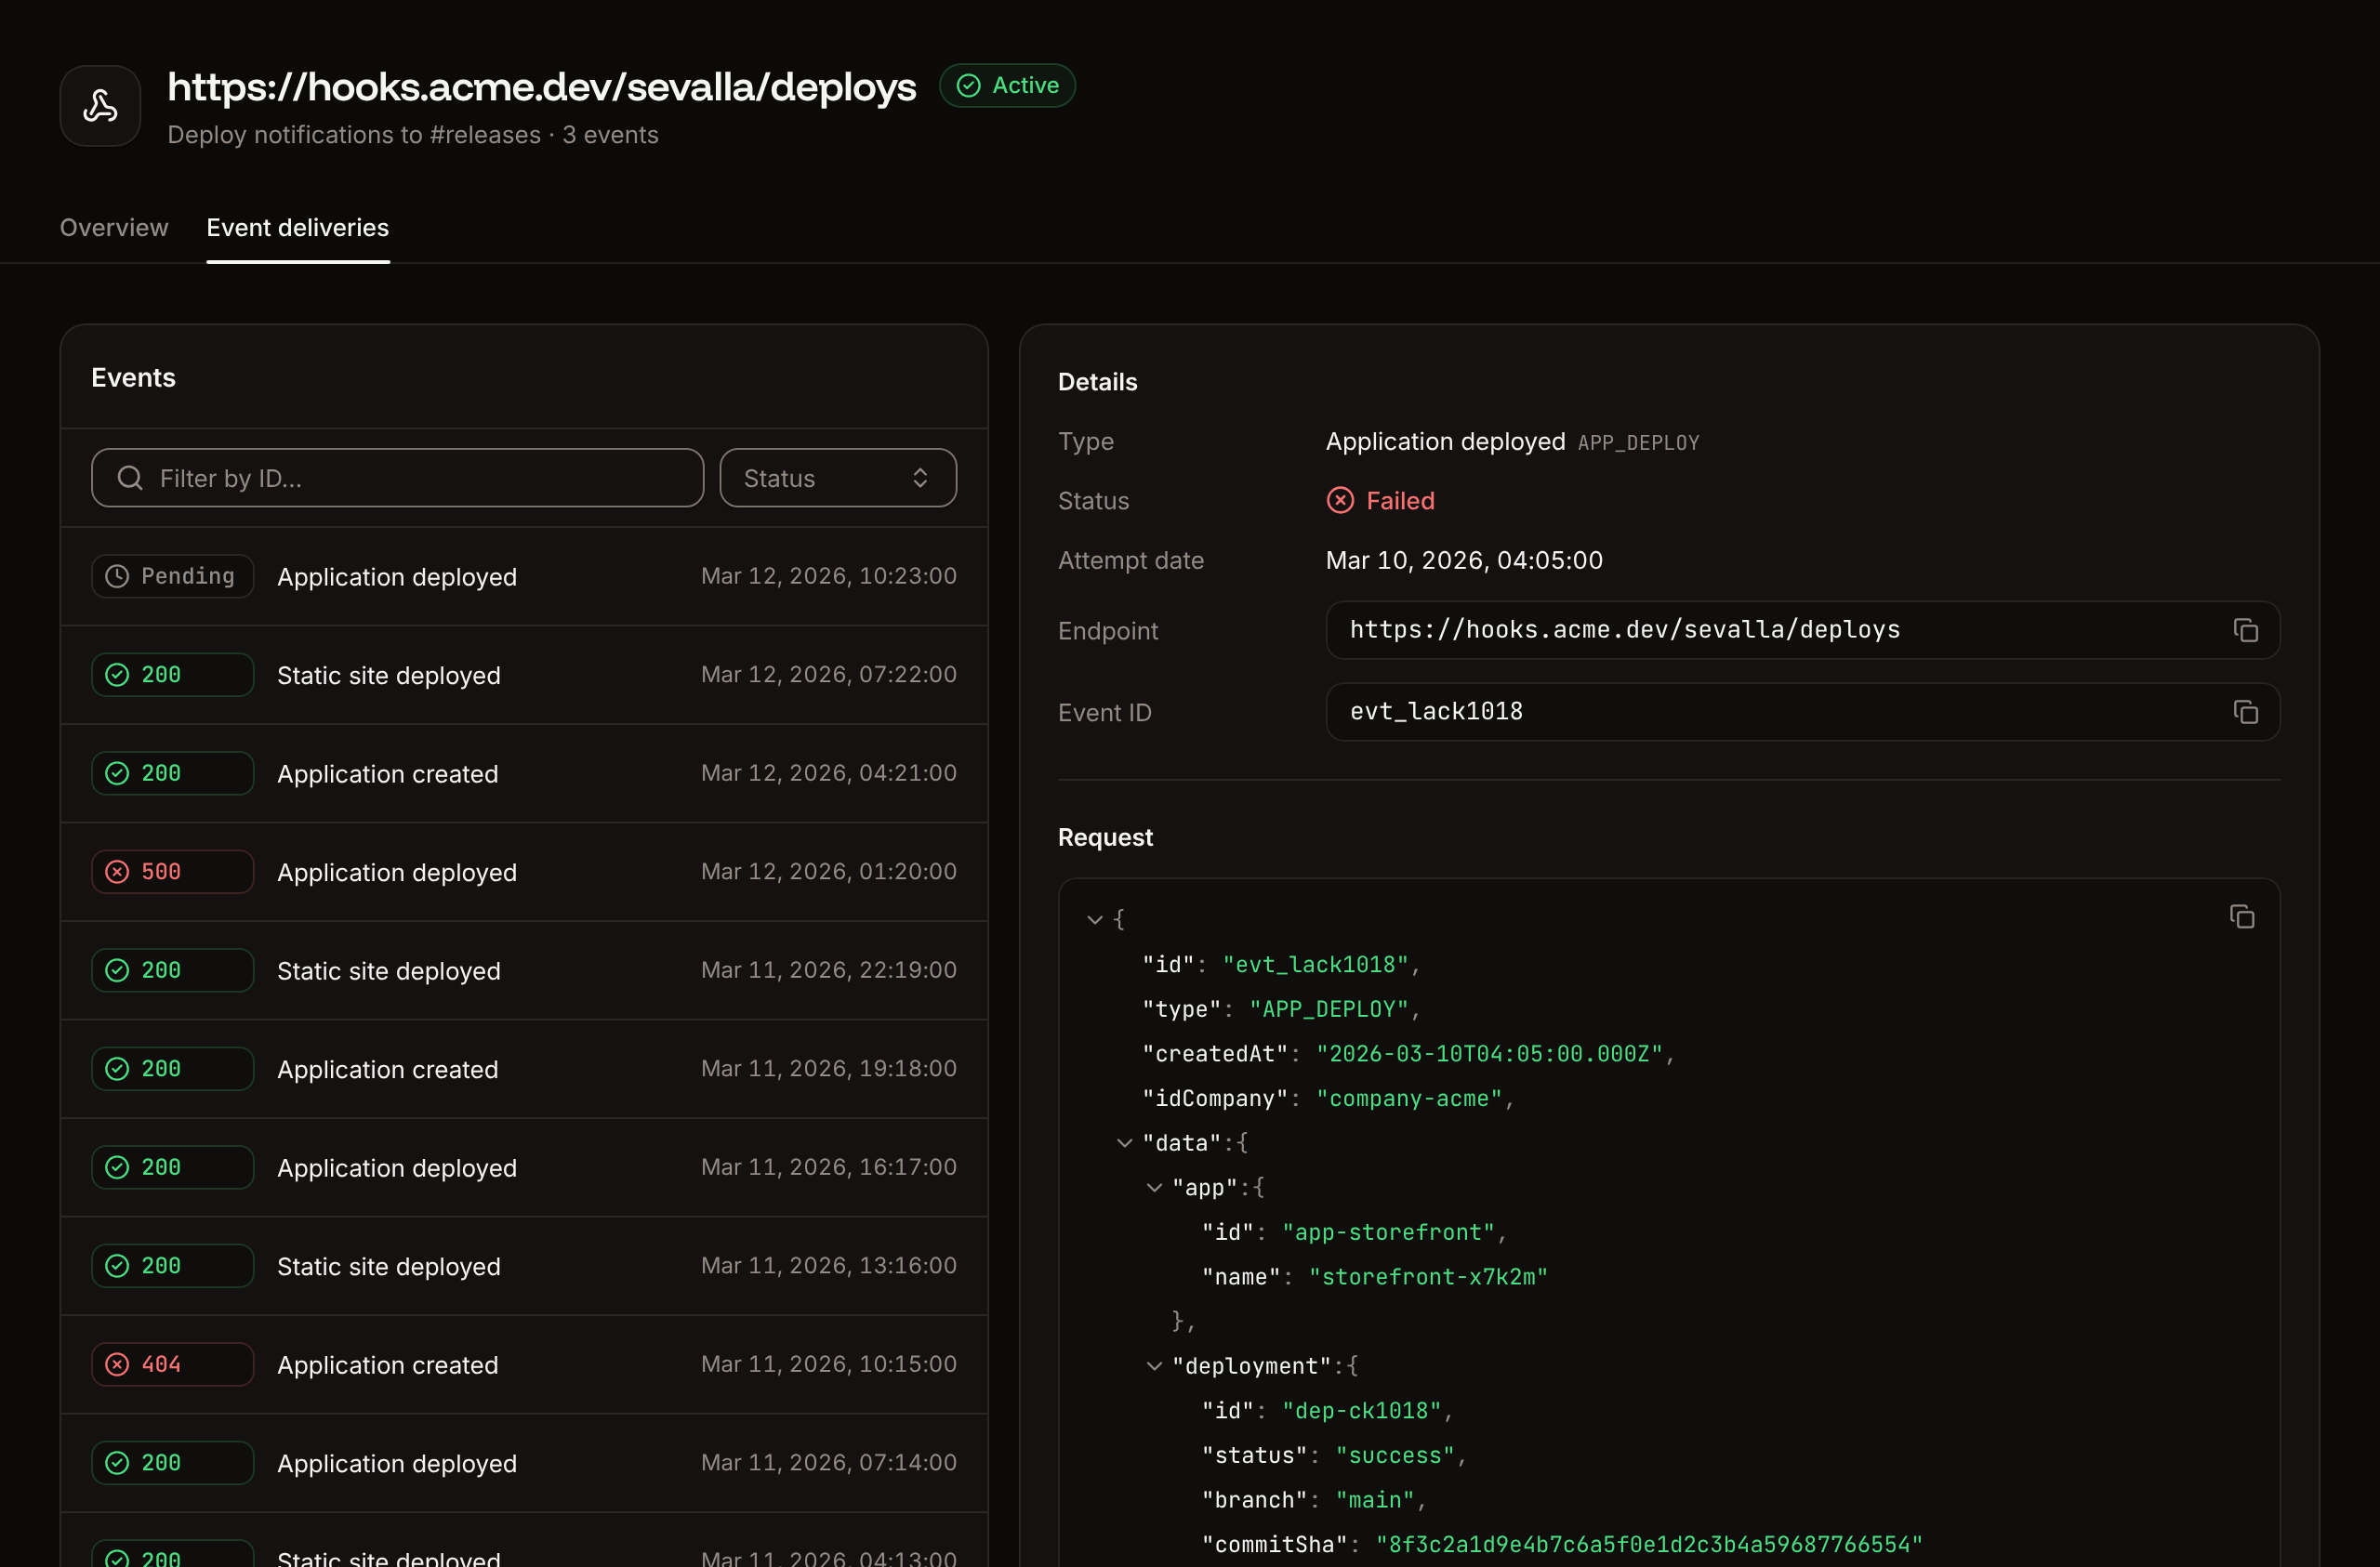
There’s no button to resend an event by hand: Sevalla retries failed events on its own.
Roll the secret
Rolling gives the webhook a new signing secret. The old secret can keep signing deliveries for up to 24 hours, so you can update your endpoint first.1
Open the webhook
Under Tools, click Webhooks, then click the webhook. On the Overview tab, click Roll secret.
2
Choose how long the old secret signs
Under Expiration, pick Now, 1 hour, 2 hours, 4 hours, 8 hours, 16 hours or 24 hours (the default). Now switches to the new secret at once, so requests fail verification until your endpoint has it.
3
Roll
Click Roll secret.
SEVALLA_WEBHOOK_SECRET, with the old one as SEVALLA_WEBHOOK_SECRET_OLD) before the period ends, then remove the old one.
Update a webhook
On the webhook’s Overview tab, click Update, change the Endpoint, Description or Allowed events, then click Update webhook. Changes apply to the next event. Retries of earlier events still go to the endpoint the event was sent to first.Disable or enable a webhook
1
Open the danger zone
On the webhook’s Overview tab, under Danger zone, click Disable webhook (or Enable webhook).
2
Confirm
Click Disable webhook (or Enable webhook) in the dialog.
Delete a webhook
Deleting a webhook deletes its event deliveries and analytics. You can’t undo this.1
Open the danger zone
On the webhook’s Overview tab, under Danger zone, click Delete webhook.
2
Confirm
Type the webhook’s endpoint, then click Delete webhook.
API and CLI
The API’s roll operation takes
expire_in_hours from 0 (the default) to 24. The API reference also describes the payload on Webhook events.