

- MySQL, MariaDB, and PostgreSQL open a SQL workspace where you can browse tables, edit records, and run queries.
- Redis and Valkey open a key-value workspace where you can browse the keyspace, edit keys, and run commands.
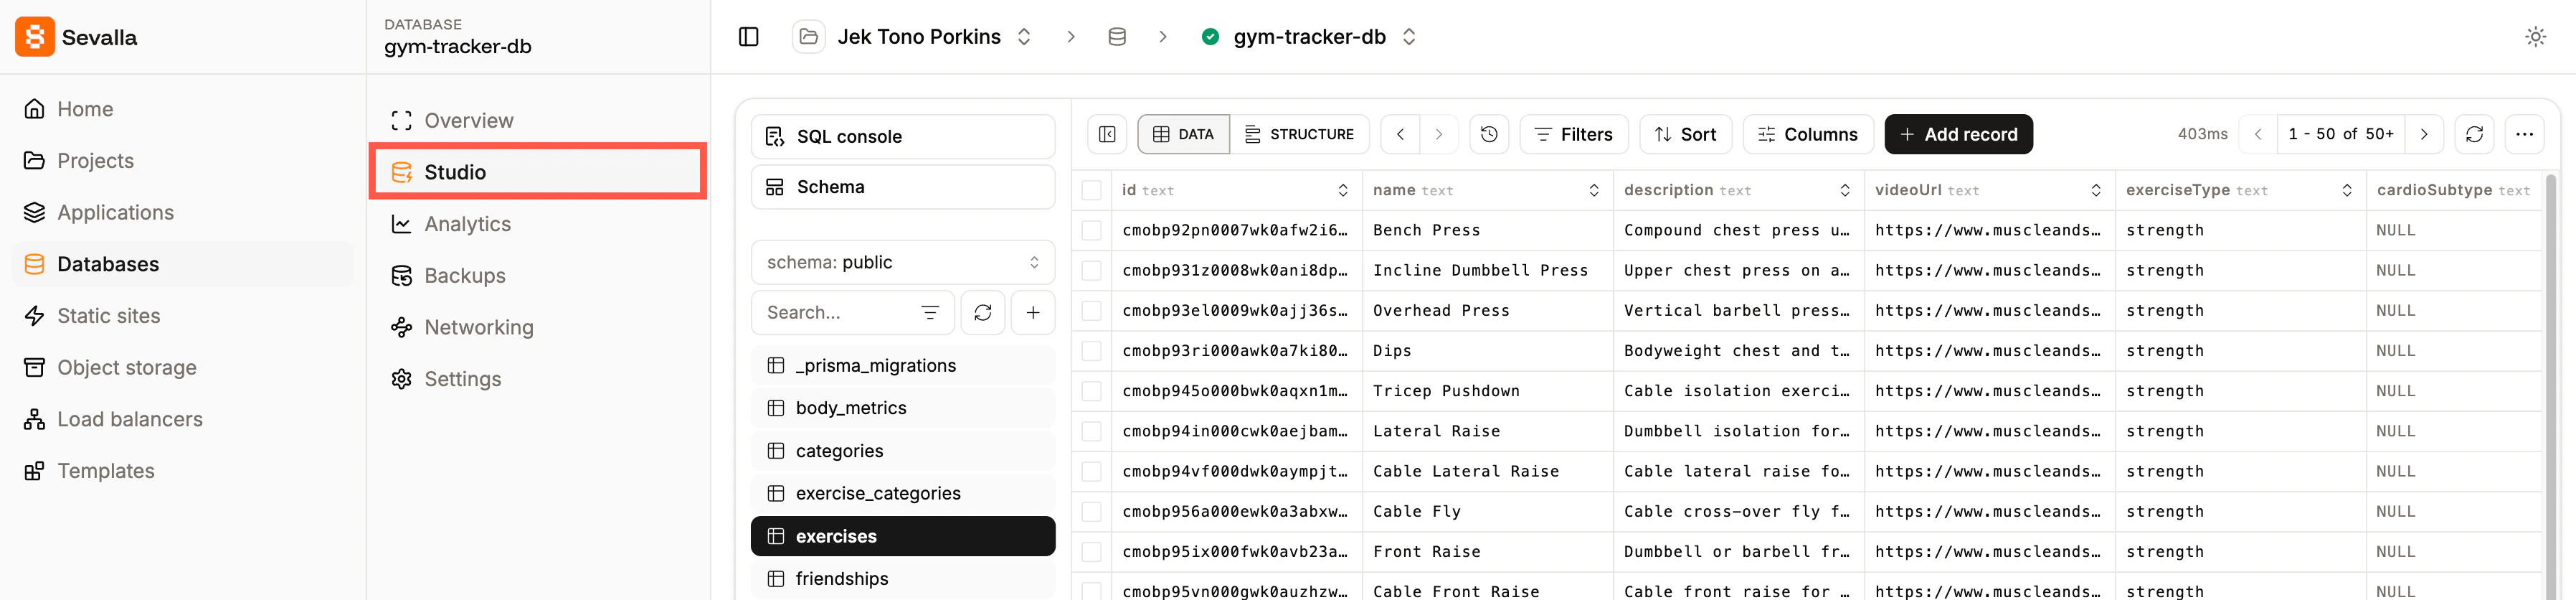
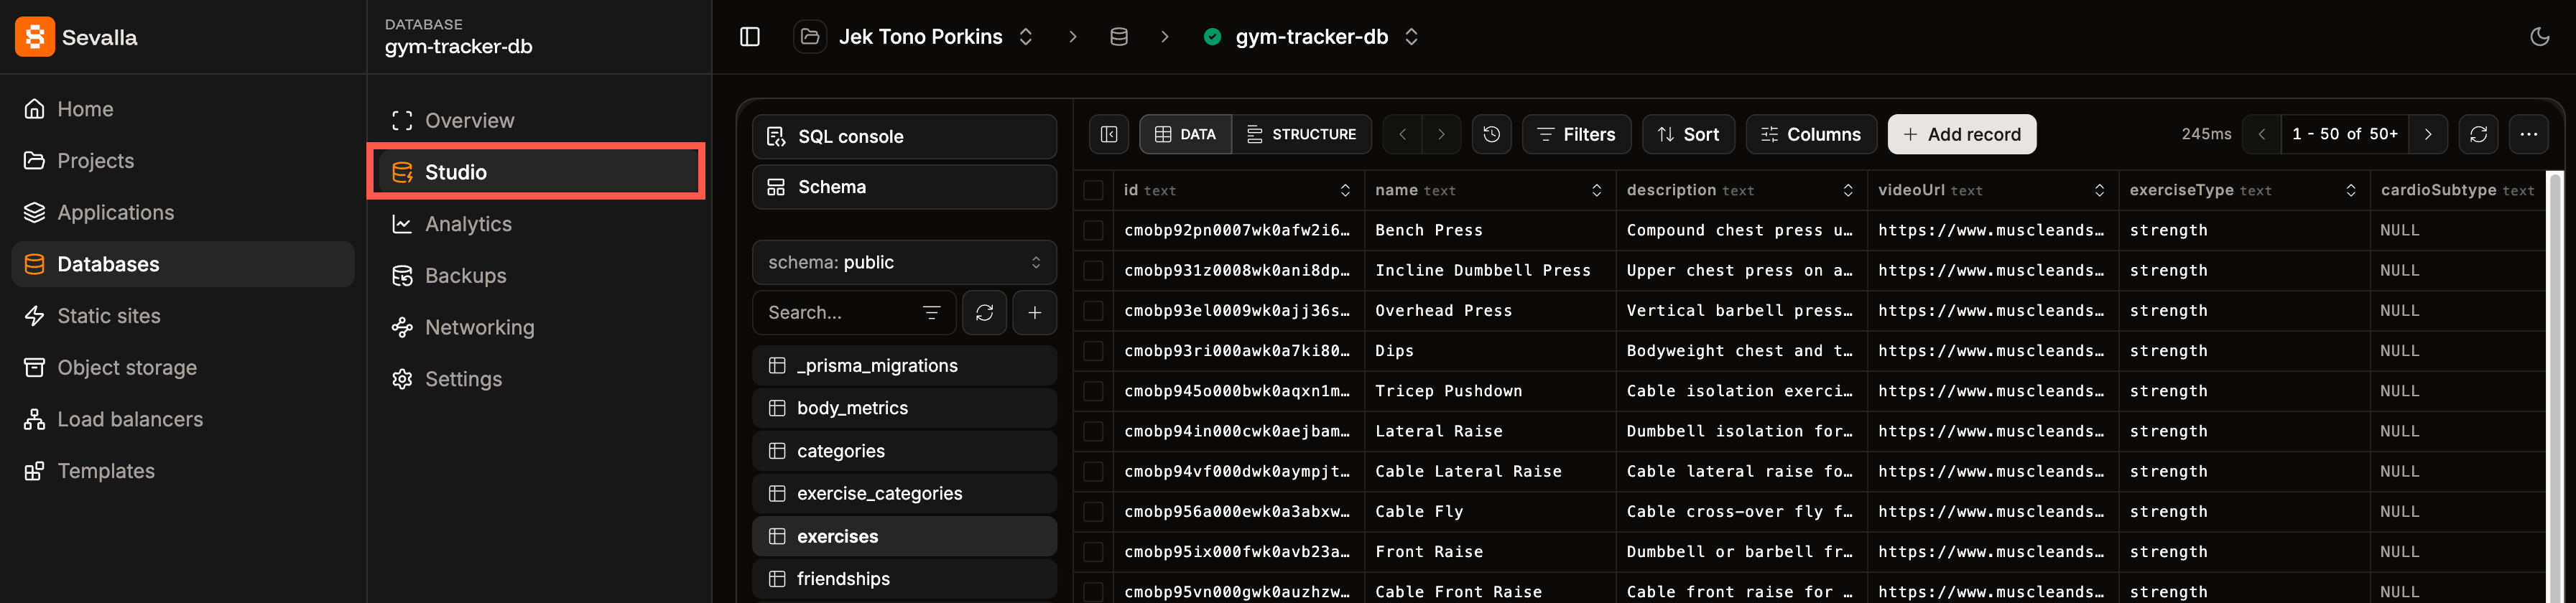
Access the Database Studio.
SQL databases
For MySQL, MariaDB, and PostgreSQL databases, the Studio opens a SQL workspace with your tables in the sidebar and the selected table’s data in a grid.Sort your data
Within the Database Studio, you can sort the columns by using the arrows at the top of each column; you can also choose which columns you want to show using the Columns option. You can use Filters to show specific data, and you can apply more than one filter at a time. When a filter is applied, it shows an exclamation mark on the Filters option.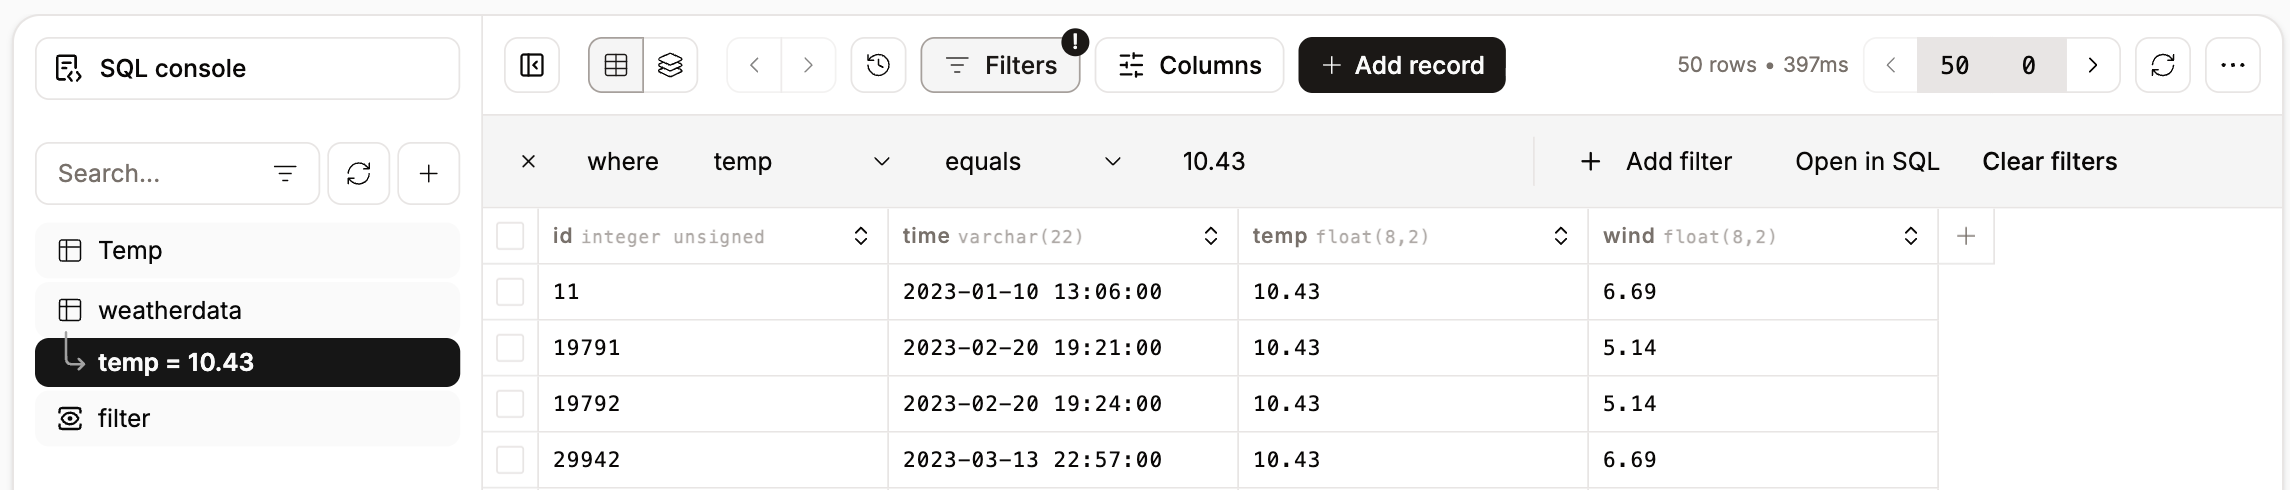
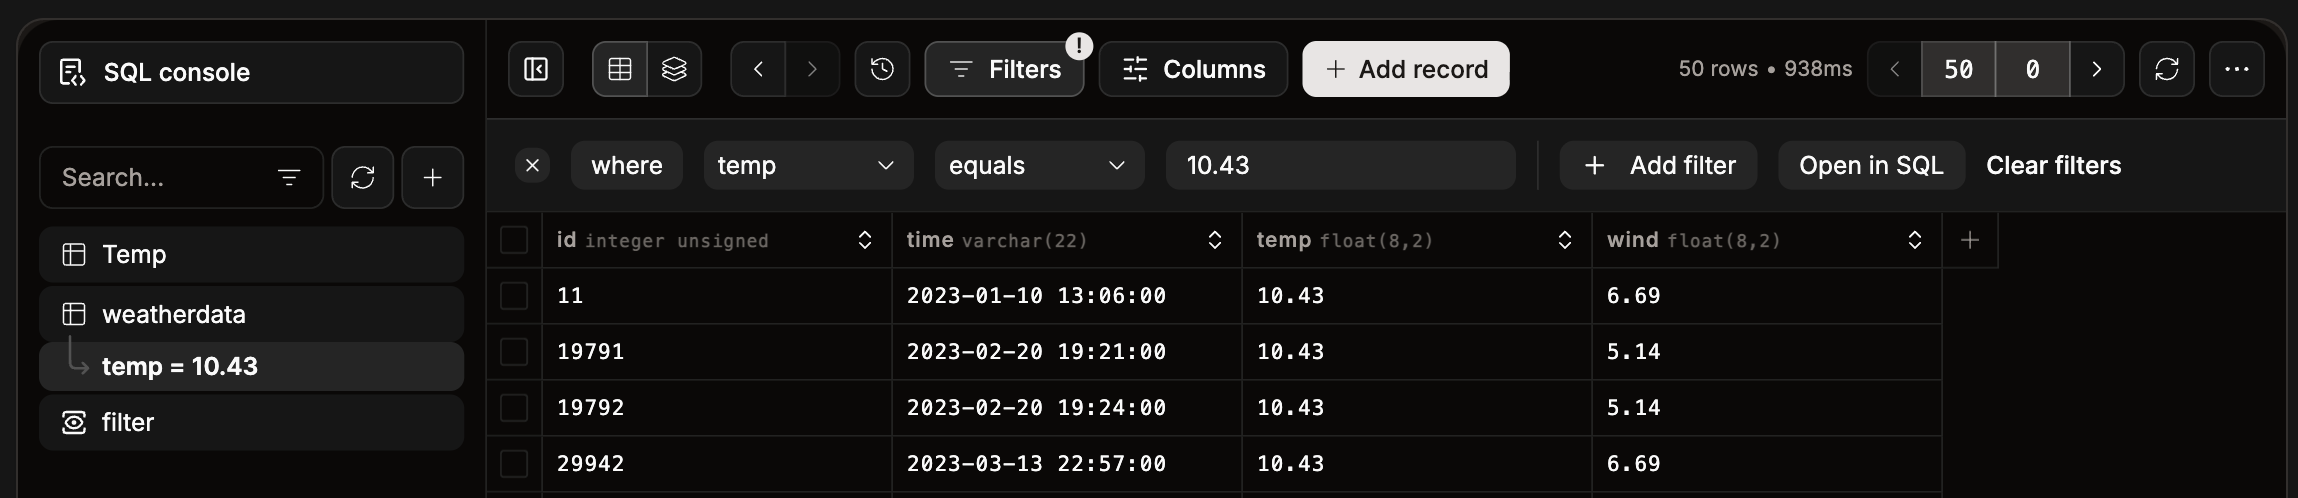
Apply filters to your database to show specific data.


Database studio SQL editor.

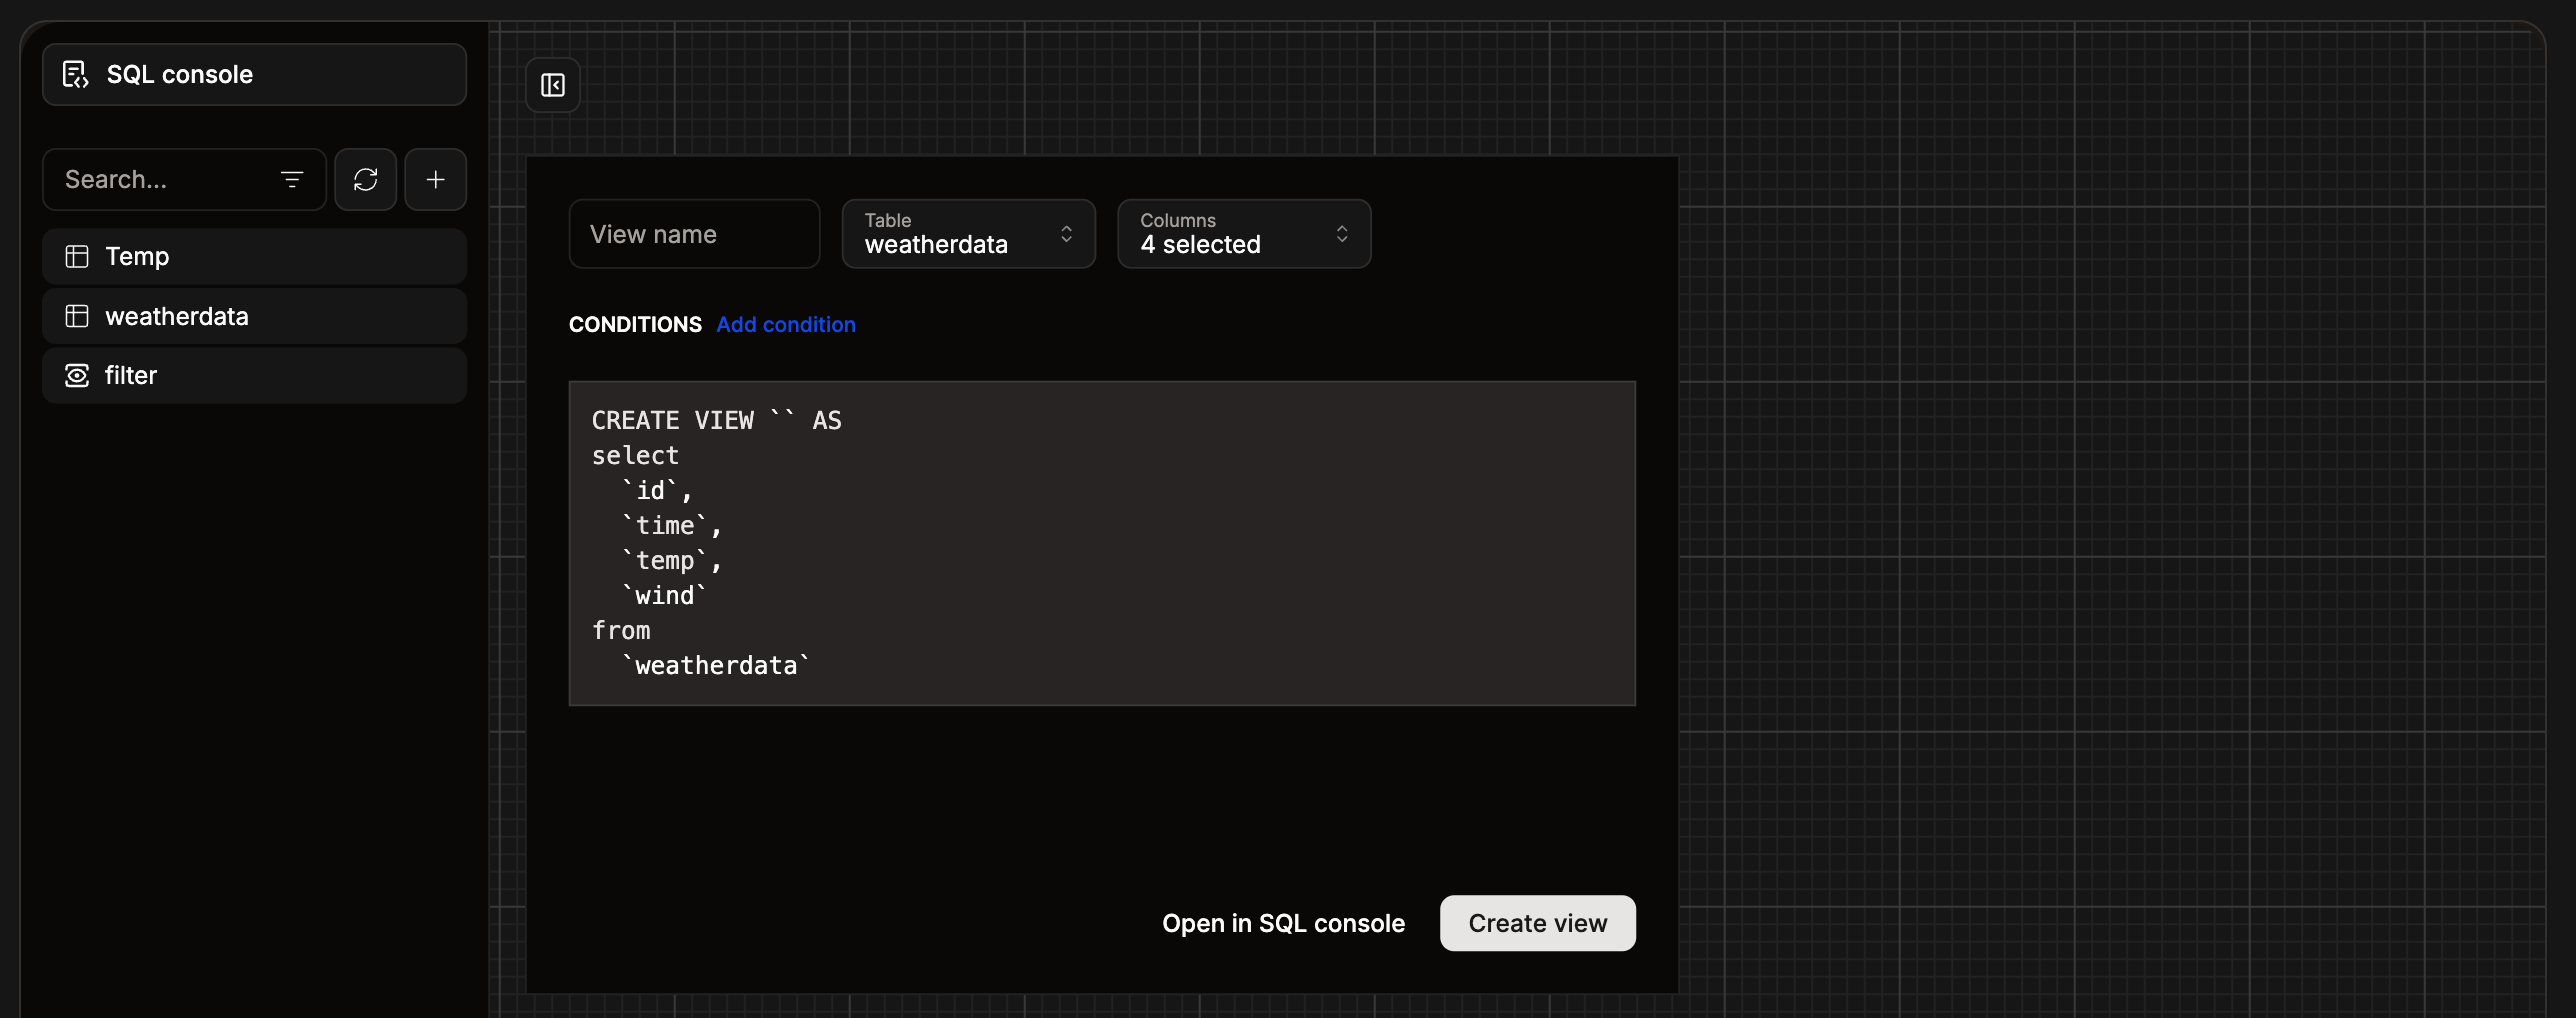
Create a new view for your database.
Export your database
Within the Database studio, you can export your entire database or just selected data to a.json, .csv, or .xlsx file. To export your data, click the ellipsis (three dots) and choose the file type you want to export to.
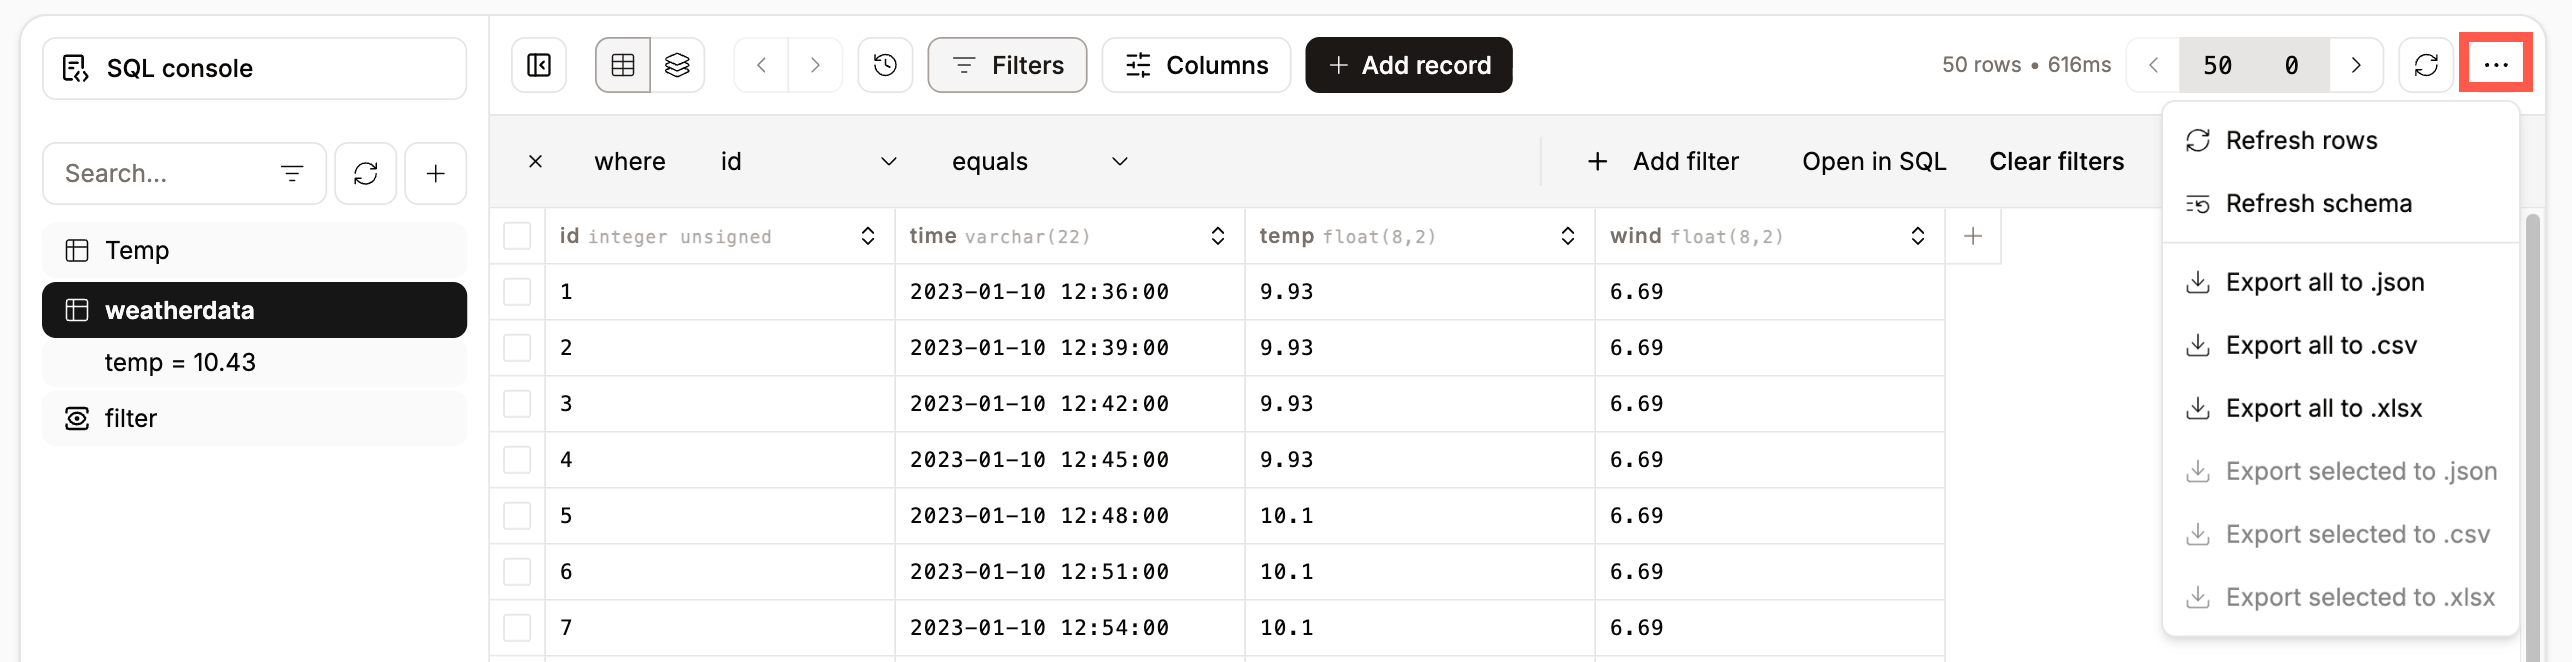
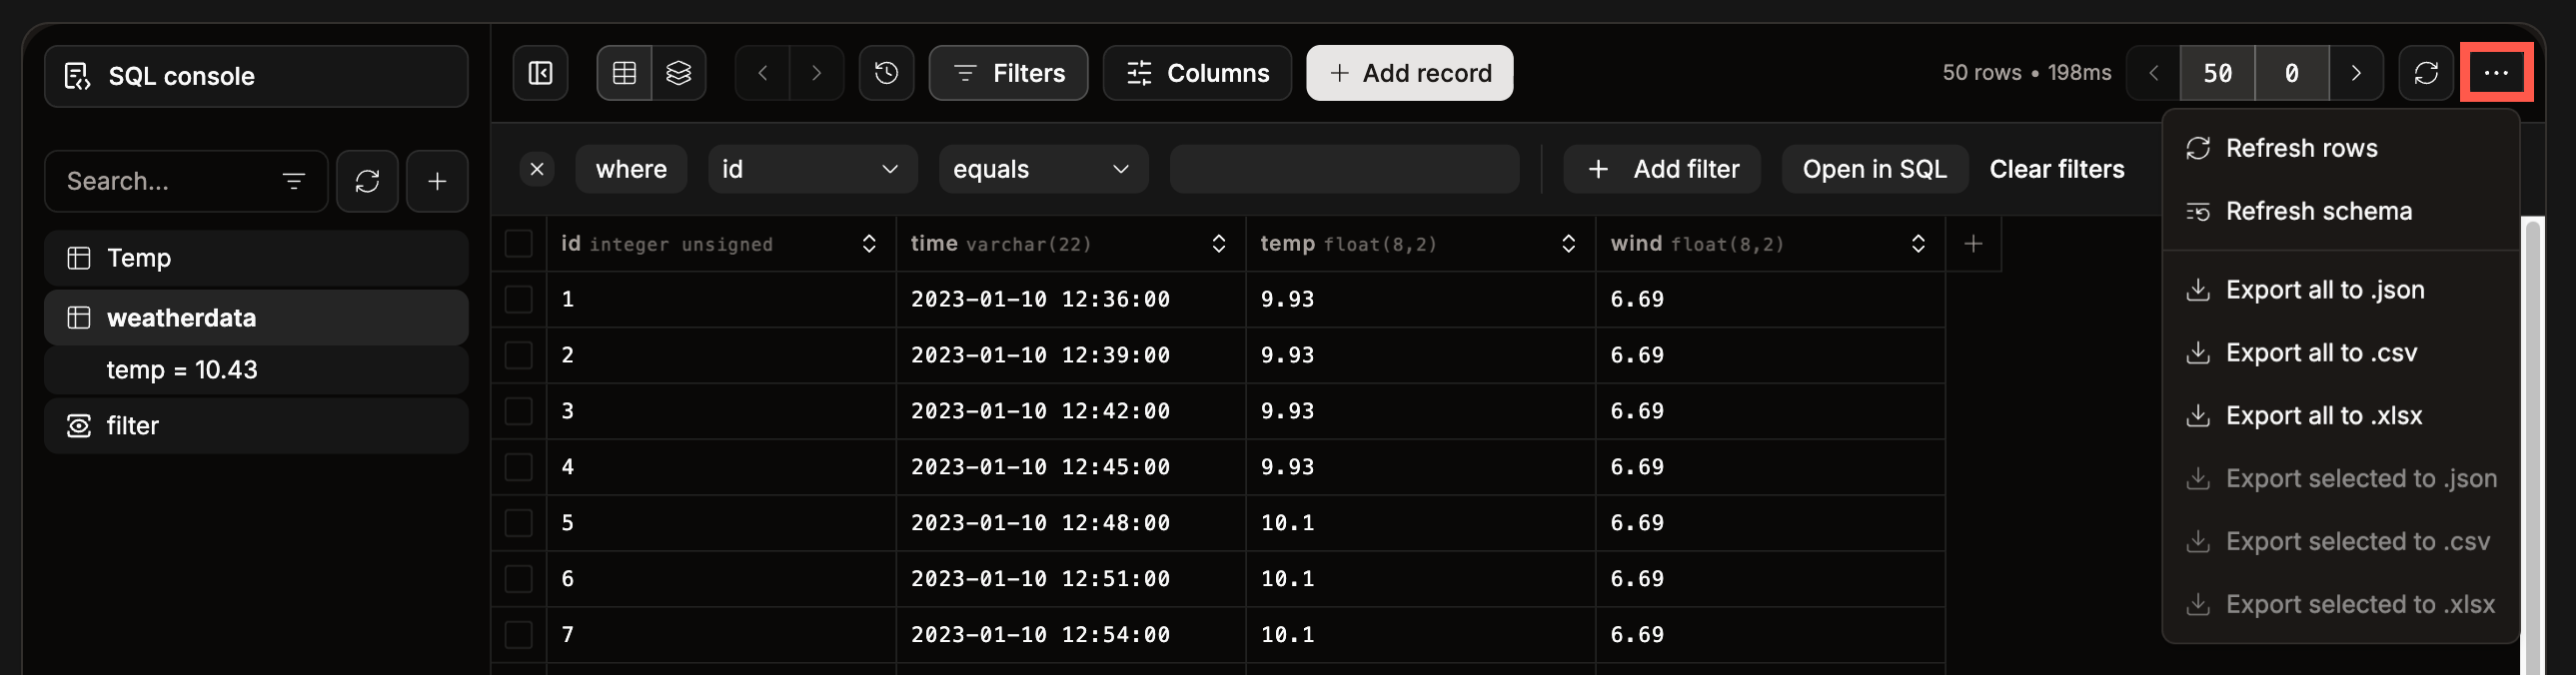
Export your database.
SQL console
Within the Database studio, you can access an SQL console where you can run SQL queries on your database. The SQL editor lets you view the Database Schema, Prettify the code for better readability, and Run the SQL directly in the console. When you run the SQL query, you can choose to show the results as a table or as JSON, and export the results to a.json, .csv, or .xlsx file. You can also store these queries as snippets and create folders to organize the snippets.
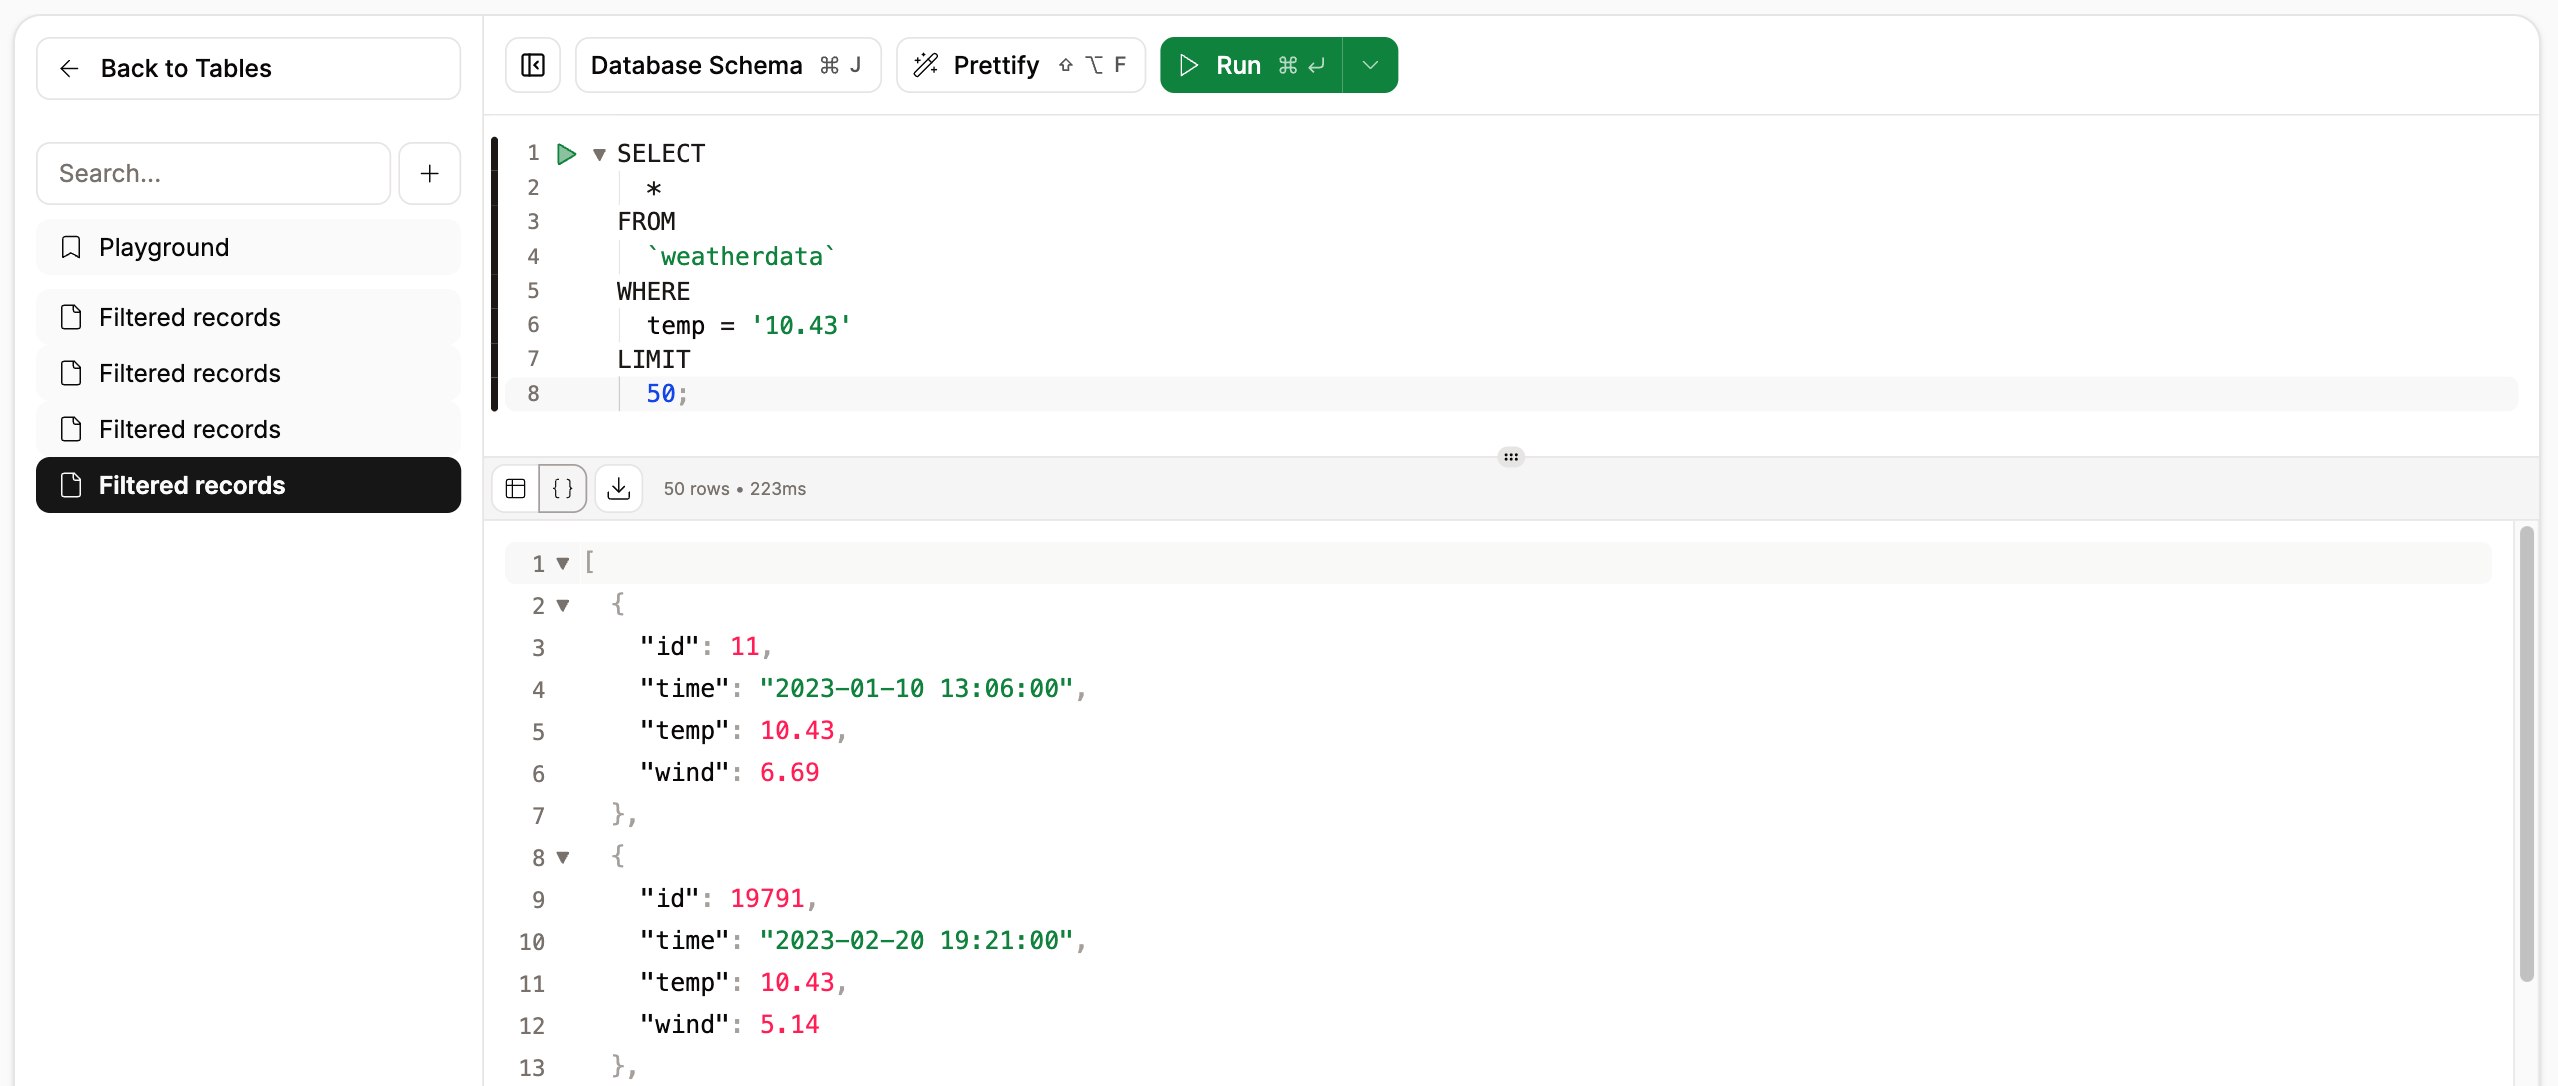
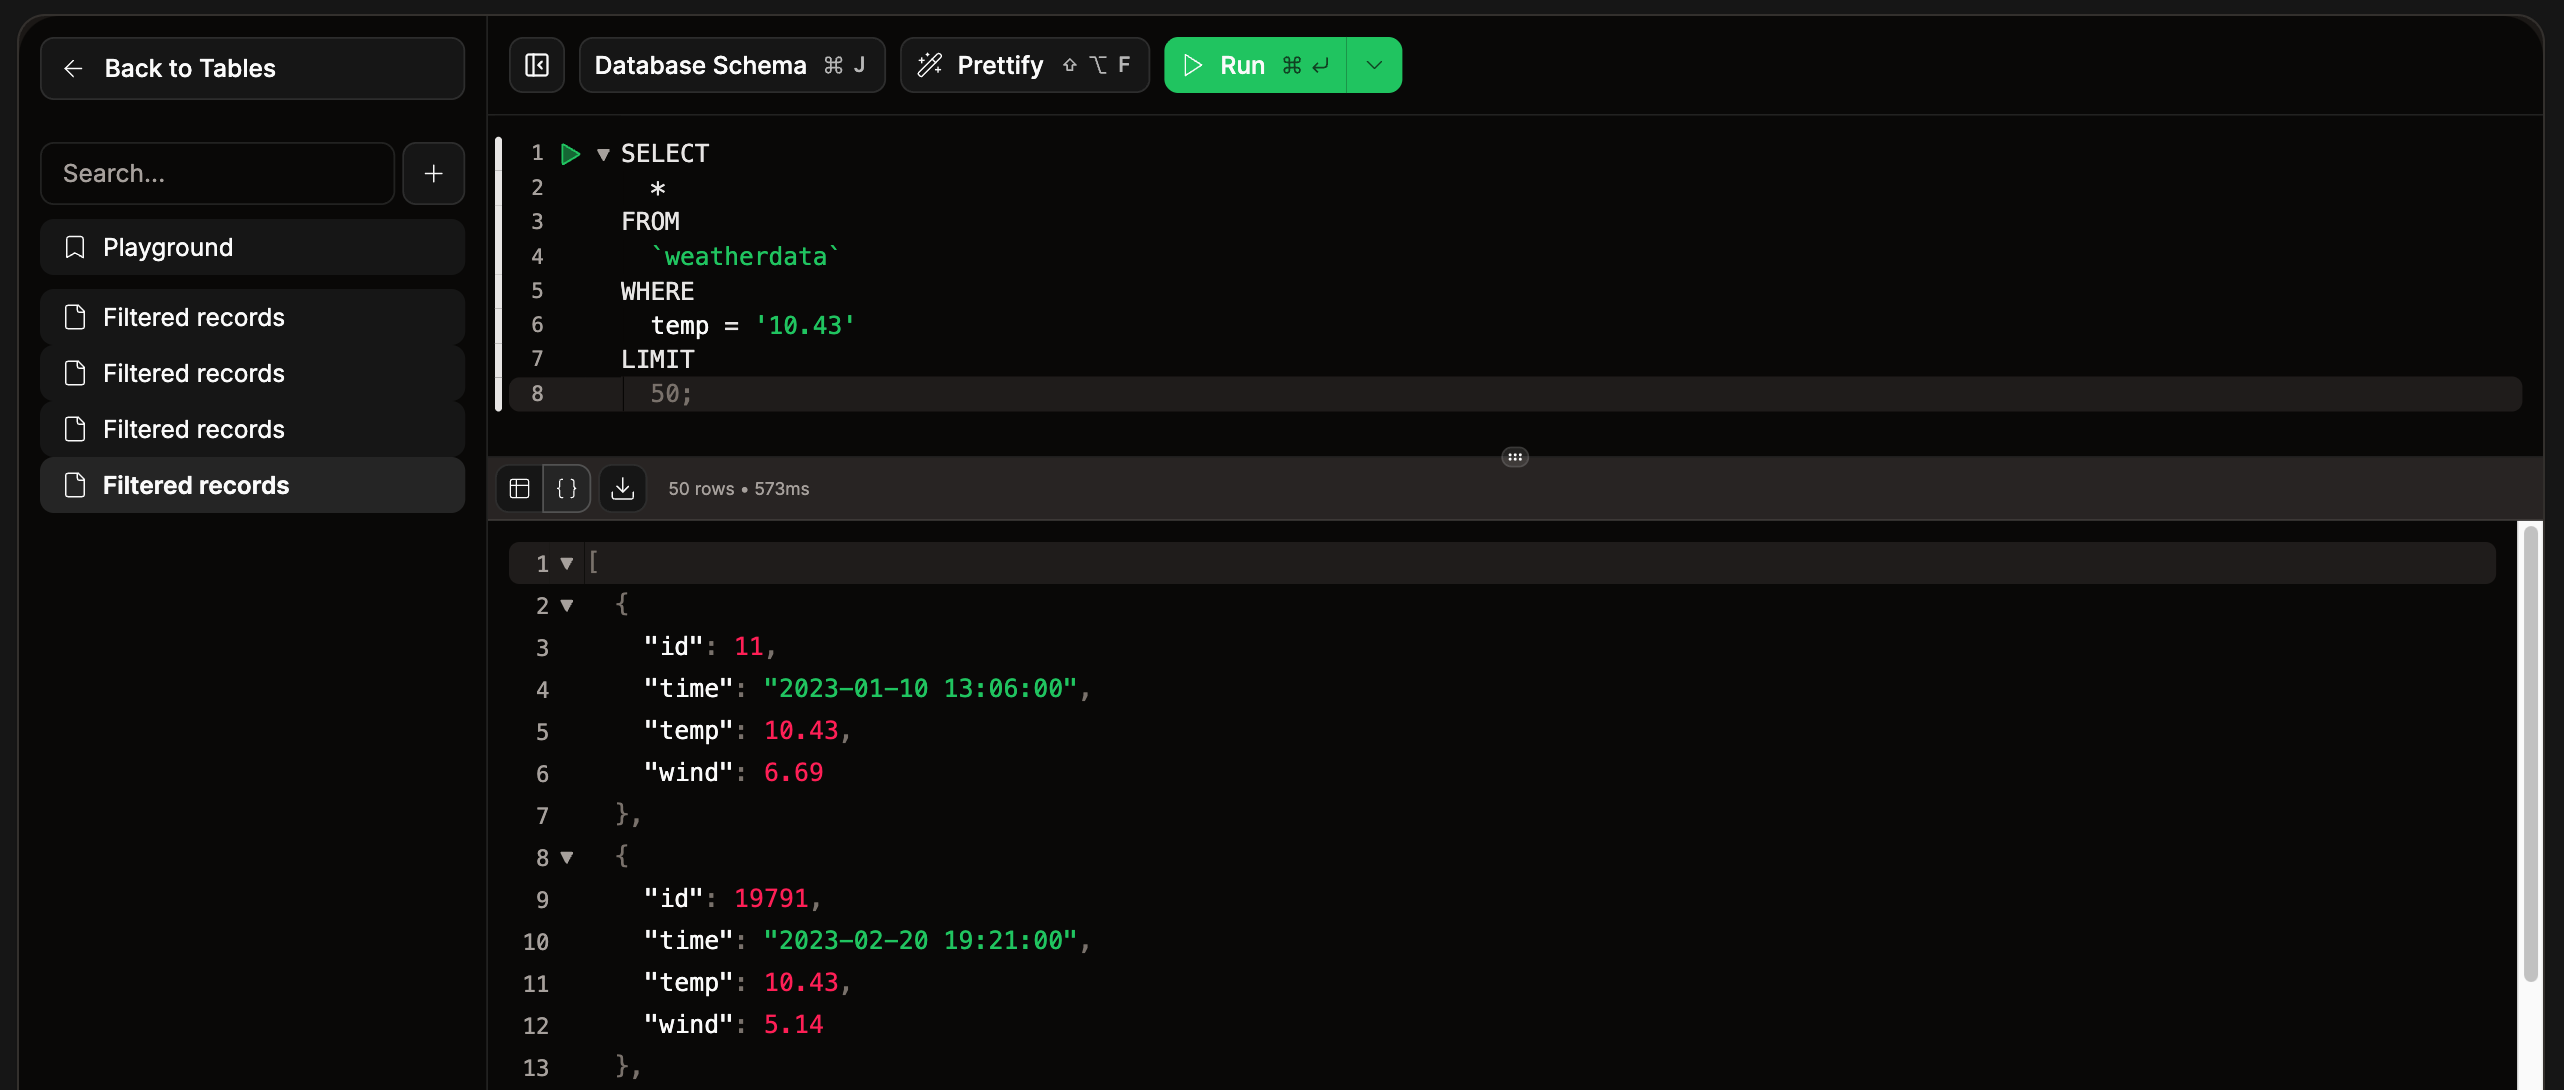
Database studio SQL console.
Add a record
To add a record to your database, click Add record, enter the required data into the table, and click Save x change(s).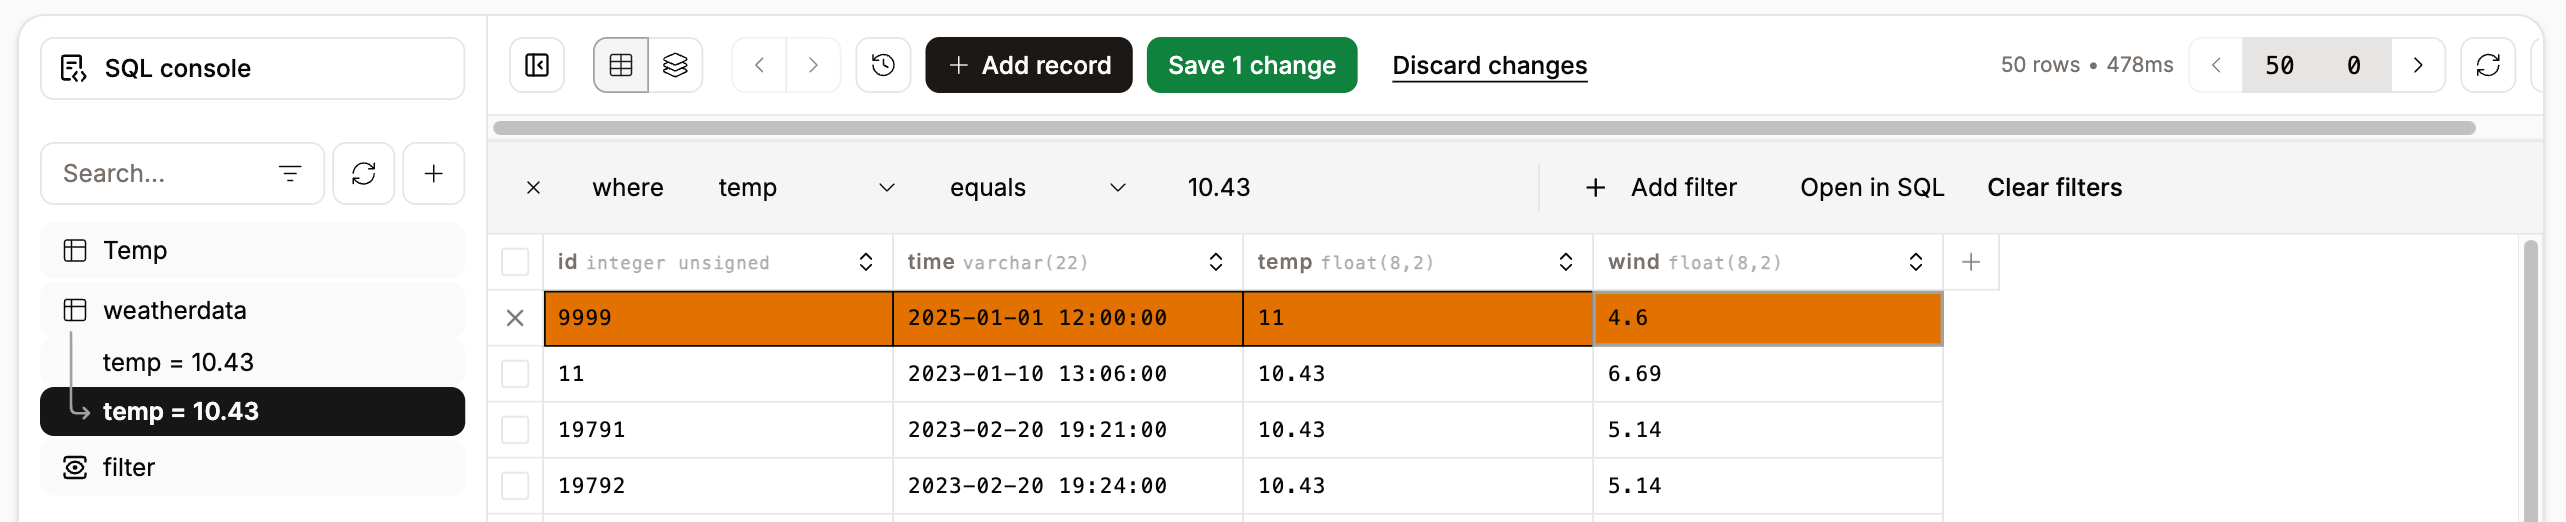
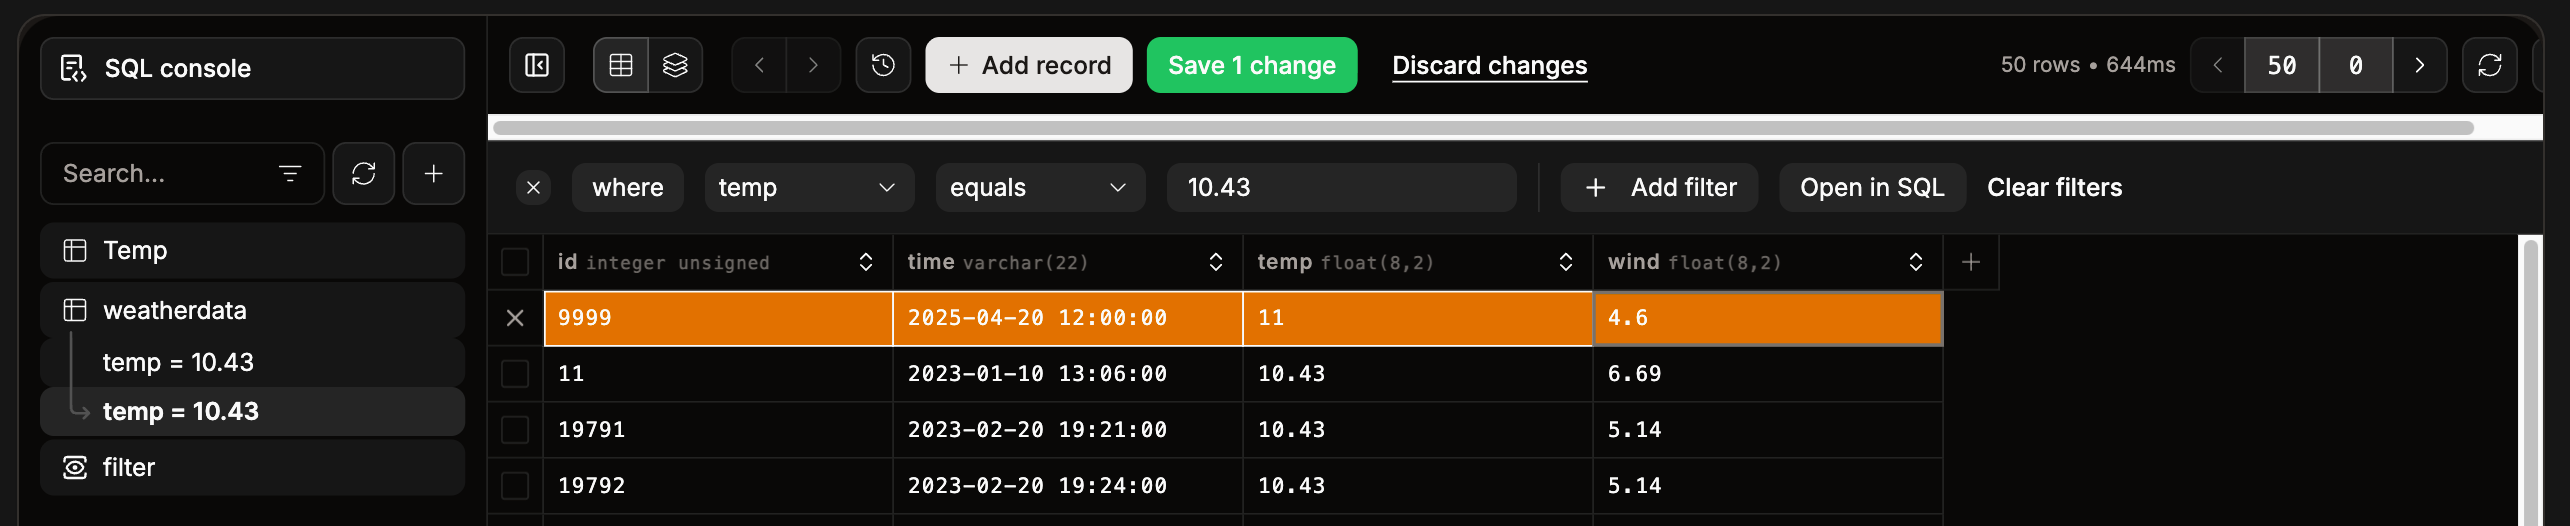
Add a record to your database table.
Add a table
To add another table to your database, click the plus icon and then Create Table. You can then name the table and define its columns, specifying the data type, constraints, default values, and expressions for any generated data. Additionally, you can add table-level constraints and indexes as needed.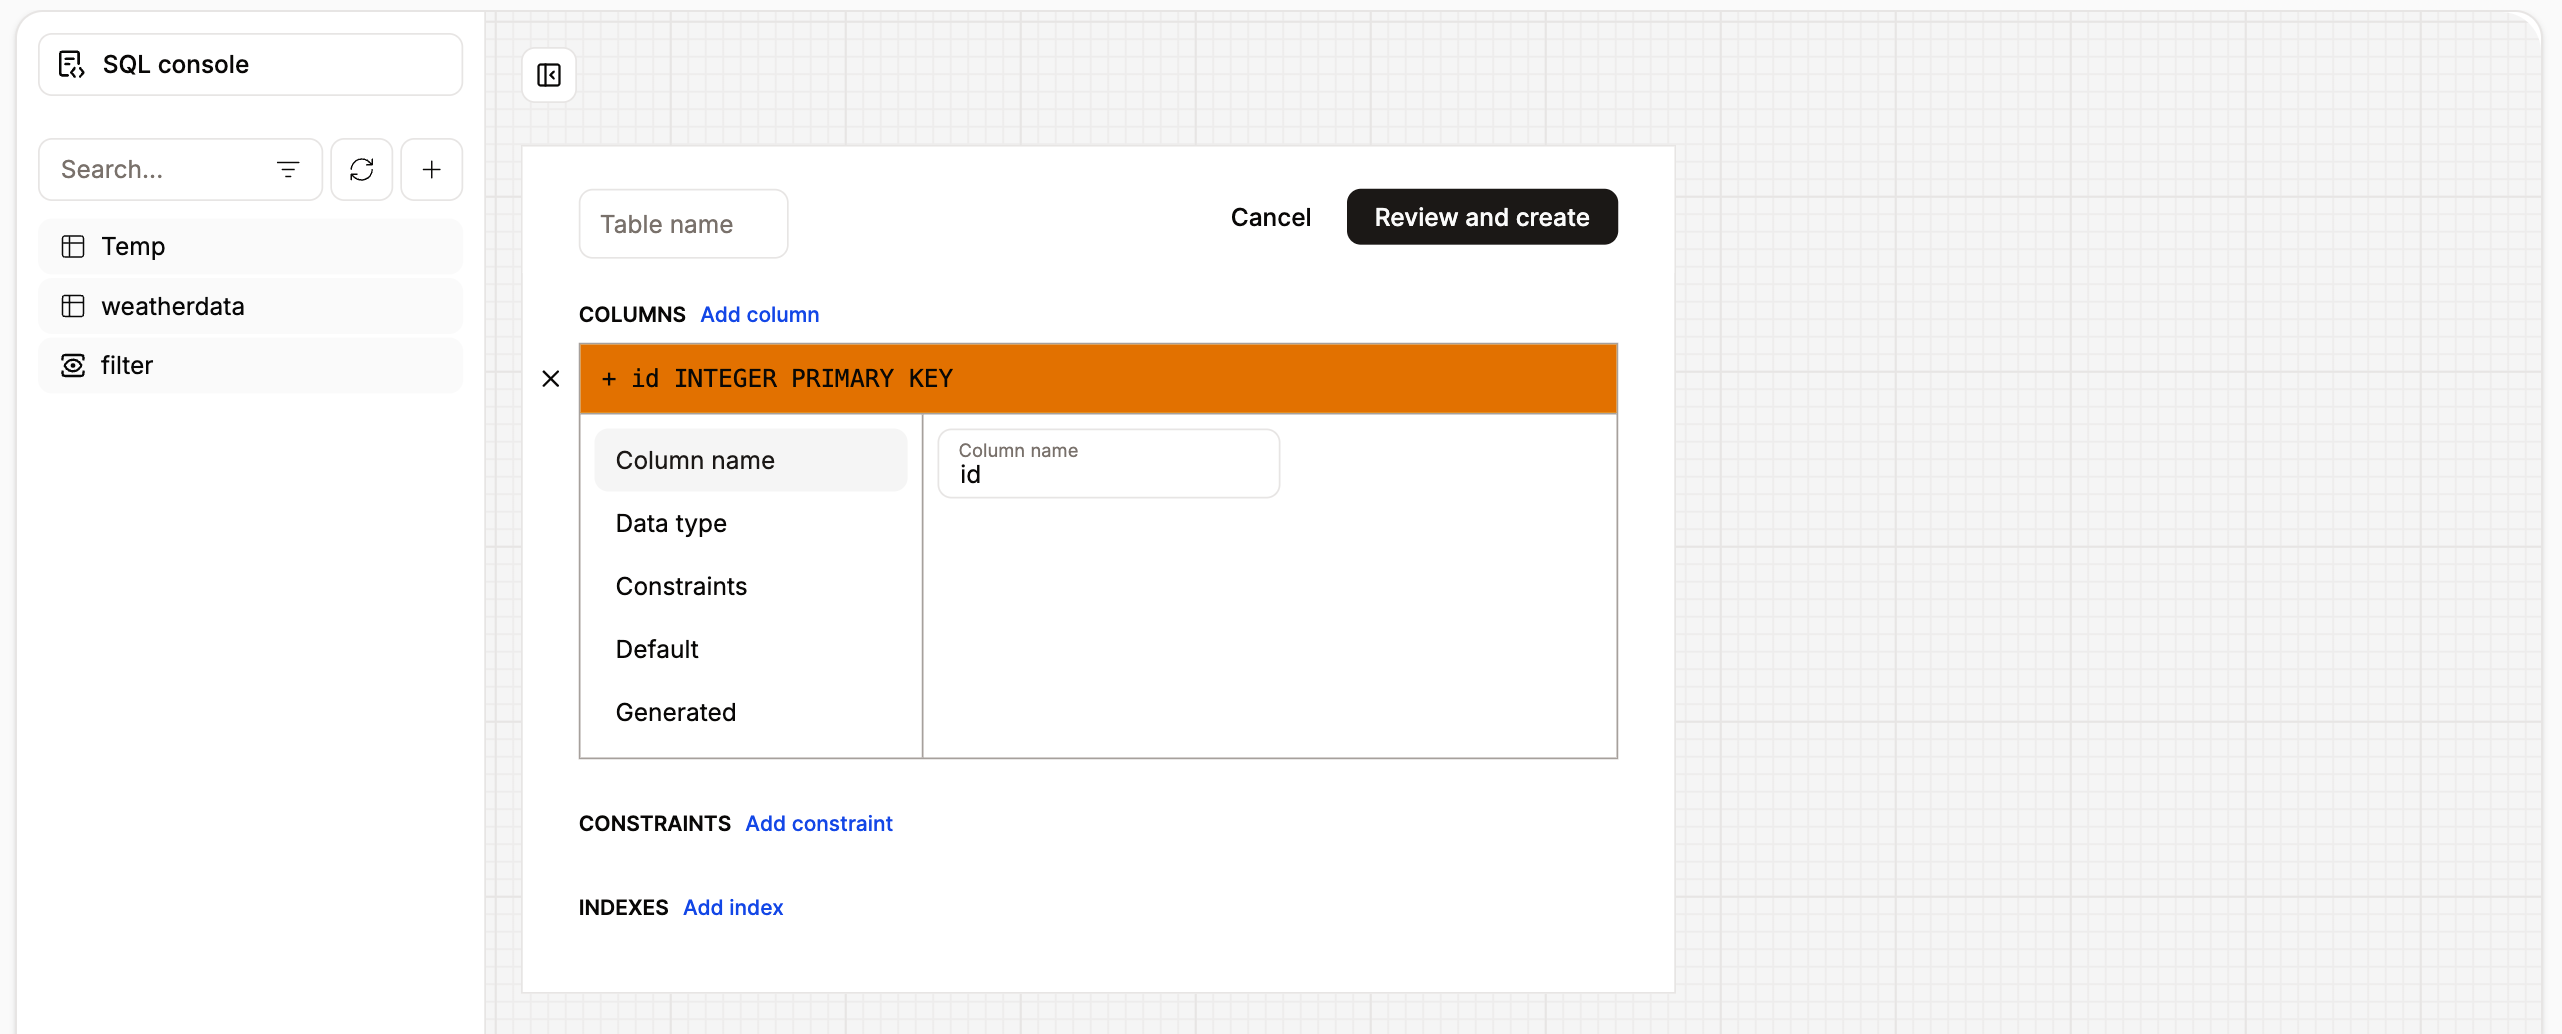
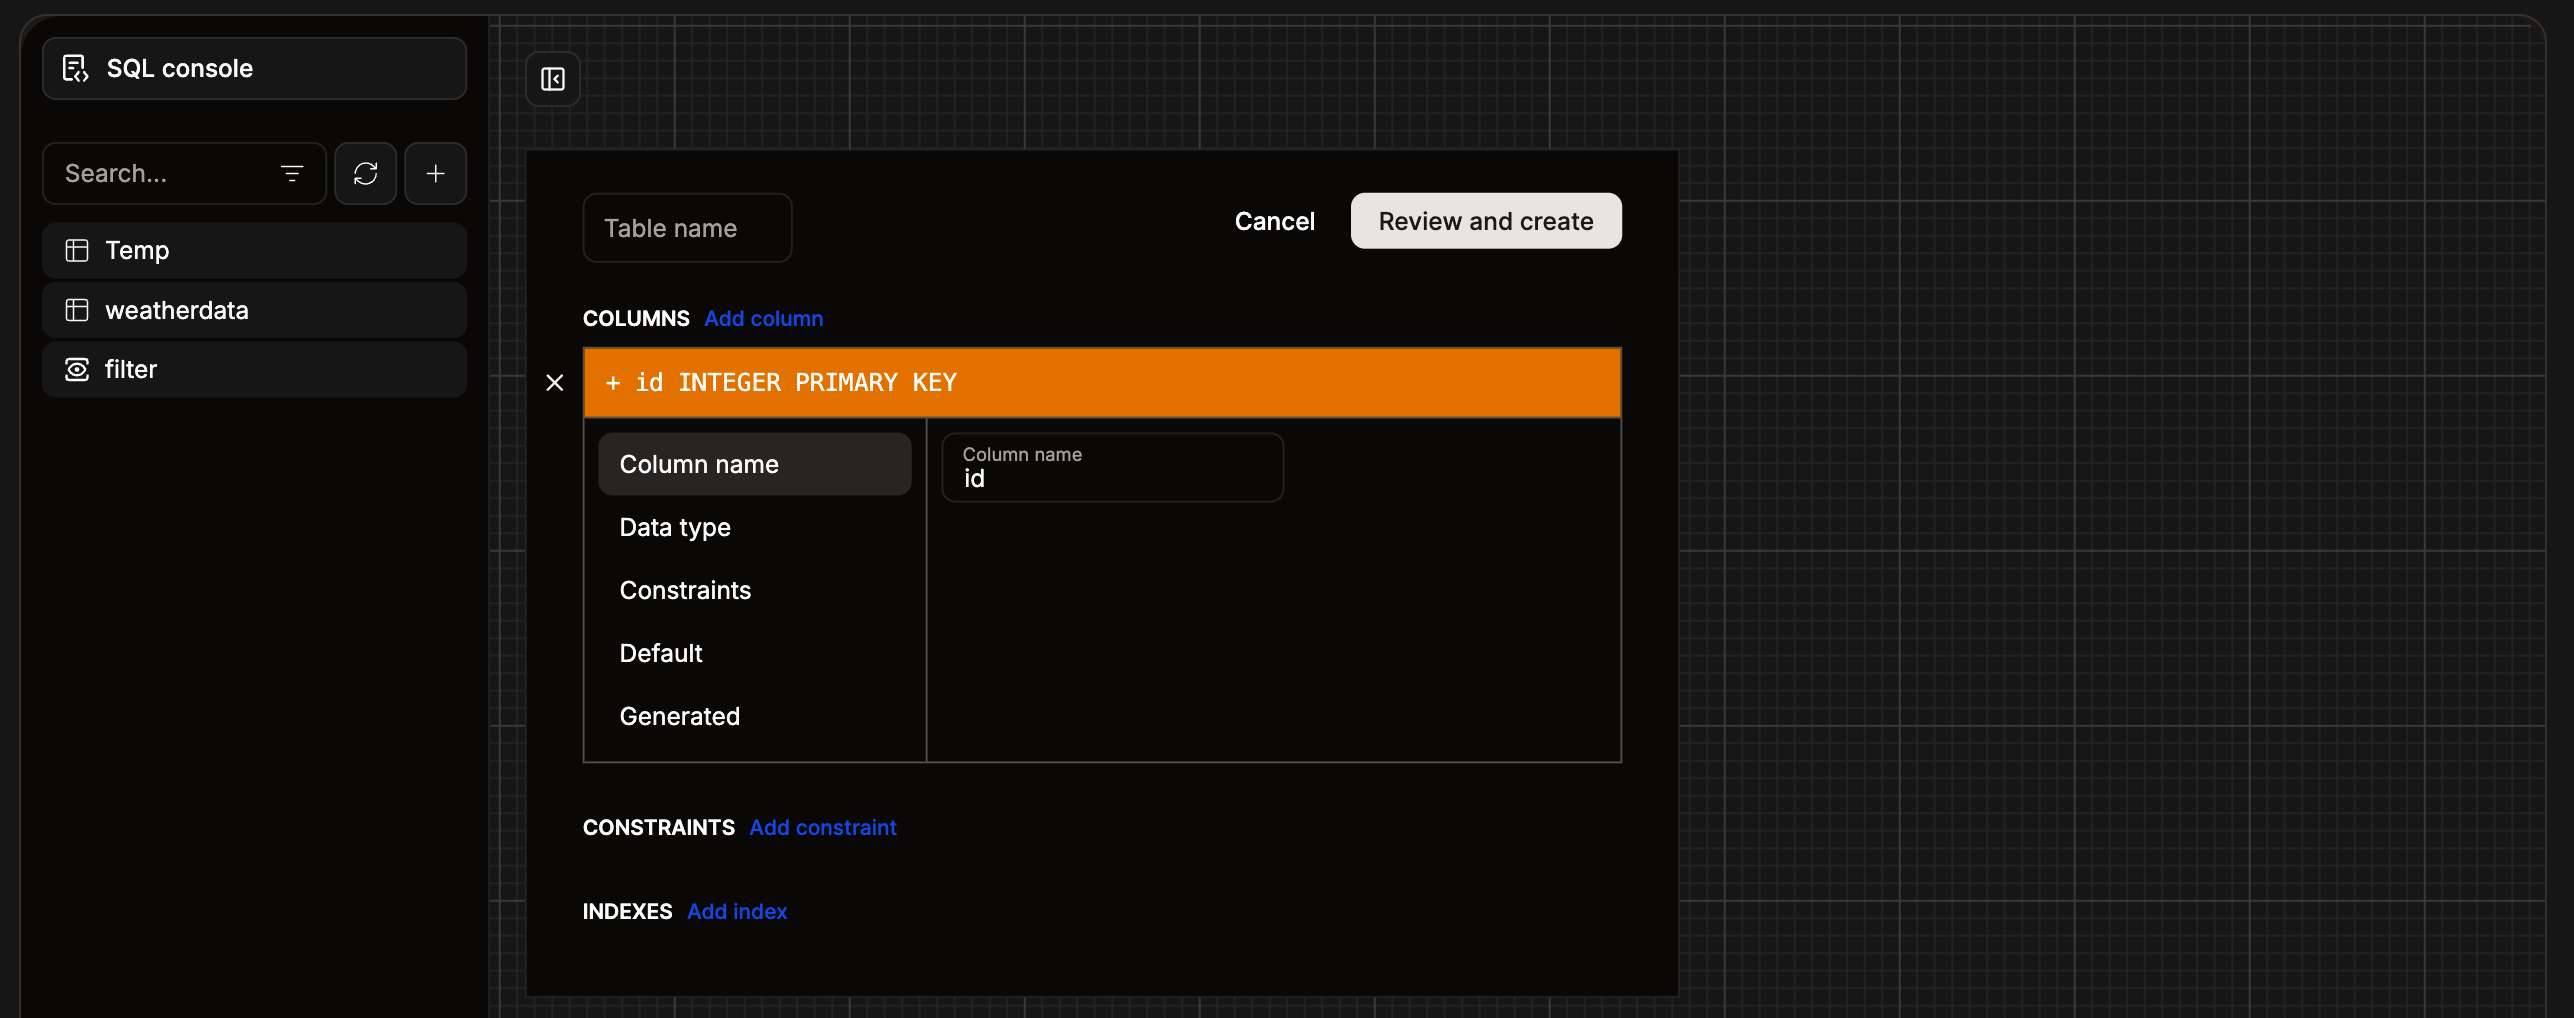
Add a new table to your database.
Settings
The following settings are available within the Database studio:- Table rows count: Displays the total number of rows in each table. This action performs a light scan of the table, which may slow down performance and increase billing costs, particularly for large tables or databases with many rows.
- Expand subviews: If a table contains a foreign key to another table, you can open the related data in a subview. This option keeps subviews open, allowing you to easily explore related records without navigating away.
- Pagination type: Choose how you want to view the results, Limit offset allows you to determine how many rows are shown per page, Pages shows the rows in batches of 50.
- Flat schemas: PostgreSQL only. Shows the database tables without grouping them by the schema.
- Show bytea as: PostgreSQL only. Choose to show the bytea data type as HEX or UTF8.
- Editor keybindings: Choose which keybinding profile you want to use for your keyboard shortcuts from VS Code, Vim, or Emacs.
Redis and Valkey
For Redis and Valkey databases, the Studio opens a key-value workspace instead of the SQL one. The sidebar has three tabs - Keys, Console, and Server - and a logical database selector, so you can switch between the databases on the same instance without reconnecting.Browse your keys
The Keys tab lists your keyspace. Keys are loaded page by page withSCAN, so large databases stay responsive. From here you can:
- Filter keys by pattern, for example
user:*, and by type. - Switch between Tree view, which groups key names into folders on the namespace delimiter, and List view, which shows a flat list.
- Select multiple keys to delete them or set their time to live in one action.
- Click Rescan keys to reload the list, or load more keys as you scroll.
.csv or .json file.
View and edit a key
Selecting a key opens an editor built for its type. The Studio supports string, hash, list, set, sorted set, stream, and JSON keys. Values open in an editor that highlights JSON, matches brackets, and folds blocks, and falls back to plain text for other values. Collections are paged and filterable, so you can work through a large hash, list, set, sorted set, or stream without loading it in full. Depending on the type, you can add, edit, and remove fields, elements, members, and entries directly in the view. The key header shows the type, size, and remaining time to live, and gives you these actions:- Rename key, and Duplicate key on servers that support the
COPYcommand - Open in console - opens a read command for the key in the console
- Delete key
- Set or clear the key’s time to live
Run commands
The Console tab is aredis-cli style console. Enter one command per line and run it against the selected logical database. The editor autocompletes command names and shows inline hints as you type.
The sidebar keeps a searchable History of the commands you ran, so you can rerun one with a click, and a Reference of commands grouped by category.
You can also switch the protocol between RESP3 (maps as objects, doubles as numbers) and RESP2 (flat arrays of strings), and choose whether replies are shown as redis-cli style output or as JSON.
Inspect the server
The Server tab shows the state of your Redis or Valkey server in four sections:- Overview: Memory, clients, throughput, and keyspace at a glance.
- Info: Every
INFOfield, searchable. - Slow log: Commands that exceeded the slow log threshold.
- Clients: The clients currently connected to your database.
Key-value settings
The following settings are available for Redis and Valkey databases:- Key list: Choose whether the keys open in Tree or List view by default.
- Namespace delimiter: The character that splits key names into folders in the tree view,
:by default. - Keys per scan: How many keys are loaded per page.
- Live TTL countdown: Ticks the remaining time to live down every second instead of showing a static value.
- Console keybindings: Choose which keybinding profile the console uses, from VS Code, Vim, or Emacs.