

How deployments work
How deployments queue:
- Production deployments run one at a time per site, in the order they were requested, so the most recent one is the one that ends up live.
- Preview deployments build in parallel: previews of different branches run at the same time as each other and as production. Pushes to the same branch still run one after another.
- A site can have 10 deployments queued or running, production and previews together. Beyond that, Deploy now fails with
Pending deployment limit reached for static site "<id>", and pushes don’t start a deployment.
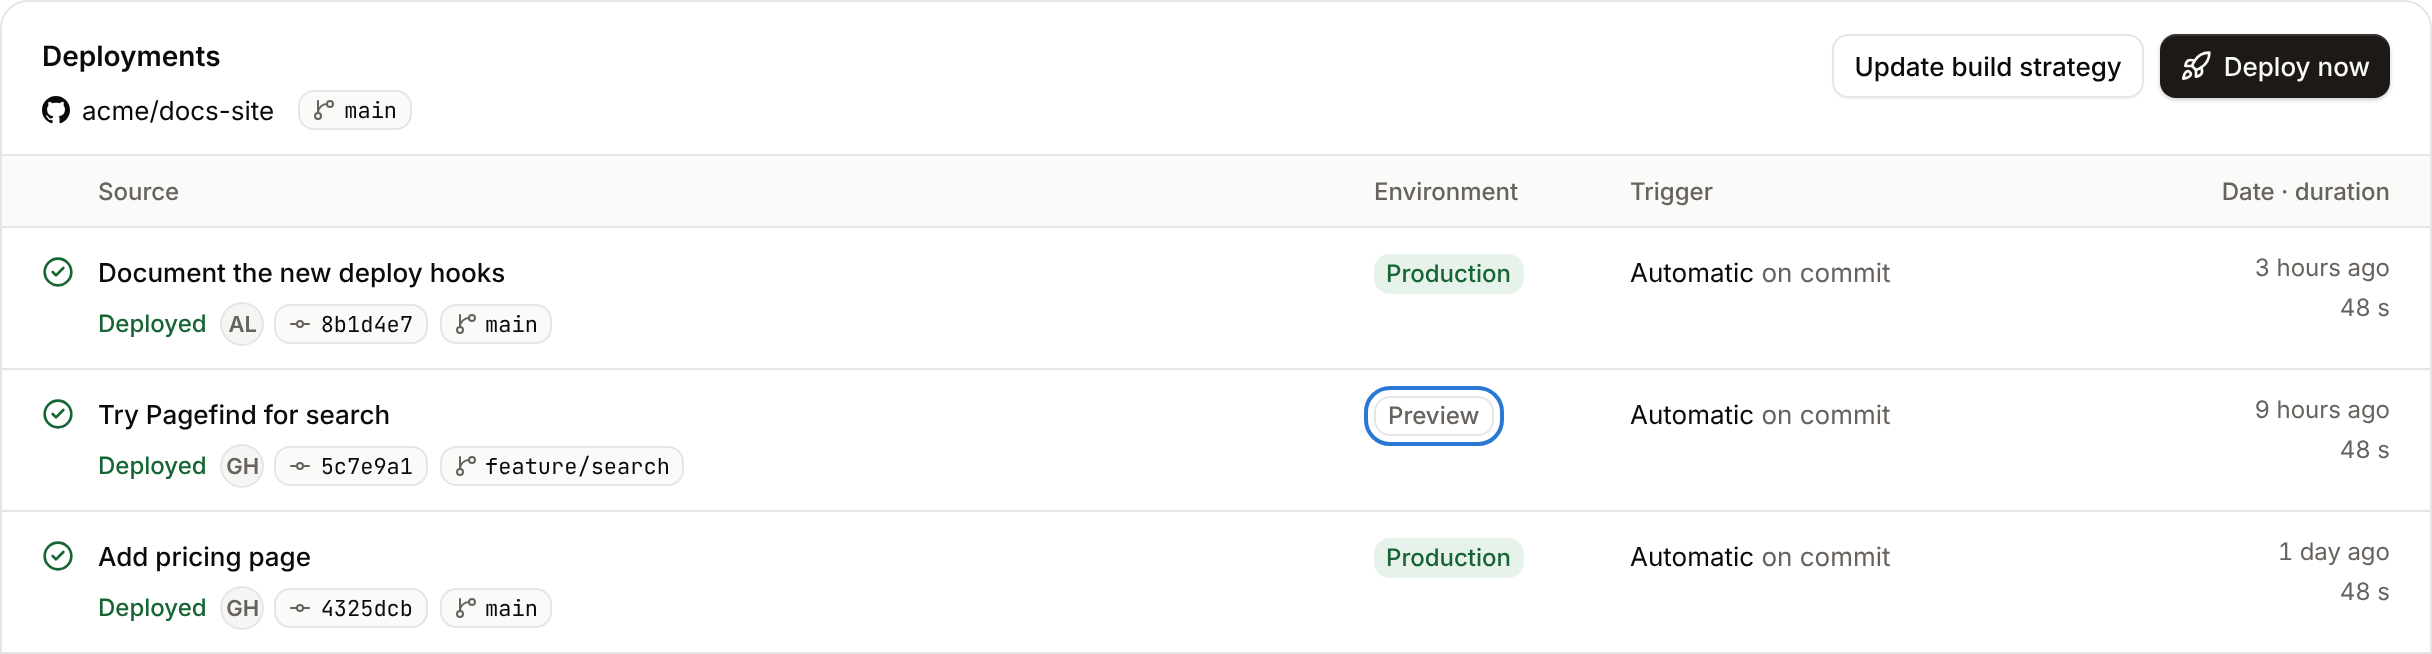
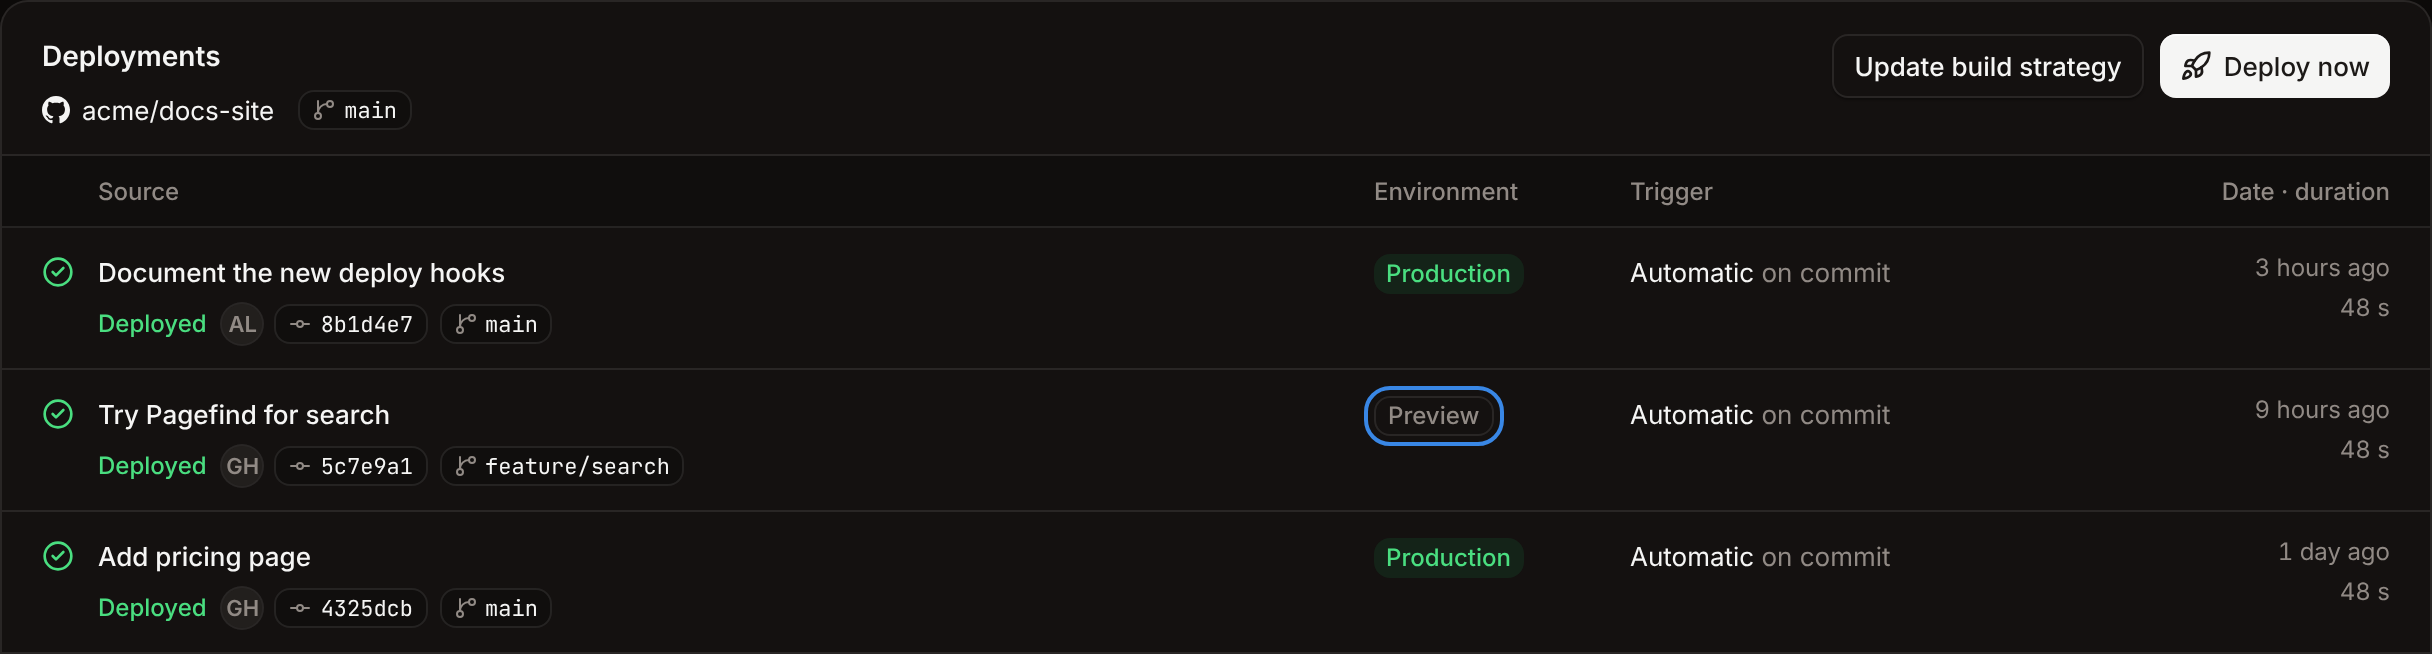
Deploy by hand
1
Open the deployments
In the sidebar, click Static sites, then click the site. Click the Deployments tab.
2
Choose the branch
Click Deploy now. In the Manual deploy sheet, choose the Branch. It starts as the site’s default branch. For a public repository, type the branch name.
3
Deploy
Click Deploy.
Deploy automatically on push
With Auto-deploy on, every push to the site’s default branch starts a production deployment. It’s available for sites built from a private repository, and it’s on when you create a site in the dashboard.1
Open the automatic deployment settings
On the site’s Settings tab, under Deploy, click Update auto-deploy.
2
Turn it on and choose the branch
Turn on Auto-deploy, choose the Branch to deploy from, then click Update auto-deploy.
Choose which changes deploy
Deploy paths decide whether a push starts an automatic deployment (production or preview), based on the files the push changed. They don’t affect Deploy now. A push they exclude still shows in the list, with the status Skipped.
Patterns use glob syntax and are relative to the repository root:
* matches within a folder, ** across folders. For example, apps/docs/** matches every file under apps/docs, and **/*.md matches Markdown files in any folder. Don’t start a pattern with /: changed files are compared without one, so /apps/docs/** never matches.
Deploy paths need the list of files a push changed, which GitHub and GitLab send. Bitbucket pushes don’t include the list of changed files, so deploy paths can’t filter them: every push to a static site built from a Bitbucket repository deploys, whatever its deploy paths.
1
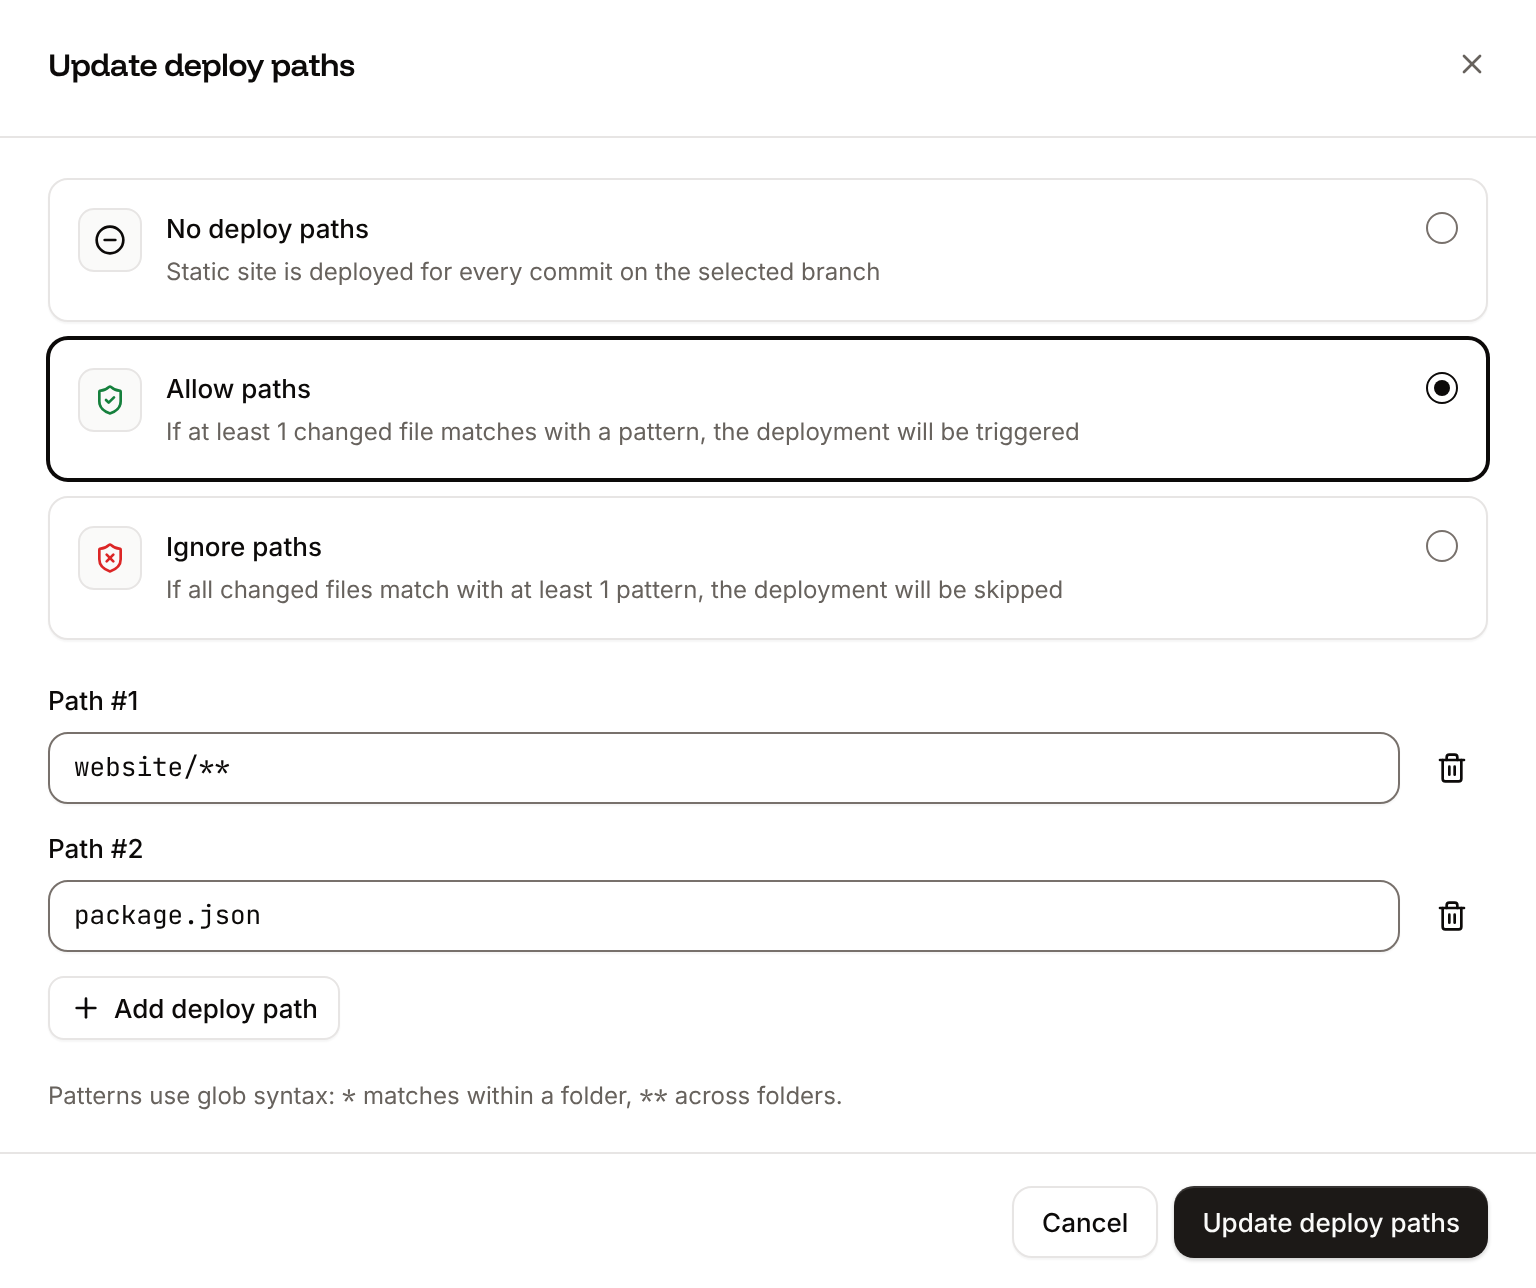
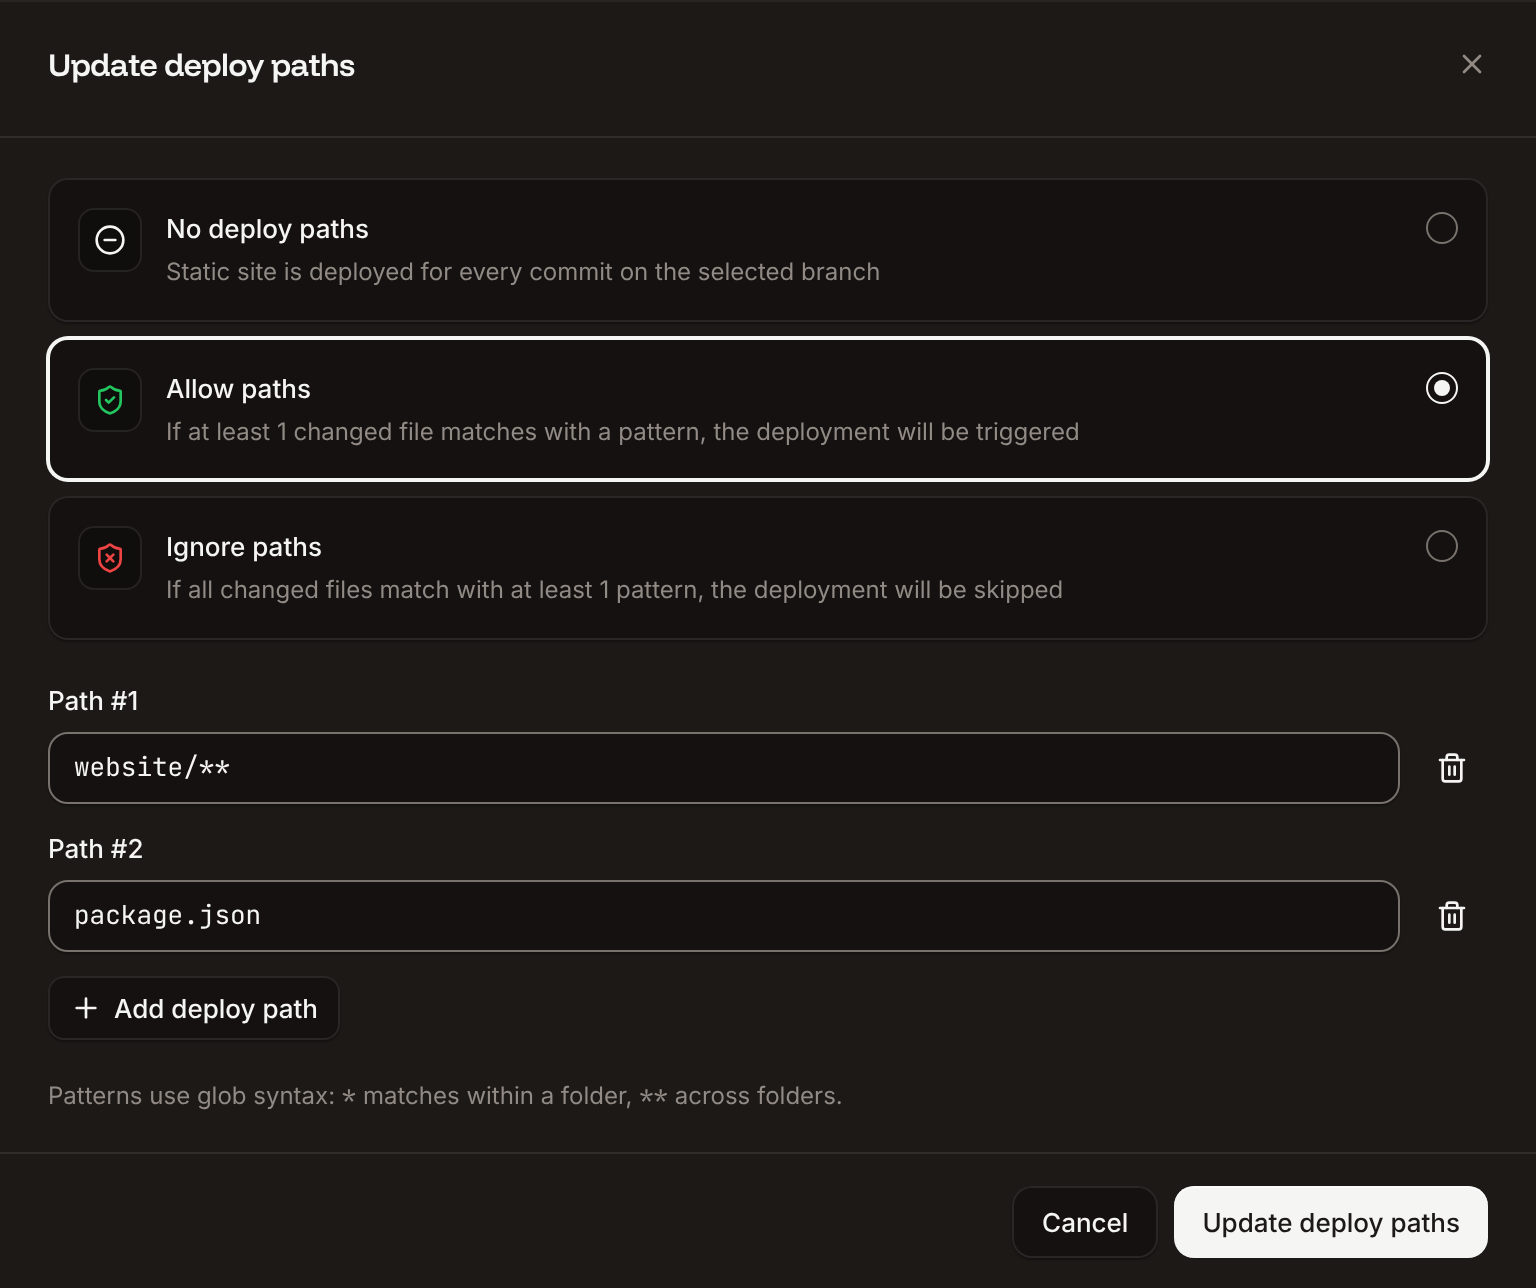
Open the deploy paths
On the site’s Settings tab, under Deploy, click Update deploy paths.
2
Choose the mode
Click Allow paths or Ignore paths. To turn the filter off, click No deploy paths.
3
Add the patterns
Enter a pattern in Path #1. Click Add deploy path for each other pattern, then click Update deploy paths.
Path is required, This path is already in the list).
Pull request previews
Pull request previews build every push to a branch other than the default branch and publish it on its own URLs, so you can review a change before you merge it. They’re available for sites built from a private repository, and they’re off for new sites.Enable pull request previews
1
Open the preview settings
On the site’s Settings tab, under Deploy, find Pull request previews and click Enable previews.
2
Confirm
In the dialog, click Enable previews.
How previews work
- Every push to another branch starts a preview, whether or not the branch has an open pull request. Deploy paths apply. On GitHub, pushing a new branch with no new commits doesn’t start one.
-
Each successful preview has two URLs on the site’s
sevalla.pagedomain:<name>is the site’s name,<commit>the first 7 characters of the commit SHA, and<branch>the first 22 characters of the branch name with every run of characters other than letters and digits replaced by-. For example, a push of commit5c7e9a1tofeature/searchon the siteacme-shop-k3x9ppublishesacme-shop-k3x9p-branch-feature-search.sevalla.pageandacme-shop-k3x9p-commit-5c7e9a1.sevalla.page. -
Sevalla comments on the pull request. For each open pull request from the branch, Sevalla posts a comment titled
Preview deployments for <display name>, with the status and links to both previews, and updates it on every push. On GitHub, it also reports a deployment in thepreviewenvironment that links to the commit preview. - Previews build with the variables marked Preview. A variable the API limits to one branch is used only in that branch’s previews. See Environment variables.
-
Previews apply your
_redirectsand_headersfiles, but not pretty URLs. - Previews never change the site’s status: a failed or running preview doesn’t mark the site as failed or block updates to it.
- Previews count toward the company’s free build minutes and bandwidth, like production. See Pricing and free allowances.
- Sevalla deletes a preview 30 days after it finishes. Its files and URLs go away; the deployment stays in the list. A branch preview URL lasts 30 days after the branch’s latest preview.
Open a preview
1
Open the preview deployment
On the site’s Deployments tab, click a deployment marked Preview.
2
Visit the preview
Click View previews, then Visit branch preview or Visit commit preview. The commit preview is available once the deployment shows Deployed.


Follow a deployment
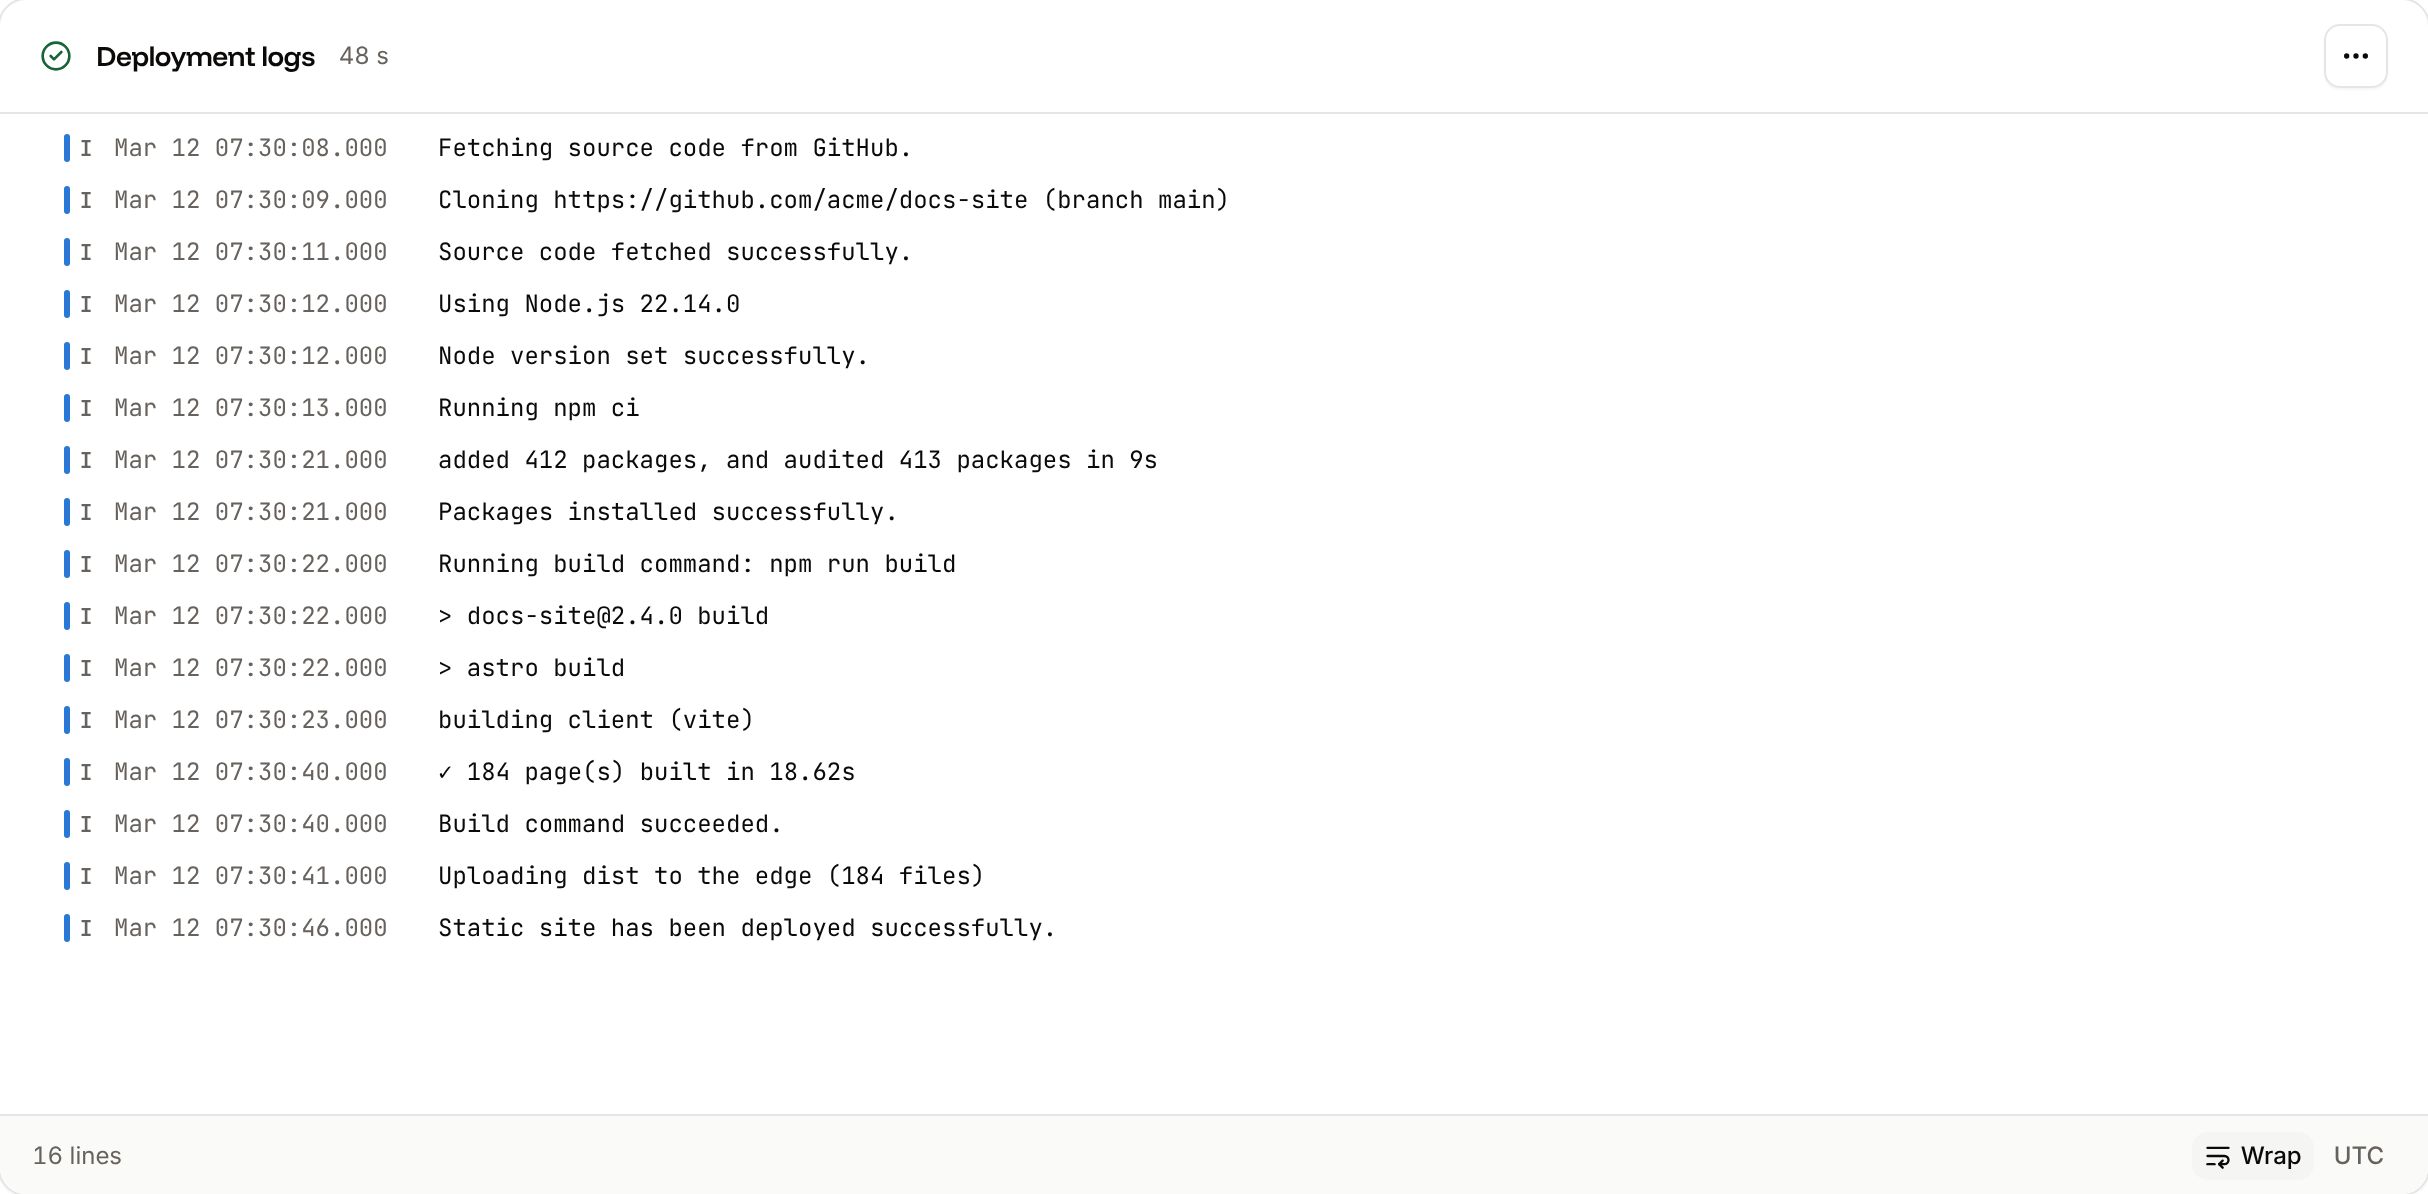
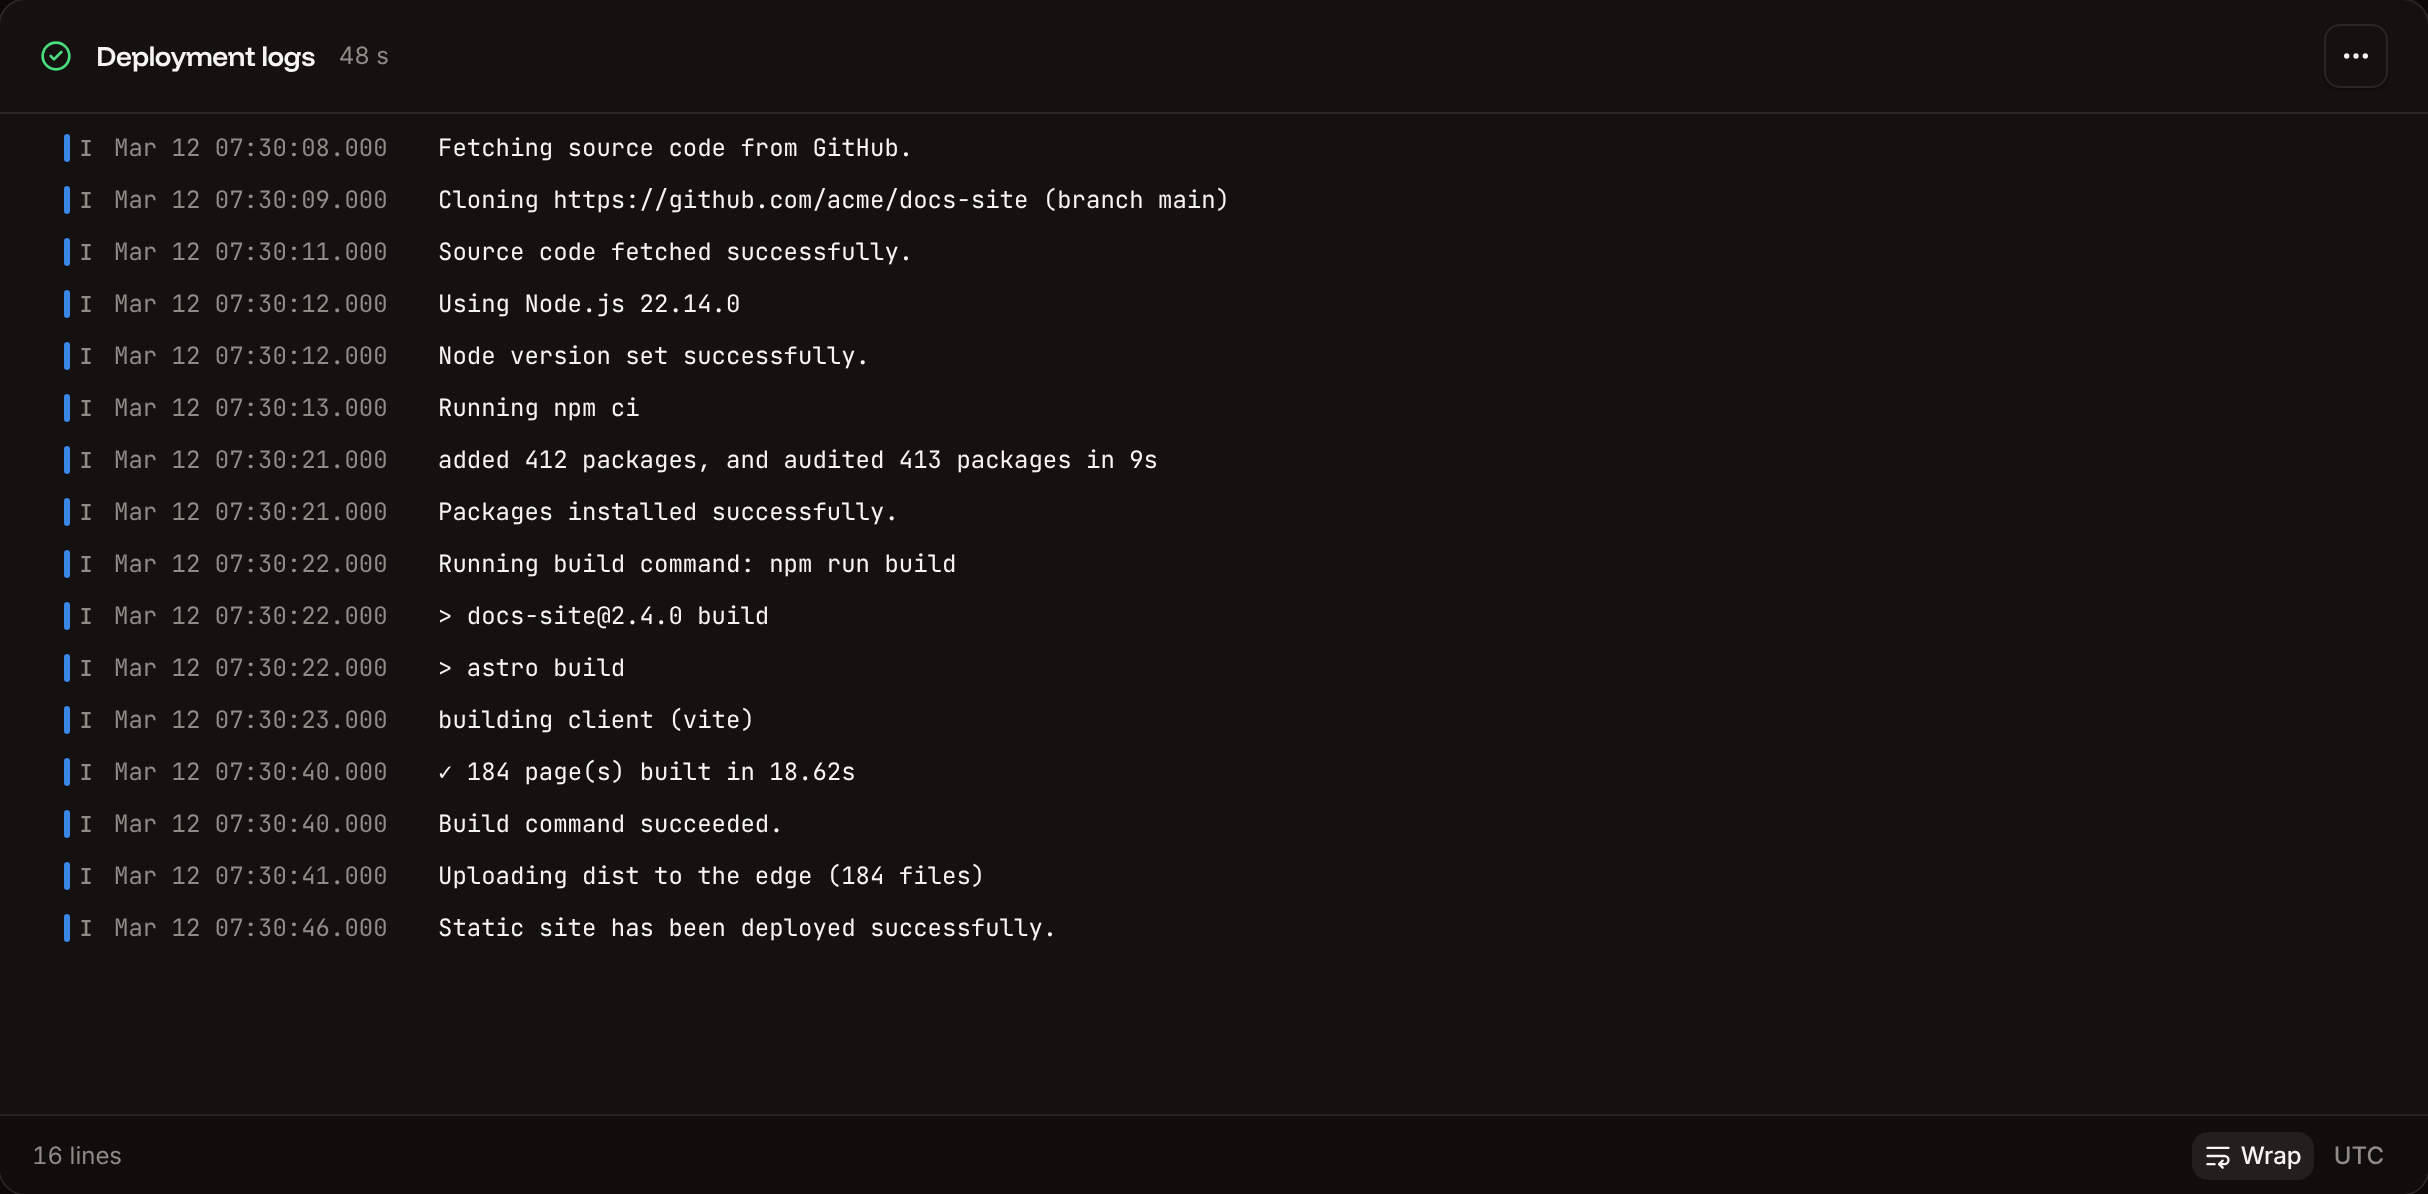
Click a deployment on the Deployments tab, or under Recent deployments on the Overview tab. Its page has three parts:- The header: the status, Production or Preview, the repository and the branch, and Visit site (production) or View previews (preview).
- Deployment logs: the build log with the time the deployment took. It streams live while the deployment runs. Turn on Wrap for long lines and UTC for UTC times. The menu at the top right of the log has Refresh, Copy all lines, Download as JSON and Download as CSV. The browser tab’s icon shows the deployment’s status.
- Details: Deployed branch, Commit (linked to your Git provider), By (the commit’s author), Trigger (with the person’s name for a manual deployment), Started at and Commit message.
Cancel a deployment
1
Cancel from the deployment bar
On any tab of the site, click Cancel in the bar at the bottom.
2
Confirm
Click Cancel deployment. To keep it, click Keep deploying.
Deployment "<id>" cannot be cancelled because it has status "<status>".
Git LFS
With Git Large File Storage (LFS) on, Sevalla downloads the files your repository tracks with Git LFS when it clones it, so the build gets their content. With it off, LFS-tracked files are checked out as small text pointers. It’s on for new sites, for private and public repositories.1
Open the Git LFS setting
On the site’s Settings tab, under Deploy, find Git Large File Storage (LFS) and click Disable Git LFS (or Enable Git LFS).
2
Confirm
In the dialog, click Disable Git LFS (or Enable Git LFS).