

pack.
How Buildpacks build your application
Sevalla runspack build with the Pack builder you choose, in the build path:
- With no buildpacks added, the builder detects your languages itself and runs every buildpack that matches.
- With buildpacks added, only those run, in the order of the list.
PATH. With an empty start command, the image’s default process runs.
Pack builders
Both builders support .NET, Go, Java, Node.js, PHP, Python, Ruby and Scala. Moving to a new builder can change the system libraries your application links against: read Heroku’s builder changelogs and test the change on a staging application first.
Use Buildpacks
1
Open the build strategy
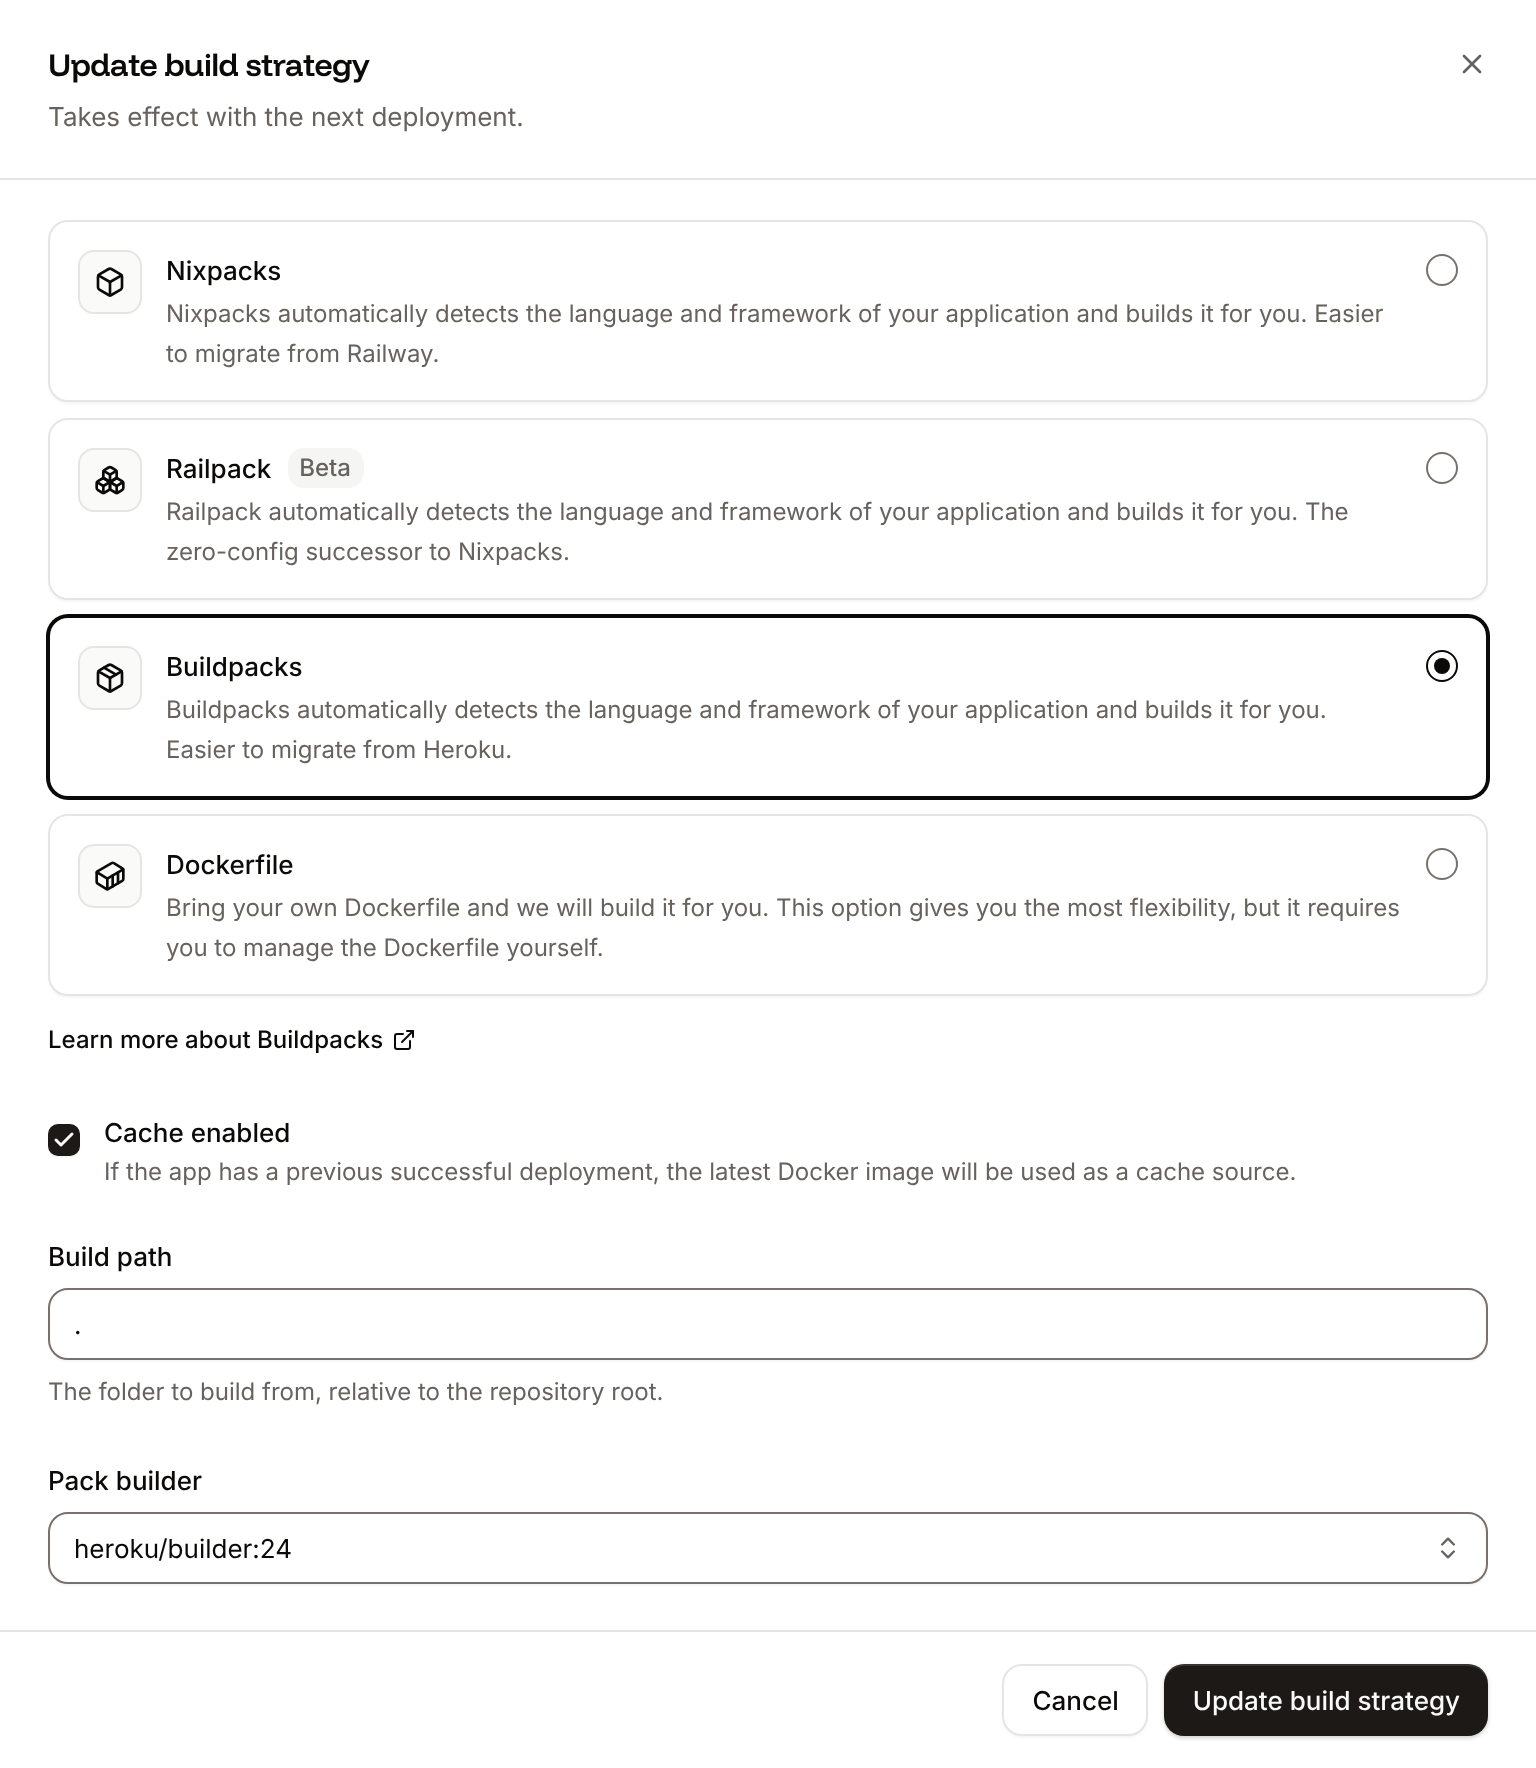
In the sidebar, click Applications, then click the application. On the Settings tab, in the Build strategy section, click Update build strategy.
2
Choose Buildpacks
Click Buildpacks. Choose the Pack builder, and set the Build path if the application isn’t at the repository root.
3
Add buildpacks if you need them
To control which buildpacks run, choose one in Add buildpack. Repeat for each, then order them under Buildpack order with the up and down arrows.
4
Save and deploy
Click Update build strategy, then deploy the application.
Add and order buildpacks
Add buildpack offers Heroku’s buildpacks for Node.js (heroku/nodejs), Python (heroku/python), PHP (heroku/php), Java (heroku/java), Scala (heroku/scala), Go (heroku/go) and Ruby (heroku/ruby). Each can be added once.
Buildpacks run in the order listed: #1 first. Put the buildpack of your application’s main language last, after the ones it depends on. For example, a Ruby on Rails application that compiles its assets with Node.js lists heroku/nodejs as #1 and heroku/ruby as #2. To remove one, click its trash icon.
Set the language version
Without a version in your repository, a buildpack installs its own default, usually the latest. Pin the version in your files:
Dependencies and their versions come from your usual files:
package.json and its lock file, requirements.txt, poetry.lock or uv.lock, composer.json, Gemfile.lock, pom.xml or build.gradle, go.mod. Each buildpack’s documentation lists every option: see Heroku’s Cloud Native Buildpacks.
Configure PHP
To changephp.ini settings for a folder, add a .user.ini file next to your .php files; see the PHP manual for the settings it can change. PHP extensions come from the require section of composer.json, for example "ext-imagick": "*".
Processes and the Procfile
On Heroku, aProcfile names your processes, for example web: bundle exec puma -C config/puma.rb. On Sevalla, set each process’s command on the Processes tab instead: copy the web entry into the web process’s start command, and create a background worker, cron job or job for each other entry, for example bundle exec sidekiq. Setting the start command explicitly means the web process doesn’t depend on which process the buildpacks make the image’s default. Sevalla doesn’t run a release entry: create a job with the start policy Before deployment for it, for example bundle exec rails db:migrate.